TV Products Service Bulletin No. 531
CRT/ Lens Focus adjustment:
Equipment required: Pattern Generator
Signal Applied/Input: All white 100-IRE signal for aging & crosshatch for adjustments
Adjust points: Mechanical lens adjust and adjustment of the electrical focus VRs
Conditions: Set must be pre-aged as describe in the front section of this document, under
Important Notes.
1. Apply a crosshatch pattern to one of the video inputs.
2. Start with the Green CRT, therefore turn off the other two CRTs in the Service mode.
3. Two persons, one to adjust the lens, and one to watch the front of the picture will
achieve better overall adjustment results. If a second person is not available, apply a
white sheet of paper on the inside of the screen. Then by looking at the paper’s
reflection in the sets mirror, adjusting the mechanical lens as in the next step.
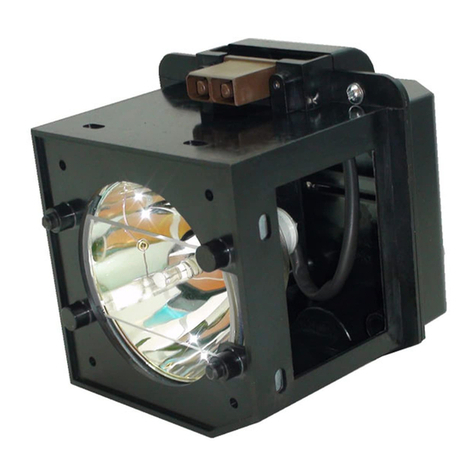
4. Adjust the mechanical lens of the Green CRT first (loosen the wing nut on the lens.
Adjust the lens to achieve proper (equal) balance between left and right sides of the
picture, while also achieving good center focus. Focus in the center area of the
screen should be better than in the corner areas.
5. If proper balance cannot be achieved, then loosen all lens screws and re-seat the
lens (see the drawing below for the locations of the lens screws). Then create a just-
snug condition (each screw's washer is slightly compressed) with the screws and try
to adjust the focus again.
ONLY IF PROPER BALANCE STILL CANNOT BE ACHIEVED, remove lens screws and
rotate the lens 90°. Reinstall the lens screws in the new pilot holes. The new pilot holes will
not have had screws installed previously, so you should expect to feel some resistance
while installing the screws. Tighten the screws by following torque sequence shown in the
drawing below, but do not completely seat the screws (over-torque). Perform lens re-
adjustment again. With a 100-IRE crosshatch pattern, you may see a slight amount of blue
or red halo on the green crosshatch lines. This is caused by the prism effect of the green
CRT lens. However, try to minimize the amount of blue or green flare seen on the screen
while maintaining sharper more defined lines. If red halo is seen on the green lines re-adjust
the focus lens to eliminate reddish colored flare.
2 4
3 1
1. IMPORTANT: After the mechanical focus is performed, adjust the electrical focus on
the focus block for a final touch-up. Once again, try to achieve proper balance
between center and corners while keeping center slightly better.
2. Red mechanical lens adjustment should apply the same method as described for
green, except for the color of the flare, which will be red to a yellowish red. Try to
←Torque sequence applied to lens. If slight tilt / rocking
motion is noticed, lean lens to the # 3 or # 4 position and
begin torque sequence. Start at position No.1 and tighten
until each screw's washer is slightly compressed.
