KV-21M3/21T3
TABLE
OF
CONTENTS
Section
Title
Page
1.
GENERAL
;
Getting
Started
..scvscsscsscssscsteconscocetconesecensvecesessacsessaseassseat
7
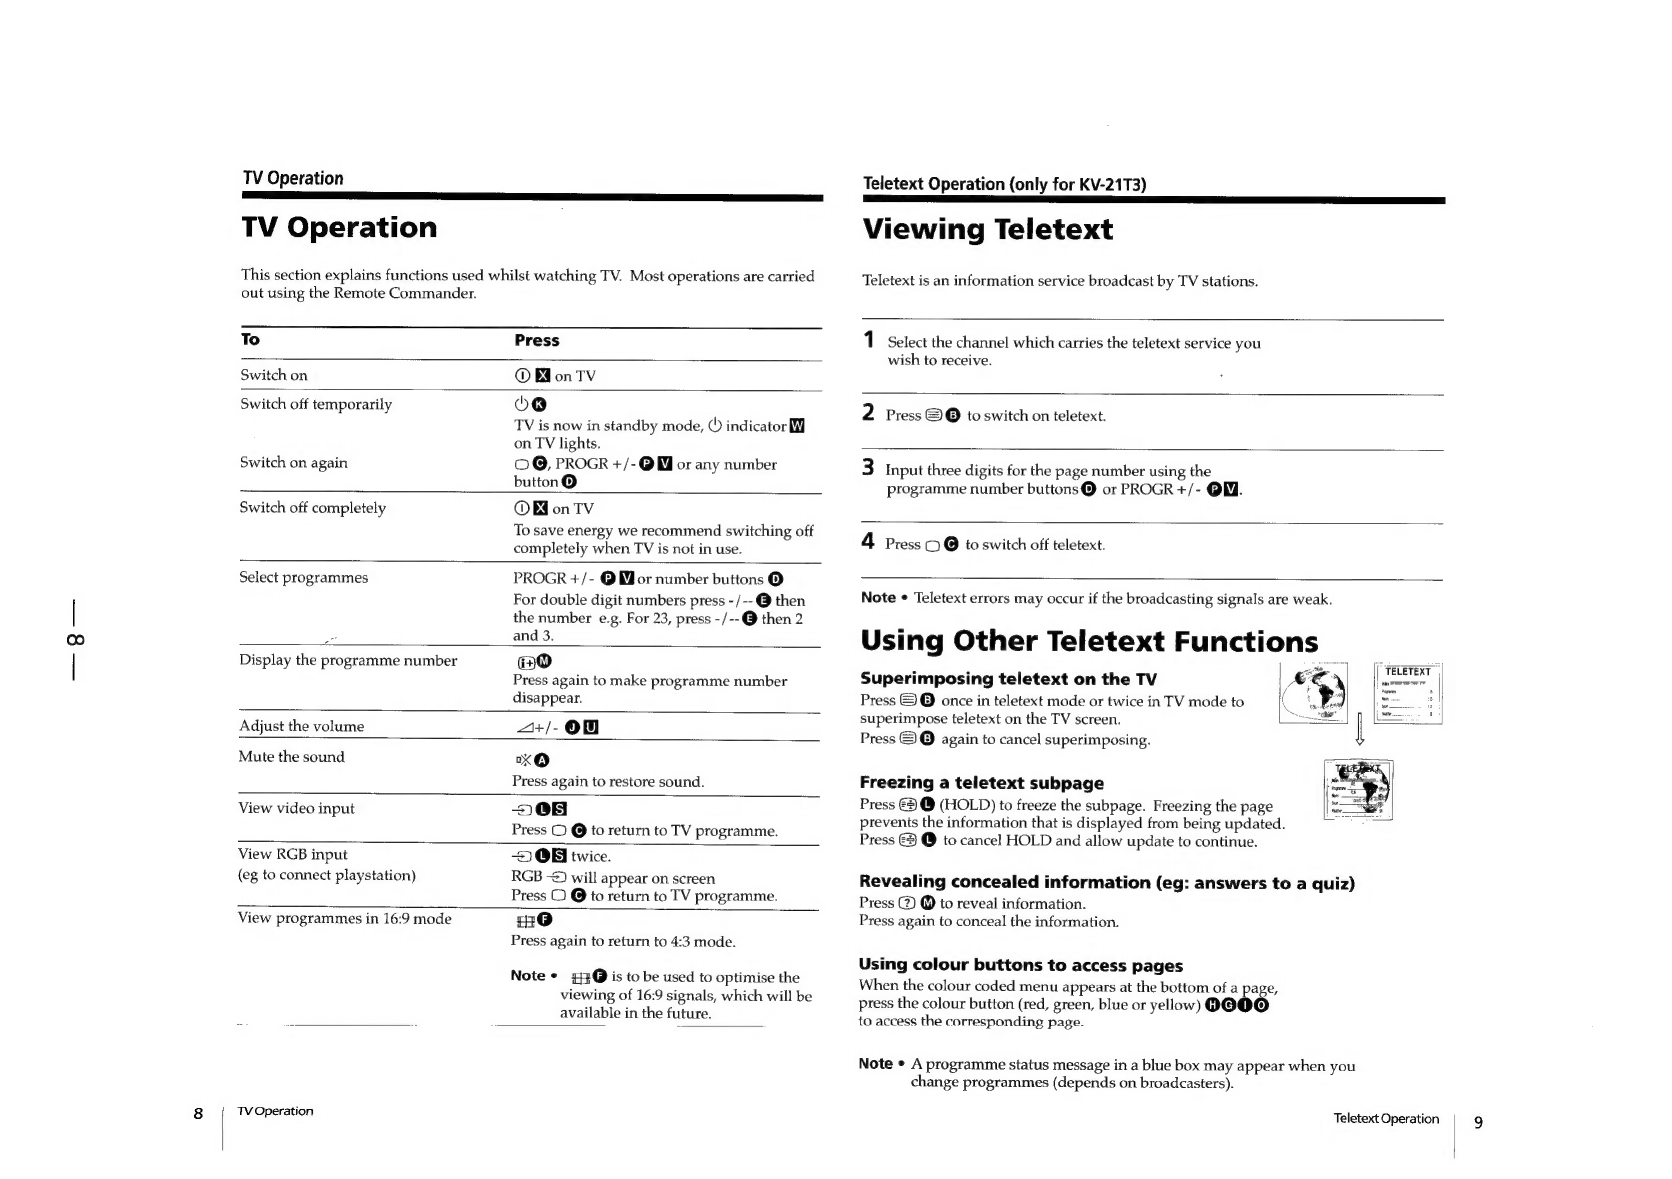
TV
Operation
8
Teletext
Operation
(Only
for
KV-21T3
models)
..............
8
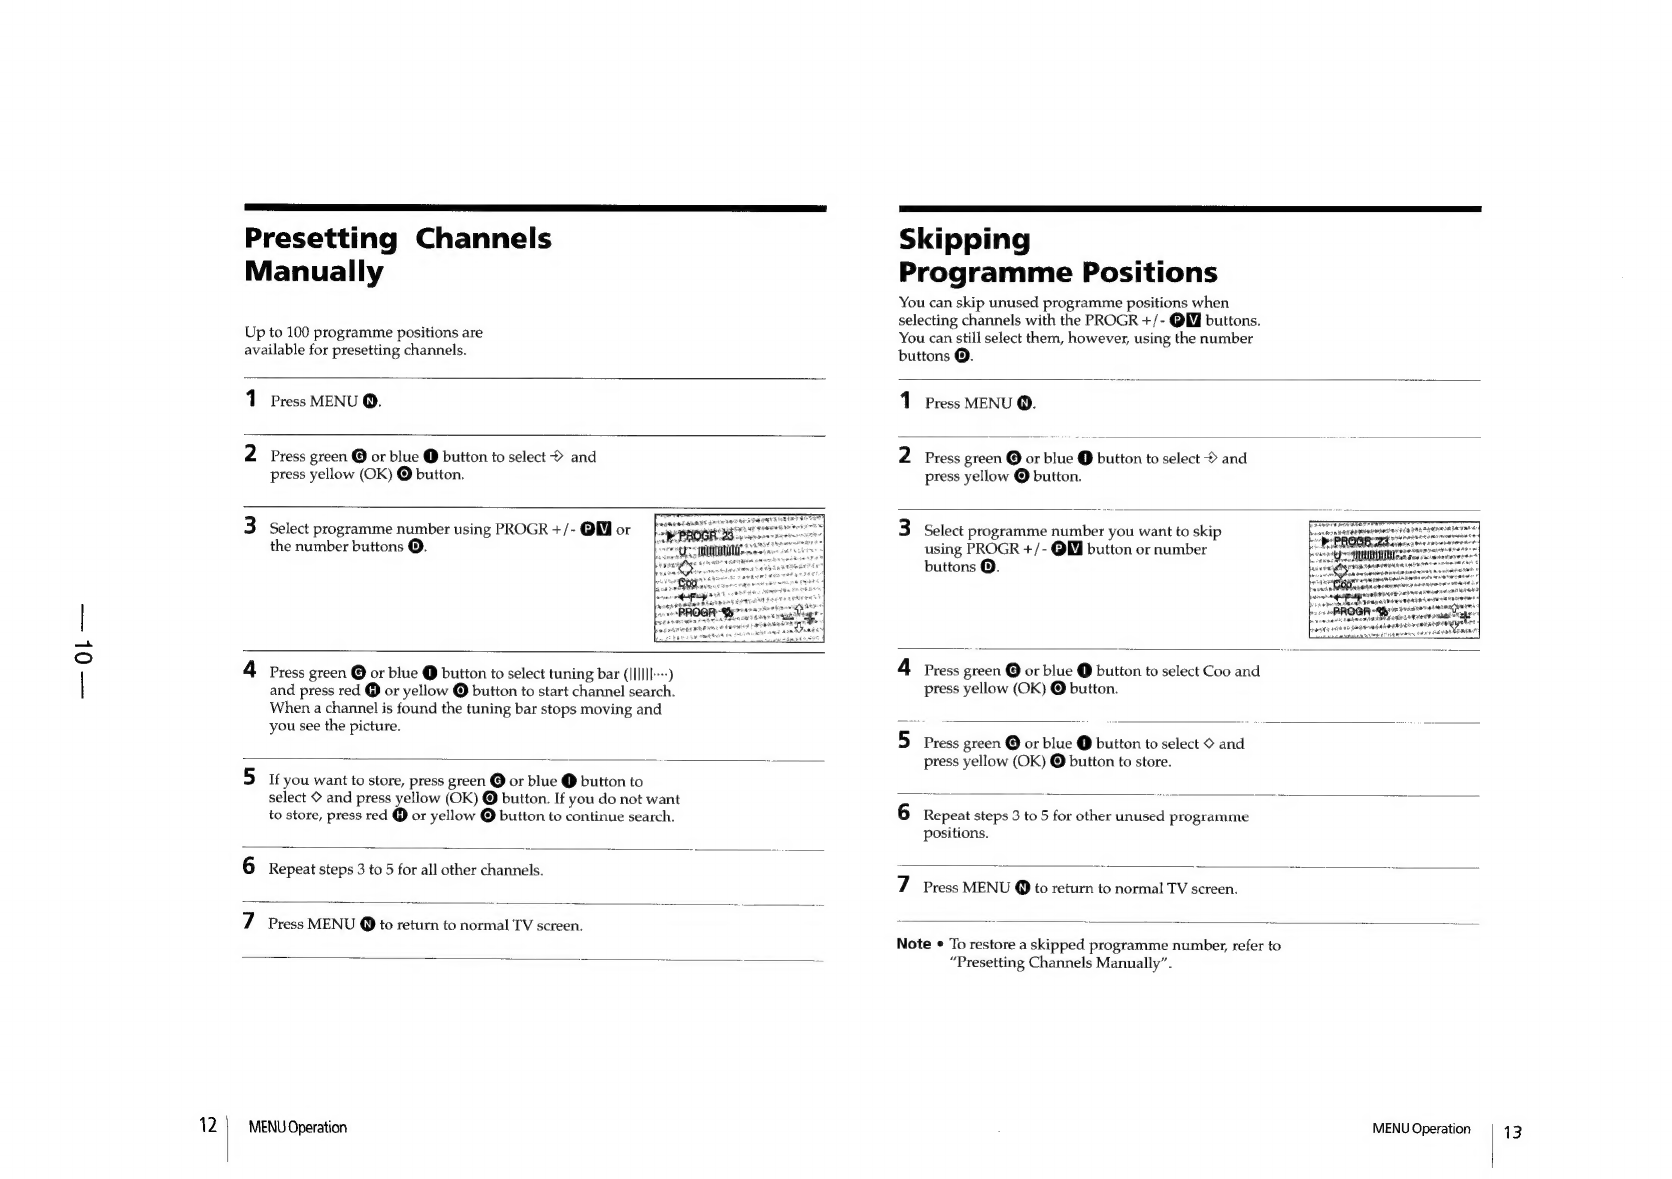
Menu.
Operation
ieiiccc2iviti
adc
ceiaec
cn
etieectineisiate
tense
9
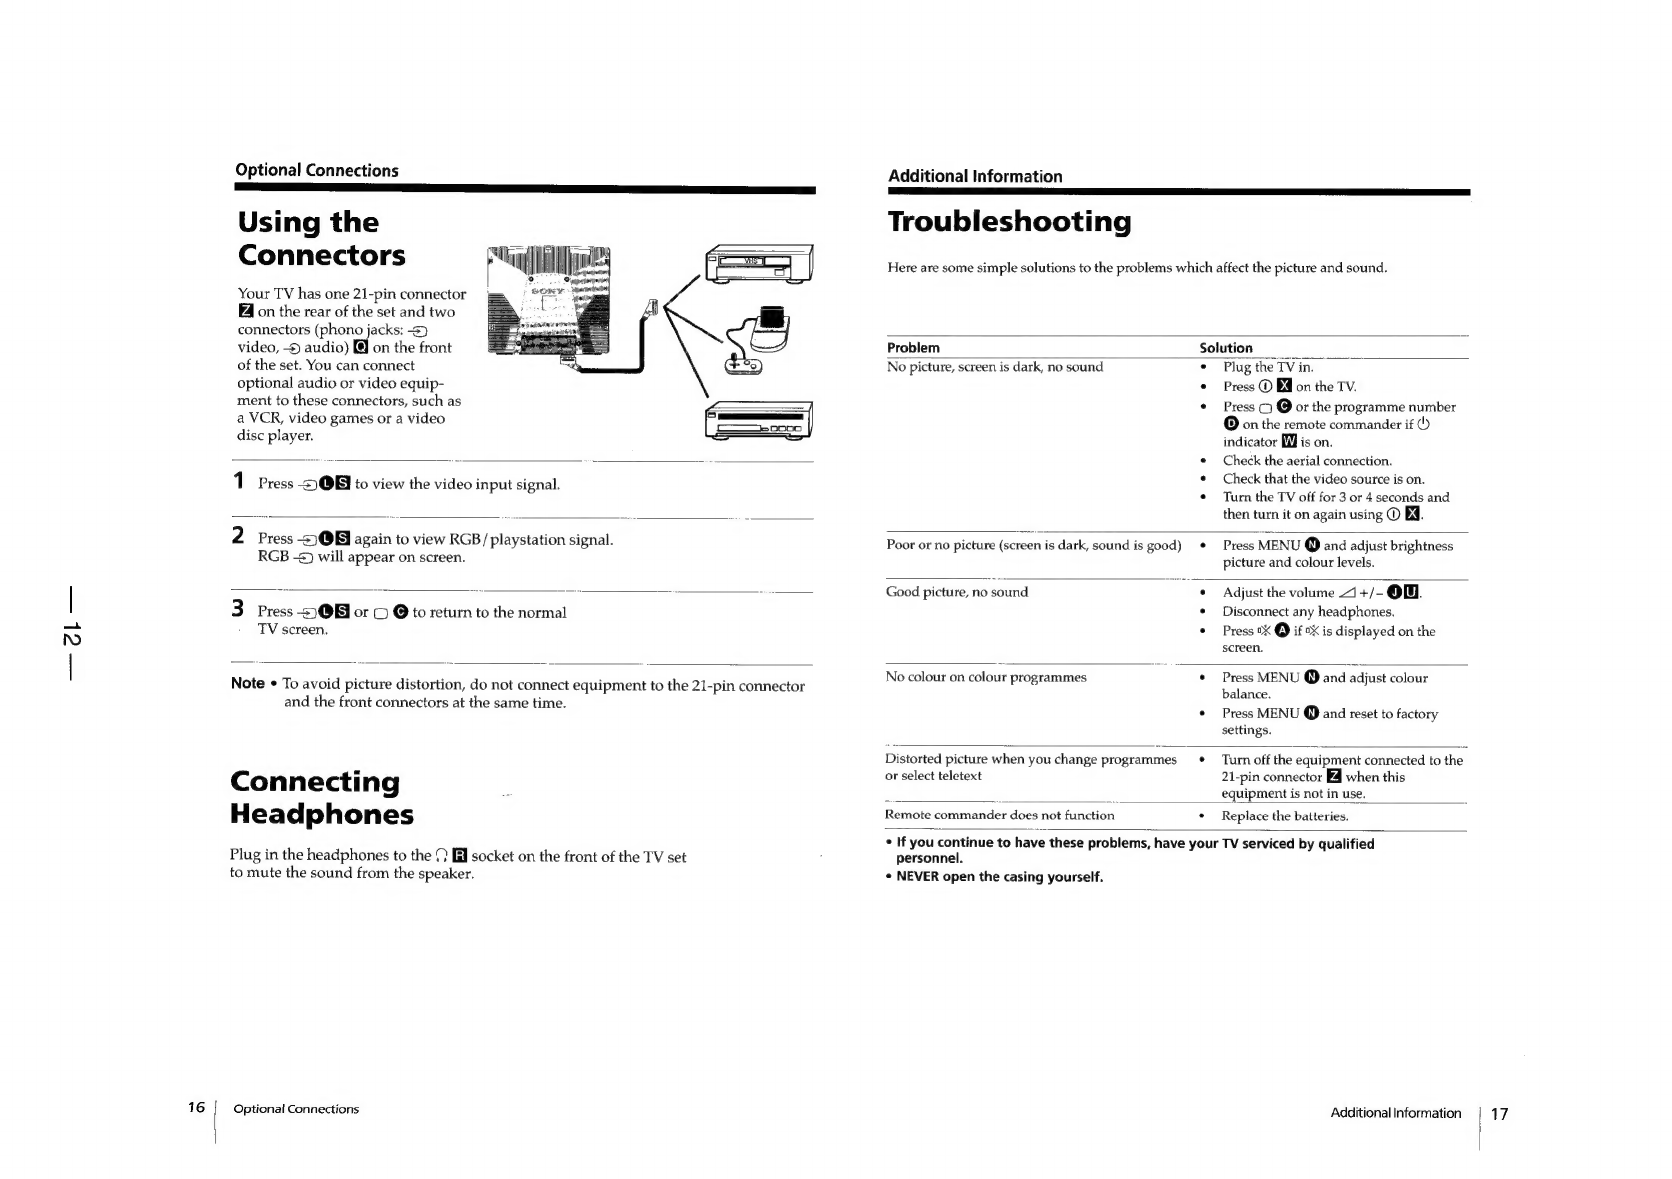
Optional
Connections
12
Additional
Information
..........
cc
eseeeeseeseesseescesceseeseeesensenees
12
CAUTION
ATTENTION
SHORT
CIRCUIT
THE
ANODE
OF
THE
PICTURE
TUBE
AND
THE
ANODE
CAP
TO
THE
METAL
CHASSIS,
CRT
SHIELD,
OR
CARBON
PAINTED
ON
THE
CRT,
AFTER
REMOVING
THE
ANODE.
WARNING
!!
AN
ISOLATION
TRANSFORMER
SHOULD
BE
USED
DURING
ANY
SERVICE
TO
AVOID
POSSIBLE
SHOCK
HAZARD,
BECAUSE
OF
LIVE
CHASSIS.
THE
CHASSIS
OF
THIS
RECEIVER
IS
DIRECTLY
CONNECTED
TO
THE
AC
POWER
LINE.
SAFETY-RELATED
COMPONENT
WARNING!!
COMPONENTS
IDENTIFIED
BY
SHADING
AND
MARK
//\
ON
THE
SCHEMATIC
DIAGRAMS,
EXPLODED
VIEWS
AND,
IN
THE
PARTS
LIST
ARE
CRITICAL
FOR
SAFE
OPERATION.
REPLACE
THESE
COMPONENTS
WITH
SONY
PARTS
WHOSE
PART
NUMBERS
APPEAR
AS
SHOWN
IN
THIS
MANUAL
OR
IN
SUPPLEMENTS
PUBLISHED
BY
SONY.
APRES
AVO!IR
DECONNECTE
LE
CAP
DE
L'ANODE,
COURT-
CIRCUITER
L'ANODE
DU
TUBE
CATHODIQUE
ET
CELUI
DE
L'ANODE
DU
CAP
AU
CHASSIS
METALLIQUE
DE
L'APPAREIL,
OU
AU
COUCHE
DE
CARBONE
PEINTE
SURLE
TUEE
CATHODIQUE
OU
AU
BLINDAGE
DU
TUBE
CATHODIQUE.
ATTENTION
!!
AFIN
D'EVITER
TOUT
RISQUE
D'ELECTROCUTIN)
PROVENANT
D'UN
CHASSIS
SOUS
TENSION,
UN
TRANS
FORMATEUR
D'ISOLEMENT
DOIT
ETRE
UTILISE
LORS
DE
TOUT
DEPANNAGE.
LE
CHASSIS
DE
CE
RECEPTEUR
EST
DIRECTEMINIT
RACCORDE
A
L'ALIMENTATION
SECTEUR.
ATTENTION
AUX
COMPOSANTS
RELATFS
ALA
SECURITE!!
LES
COMPOSANTS
IDENTIFIES
PAR
UNE
TRANE
ET
PAR
UNE
MARQUE
/\\\
SUR
LES
VUES
EXPLOSEES
ET
IES
LISTES
DE
PIECES
SONT
D'UNE
IMPORTANCE
CRITIQUE
PiR_LASECURITE
DU
FONCTIONNEMENT.
NE
LES
REMPLACERGSUE
PAR DES
COMPOSANTS
SONY
DONT
LE
NUMERO
DE
PIEtE
EST
INDIQUE
DANS
LE
PRESENT
MANUEL
OU
DANS
DES
3JPPLEMENTS
PUBLIES
PAR
SONY.