ENGLISH
6
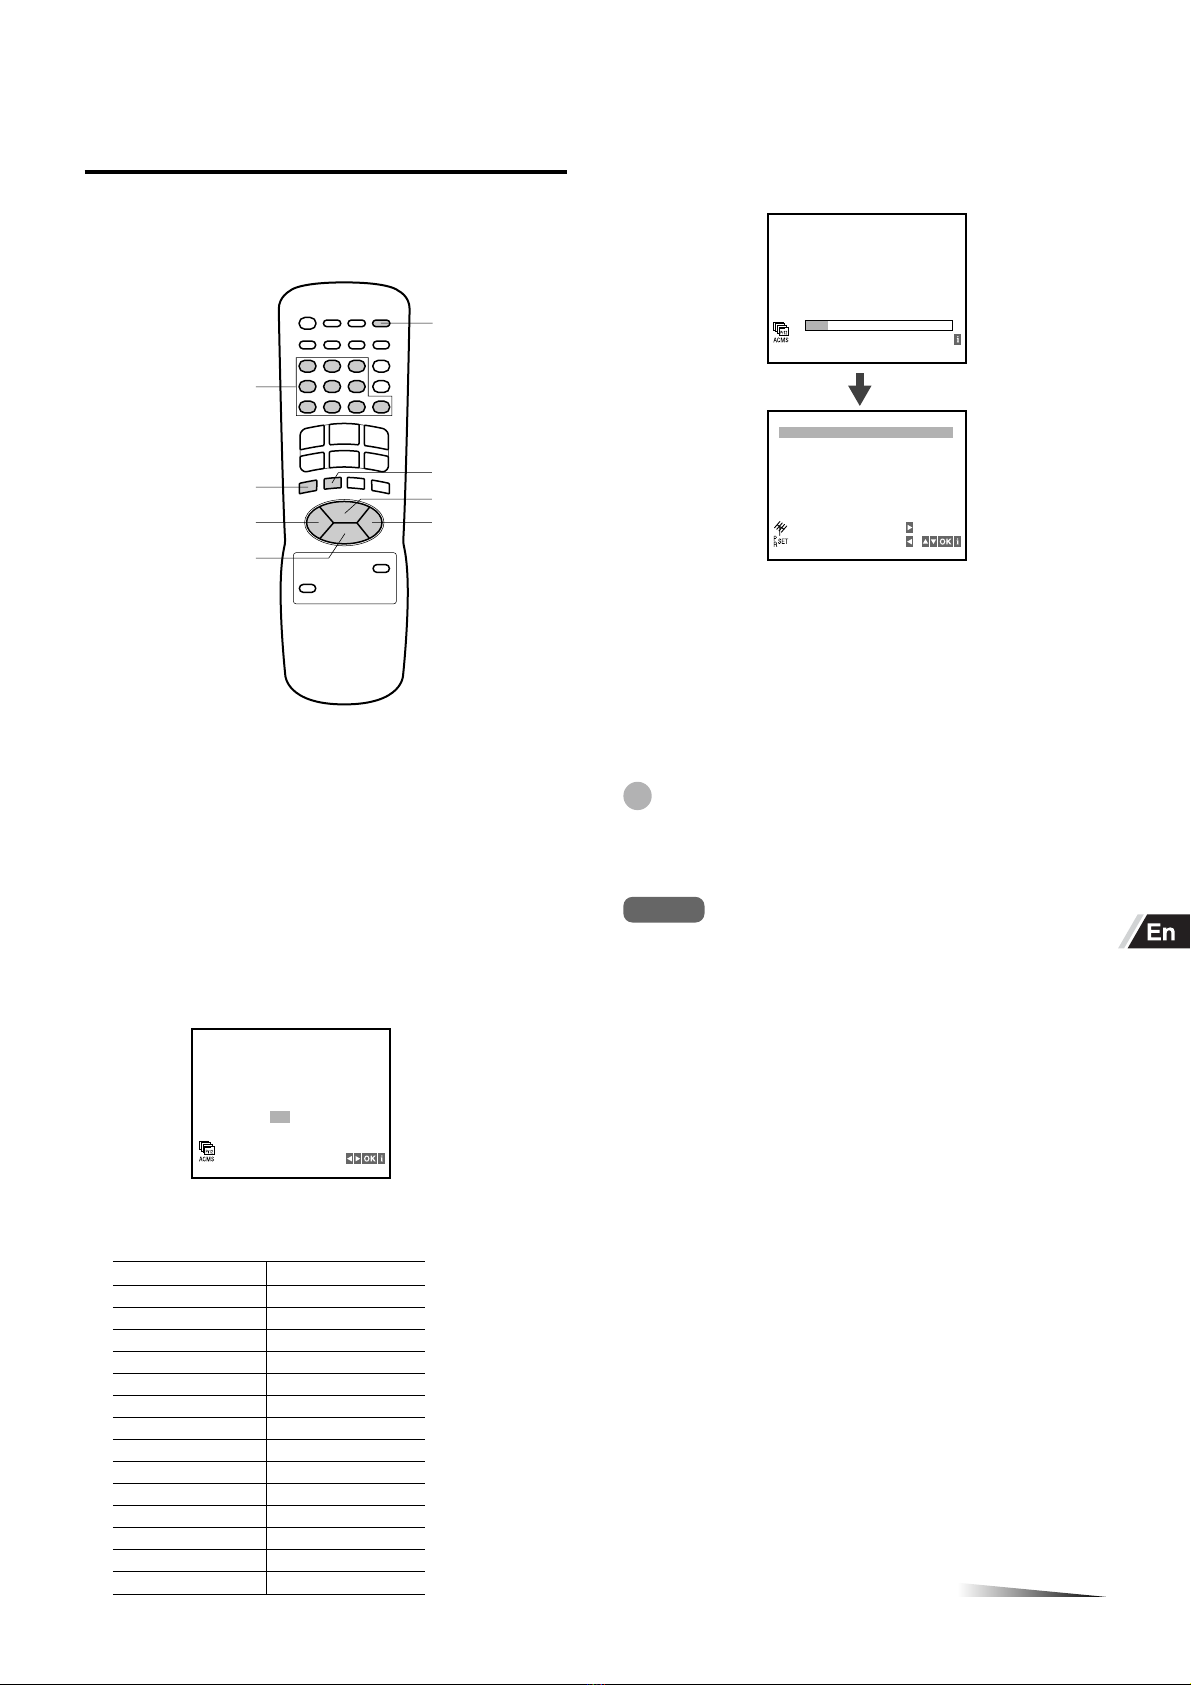
Preparing the remote control
Inserting the batteries
Caution
To prevent damage from leakage or explosion, follow
the descriptions below.
•Insert two R03 (size AAA) batteries (supplied) with the
0and 9marks correctly as illustrated.
•Do not mix old batteries with new ones or different
types of batteries.
•Do not throw the batteries into a fire, apply heat to
them or take them apart.
•Do not carry the batteries with keys or other metallic
objects.
Note
Remove the batteries when they have no more power, or when
you do not use the remote control for a long period of time.
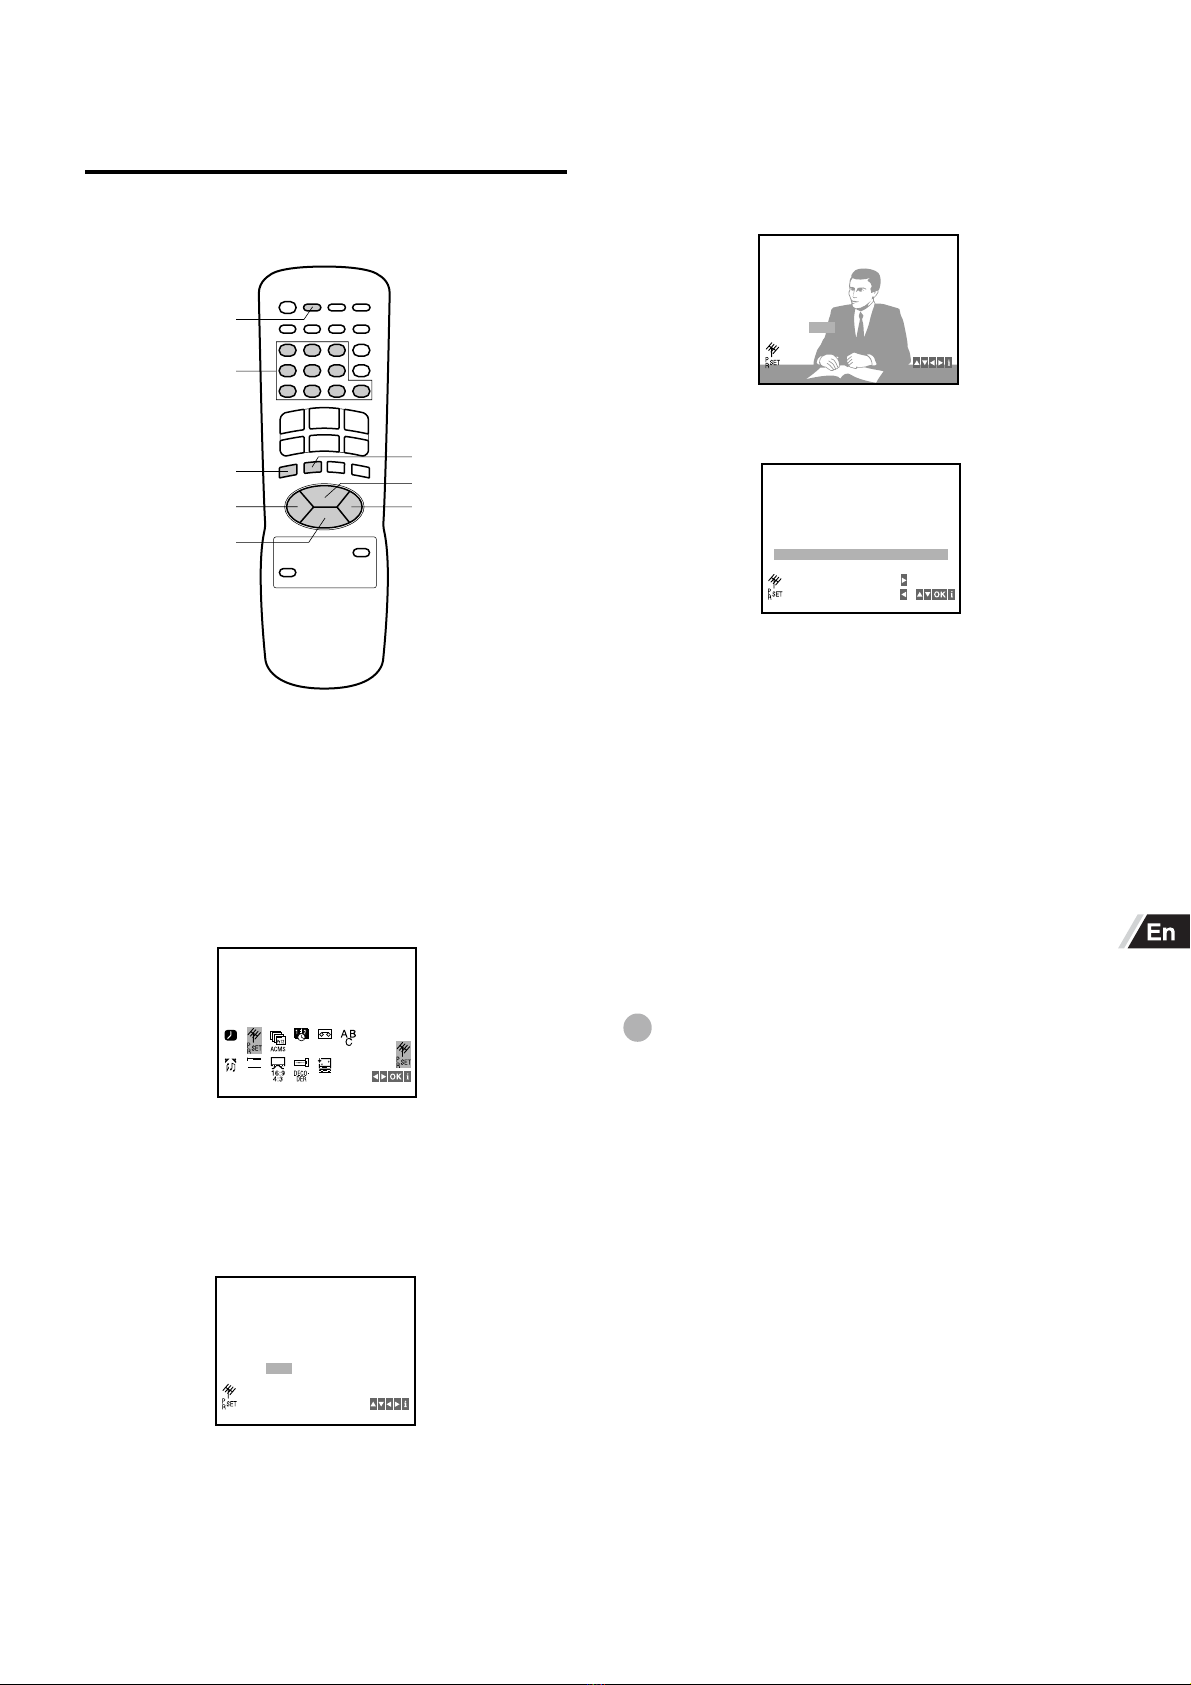
Using the remote control
Point the remote control toward the remote sensor.
Notes
•The remote control may not operate when there is any
obstruction between the remote control and the remote
sensor.
•Strong ambient light sources such as a fluorescent lamp or
direct sunlight may cause unreliable operation.
•Using a TV with the same type of infrared remote control
facing the same direction may cause incorrect operation.
•The maximum distance for effective control between the
remote control and the remote sensor is 7 meters.
•Although you can use the remote control within an angle of
up to 30 degrees in any direction from directly in front of the
remote sensor, we recommend a narrower angle for stable
operation.
•During Power Save mode, the remote control does not
operate.
Remote sensor
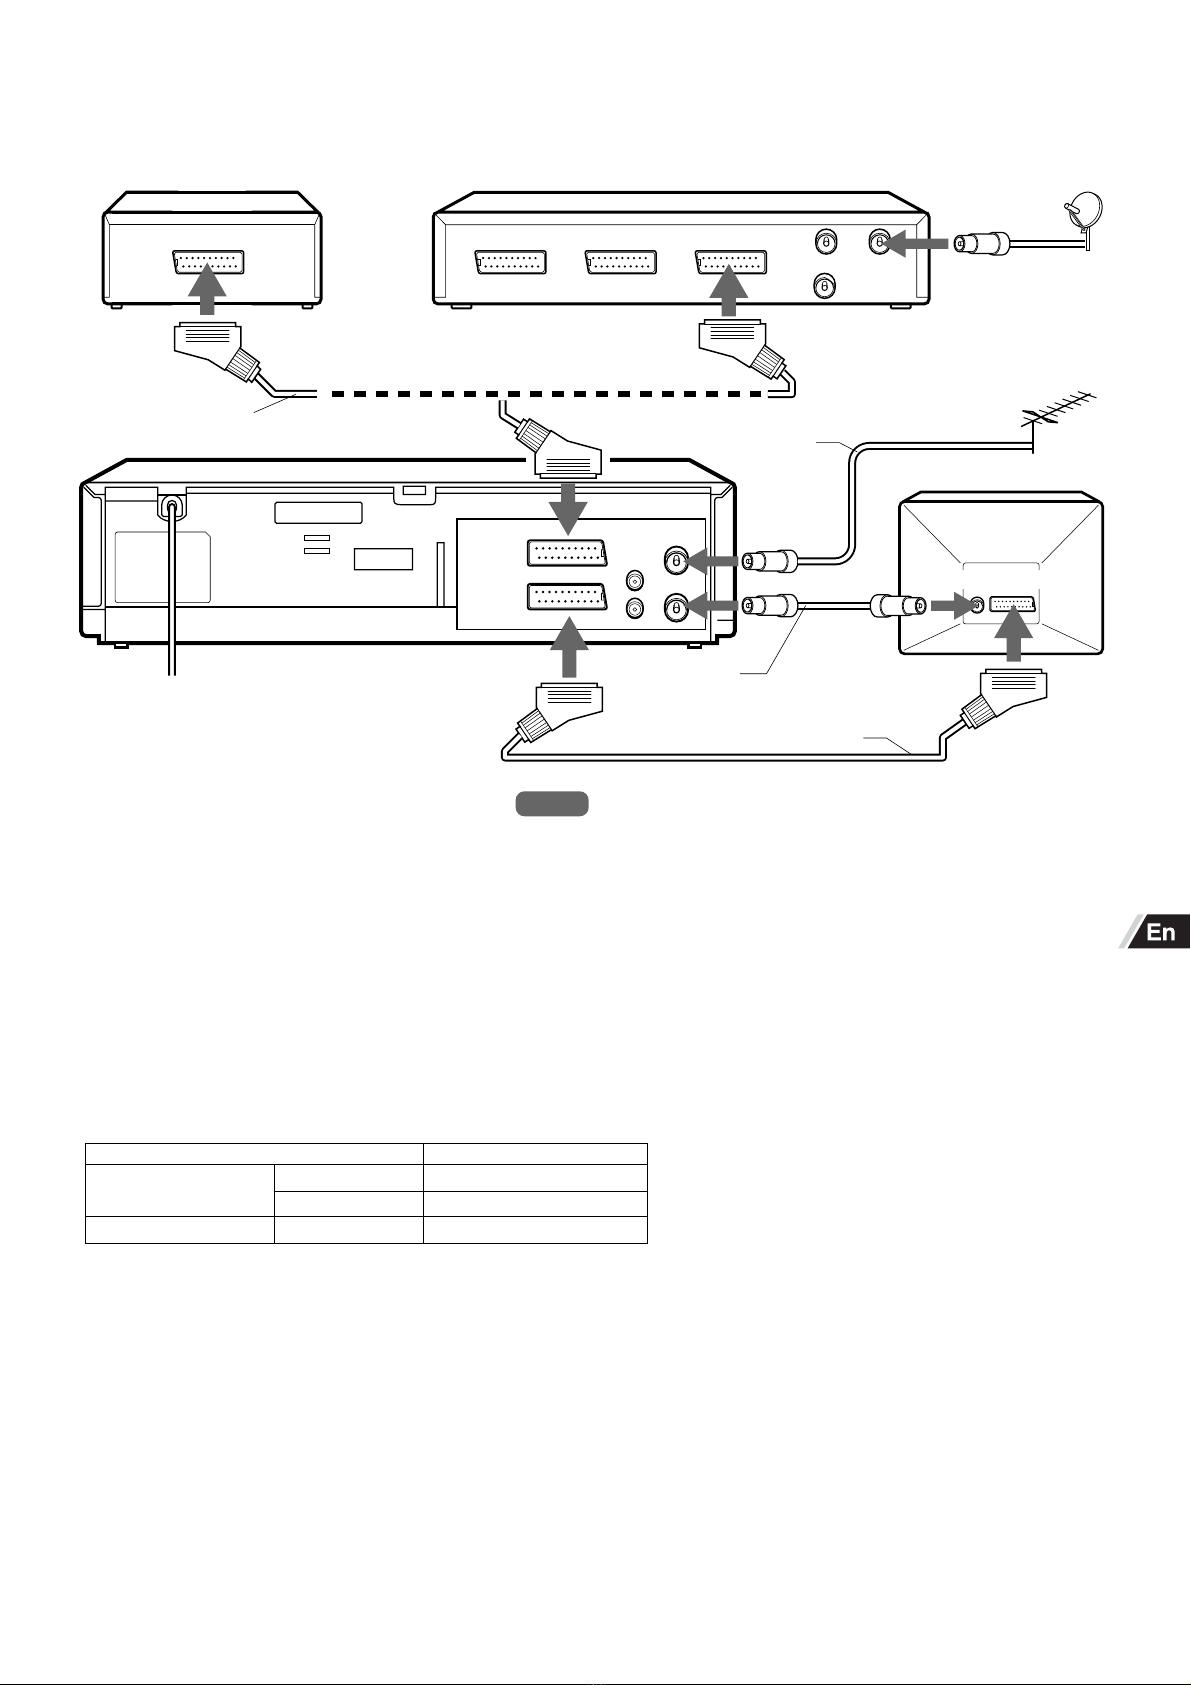
Tuning your TV to the VCR
When using the VCR, the signals passes from the antenna
to the VCR and then out to the TV. Before you use your
VCR, a video output channel must be set on your TV.
If you have connected the VCR to the TV with a 21-pin
scart cord, this procedure is not necessary.
Press l /6on the remote control to turn on the
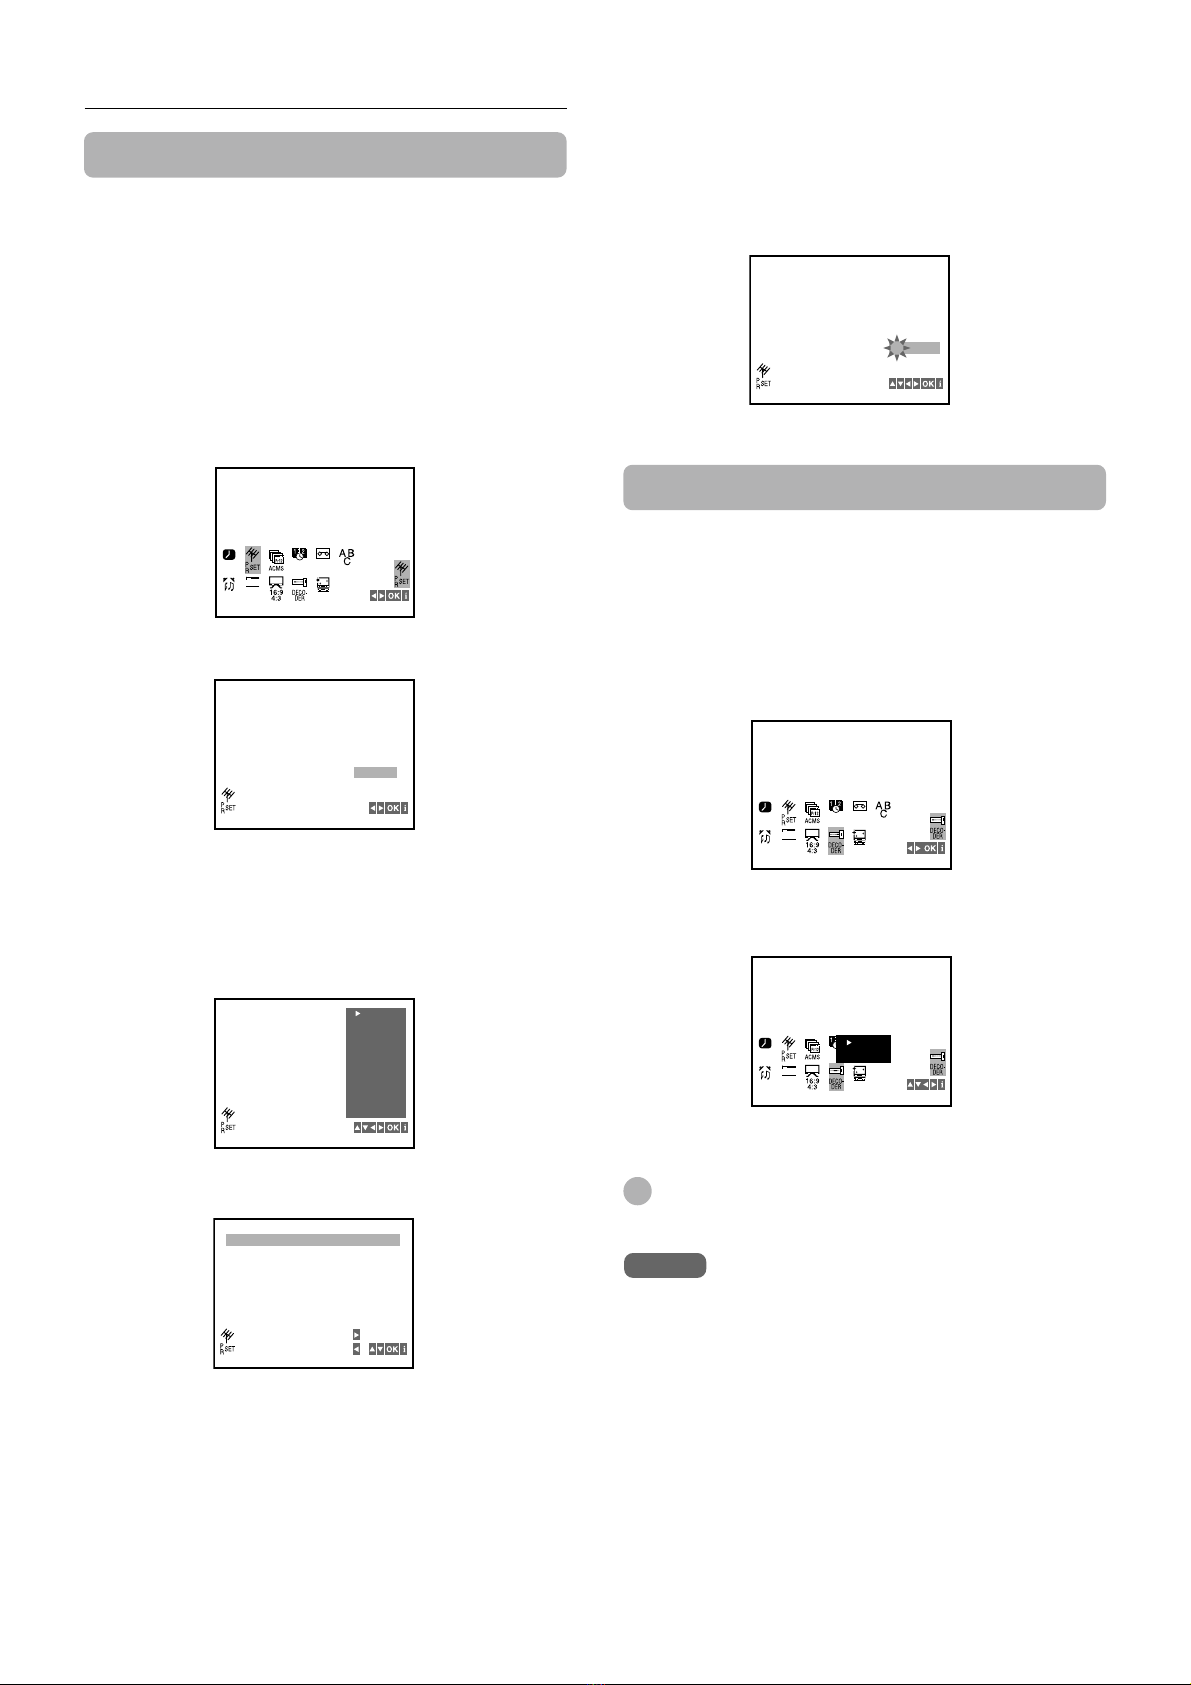
VCR.
Make sure your TV is turned on.
Select a spare channel position on the TV and
tune the TV so that the blue screen appears
clearly on the TV screen.
Refer to the TV operating instructions for tuning.
Whenever you want to play back a tape, select this
channel position.
If there is interference on the
picture (wavyline, picture roll, etc.)
During power off, press and hold CHANNEL +
or -on the VCR for more than 4 seconds.
“RF 36” appears on the display window.
Press CHANNEL +or -to select another
channel.
You can select any number between 22 and 68.
Tune the TV so that the RF CHANNEL screen
appears clearly on the TV screen.
Refer to the TV operating instructions for tuning the TV
picture.
Press l /6to turn off the VCR.
The VCR is now tuned to your TV. Whenever you want
to use the VCR, select the VCR channel on your TV.
If there is still interference on the TV
screen
Connect the VCR to the TV with an optional 21-pin scart cord.
Whenever you want to play back a tape, simply select a
channel on your TV called AV or AUX.
You can set RF out to OFF in step 2.
Tip
If “RF 36” does not appear on the display window in step 1, the
VCR is in Power Save mode. In this case, press l/6on the
VCR to turn on the VCR, and press l/6on the remote control
to turn the VCR off. Then perform step 1 again.
1
2
1
2
3
4
30 30
7m


 User manual")


 User manual")