Sound Projections PGX-D 14 User manual

Digital Wireless system operation.
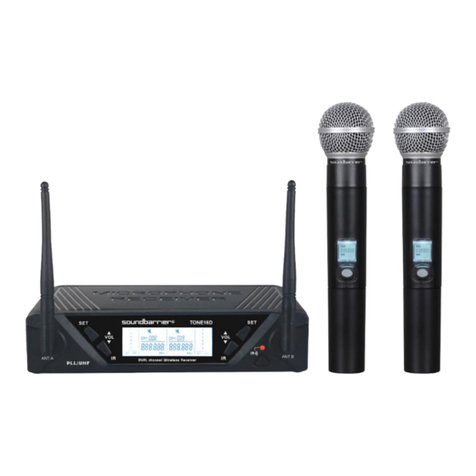
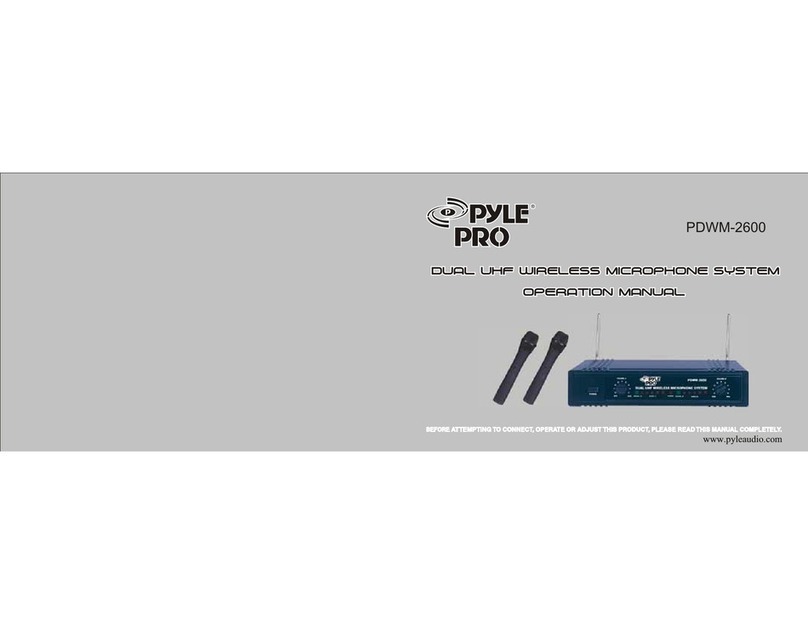
Your portable sound system is available with single or dual built-in Shure digital
wireless systems. The instructions on the following pages describe how to set-up
and operate the receiver units and wireless transmitters.
Operating the optional wireless mic system.
The built-in wireless receiver(s) turn on automatically
when the portable sound system is turned “on.” Raise
the paired left/right antennas up and out at a slight
angle; single wireless options will have two antennas,
dual wireless will have four. Also, note the location of
the wireless mic volume controls on the rear panel.
Features and controls of the built-in wireless receiver.
audio LED: Indicates strength of incoming audio signal:
green for normal, amber for strong, red for peak.
Channel number readout: See “Single System Setup” on page 3.
channel button: See “Single System Setup” on page 3.
ready LED: Green light indicates wireless system is receiving signal.
Infrared (IR) port: Broadcasts IR signal to transmitter.
sync button: Press and release to synchronize transmitter and receiver
frequencies.
11
123456
1
2
3
4
5
6
wireless mic wireless mic
one two
Dual wireless system set-up.
Follow these steps to set-up your sound system with two wireless systems:
1. Turn the sound system “on”, and turn all transmitters “off”.
2. Perform Automatic Frequency Selection on the first receiver
3. Turn the first transmitter “on.”
4. Perform Automatic Transmitter Setup
Leave the first transmitter on. Repeat for steps 2-4 for the second system.
!! Note: Be sure that only one transmitter’s IR port is exposed when synchro-
nizing a system.
Manual Frequency Selection (receiver only)
To manually select a group or a channel, press and hold the channel button.
The display alternates between the group number and the channel number.
Releasing the channel button while either number is displayed makes that
displayed number flash. Then, press the channel button while the number is
flashing to increase the setting by one.
To activate the newly-selected group or channel, simply wait until the number
stops flashing.
Receiver locking feature.
The wireless receiver has a locking feature which prevents accidental channel
changes.
• To lock the channel: Hold the channel button until both numbers flash
(approximately 10 seconds).
• To unlock the channel: Hold the channel button until both numbers flash
(approximately 5 seconds).
hold channel
button
to change the group
value, release the
channel button while
the first digit displays…
…then press the
channel button to
increase the value.
to change the channel value,
release the
channel button while the sec-
ond digit displays…
…then press the chan-
nel button to increase
the value.
Hold Channel Button
1
4
User Guide
For Shure Digital Wireless System
Sound Projections - 888-291-1288 - www.soundprojections.com
560-0036 Rev A, PGX-D 12/14

Operating the wireless mic/transmitter.
Indicator LED for Power / Infrared (IR) / Mute
On-Off/Mute switch: Press and hold for 2 seconds to turn “on” (LED green),
press and hold again to turn “off.” To mute or unmute, press and release.
4-Pin Microphone Input Jack.
IR port: Receives infrared beam to synchronize frequencies.
Note: When using multiple systems, only one transmitter IR port
should be exposed at a time.
Adjusting gain on Belt Pack Transmitter.
Three gain settings are available:
• mic: low-output microphone.
• 0: high-output microphone, guitar
• -10: Use only if audio is distorted due to high input level.
4
1
2
Green Ready
Flashing green Controls locked (see “locking feature” below)
Amber Mute on
Flashing red IR transmission in process
Glowing red Battery power low
Pulsing red on startup Batteries dead (transmitter cannot be turned on until batteries
are charged)
Pulsing red after syn-
chronization
Frequency group incompatible;
check transmitter group.
3
4
5
Changing batteries.
Install 2 new AA alkaline batteries in the transmitter
for best results; expected battery life is approxi-
mately 8 hours.
When the transmitter light
1
glows red, replace
the batteries.
Wireless system set-up.
Each transmitter and receiver pair must be the same frequency, or channel. The
Shure wireless system uses transmitter setup to synchronize the transmitter and
receiver channels.
Note: transmitting devices such as cellular phones may interfere
with wireless audio transmissions. Keep transmitters and receiv-
ers away from these and other potential sources of interference.
Single wireless system set-up.
1. Automatic Frequency Selection: Press and release the channel button.
This scans for a clear channel and sets the receiver to that channel.
2. Automatic Transmitter Setup: Turn transmitter “on”. Open the transmitter’s
battery compartment to display the infrared (IR) port (see page 2). With the
transmitter IR port exposed to the wireless receiver, press and release the
sync button until the red light stops flashing on both receiver and trans-
mitter.
When the receiver’s ready light glows green, the system is ready for use.
Close the transmitter battery compartment.
dpress channel button to scan for
a clear channel
Transmitter locking feature.
The transmitter (handheld and body-pack) has a locking feature which prevents
accidental muting or turning off during performance.
•To lock the controls: With the transmitter “off”, hold the power button down
until the green LED flashes (approximately 5 seconds).
23
•To unlock the controls: With the transmitter “on”, hold the power button
down until the green LED flashes (approximately 5 seconds).
