Sound Skulptor LA502 User manual

www.soundskulptor.com
Document revision 1.2 – Last modification : 17/07/20
LA502 Assem ly guide
Safety warning
The kits are main powered and use potentially lethal voltages. Under no circumstance should someone undertake the
realisation of a kit unless he has full knowledge a out safely handling main powered devices.
Please read the “DIY guide” efore eginning.
Print or open the following documents :
• LA502 Schematics
• LA502 Components layout
• LA502 Parts list
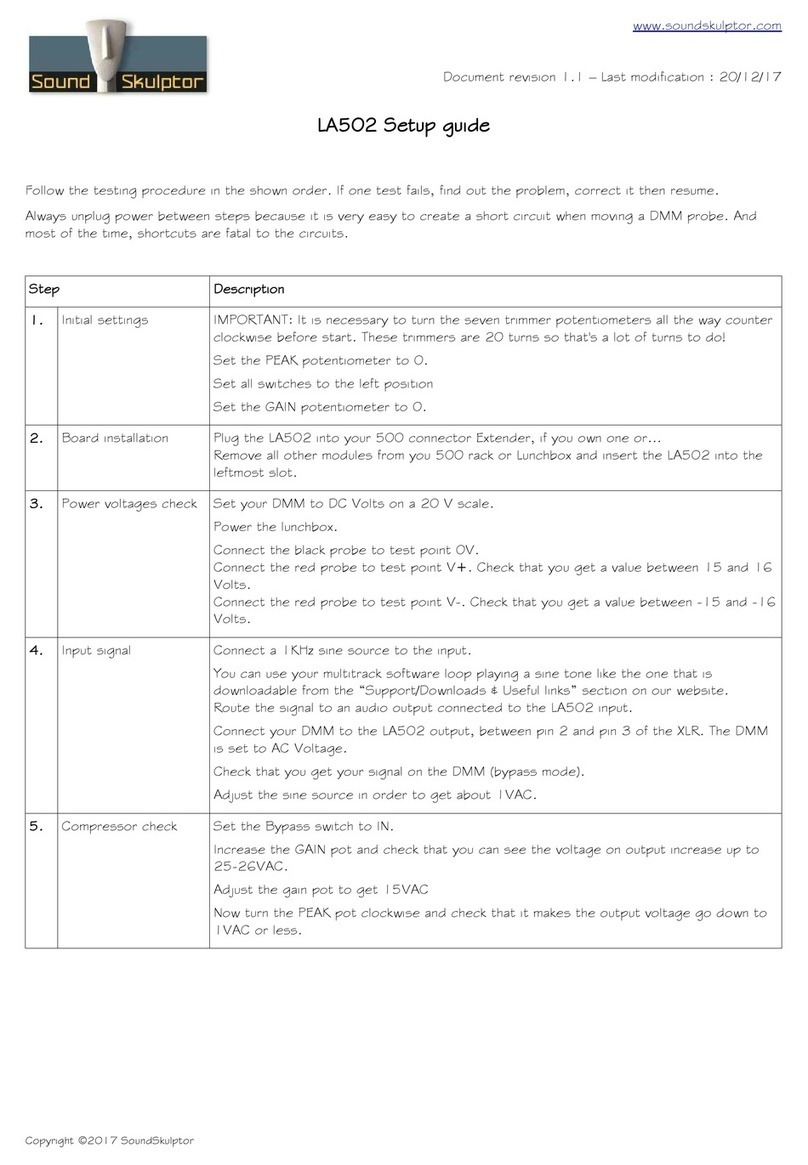
• LA502 Setup guide
Follow this guide from item num er 1 till the end, in this order. The assem ly order is ased on components height, from
low to high profile, in order to ease the soldering process : The component you are soldering is always taller than the
previously assem led ones and it is pressing nicely against the work area foam.
Soldering
All the PCB holes are metallized. It means the connection etween the top and ottom pads is already
done. The parts must e soldered only from elow (unless differently stated).
Use only small diameter solder, 0.5 or 0.7 mm, 1mm maximum. Use the minimum possi le amount of
solder. Bad joints are almost always caused y too much solder.
Cut the component leads and pins totally flush with the PCB after soldering. A too long tail could create
an electric connection with the side plate.
Here are two excellent introduction to soldering videos:
http://www.eev log.com/2011/06/19/eev log-180-soldering-tutorial-part-1-tools/
http://www.eev log.com/2011/07/02/eev log-183-soldering-tutorial-part-2/
LA502 Assem ly guide – Main PCB
1. Diodes
Add D2, D3, D4 then D1, D5 D6. Use a lead forming tool to end the leads at 0.4”.
Warning : Make sure to respect the direction of the diodes which is marked y a ring on the component
and a dou le line on the PCB marking.
Warning : When soldering components close to the golden fingers of the edge connector, e very
careful not to touch them with your soldering iron tip. It can e a good idea to protect them with
adhesive tape.
2. Resistors – (1)
The est method to select and install the resistors is the following:
1. pick a row of resistors in the resistors ag,
2. Measure one of the resistors with your DMM,
3. Look up the parts-list PDF for the closest value,
4. Check the color code and quantity for confirmation,
5. Use the search function on the Layout PDF page with the resistor value: All the corresponding
resistors are highlighted,
6. Insert and solder.
(You can use the same method later, for the capacitors)
Copyright ©2017 to Today SoundSkulptor

www.soundskulptor.com
Document revision 1.2 – Last modification : 17/07/20
LA502 Assem ly guide – Main PCB
3. Resistors - (2)
Add R1 to R39. R15 doesn't exist. Control the resistor values with a digital multimeter. Bend the leads
at 0.4” with a lead forming tool, except for R17 which is ent at 0.6”.
Warning : It is very important to check the resistors value with a DMM ecause the color code can e
am iguous. For example 1K ( rown- lack- lack- rown- rown) can e confused with 110R ( rown- rown-
lack- lack- rown).
4. IC Sockets
Insert and solder the six 8 pins sockets and two 14 pins sockets.
Warning : Make sure to respect the socket direction, marked y a notch.
5. Relay
Add RLY1.
Warning : Make sure to respect the direction of the relays which is marked y a white line on the
component and on the PCB marking.
Copyright ©2017 to Today SoundSkulptor

www.soundskulptor.com
Document revision 1.2 – Last modification : 17/07/20
LA502 Assem ly guide – Main PCB
6. Ceramic capacitors
Add C4,
Add C14.
Add C1, C2.
Add C7...C12, C19...C22, C25, C26.
Add C6.
7. Test pins
Solder the 6 test pins TP1 to TP3, V+, V- and 0V.
The pins are inserted squared shortest end first. They require some pressure to fit. Cut short on the
solder side after soldering.
8. Film capacitors
Add C16, C17, C18.
9. Transistors and regulators
Add Q1, U7 and U10.
Warning : Watch out the devices direction.
Copyright ©2017 to Today SoundSkulptor

www.soundskulptor.com
Document revision 1.2 – Last modification : 17/07/20
LA502 Assem ly guide – Main PCB
10. Connector
Add CN1a. Solder one pin, check verticality then solder the other pins.
11. Opto-coupler
Bend the 2 wires that are widely spaced against the front.
The correct direction is given y the eveled side on the
left.
Insert, long lead into + hole and solder.
12. Trimmer potentiometers
Add P3 and P4 to P9. P3 is a different value from the others. Solder one pin, check verticality then
solder the other pins.
13. Non polarized electrolytic capacitors
Add C15, C3, C13.
These caps are not polarized and can e inserted in any direction.
14. Polarized electrolytic capacitors
Add C23, C24.
Warning : The +lead must go into the +hole. Do not reverse (they may explode !)
15. Switches
Add SW1 to SW4. The position of the switches is critical for a good front-plate matching. They must sit
flat on the PCB. Press firmly the switch on the PCB and solder one of the front pins (housing). Check
verticality and horizontality. Then solder the other pins.
16. Input transformer
Insert and solder the input transformer.
17. Potentiometers P1 & P2
Place the racket on the potentiometer ushing, and attach it with the lock washer and nut. Tighten.
Insert potentiometer and racket into the PCB holes. Solder the central potentiometer pin. Now check
that the potentiometer shaft is perfectly parallel to the oard.
Warning : Do not only rely on the racket eing flat on the PCB, it sometimes need little visually made
adjustments to get a perfect position.
18. Output transformer
Insert and solder the output transformer.
19. IC's
Insert U1 to U6, U8 and U9 into their sockets. It is necessary to end the pins slightly inward efore
inserting.
Warning : Make sure to insert the IC's in the correct direction which is identified y a notch.
Copyright ©2017 to Today SoundSkulptor

www.soundskulptor.com
Document revision 1.2 – Last modification : 17/07/20
LA502 Assem ly guide – Main PCB
20. Visual check
Brush the solder side with a hard tooth rush to remove any remaining solder its.
Make a full visual check. Any missing component on the oard ? Any remaining component in the ox ?
When everything looks correct, proceed with the meter PCB assem ly.
LA502 Assem ly guide – Meter
21. Meter PCB
Break the meter PCB from the cover PCB. There are actually two ut only one is needed.
Smooth out the cut with very fine sand paper.
22. 10 pins connector
Solder CN1 , the 10 pins connector
on the ack side
of the PCB. That is the side without any writing.
Solder one pin first, check verticality, then solder the other pins.
Warning : the connector pins must e exactly perpendicular to the PCB to allow proper insertion into the
LA502 oard.
Copyright ©2017 to Today SoundSkulptor

www.soundskulptor.com
Document revision 1.2 – Last modification : 17/07/20
LA502 Assem ly guide – Meter
23. Chassis
It is now necessary to assem le the chassis and main PCB to
make a guide for soldering the LED's.
Attach the side plate to the front panel with two M3x6mm
lack screws.
24. LED's (1)
Place the main PCB on the side plate and attach it
temporarily with two M3x25mm spacers.
Insert the LED PCB connector into the socket on the main
PCB.
Place the first LED in its hole, longest lead a ove PCB,
shortest lead elow. Push the LED forward as far as
possi le against the front panel and solder the top lead.
Repeat the process for all six LED's.
25. LED's (2)
When done, remove the chassis
from the main PCB y unscrewing
the two 25mm spacers, unplug the
LED's PCB and solder the short
lead of the LED's on the ottom
side of the LED's PCB.
LA502 Assem ly guide – Final assem ly
26. Chassis & PCB
Re-plug the LED's PCB and put the main PCB in place on the chassis.
Attach with four M3x25mm spacers and four lock washers.
27. Kno s
Attach the 2 kno s to the 2 potentiometers.
Copyright ©2017 to Today SoundSkulptor

www.soundskulptor.com
Document revision 1.2 – Last modification : 17/07/20
LA502 Assem ly guide – Final assem ly
28. Test and setup
It is time for test and setup. Follow instructions on LA502-setup-guide.pdf.
29. Closing
Attach the cover PCB with four M3x6 countersunk screws.
30. Congratulations !
You're done !
Copyright ©2017 to Today SoundSkulptor
Table of contents
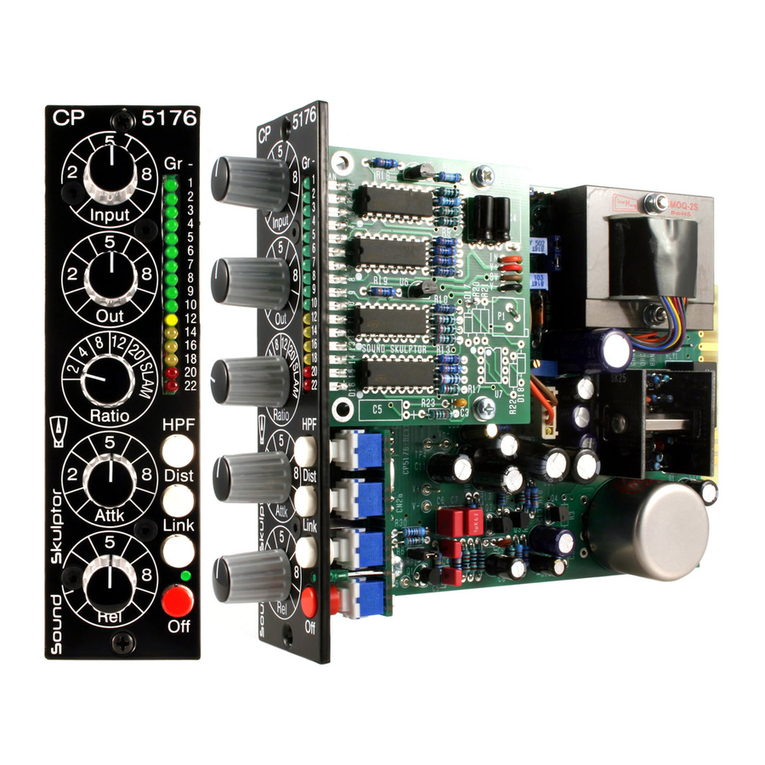
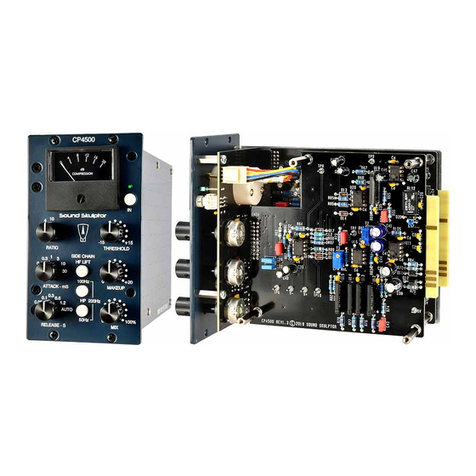
Other Sound Skulptor Compressor manuals
Popular Compressor manuals by other brands
CAMPAGNOLA
CAMPAGNOLA MC 360 quick guide

Harbor Freight Tools
Harbor Freight Tools Pittsburgh Automotive 43753 user manual

Scheppach
Scheppach HC 53dc Operating and safety instructions
Sirus
Sirus DualCom 52 manual

ALDI
ALDI WorkZone WZK 183 user manual

Scheppach
Scheppach HC25o Translation of original instruction manual

EINHELL
EINHELL PRESSITO 40.204.60 Original operating instructions
Emerson
Emerson XM670K 50 quick start guide
Coltri Compressors
Coltri Compressors TROPICAL MARK1 MCH-13/ET Use and maintenance manual
Atlas Copco
Atlas Copco GA18 Instruction book

Ingersoll-Rand
Ingersoll-Rand 720 Operation and maintenance manual

Cartrend
Cartrend 10728 Instructions for use
