SPACE AGE ELECTRONICS SC3D User manual

SOLAR CONTROLLER
MODEL: SC3D
The SC3D is a micro processor based solar controller used to heat your pool/spa from your solar
collector. The controller does this by sensing the temperature on the roof and the temperature of
the pool. If the roof temperature rises 7oabove the pool temperature and the pool temperature is
below the set point then the controller will switch power to the solar pump which in turn will cycle
the pool water through the collector to heat the water and then return it to the pool. If the pool
temperature rises to the set point or the roof temperature falls to within 2oof the pool water the
controller will switch power off to the solar pump.
Features:
•Sample and Hold Temperature Display
•Simple one touch control buttons
•Pool, set point and roof temperature display
•Winter mode
•Manual mode
•Heating and Heating/Cooling Mode
•Temperature sensor error indication
Operation:
For normal operation the controller should in AUTO mode (indicated by green light).
To test pump press the MODE button once (manual is indicated by light).
To change desired pool temperature press the SELECT button once. The set (yellow) light
should be on and the display will indicate the set point, The UP/DOWN buttons may now be
pressed to change the set point. The display will revert back to the pool temperature about 8
seconds after the last button was pressed.
To display roof temperature press the SELECT button twice. The roof (red) light should be on
and the display will indicate the roof temperature. The display will revert back to the pool
temperature about 8 seconds after the last button was pressed.
To activate winter mode press the MODE button twice if in AUTO or once if in MANUAL
(indicated by red light). In this mode the pump will turn on for approx. 10 minutes every day at the
time the winter mode was activated. If there is a power failure this will reset the 24 hour timer so
the pump will come on at the time the power is restored.
Minimum Roof setting (sampling):To prevent the unit from sampling at night an
adjustable setting has been provided. The roof temperature needs to be above this value for the
unit to sample. To adjust this value:
1. Press the SELECT button until the roof temperature is displayed
2. Press the UP/DOWN once to see the value
3. Press or hold UP/DOWN to change value
4. Press SELECT again or wait 3 seconds to exit this setting
NOTE: If during the summer period you find the unit running late or early, increasing this value
will prevent the unit from sampling at these times. The default value is 20º C.
Heating and Cooling:To provide cooling ability for those living in tropical areas, a cooling mode
has been provided. To change the controller from heating only to heating and cooling:
1. Press the SELECT button until the roof temperature is displayed
2. Hold the SELECT button for 5 seconds until a flashing “H “ or “HC” is displayed
3. “H “ = Heating only. “HC” = heating and cooling.
4. Use the UP/DOWN to change value
5. Press SELECT to exit
NOTE: With cooling mode activated, the unit will operate at night and the minimum roof setting is no
longer available.
Calibration:To adjust the displayed temperature:
1. While displaying the pool temperature hold the SELECT for 5 seconds
2. The display will flash the current temperature.
3. Use the UP/DOWN to adjust the value
4. Press the SELECT t button to exit the setting
NOTE: The adjustment will not exceed +/-3 degrees
Temperature sensor error indication:
If one of the sensor leads is damaged or the sensor is faulty, the appropriate light will flash to indicate
there is a fault.
POOL sensor fault Pool light (green) will flash.
ROOF sensor fault Roof light (red) will flash.
The display will flash (If selected):
“OC” = Open circuit (Broken wire)
“SC” = Short Circuit
Mounting Instructions
The control unit should be mounted on a wall or other vertical surface taking care to protect it from rain
and direct sunlight.
Specifications:
INPUT: 230/240V 10A 50Hz
MAX TOTAL LOAD: 10A
IP23

WARRANTY
All products manufactured by Space Age Electronics are warranted against defects in
materials and workmanship for a period of one year from the date of original
purchase. Space Age Electronics will repair or replace, at its option, any product
returned to us by the Purchaser during the warranty period without charge provided
that: (a) Space Age Electronics is promptly notified upon discovery of the defect by
the Purchaser, (b) the defective product is returned to Space Age Electronics,
P.O.Box 4382, Homebush South, New South Wales, 2140, with all shipping,
forwarding charges, duties insurance and taxes prepaid by the Purchaser, (c)
examination of such product by Space Age Electronics discloses that such defects
have not been caused by misuse, neglect, alteration, or repair, and (d) the Purchaser
provides proof of original purchase date. Space Age Electronics reserves the right to
discontinue particular models without notice and to make modification in design at
any time without incurring obligations to make such modifications to units previously
delivered.
The warranty set forth above is the exclusive express warranty.
ALL IMPLIED WARRANTIES OF MERCHANTABILITY OR FITNESS FOR USE ARE LIMITED IN
DURATION TO ONE YEAR FROM THE DATE OF ORIGINAL PURCHASE. SPACE AGE
ELECTRONICS SHALL NOT BE LIABLE FOR ANCILLARY, INCIDENTAL, CONSEQUENTIAL
OR SPECIAL DAMAGES OF ANY NATURE, INCLUDING, BUT NOT LIMITED TO LOSS OF
REVENUES OR PROFIT RESULTING FROM THE USE OF THIS PRODUCT OR FROM ANY
BREACH OF ANY WARRANTY APPLICABLE TO THIS PRODUCT.
SOLAR CONTROLLER
MODEL: SC3D
MADE IN AUSTRALIA BY SPACE AGE ELECTRONICS
PHONE: (03) 5629-5833 FAX: (03) 5629-5855
ABN 25 006 374 572
Distributor:
Popular Controllers manuals by other brands
ECUE
ECUE Lighting Control Engine 2 Setup manual
Worcester
Worcester FW 100 User quick reference guide
PLC Buildings
PLC Buildings Bantam Software Management Guide
Eaton
Eaton A201 Instruction leaflet
Honeywell
Honeywell Experion PKS Specifications and Technical Data
Sime
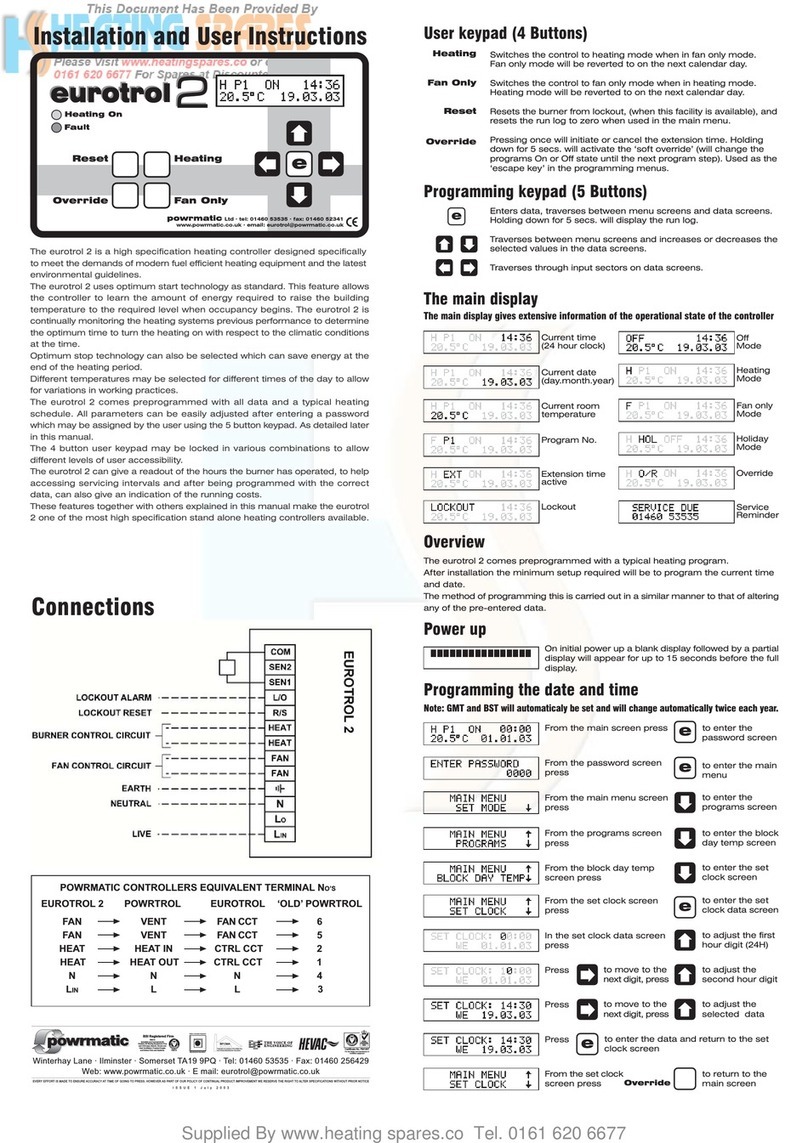
Sime Eurotrol 2 Installation and user instructions
