Sparked Innovations FANNIE User manual
FANNIE
User Manual Fannie v1.0
Patent Pending
User Manual
English

INTRODUCTION
WARNING
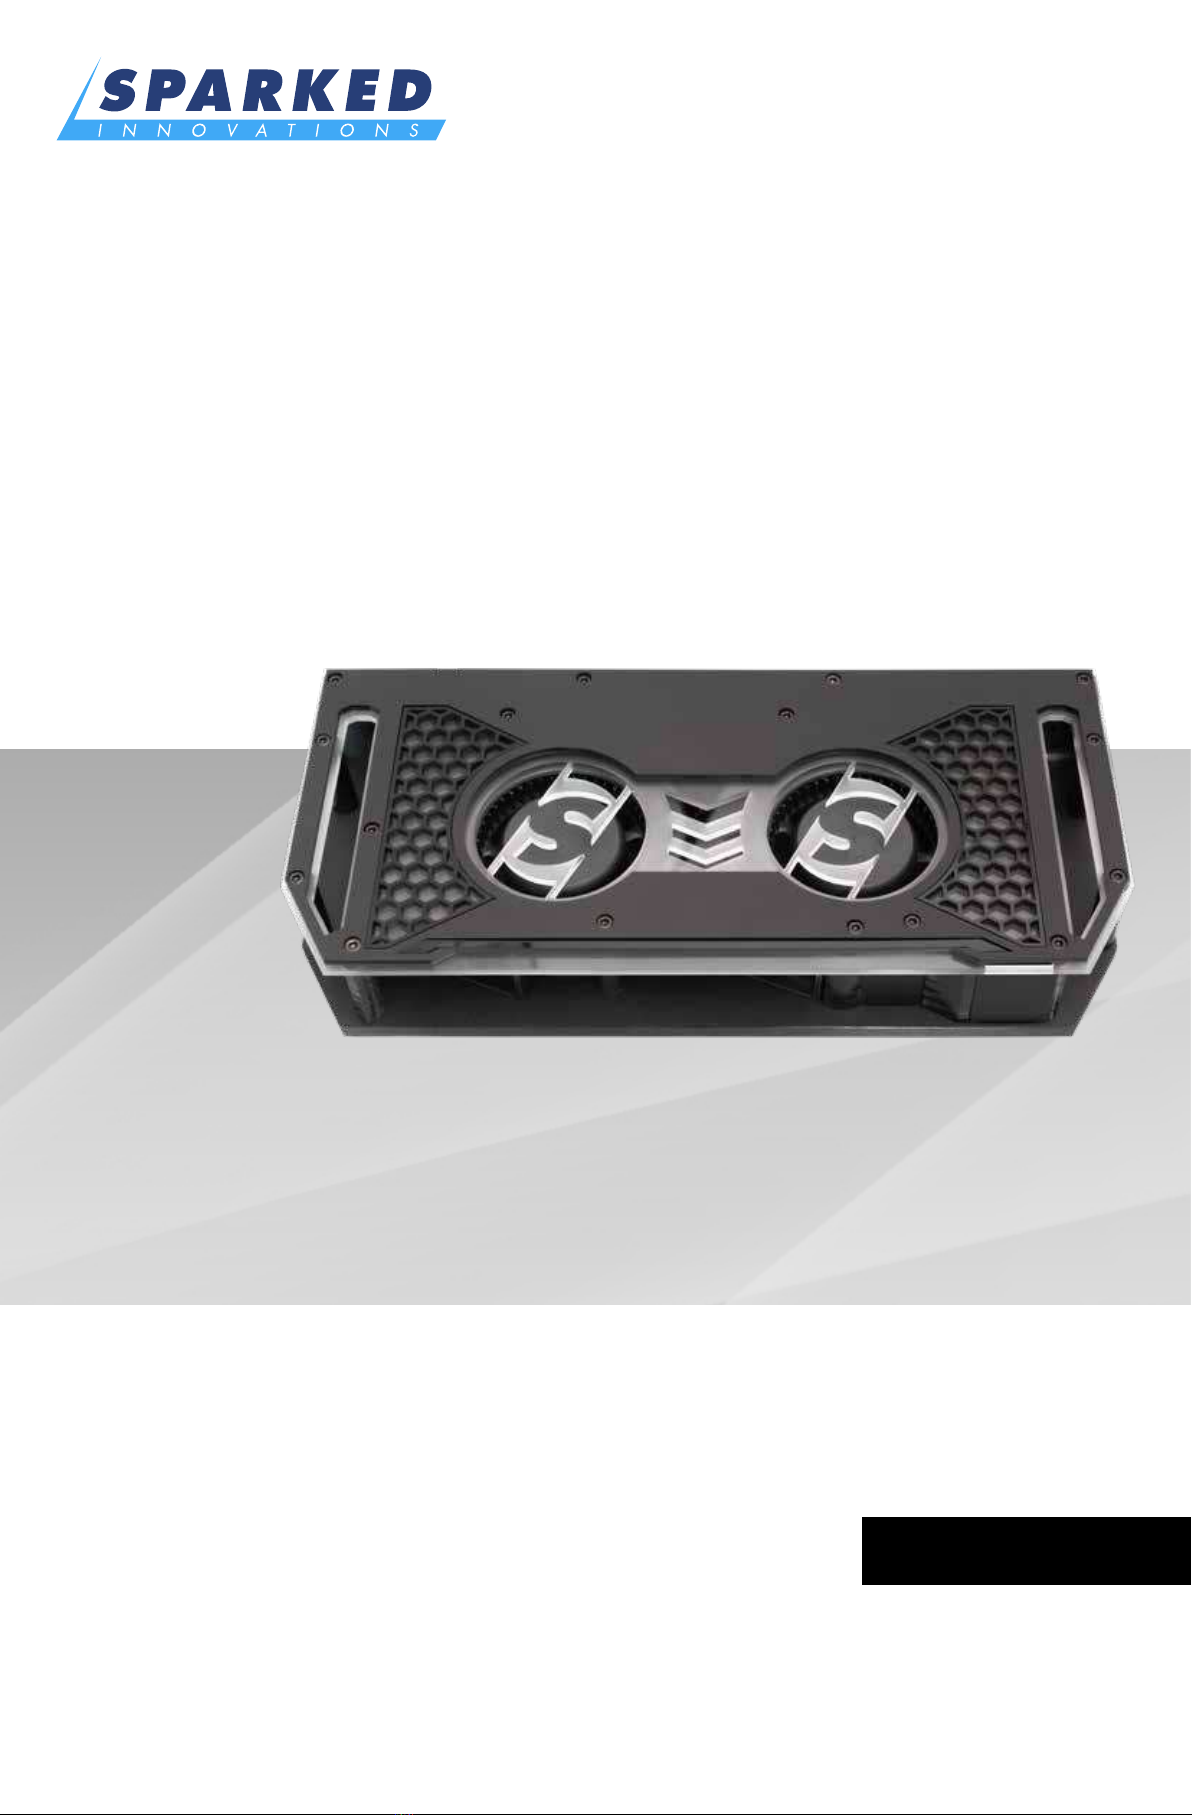
Fannie is the first 12V cooling fan specifically designed
to cool car audio amplifiers. The low profile form factor
and wide airflow cross-section allows for a flat channel
of air to flow across amplifier heat sinks. Fannie offers
simple positive and negative input power and can
handle up to 18VDC.
2
Sparked Innovations recommends that you have a qualied 12-volt
technician or specialist install your Fannie. Any deviation from these
installation guidelines could cause damage to oneself, your Fannie,
vehicle, or accessories. Damage caused due to improper installation
is not covered under warranty. Fannie is not waterproof; as a result,
Sparked Innovations does not recommend underhood or exterior
mounting. Externally mounting the unit may cause a person to suer
ridicule from friends and risks the possibility of becoming an internet
meme.

1. Disconnect the vehicle’s Negative (-) Battery Terminal from the Negative (-) Battery Post to
reduce the risk of sparks ying
2. Choose an interior mounting location for your Fannie
3. Check and double check what’s behind your mounting surface before drilling to avoid
screwing into wires or fuel tanks
4. Mount and secure your Fannie housing using four M4 or #8 screws
5. Select an appropriate gauge power wire to run from the Positive (+) Battery Post to your
Fannie. Minimum recommended wire gauge is 18 AWG (for runs up to 20ft)
6. Connect the Positive (+) Power Wire to the Positive (+) Battery Post
7. Install an Inline Fuse Holder on the Positive (+) Power Wire within 18 inches of the Positive
(+) Battery Post (leave the fuse out of the fuse holder until the installation is complete)
8. Connect the Ignition Wire to the Ignition terminal on your Fannie
9. Run the Positive (+) Power Wire from the Inline Fuse Holder to your Fannie
If running the Power Wire through the rewall or interior body panels of a vehicle,
be sure to use an appropriately sized grommet
10.Connect the Positive (+) Power Wire to the red wire of your Fannie
11.Find a clean Negative (-) Grounding Location to ground the Negative (-) Power Wire
We recommend grounding directly to the Negative (-) Battery Post, vehicle’s metal
body, or a bare metal spot on the chassis. The Negative (-) Power Wire length
should be as short as possible. Minimum recommended wire gauge is 18 AWG for
runs up to 20ft
12.Connect the Negative (-) Power Wire to the chosen Negative (-) Grounding Location
13.Run the Negative (-) Power Wire from the Negative (-) Grounding Location to your Fannie
14.Connect the Negative (-) Power Wire to the black wire of your Fannie
If running your Fannie on a switch, make sure the switch is rated at 5A or above.
Otherwise, run it to a relay that is rated at at least 5A. We recommend the use of a
Sparked Innovations RBX-4CH relay box for easy switching.
15.Double check all wiring and ensure your Fannie is secure.
16.Install an appropriately sized fuse into the Inline Fuse Holder on the Positive (+) Power
Wire near the Positive (+) Battery Post. Sparked Innovations recommends a 60~75A fuse.
17.Activate your Fannie . The LEDs will illuminate and the fans will start spinning!
INSTALLATION GUIDE
3
Running Power Wire

4
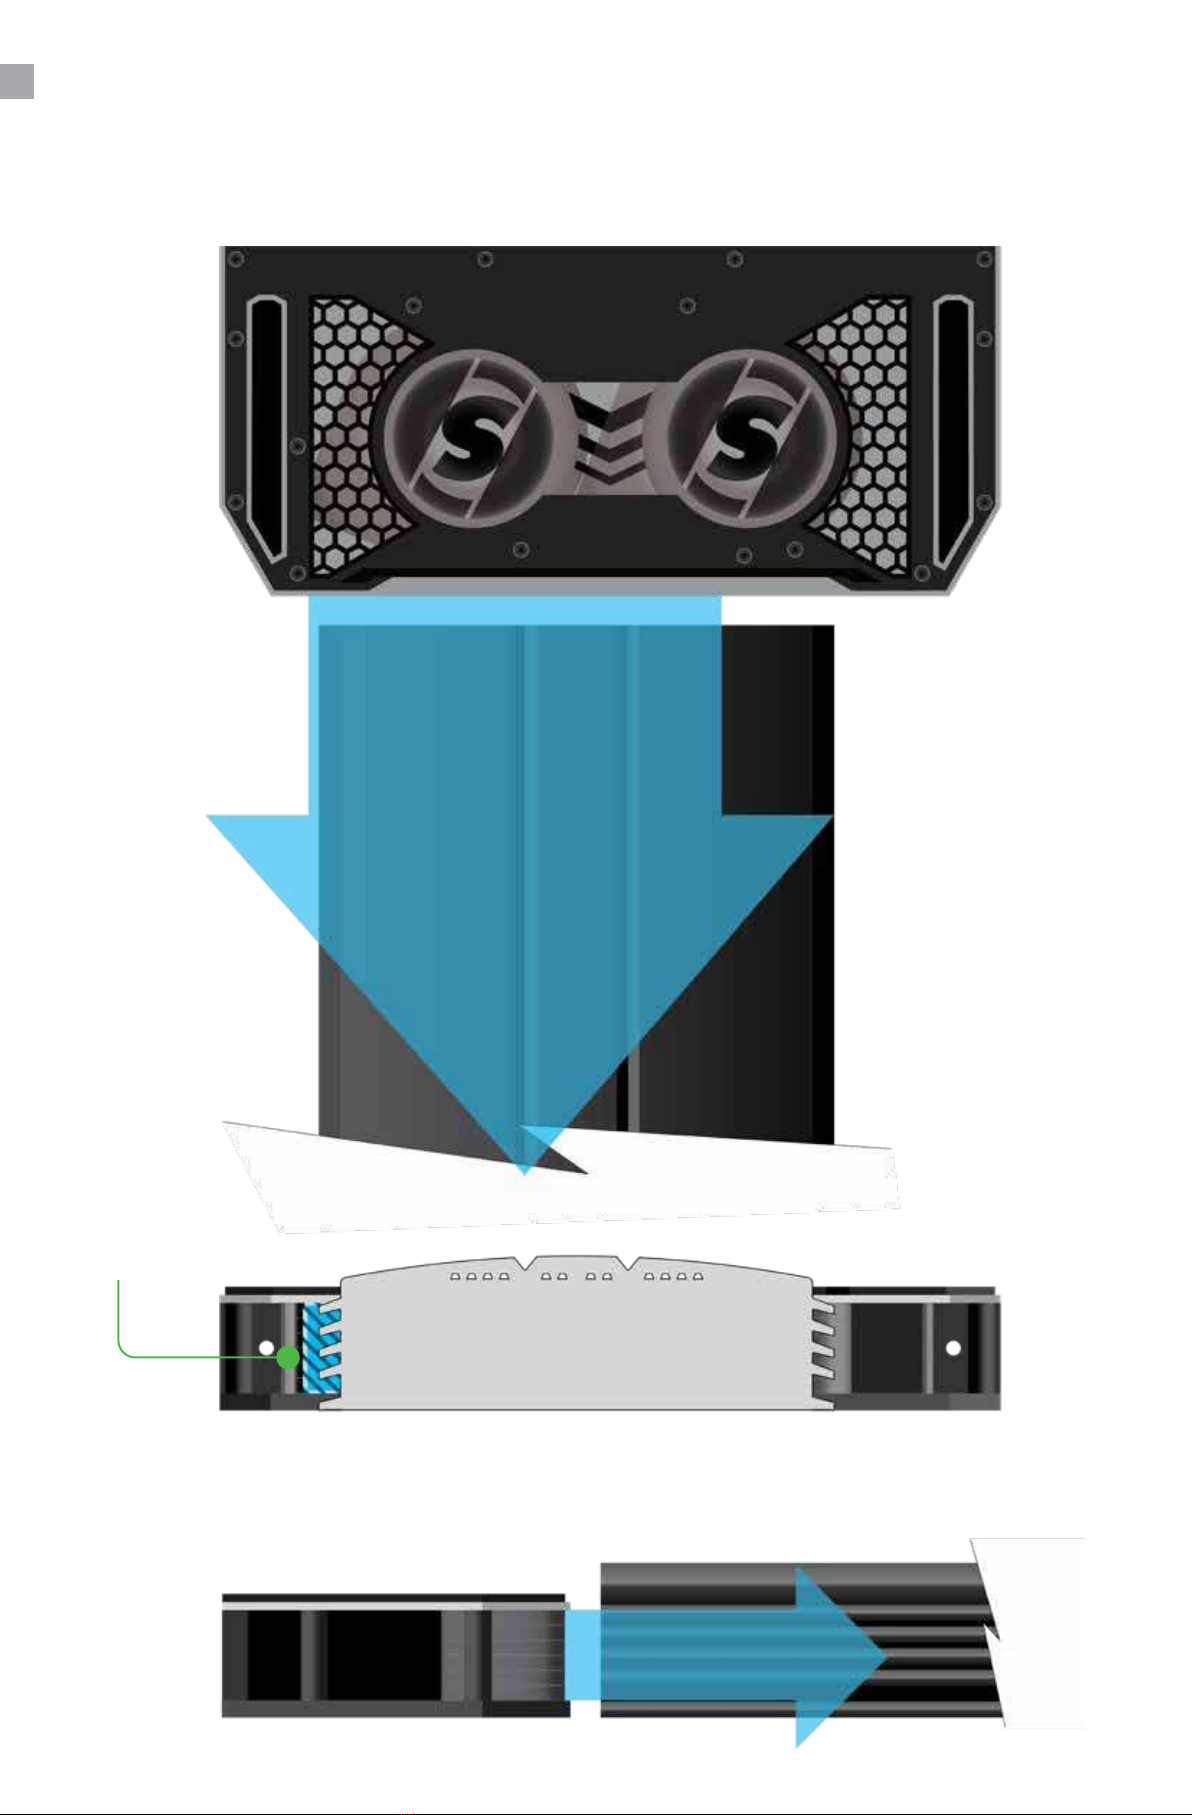
EXAMPLE SETUPS
1. Tall amplier with top and side heat sinks (e.g. Sundown SALT amps)
a. Fannnie will not be tall enough to reach the top heat sinks, therefore, utilize the
fastest air current to send air rushing down the length of the side heat sink.
The highest velocity air current
comes from Fannie’s far side. Be
sure to oset Fannie so the air blows
along the amp’s side heat sink.

5
b. Using optional stando brackets, Fannie can be raised to a desired height and send
air both alongside and across the top of the amplier’s heat sinks. This increases the
surface area that the air current is cooling, providing a more ecient exodus of hot air.
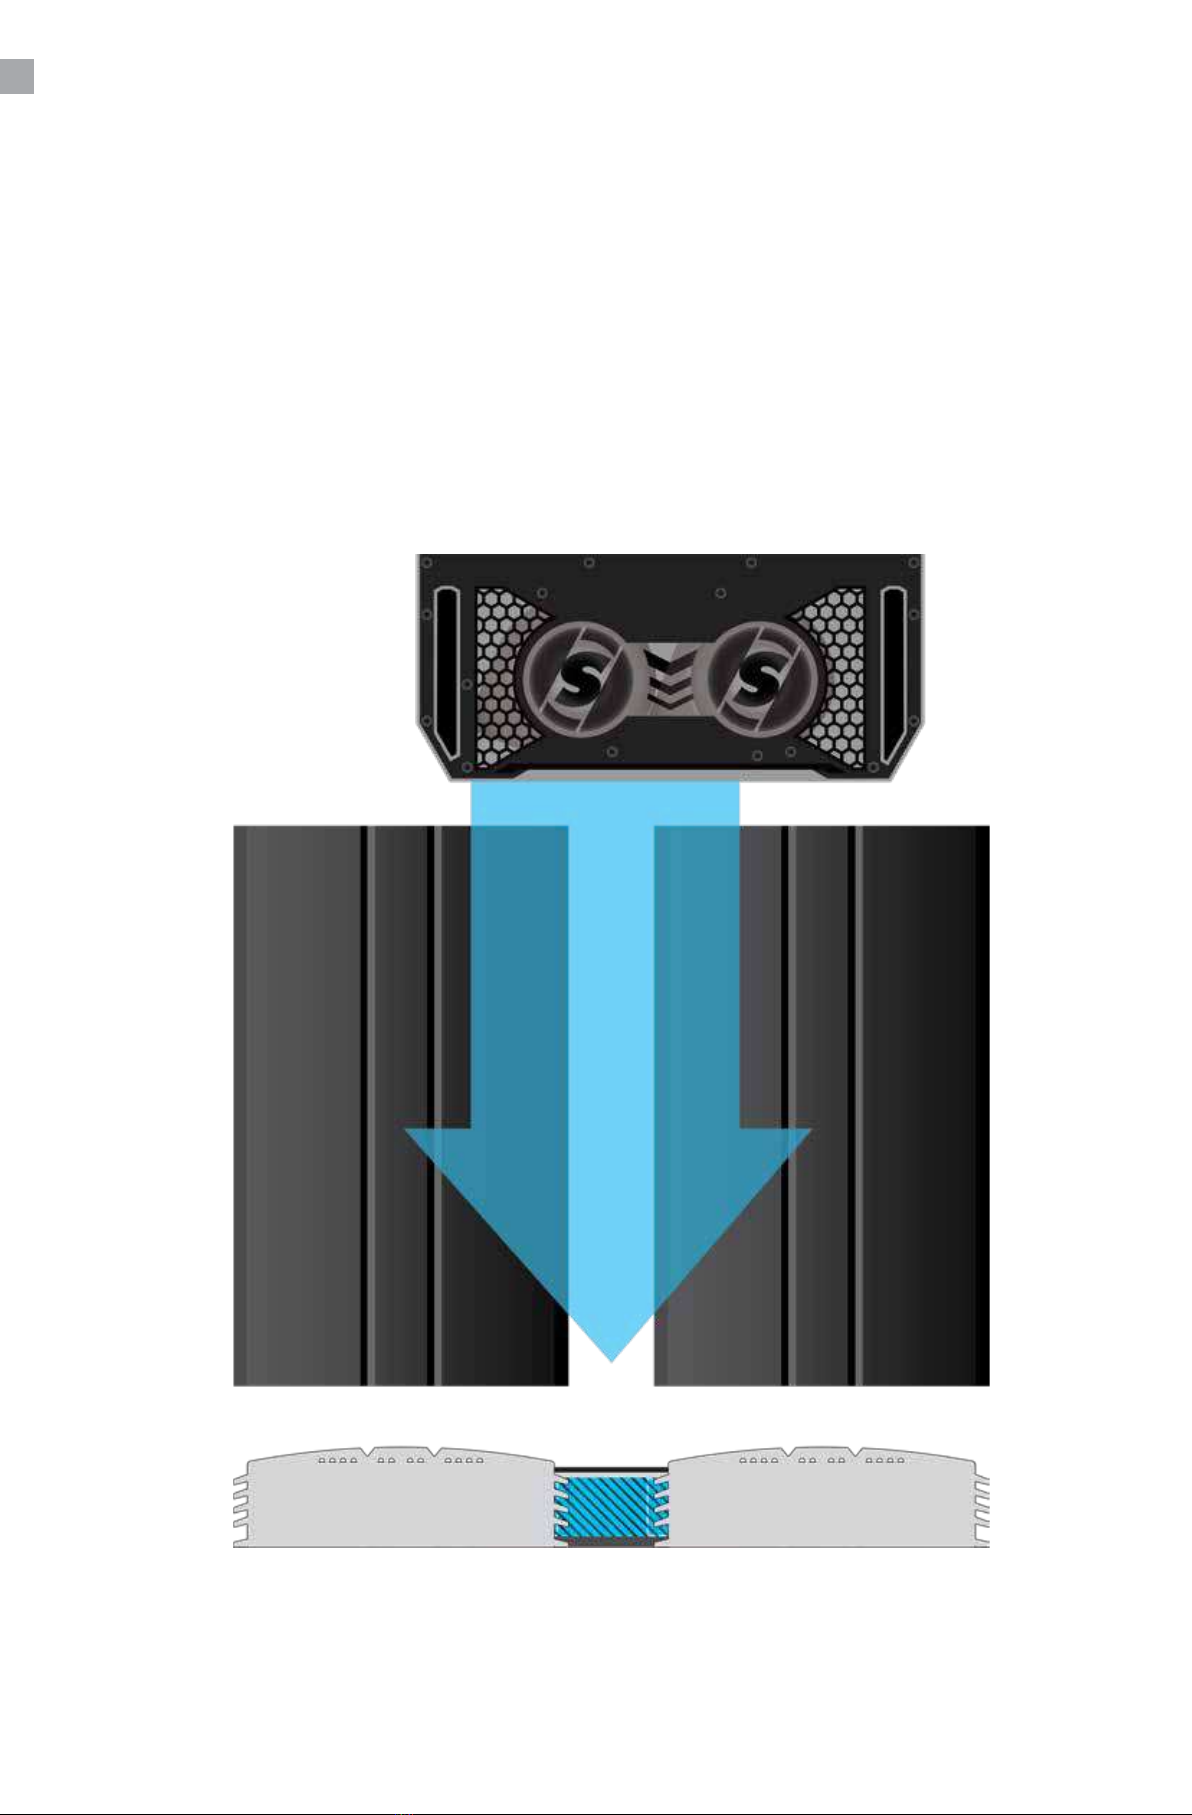
2. Low prole amp w/mainly side heat sinks (e.g. Incriminator I Series)
a. Utilize the fastest air current to send air rushing down the side heat sink.
The highest velocity air current
comes from Fannie’s far side. Be
sure to oset Fannie so the air blows
along the amp’s side heat sink.
6

7
b. Using optional stando brackets, Fannie can be raised to a desired height and send air
both alongside the heat sinks and across the top of the amplier. This increases the
surface area that the air current is cooling, providing a more ecient exodus of hot air.
88
3. Cooling two ampliers with one Fannie
a. Place your Fannie’s channel of air directly between both amliers. Be sure to
oset your Fannie from the centerline between the two amps since the air current
is not centered.

9
b. When grouping together two Fannies to cool two adjacent ampliers, place your
Fannies’ air channels so that they both ow down the outer side of each amplier.
Remember that your Fannie’s air current is not centered with the housing, so you will
have to oset it from the amplier’s centerline.

10
1-Year Limited Warranty
Sparked Innovations warranties this product to be free from
defects in material or workmanship for one (1) year following
the date of purchase, provided that the product is used in the
proper environment. This limited warranty does not cover
failures due to abuse, accidental damage, or when repairs
have been made or attempted by anyone other than Sparked
Innovations. A defective product meeting the warranty
conditions set forth herein will be replaced or repaired at the
discretion of Sparked Innovations.
Warranty service can be obtained in two (2) ways. Firstly,
the item can be returned to the dealer from which it was
originally purchased, within their designated time period
as stated in their return policies, for either replacement or
repair service. Secondly, the item can be shipped to Sparked
Innovations under warranty claim once a return authorization
is granted. To obtain a return authorization, simply email
warranty service.
This warranty does not apply to accessories. This product
is not intended for commercial use, and accordingly, such
commercial use of this product will void this warranty.
All other guarantees, expressed or implied, are hereby
disclaimed.

11
SPECIFICATIONS
Technical Data
Features
●Self-contained amplier cooling fan unit
●Two mounting orientations
●Decorative illumination
●Designed, engineered, and handcrafted in the U.S.A.
●High quality PCB circuit integration
●Low prole design
●Wide airow cross-section optimized for amplier cooling
Dimensions 11.44”L x 5.13”W x 1.81”H
Operation voltage 9 ~ 18V DC
Current draw @ 12.6VDC 1.92A
Current draw @ 14.4VDC 2.25A
Power and ground input wire 18 AWG
Weight 2.04 lbs.

151 Discovery Drive, STE 115, Colmar, PA 18915
https://sparkedinnovations.com
© Sparked Innovations, LLC 2020
Table of contents


