4AFTER SALES SUPPORT 0345 605 2067of 25 V1.5 05/21
Please read these instructions fully before operating or maintaining your machine
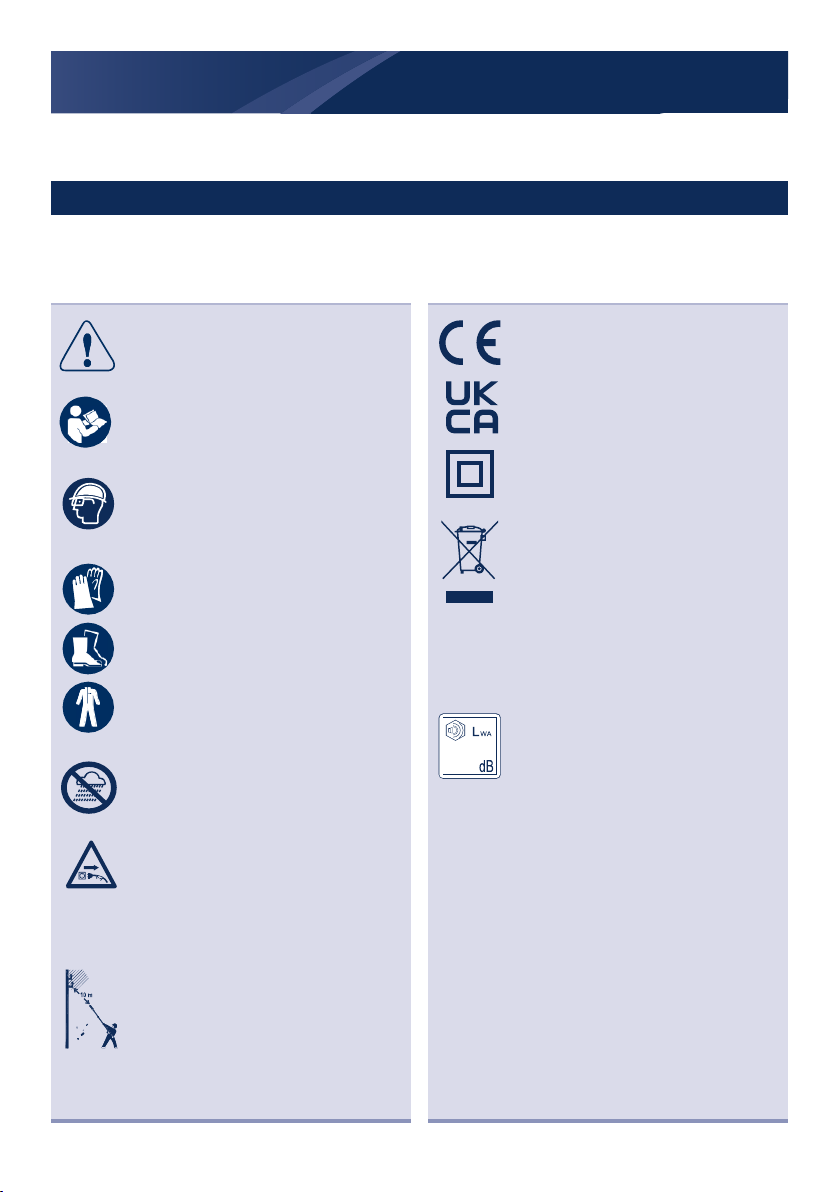
SAFETY INFORMATION
Some of the following symbols may be marked on your product. Be sure to study them and
learn their meaning. Proper interpretation of these symbols will allow you to use the machine
more effectively and reduce the risk of accident.
Conforms to relevant EU regulatory
requirements.
Conforms to relevant UK regulatory
requirements
This product is double insulated
electrically.
WEEE symbol. Tools that are
no longer usable should not be
disposed of with household waste
but in an environmentally friendly
way.
Please recycle where facilities
exist. Check with your local council
authority for recycling advice.
Guaranteed sound power level
(tested according to Directive
2000/14/EC as amended by
2005/88/EC).
Indicates danger, warning or caution.
WARNING – To reduce the risk of
injury, user must read instruction
manual.
Wear ear protection, eye protection
and helmet when using the product.
Wear gloves and safety boots
to protect against electric shock
Clothing must be sturdy and snug-
fitting, but allow complete freedom
of movement.
Protect the machine from the damp
and never expose it to rain.
Remove plug from mains before
cleaning or maintenance.
SWITCH OFF: Remove plug from
the mains immediately if the cable is
damaged or cut.
Maintain a minimum clearance of
10 m from current-carrying lines.
Life-threatening danger from electric
shock.
DESCRIPTION OF SYMBOLS
101