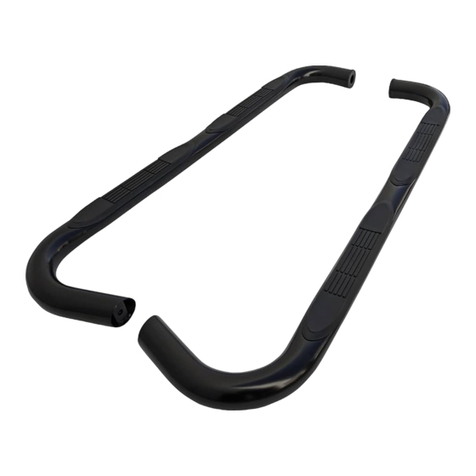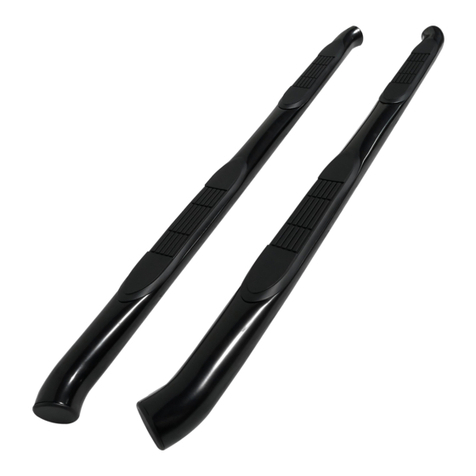
3” SIDE BAR
08-12 JEEP LIBERTY
Page 1 of 4 2/27/14 (DP) Rev B
PARTS LIST:
10-1.50mm x 25mm Bolt Plates
10mm x 27mm OD x 3mm Flat Washers
Driver/Left Front Mounting Bracket
Passenger/Right Front Mounting Bracket
8-1.25mm x 35mm Long Hex Bolts
Driver/Left Rear Mounting Bracket
8-1.25mm x 25mm Short Hex Bolts
Passenger/Right Rear Mounting Bracket
8mm x 24mm OD x 2mm Flat Washers
Fit Adjustment Spacers (127 x 25 x 3mm)
PROCEDURE:
1. REMOVE CONTENTS FROM BOX. VERIFY ALL PARTS ARE PRESENT. READ INSTRUCTIONS
CAREFULLY BEFORE STARTING INSTALLATION.
2. Start installation at the front, passenger side of the vehicle. Insert (1) 10mm x 25mm Bolt Plate into the
rectangular hole and out the round hole in the bottom of the side panel, (Figures 1A & 1B).
3. Hold the shorter passenger side front Bracket in place on the outside of the pinch weld and over the
Bolt Plate, (Figure 2A). Attach the Mounting Bracket to the Bolt Plate with the included (1) 10mm Flat
Washer and (1) 10mm Nylon Lock Nut, (Figure 2B). Leave loose at this time. NOTE: Make sure that
the mounting tab on the Bracket is on the outside of the pinch weld. IMPORTANT: The front Brackets
are only 1/2” shorter than the rear Brackets, (Figures 2A & 3A). Use the instructions to correctly
identify the Brackets.
4. Line up the (2) holes in the Bracket with the factory holes in the pinch weld. Attach the Bracket to the
pinch weld using the included longer (2) 8mm x 35mm Hex Bolts, (4) 8mm Flat Washers and (2) 8mm
Nylon Lock Nuts, (Figure 2B). Do not tighten at this time.
5. Repeat Steps 2—4 to install the longer passenger side rear Bracket, (Figures 3A & 3B). IMPORTANT:
front Mounting Brackets are 1/2” shorter than the rear Brackets.
6. Repeat Steps 2—5 for front and rear driver sidebar Bracket installation, (Figures 4A, 4B, 5A & 5B).
Driver/Left Front
(short) Bracket
Driver/Left Rear
(long) Bracket
Passenger/Right
Rear (long) Bracket
Passenger/Right
Front (short) Bracket
