Speechi SPE-400W-I-P User manual

INTERACTIVE FUNCTION MANUAL
Interactive solutions

2
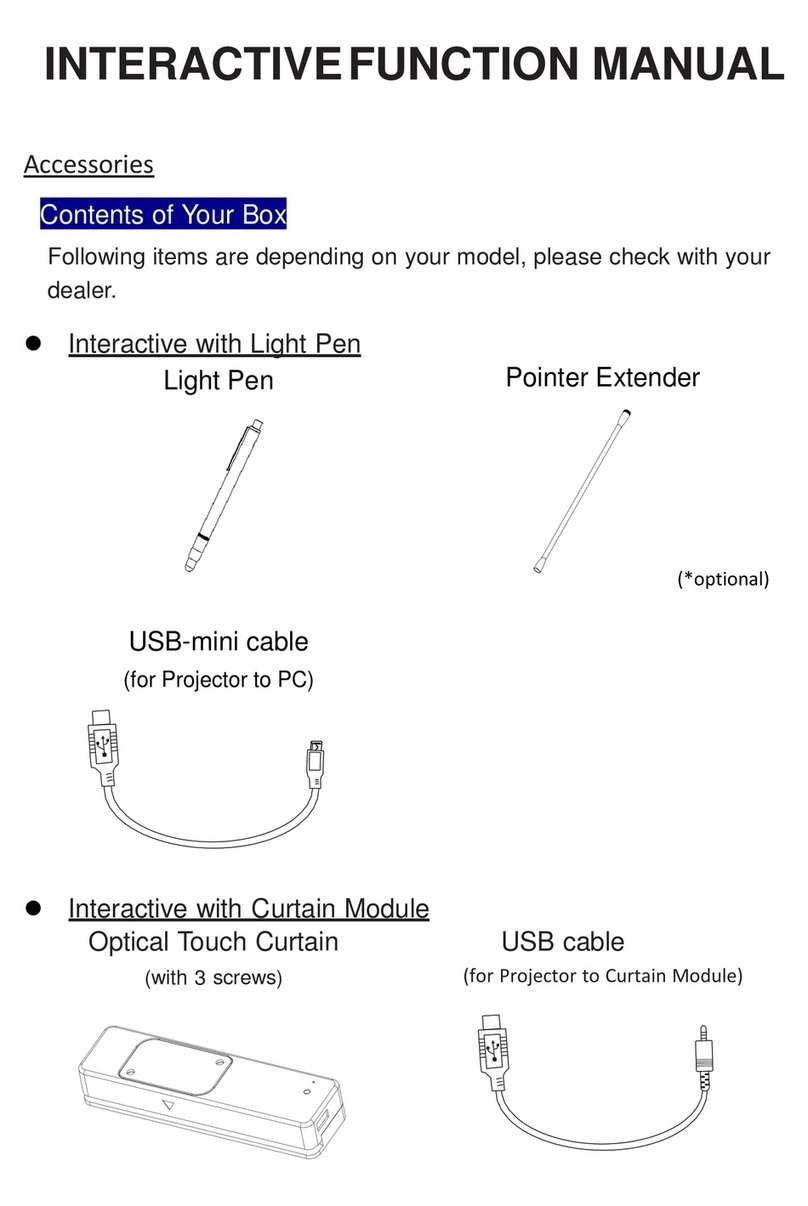
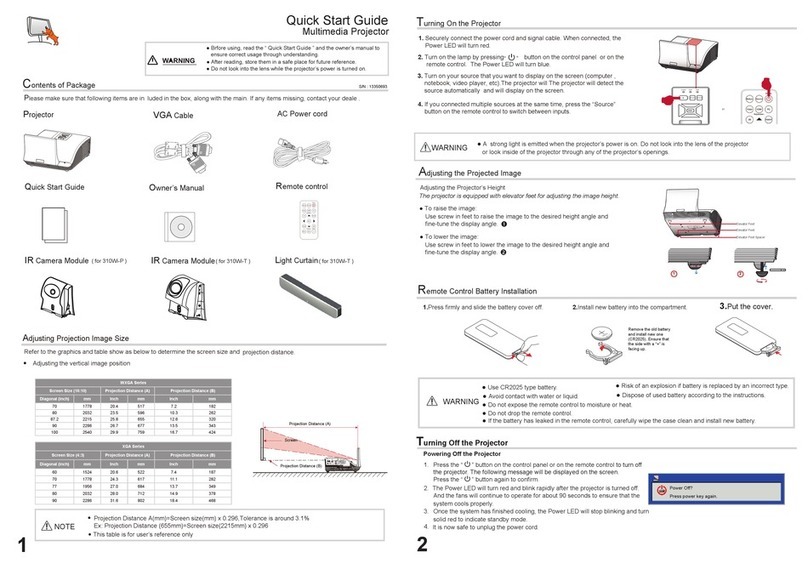
Please make sure that following items are included in the Accessory Bag. If
any items are missing, contact your dealer.
1. Light Pen 2. Batteries (AAA)
Contents of the Accessory
Contents of the Accessory....................................................................................................2
System Requirements-Windows..........................................................................................3
System Requirements-Mac..................................................................................................4
Accessories Introduction..................................................................................................... 5
Operation Guide for Windows & Mac.................................................................................6
Operation Guide for Windows OS _LightPen-Dual...........................................................12
Operation Guide for Mac OS _LightPen3..........................................................................23
Troubleshooting...................................................................................................................27

3
To ensure the interactive function work properly, please check your
computer system to see if it meets the following conditions.
TouchCalibration
System Requirements
OS Required Microsoft Windows XP (SP3)/Windows
7 (32bit/64bit)/Windows 8/ Windows 8.1
(. NET Framework 4.0 must be installed)
Processor Type Intel® Core™ i3 or above
RAM 2GB above
LightPen-Dual
System Requirements
OS Required Microsoft Windows XP(SP2)(32bit) /
Vista (32bit)/Windows 7 (32bit/64bit)
Processor Type Intel® Core™2 Duo 2.0GHz or above
(dedicated GPU is recommended)
RAM 2GB above
Interactive function is provided by "LightPen-Dual" software.
System Requirements-Windows

4
To ensure the interactive function work properly, please check your
computer system to see if it meets the following conditions.
TouchCalibration
System Requirements
OS Required Mac OS X v10.5 above
Processor Type Intel® Core™ i3 or above
RAM 2GB above
LightPen3
System Requirements
OS Required Mac OS X v10.5 above
Processor Type Intel processeor
RAM 512 MB above
Interactive function is provided by "LightPen3" software.
System Requirements-Mac

5
Accessories Introduction
Function Key on the "Light Pen"
Pen tip with touch sensor
Power switch
How to use this
While the tip of pen is pressed to the
hard screen, IR is emitted from it and the
projector detects the position of it.
1) Position the tip of the pen on the screen.
2) Press and hold the tip of the pen to the
hard screen and you can draw a line as a
pen.
CAUTION
Touch sensor is located in the tip of the
pen therefore, the Battery is consumes if
the tip is pressed . If the pen is not used,
please store it in off position of Power
switch to avoid the consumption of the
battery.
(Please confirm the "off position" as
below; LED lamp of the pen tip does not
light when the tip is pressed.)
Back side Front side

6
1. Install Driver
● Windows
Step 1. Insert the "Owner's Manual" CD-ROM into the CD drive.
Step 2. Open the "LightPen Software for Windows" folder in the CD-
ROM.
Step 3.Double click " Setup.exe" by mouse.
And then the window will appear as below.
Step 4.
(1) Click " SPDriver" by mouse.
And then "Setup Wizard" window will appear as below.
Click "Next" to install.
Operation Guide for Windows & Mac

7
(2) You can choose to install folder depend on your requirements, or use
the default folder. Then click "Next" to continue.
(3)Please wait for a while for the installation is nished.
● Driver Installation- Mac
Step 1. Insert the "Owner's Manual" CD-ROM into the CD drive.
Step 2. Open the "LightPen Software for Mac" folder in the CD-ROM
and copy“mac.zip” to the disk.
Step 3.Double click and move SPDriver ICON to computer
screen and execute it.
2. Utility icon indicator on the task bar as below:
Operation Guide for Windows & Mac
........ Touch Mode. ........ Pen Mode. ........ Disconnected.
* Default is Touch Mode.
Please change to Pen Mode.

8
3. Operation Mode
Default is Touch Mode. Please Click "Operation Mode" from "Touch
Mode" to "Pen Mode". Windows 7 and Windows 8 operating system
support multi-point touch control.
*Only single-point touch is available for Windows XP and Mac OS X.
4. Touch Area Setting
4.1 Select Auto Touch Area Setting
Note:
• Quit all software application
• Reduce ambient light
• Do not obstruct or shake lens during Touch Area Setting
• Check if projection image is clear. If not, adjust focus to sharpen
the image
If fail message pops up, switch to Manual Touch Area Setting.
Operation Guide for Windows & Mac

9
4.2 Select Manual Touch Area Setting:
(1) After the camera captures the projection image, a Touch Area
window will pop up. If the captured image is not clear enough, please
re-select “Ambient light mode selection” from “Auto” to “Bright”
or “Dim” according to actual ambient light condition. Then press
“Preview” and the camera will re-capture the image.
(2) Touch Area Boundary Fine-tuning
Step 1: Click on P1, use mouse to drag P1 to upper left corner. Align
adjustable green zone with projected white frame.
Step 2: Adjust P2 to P4 accordingly, adjustable green zone should
completely overlap with projected white frame.
Step 3: Finally, check again if all the green frame overlap completely
with projected white frame. If not, ne-adjust again.
(3) When the Touch Area is correctly located, click to “Exit.”
Operation Guide for Windows & Mac

10
5. Calibration
5.1 Select Auto Calibration
Note:
If the fail message pops up, follow below steps to trouble-shoot and
do Auto Calibration again.
• Close all software application
• Reduce ambient light
• Do not obstruct or shake lens during calibration
• Check if projection image is clear. If not, adjust focus to sharpen
the image
If the Auto Calibration fail message still pops up on screen, switch to
Manual Calibration.
5.2 Select Manual Calibration
Note: Manual Calibration is suggested for better accuracy.
Note:Touch Sensitivity is not adjustable under Pen Mode.
Operation Guide for Windows & Mac

11
6. Trouble-shooting Viewer
Sometimes infrared red light (IR light) from ambient light may interfere
with touch performance. Trouble-shooting Viewer shows real time
image for debug purpose. Switch between Visible Light/IR Light to
remove interference on whiteboard/from ambient observed via Trouble-
shooting Viewer.
Note: Touch function is disabled under Trouble-shooting Viewer.
Operation Guide for Windows & Mac

12
1. LightPen Software Installation
Step 1. Insert the "Owner's Manual" CD-ROM into the CD drive.
Step 2. Open the "LightPen Software for Windows" folder in the CD-
ROM.
Step 3.Double click " Setup.exe" by mouse.
And then the window will appear as below.
Step 4.
(1) click " LightPen-Dual" by mouse.
And then "Setup Wizard" window will appear as below.
Click "Next" to install.
Operation Guide for Windows OS _LightPen-Dual

13
(2) You can choose to install folder depend on your requirements, or use
the default folder. Then click "Next" to continue.
(3) Conrm the information listed and select "Install".
(4) Please wait for a while for the installation. Installation is nished.
Operation Guide for Windows OS _LightPen-Dual

14
2. LightPen-Dual Function
When you complete the installtion of LightPen-Dual and from "Start
Menu/LightPen/LightPen-Dual" to start it, you see the tool bar in the
right side as shown below.
Operation Guide for Windows OS _LightPen-Dual

15
Icon Description
Mouse Change function to Computer Mouse.
Red pen Change function to red pen.
Green pen Change function to green pen.
Blue pen Change function to blue pen.
Marker pen Change function to marker pen.
Drawing tool Draw a circle, a square, a triangle or a
straight line.
Fineness and
color of pen Select the neness and color of pen.
Eraser Erase drawning.
Clean all Erase drawning on the screen all at once.
Save le Save the current page into le in computer.
Dual Pen <Full Screen Mode> / <Split Screen Mode>
support two pens writing at the same time
White Board Change function to white board.
Page up Go to last page.
Page down Go to next page.
Edit tool Edit drawing.
Keyboard On screen keyboard.
Exit Exit the application.
2.1. Function of each icon in the Tool bar
Operation Guide for Windows OS _LightPen-Dual

16
2.2 Advanced function in Tool bar
(1) Drawing Tool
Select , then Drawing Tool function menu will be shown on the
screen as below. Plese select the icon you want to use.
(2) Dual Pen
Select , then Dual Pen Mode setting menu will be shown on
the screen as below. Please choose the screen mode to use.
Icon Description
Use two pens at the same time on
full screen by same setting
Use two pens at the same time on
two split screen by different setting
Operation Guide for Windows OS _LightPen-Dual

17
(2-1) <Full Screen Mode>
Use two pens at the same time on full screen by same setting.
<Split Screen Mode>
Use two pens at the same time on two split screen by different
setting.
Operation Guide for Windows OS _LightPen-Dual

18
(2-2)The description of two pens function
Icon Description
Red pen Change function to red pen.
Green pen Change function to green pen.
Blue pen Change function to blue pen.
White pen Change function to white pen.
Thin round pen Draw with a thin round script.
Thick round pen Draw with a thick round script.
Thick angle pen Draw with an angle script.
Eraser Erase drawning.
Clean all Erase drawning on the screen all at once.
Insert Image Insert an image as the background.
Save le Save the current page into le in computer.
Exit Exit the application.
Operation Guide for Windows OS _LightPen-Dual

19
(3) Whiteboard Mode
Select screen will change to white color background. Original
Page up and Page down function icon on Toolbar also
change to import background icon and import whiteboard
icon.
Select , you can see the below interface. You can select any
picture you want to be used on background.
Select , background will turn to White board mode.
If you want to exit White board mode, just click again.
Operation Guide for Windows OS _LightPen-Dual

20
(4). Edit Tool
Select , edit tool bar is shown as blow. Please select the function
you want to use.
Icon Description
Select drawing line as an object. An
object can enlarge, decrease, or move.
Rotate the drawing object you choice.
Print the current page you are seeing.
Undo the last operation.
Redo the last operation.
Spotlight function.
Curtain function.
change the vertical toolbar to a horizontal
toolbar.
switch the toolbar position to the right/
left side.
2.3
How to execute LightPen-Dual software again
Execute the driver from "Start Menu / LightPen / LightPen-Dual /
LightPen-Dual".
Operation Guide for Windows OS _LightPen-Dual
Table of contents
Other Speechi Projector manuals
