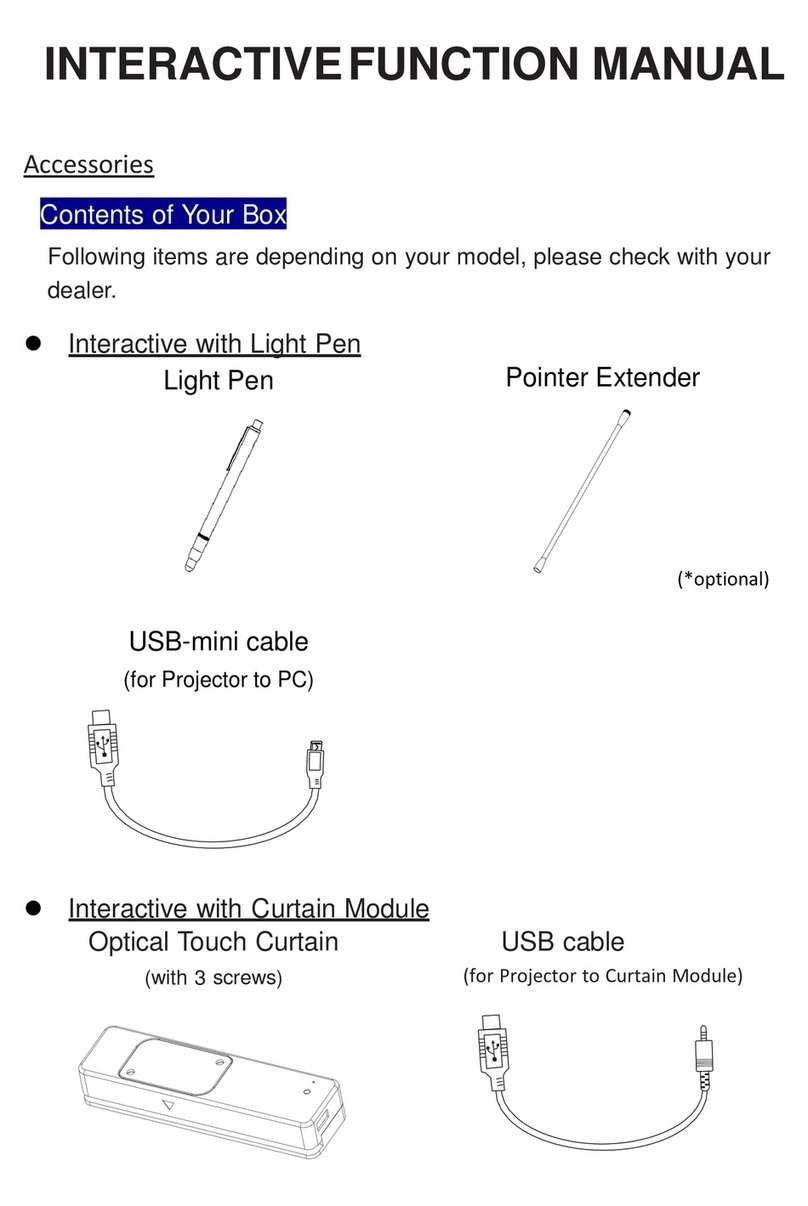
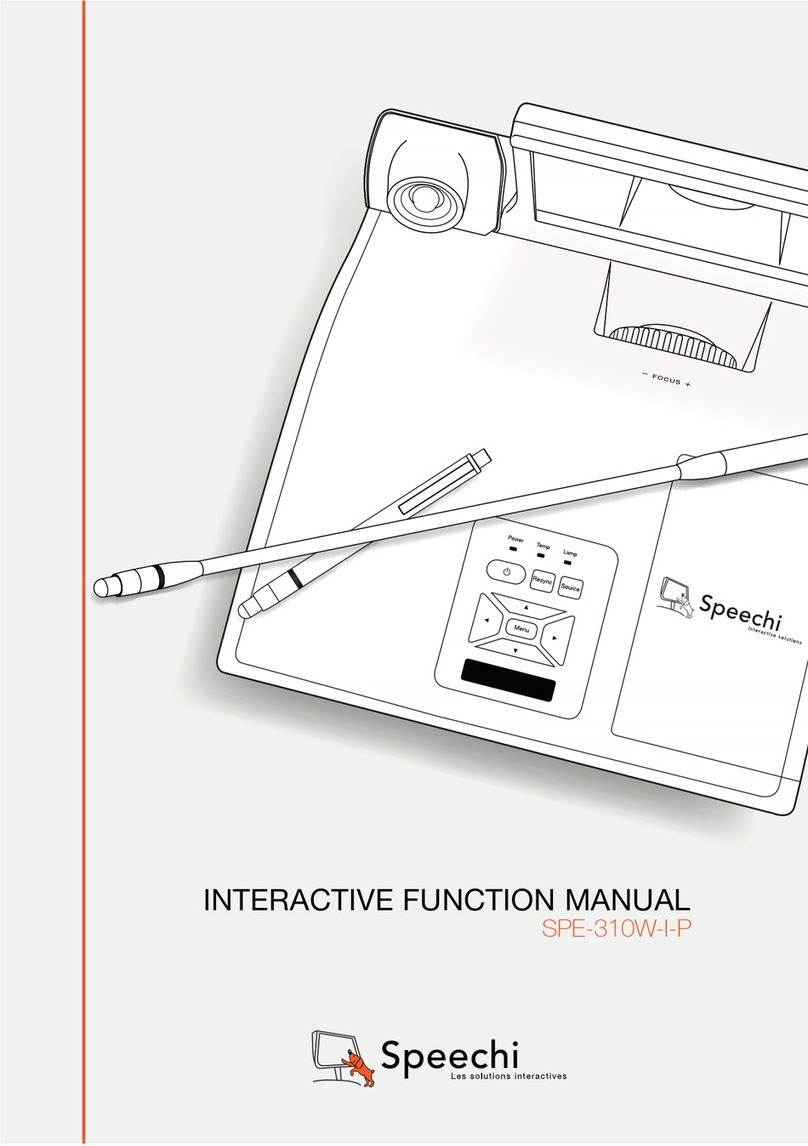
Speechi SPE-310W-I-T User manual

T
WARNING
WARNING
12
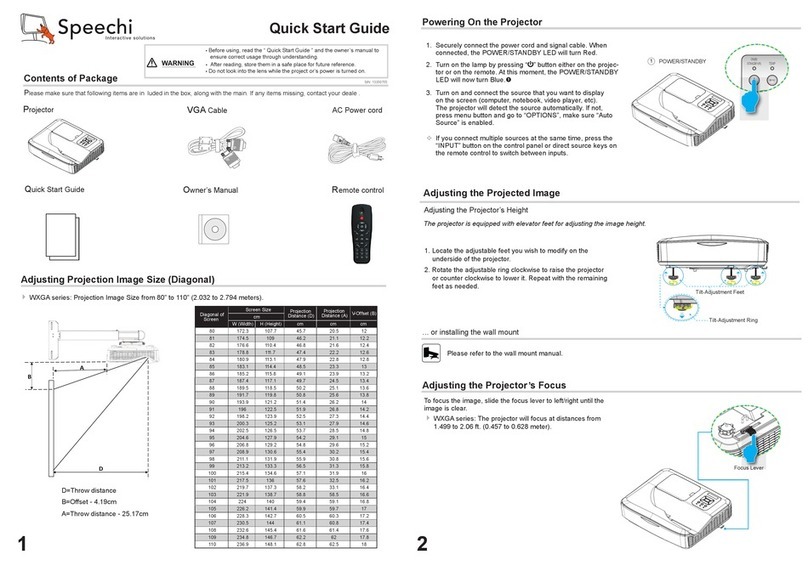
1. Securely connect the power cord and signal cable. When connected, the
Power LED will turn red.
2. Turn on the lamp by pressing button on the control panel or on the
remote control. The Power LED will turn blue.
3. Turn on your source that you want to display on the screen (computer ,
notebook, video player, etc).The projector will The projector will detect the
source automatically and will display on the screen.
1.Press firmly and slide the battery cover off. 2.Install new battery into the compartment.
3.Put the cover.
● Brfore using, read the “ Quick Start Guide ” and the owner’s manual to
ensure correct usage through understanding.
●After reading, store them in a safe place for future reference.
● Do not look into the lens while the projector’s power is turned on.
Remote control
Light Curtain( for 310Wi-T )
( for 310Wi-T )
( for 310Wi-P )
AC Power cord
Quick Start Guide Owner’s Manual
IR Camera Module
Multimedia Projector
Quick Start Guide
Contents of Package
Projector
Please make sure that following items are inluded in the box, along with the main. If any items missing, contact your deale .
● A strong light is emitted when the projector’s power is on. Do not look into the lens of the projector
or look inside of the projector through any of the projector’s openings.
urning On the Projector
VGA Cable
Adjusting Projection Image Size
Refer to the graphics and table show as below to determine the screen size and projection distance.
Adjusting the vertical image position
Projection Distance (A)
Projection Distance (B)
Screen
WXGA Series
Screen Size (16:10) Projection Distance (A) Projection Distance (B)
Diagonal (inch) mm Inch mm Inch mm
70 1778 20.4517 7.2 182
80 203223.5 596 10.3 262
87.2 221525.8 655 12.6 320
90 2286 26.7 677 13.5 343
100 2540 29.9 759 16.7 424
XGA Series
Screen Size (4:3) Projection Distance (A) Projection Distance (B)
Diagonal (inch) mm Inch mm Inch mm
60 1524 20.6 522 7.4 187
70 1778 24.3 617 11.1 282
77 1956 27.0 684 13.7 349
80 203228.0 712 14.9 378
90 228631.6802 18.4 468
Projection Distance A(mm)=Screen size(mm) x 0.296,Tolerance is around 3.1%
Ex: Projection Distance (655mm)=Screen size(2215mm) x 0.296
This table is for user’s reference only
NOTE
“ ”
4. If you connected multiple sources at the same time, press the “Source”
button on the remote control to switch between inputs.
MENU
POWER TEMP LAMP
RESYNC SOURCE
or
Adjusting the Projected Image
Adjusting the Projector’s Height
The projector is equipped with elevator feet for adjusting the image height.
● To raise the image:
Use screw in feet to raise the image to the desired height angle and
fine-tune the display angle.
● To lower the image:
Use screw in feet to lower the image to the desired height angle and
fine-tune the display angle.
12
Elevator Feet
Elevator Feet
Elevator Feet Spacer
Remote Control Battery Installation
Remove the old battery
and install new one
(CR2025). Ensure that
the side with a “+” is
facing up.
3
V
O
L
T
S
CR2025
M
3
V
O
L
T
S
CR2025
● Use CR2025 type battery. ● Risk of an explosion if battery is replaced by an incorrect type.
● Dispose of used battery according to the instructions.
● Avoid contact with water or liquid.
● Do not expose the remote control to moisture or heat.
● Do not drop the remote control.
● If the battery has leaked in the remote control, carefully wipe the case clean and install new battery.
IR Camera Module
Turning Off the Projector
Powering Off the Projector
1. Press the “ ”button on the control panel or on the remote control to turn off
the projector. The following message will be displayed on the screen.
Press the “ ” button again to confirm.
2.
The Power LED will turn red and blink rapidly after the projector is turned off.
And the fans will continue to operate for about 90 seconds to ensure that the
system cools properly.
3.Once the system has finished cooling, the Power LED will stop blinking and turn
solid red to indicate standby mode.
4. It is now safe to unplug the power cord.
Powering Off the Projector
1. Press the “ ”button on the control panel or on the remote control
Press the “
Power Off?
Press power key again.
S/N : 13350693

Message Lamp LED
(Red)
Temp LED
(Red)
Power LED
(Red)
Power LED
(Blue)
Power Plug Flash ON to OFF
100ms
Flash ON to OFF
100ms
Flash ON to OFF
100ms -
Standby -- ON -
Power button ON -- - ON
Cooling state --
0.5 second H(ON),
0.5 second L(OFF)
flashing
-
Power button OFF:
Cooling completed; Standby Mode -- ON -
Firmware download ON ON ON -
Thermal sensor error , OSD showing as below:
1. Make sure air in and outlets are not
blocked.
2. Make sure the environment temperature
is under 40 degree C.
-ON -ON
Fan lock error , OSD showing as below:
The projector will switch off automatically -
0.5 second H(On),
0.5 second L(Off)
flashing
-ON
Lamp error (Lamp, Lamp driver, Color wheel) ON - - ON
Installation
34
LED Indicator Messages
Troubleshooting
●
●
NOTE
Power Cord1.
Audio Cable *2.
VGA to DVI-A Cable *3.
VGA Cable4.
RS232 Cable *5.
HDMI Cable *
6.
USB Cable *7.
Interactive Cable *8.
Network Cable * (WXGA)9.
Connecting to Computer/Notebook Connecting to Video Sources
Power Cord1.
Microphone Cable *2.
Audio Cable Jack/RCA *3.
S-Video Cable *4.
Audio Cable *5.
VGA to HDTV (RCA) Cable *6.
HDMI Cable *7.
8. Composite Video Cable *
Due to the difference in applications for each country, some regions may have different accessories.
* Optional accessory
<Image Problems>
Q: No image appears on-screen.
A: 1. Ensure all the cables and power connections are
correctly and securely connected as described in the
“Installation” section.
2. Ensure the pins of connectors are not crooked or broken.
3. Check if the projection lamp has been securely installed.
4. Ensure that the “Blank” feature is not turned on.
<Projector Problems>
Q:The projector stops responding to all controls.
A: If possible, turn off the projector, then unplug the power
cord and wait at least 20 seconds before reconnecting
power.
Q: Lamp burns out or makes a popping sound.
A: When the lamp reaches its end of life, it will burn out
and may make a loud ``popping sound. If this happens,
the projector will not turn on until the lamp module has
been replaced.
<Remote Control Problems>
Q: If the remote control does not work.
A: 1. Check the operating angle of the remote control is
within ±30° both horizon-tally and vertically of one of
the IR receivers on the projector.
2. Make sure there are not any obstructions between the
remote control and the projector. Move to within 7 m (±0°)
of the projector.
3. Make sure the batteries are inserted correctly
4. Replace batteries if they are exhausted.
<Sound Problems>
Q: If no sound from the projector.
A: 1. If you are playing an external source, make sure you have
an audio cable ``securely connected between the source
device and the projector’s audio input.
2. Please make sure the external speakers are not connected.
3. Make sure the volume is not set to minimum.
4. Make sure the “ Volume --> Mute” function is set to “off”.
● Projector
● IR Carmer Module
● Light Curtain ( for 310Wi-T )
( for 310Wi-P & 310Wi-T)
LAN
Notebook
Computer
Power socket
1
22
2
4
4
Monitor
Audio Output
Light Curtain
3 4 5 6 7 8
9
LAN
DVD player, Set-top box,
HDTV receiver
S-Video output
Video output
1
6
2
Power socket
Audio Output
DVD player, Set-top box,
HDTV receiver
5
3 4 5 6
7
583
1. Use this feature to enable the Interactive
function. Options are: “Off” and “On”.
2. You need to use a Mini USB cable to
connect Laptop/desktop with the projector
before using the Interactive function.
1. For magnetic whiteboard: attach Curtain base plate to
Light Curtain module first and avoid interlock switch fail.
Put Light Curtain module onto whiteboard and magnets
at the back of Curtain module will be attached.
2. Install Light Curtain base plate by using 2 M3 screws
Option 2 is recommended regarding environmental factors such
as temperature, humidity, vibration and others.
2-1. Customized whiteboard is incorporated with Light Curtain
base plate design.
2-2. Regular whiteboard, the Light Curtain base plate needs to be
installed first by using 2 M3 screws.
3. Use special glue(ex: AB glue) to adhere Curtain base plate to
the whiteboard. Then place Light Curtain module onto Curtain
base plate.
4. This option is suitable for demonstration ONLY.
Use a piece of good quality double-sided adhesive (thickness less
than 0.5mm) to adhere Curtain base plate onto the whiteboard.
Then place Light Curtain onto the Curtain base plate.
B: After Installtion the Light Curtain, open
the top cap of Light Curtain module and
plug in Interactive cable.
A: There are 4 available options :
Other manuals for SPE-310W-I-T
1
This manual suits for next models
1
Other Speechi Projector manuals
