Speechi SPE-VPI-360-LAS-W-I-T User manual

SPE-VPI-360-LAS-W-I-T

Interactive function manual
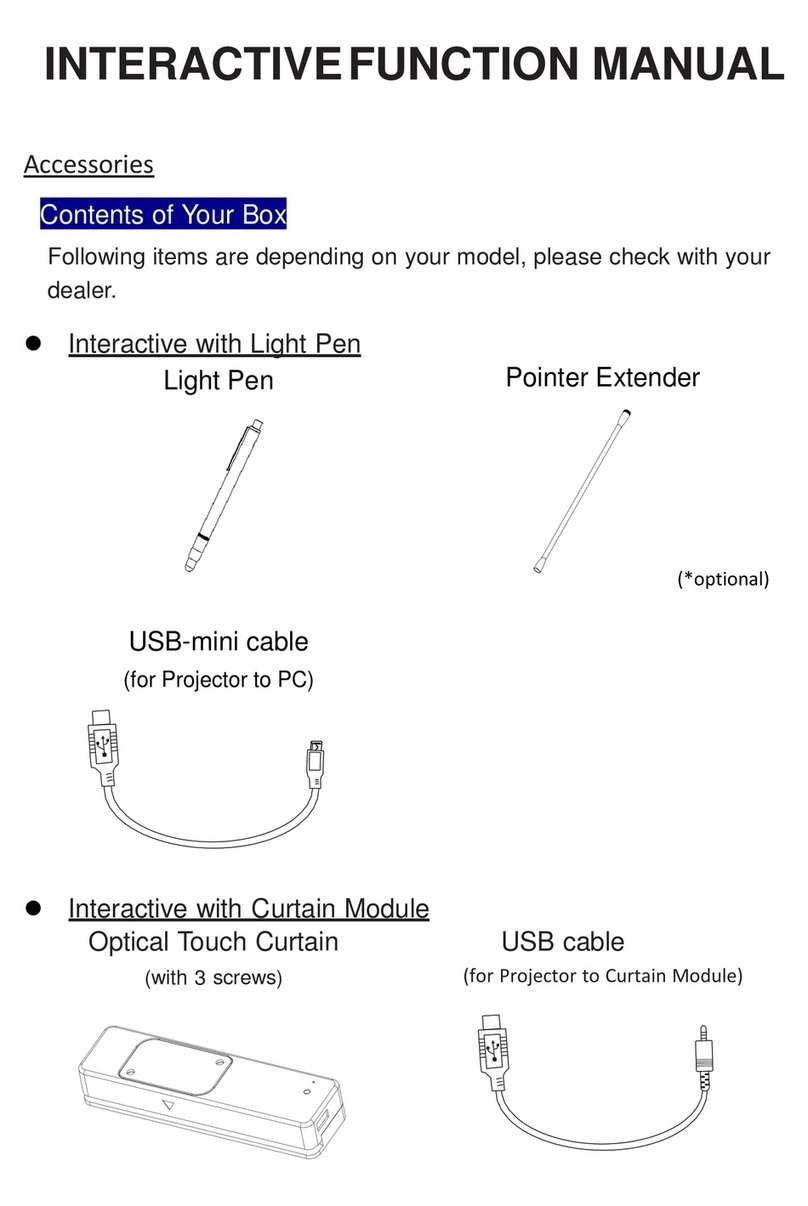
Accessories
Contents of Your Box
Following items are depending on your model, please check with your
dealer.
Interactive with Light Pen
Light Pen
Pointer Extender
(*optional)
USB-mini cable
(for Projector to PC)
Interactive with Curtain Module
Optical Touch Curtain
(with 3 screws)
USB cable
(for Projector to Curtain Module)

Interactive function manual
Dummy Pen
System Requirements
Windows
To ensure the interactive function work properly, please check your
computer system to see if it meets the following conditions.
Touch Calibration / LightPen3
OS Required
Windows 7 (32bit/64bit)/Windows 8/
Windows 10 (Must be installed. NET
Framework 4.0)
Processor Type
Intel® Core™i3 or above
RAM
2GB above
Min. Free disk space
110 MB
Projection Size
70"~ 100"
MAC
To ensure the interactive function work properly, please check your
computer system to see if it meets the following conditions.
Touch Calibration / LightPen3
OS Required
Mac OS X v10.8 above
Processor Type
Intel® Core 2 Duo
RAM
4GB above
Min. Free disk space
100 MB
Projection Size
70"~ 100"

Interactive function manual
Part name and functions
Function Key on the "Light Pen"
Pen tip with touch sensor
How to use this
While the tip of pen is pressed to the hard
screen, IR is emitted from it and the
projector detects the position of it.
1)Position the tip of the pen on the screen.
2) Press and hold the tip of the pen to the
hard screen and you can draw a line as a
pen.
CAUTION
Touch sensor is located in the tip
of the pen therefore, the Battery
consumes if the tip is pressed. If
the pen is not used, please store it
in off position of Power switch to
avoid the consumption of the
battery.
(When the switch is in the off
position the LED lamp of the pen
tip does not light when the tip is
pressed.)
Power switch
Back side Front side

Interactive function manual
Instruction of the "Pointer Extender" (*optional)
How to use this
Step 1: Remove the light pen head from the light
pen body.
Step 2: Assemble the extension rod with the light
pen.

Interactive function manual
Optical Touch Curtain *It depends on your model, please check with your
dealer.
①POWER indicator
- It lights red when the Optical Touch Curtain is in installation mode. The visible
light would show up.
- It lights green during normal operations.
②Setting
- Press the button to switch to visible light mode.
③Rotary knob-Vertical(Refer to Page 5)
-Use the screwdriver to adjust the Laser.
④Rotary knob-Horizontal(Refer to Page 5)
-Use the screwdriver to adjust the Laser.
⑤USB-A
- Connect with Projector
⑥Laser transmitting window
Caution
Do not stare directly at the laser transmitting window nor aim the window at
human body, to avoid any physical injury.
<Installation>
For short-term demonstration:
The curtain has been built with a magnet. You can easily make the curtain
magnetic with whiteboard or other magnetic material on the center/top position of
the projection screen.
For long-term installation:
Use the screws to fix the curtain with the base plate onto the whiteboard or

Interactive function manual
other smooth surface.
Place the curtain on the position upper than 7cm of the center/top for the
projection screen.
<Adjustment>
After the installation, connect the Curtain and the Projector via the USB cable.
While the curtain has been connected, the ‘Power’ light will turn green. Press the
‘Setting’ button on the curtain, the ‘Power’ light will turn red and get into the
installation mode. Press the "Blank" button on the Projector’s remote controller
and then you can see the laser beam.

Interactive function manual
1. Use the slotted screwdriver to adjust the knob in a clockwise. You will
see the laser beam hit onto the projection screen.
2. Adjust the knob accordingly to make the laser beam as parallel to the
Curtain.

Interactive function manual
3. Adjust the knob to move the laser beam all the way down till out of the
projection screen and ensure the laser beam is parallel with the Curtain.
4. Ensure the laser beam looks like a solid line and parallel with the projection
screen as the following picture.

Interactive function manual
5. You can use the enclosed Laser Card to ensure the laser beam as solid as
required.
6. After all the adjustment, press the ‘Setting’ button on the curtain then the
‘Power’ light will turn green. Revert to using Touch Mode to start utilizing
interactive features.

Interactive function manual
Indicator and status
Green:
Standby mode
(connected with
projector)
Pen mode:
ready for use
with Light Pen
Red:
Installation
mode: ready for
Laser beam
adjustment.
Blue:
Normal mode:
ready for use
with Touch
function.
Flashing Blue:
Error mode:
need to check
the setting of
driver
Touch Area
Setting mode
*If the curtain still can’t work properly, please contact your dealer.
Operation Guide for Windows OS
Touch Calibration Driver Installation
Step 1. Insert the “Owner’s Manual”CD-ROM into the CD drive.
Step 2. Open the “LightPen Software for Windows”folder in the CD-ROM.
Step 3. Double click “Setup.exe”and the POP up window as following picture.

Interactive function manual
Step 4.
(1) Click "SPDriver" and then "Setup Wizard" window will appear (as shown
as following picture).
Click "Next" to install.
(2) You can choose the folder to install software as your desire and then
click the “Next”or just simply click the “Next”to install to default folder.
(3) Installation under processing.

Interactive function manual
(4) Installation completed.
LightPen3 Software Installation
Step 1. Insert the “Owner’s Manual”CD-ROM into the CD drive.
Step 2. Open the “LightPen Software for Windows”folder in the CD-ROM.
Step 3. Double click “Setup.exe”and the POP up window as following picture.
Step 4.
(1) Click "LightPen3" and then "Setup Wizard" window will appear (as
shown as following picture).
Click "Next" to install.

Interactive function manual
(2) You can choose the folder to install software as your desire and then
click the “Next”or just simply click the “Next”to install to default folder.
(3) Check the installation information and then click “Install”to start the process.
(4) Installation under processing.

Interactive function manual
(5) Installation completed.
Initial Setting of Touch Calibration
Launch the SPDriver from “Start Menu / Touch Calibration / Touch Calibration”, or
double click the “Touch Calibration”icon from Desktop.
Connect your PC and the Projector via enclosed USB cable. The following icon
will show up in the task bar.

Interactive function manual
Operation mode
<Touch Mode> operates interactive function with Finger / Dummy Pen.
<Pen Mode> operates interactive function with Light Pen
Calibration
<Automatic>
Select the “Automatic”to proceed to the calibration process automatically.
Note :
Before Launch the “Automatic calibration”function, please ensure:
1. Reduce the ambient light
2. Do not obstruct lens or shake projector during “Automatic Calibration”
proceeding.

Interactive function manual
Check the "Touch Area Setting".
Ensure the green frame (Touch Area) within the white frame
(Projected Area).

Interactive function manual
※Please refer the Page 18 for further adjustment of “Touch Area Setting”.
While the “Auto Calibration”process failed, the warning message will pop-up(as following
picture). Click “OK”to launch “Touch Area Setting”for the Manual Calibration process.
<Manual>
Launch the “Touch Area Setting”process before start the Manual Calibration.
Touch Area Setting
Select the adjustable point on the green frame by mouse on PC to
ensure the touch area is within the white frame (projection area).
※Adjust the “Ambient light mode”by click on “-“/ “+”to reduce / increase the
brightness of the picture.
Or choose the adjustable point by click the number on “Touch Area
Setting”.

Interactive function manual
Click “Exit”on the left-upper corner to complete the Touch Area Setting
process.
Manual Calibration
Select “Manual”and click “Start”to launch the Manual Calibration
process. The following picture will show up on the projected screen.
Note:
Click the calibration points by LightPen.

Interactive function manual
Click the calibration points by Finger / Dummy Pen
※Press “ESC”button on keyboard to exit the Calibration process
※Press “up”button on keyboard to recalibrate the previous point.
Complete the Manual Calibration process by click all of the 9 points in
order. The following picture will show up after complete the Manual
Calibration process.
Language Setting
Change the language as you desire by click on the Name of the language.
Touch Sensitivity
Adjust the Touch Sensitivity level while the effect of Touch mode is not good,
or the drawing line is intermittent.
Level 1: the lowest sensitivity (more smooth drawing line)
Level 5: the highest sensitivity (more straighten drawing line)
Mouse Mode
Click the / icon on the task bar, the following menu would
show up.
Table of contents
Other Speechi Projector manuals
