manuals.online logo
Brands
  1. Home
  2. •
  3. Brands
  4. •
  5. Spirit Halloween
  6. •
  7. Toy
  8. •
  9. Spirit Halloween Limb Ripper User manual

Spirit Halloween Limb Ripper User manual

Step 1:
NOTE: The longer end of the (A) Base goes
towards the front. First, assemble the (B) Legs to
the (A) Base as shown, and secure by aligning
the quick-connect push buttons into the pre-
drilled holes. Next, assemble the (C) Support
Poles into the tops of the (B) Legs as shown and
secure by aligning the quick-connect push
buttons into the pre-drilled holes.
Step 2:
Next, lower (D) Pants over the (C) Support Poles
through the leg openings & out through the top
of the Pants. The bottoms of the leg openings
should cover the tops of the (B) Legs. Then,
assemble the (E) Torso Frame onto the (C)
Support Poles as shown, and secure by align-
ing the quick-connect push buttons into the
pre-drilled holes. Now pull up the (D) Pants
over the hip hoop found above the “waist” of
the (E) Torso Frame as shown.
Step 3:
Attach the (F) Shoulder Support to the top of the
(E) Torso Frame as shown. Now, plug the UL
Power Adapter into the input receiving jack
marked “6V 1000-mA” on the Function Control
box and route the power cord through the left
pant leg and out behind the left (B) Leg.
Optional: If you choose to use (G) Step Here
Try-Me Activation Pad, plug the connecter into
the input receiving jack marked “TRY ME” on
the Function Control Box and set the Step Here
pad in front of the character when ready to
display.
PARTS LIST:
ASSEMBLY INSTRUCTIONS: Unplug when not in use. It is not a toy and is not intended for Children. Please use it with adult supervision.
E
AB C D
01145531 Limb Ripper
Easy to Follow Instructions
This item, when assembled by the following instructions, should take 5-10 minutes to assemble. Please follow the step by step guide
and enjoy your Limb Ripper.
Please read all instructions carefully before assembling.
Care & Storage Instructions: Gently wipe clean with a soft cloth or feather duster only. Store product in its original package. Keep away from heat & moisture. For indoor use only. Save instruction sheet for future reference.
A/C Adapter Specification:
Input: 100V~240VAC 50/60Hz
0.4A Max
Output: 6V DC 1A
Only use adapter with same
technical specification.
Base
G
Step Here Pad
Legs Support Poles Pants Torso Frame
F
Shoulder Support
H
Shirt
I
Head
J
Left Arm
K
Left Hand
L
Right Arm
M
Right Hand
C
D
E
F
G
B
A
MOTION
SENSOR
SENSOR
ON OFF / TRY ME
TRY ME
VOLUME
ADAPTER
INPUT: 6V
1000mA
STEP
HERE
A/C
ADAPTER
Optional:
The (J) Left Hand of Limb Ripper has been made so it can hold a
severed limb (not included). Simply place a vinyl or latex severed
limb (sold separately) into his hand for an extra horrifying effect!
Note: Try adding newspaper or stuffing (not included) into the upper
arms of his shirt for added realism!
Operation Instructions:
1. Plug the UL power adapter into a standard power outlet and
adjust the settings on the Function Control box to your liking.
2. Limb Ripper has 3 operation settings which can be found on the
main Function Control box on the (F) Torso Frame:
- On: This setting allows the item to run continuously.
- Sensor: This setting allows the item to only be activated when the
light/motion sensor is activated. The item will operate for one
audio-cycle with each sensor activation.
- Off/Try-Me: This setting allows the item to be activated only if the
Try-Me is triggered.
3. The Function Control box also includes a Volume Control knob,
which allows you to adjust the volume to be as loud or as quiet as
needed. Be sure to test the item before finalizing your display so
you can set the volume to your liking.
Enjoy your Limb Ripper!
Step 4:
NOTE: The (H) Shirt opens in the front. Drape the (H) Shirt over the (F)
Shoulder Support & (E) Torso Frame and leave the front open for now. Set
the (I) Head onto the (E) Torso Frame by sliding the forked-hook into the
“neck” slot housing on the (E) Torso Frame. Next, connect the cables from
the (I) Head to the color-coordinated cables on the (E) Torso Frame. Now
fasten the hook and loop closure dots at the front of the (H) Shirt.
Step 5:
Slide the (J) Left Arm up through the left sleeve and slide the forked-hook into
the left “shoulder” slot housing on the (E) Torso Frame. Set the (K) Left Hand into
place by sliding the forked-hook into the “wrist” slot housing on the end of the
arm. Now, slide the (L) Right Arm up through the right sleeve and slide the
forked-hook into the right “shoulder” slot housing on the (E) Torso Frame. Set
the (M) Right Hand into place by sliding the forked-hook into the “wrist” slot
housing on the end of the arm.
PROP 65 WARNING:
Handling the coated electrical wires of this product exposes you to lead, a chemi-
cal known to the State of California to cause cancer, birth defects or other repro-
ductive harm. Wash hands after use.
Caution: changes or modifications not expressly approved by the party respon-
sible for compliance could void the user’s authority to operate the equipment.
NOTE: This equipment has been tested and found to comply with the limits for a
Class B digital device, pursuant to Part 15 of the FCC Rules. These limits are
designed to provide reasonable protection against harmful interference in a
residential installation. This equipment generates, uses and can radiate radio
frequency energy and, if not installed and used in accordance with the instruc-
tions, may cause harmful interference to radio communications. However, there is
no guarantee that interference will not occur in a particular installation. If this
equipment does cause harmful interference to radio or television reception, which
can be determined by turning the equipment off and on, the user is encouraged to
try to correct the interference by one or more of the following measures: Reorient
or relocate the receiving antenna. Increase the separation between the equipment
and receiver. Connect the equipment into an outlet on a circuit different from that
to which the receiver is connected. Consult the dealer or experienced radio/TV
technician for help.
H
I
F F
This manual suits for next models

1

Other Spirit Halloween Toy manuals

Spirit Halloween Spirit Ghost Trap Wheels Upgrade kit User manual

Spirit Halloween

Spirit Halloween Spirit Ghost Trap Wheels Upgrade kit User manual

Spirit Halloween Spirit Brackets Kit User manual

Spirit Halloween

Spirit Halloween Spirit Brackets Kit User manual

Spirit Halloween JACK STRAW User manual

Spirit Halloween

Spirit Halloween JACK STRAW User manual

Popular Toy manuals by other brands

Eduard 32 943 manual

Eduard

Eduard 32 943 manual

Mega Bloks Collector Series instructions

Mega Bloks

Mega Bloks Collector Series instructions

Old School Model Works Wayfarer manual

Old School Model Works

Old School Model Works Wayfarer manual

marklin BR 89 manual

marklin

marklin BR 89 manual

LEGO City 4431 Assembly guide

LEGO

LEGO City 4431 Assembly guide

Mattel JURASSIC WORLD GYC94 instructions

Mattel

Mattel JURASSIC WORLD GYC94 instructions

Mattel Polly Pocket SECRET UTILITY VEHICLE FWY26 instructions

Mattel

Mattel Polly Pocket SECRET UTILITY VEHICLE FWY26 instructions

Fisher-Price Little People GTL67 instructions

Fisher-Price

Fisher-Price Little People GTL67 instructions

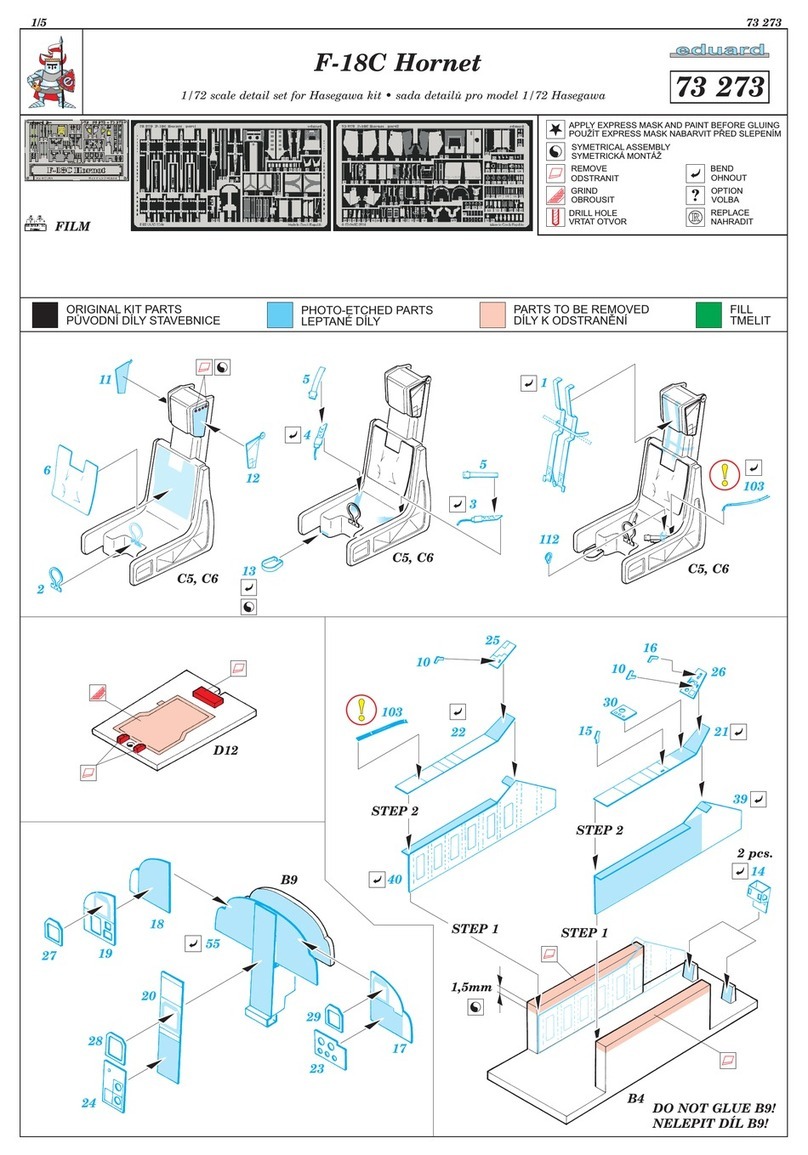
Eduard F-18C Hornet quick start guide

Eduard

Eduard F-18C Hornet quick start guide

Fisher-Price W4121 instructions

Fisher-Price

Fisher-Price W4121 instructions

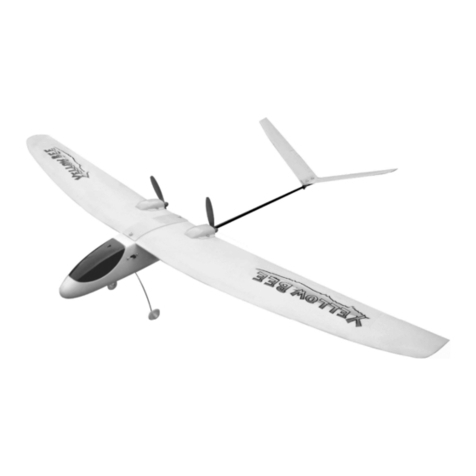
Seagull Models Super Tucano T-27 Assembly manual

Seagull Models

Seagull Models Super Tucano T-27 Assembly manual

Radica Games Barbie 74001 instruction manual

Radica Games

Radica Games Barbie 74001 instruction manual

Harbor Freight Tools 92304 Assembly & operating instructions

Harbor Freight Tools

Harbor Freight Tools 92304 Assembly & operating instructions

MTHTrains 2-8-2 L-1 Mikado Steam Locomotive Operator's manual

MTHTrains

MTHTrains 2-8-2 L-1 Mikado Steam Locomotive Operator's manual

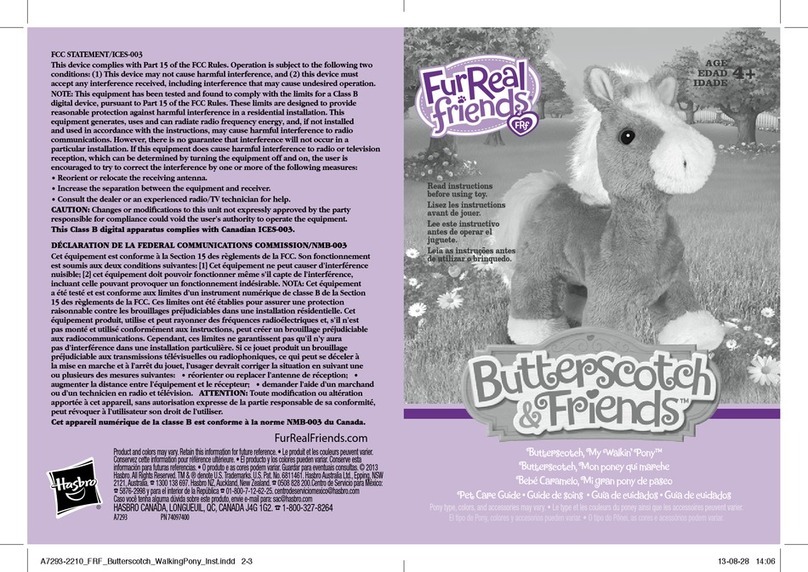
Hasbro Fur Real Friends My Walkin’ Pony... Pet Care Guide

Hasbro

Hasbro Fur Real Friends My Walkin’ Pony... Pet Care Guide

Badger Basket 12029 Assembly instructions

Badger Basket

Badger Basket 12029 Assembly instructions

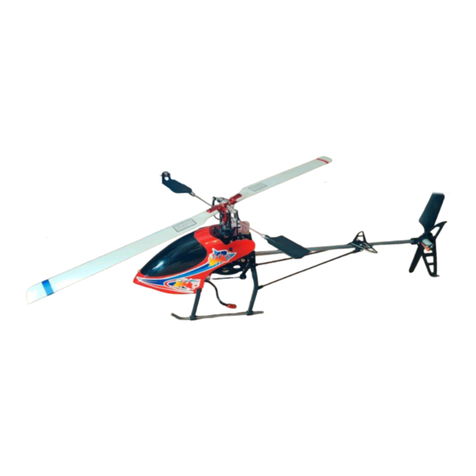
Reely Sky Redskin operating instructions

Reely Sky

Reely Sky Redskin operating instructions

Sky Master ARF PLUS PRO F104G Assembly and operation manual

Sky Master

Sky Master ARF PLUS PRO F104G Assembly and operation manual

manuals.online logo
manuals.online logoBrands
  • About & Mission
  • Contact us
  • Privacy Policy
  • Terms and Conditions

Copyright 2025 Manuals.Online. All Rights Reserved.