Sport Camera BlackBoxHD dual User manual
1
BlackBoxHD dual

2
CONTENTS
1.
2.
3.
4.
Before Use
Cautions upon Use
Package Components
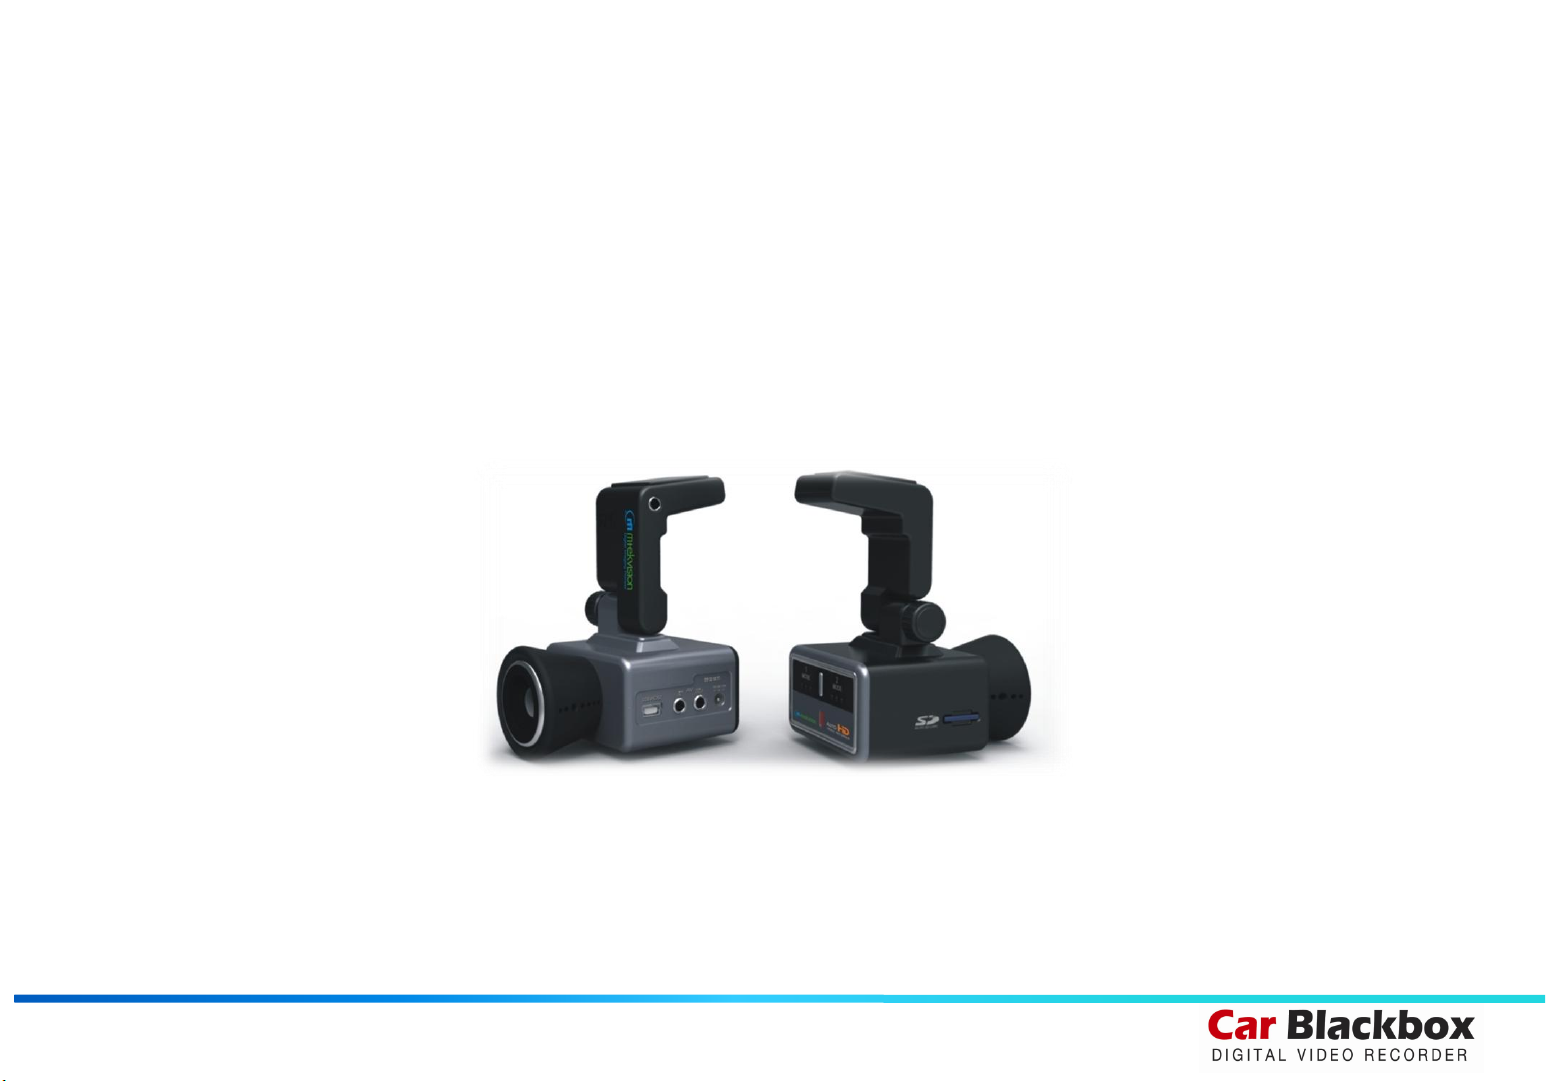
Names of Product Components
Installing in the Vehicle
Basic Product Functions
Using the Memory Card
Firmware Update
Key Product Features
How to Operate the Product
Voice Guidance on Product States and LED Display
Checking through the Micro SD Card
PC Viewer Features
Installing the PC Viewer
PC Viewer Features
Product Specifications
Product Specifications

3
Cautions upon Use
Do not disassemble, repair or modify the product.
Such acts may result in electric shock. For inspections or repairs, please visit your place of purchase or a designated repair
center. The occurrence of accidents due to disassembly, modification or other forms of abnormal operations may prevent you
from receiving maintenance services.
Quickly turn off the power within abnormal states, such as smoke or burning smells coming from the device.
Such as lead to fire or electric shock.
Do not pour water onto the device.
As the device is not waterproof, such acts could result in product malfunction and lead to fire or electric shock.
Product Related
Contents intended to prevent potential dangers by notifying consumers on the level of damage
(bodily, monetary) of product safety matters (electric shock, fire, explosion) in cases of consumer
misuse. Read the following contents carefully for proper use.
Information
Safety Warnings –Failure to observe the
safety instructions within this category could
result in serious injury or death.
Safety Cautions –Failure to observe the
safety instructions within this category could
result in system error or damage.
01 Before Use
01
Chapter 01┃Before Use

4
Never clean the product with chemical materials, such as benzene or thinners.
Such materials may damage the device surface or cause internal malfunctions.
Do not subject the product to severe shock or introduce foreign objects.
Please heed caution as the introduction of foreign substances could lead to product malfunction.
Always maintain the front side of the product in a clean state.
If foreign substances or stickers are placed in front of the product lens, normal recording is not possible.
In addition, placing other objects in the vicinity of the product may be visible through reflections in the mirror. Never place
other objects nearby the product.
Firmly fasten the product when installing for the first time.
Improper installation could result in abnormal product operation or the product may fall off while driving.
Following installation, heed caution not to subject the product to excessive force and shock.
When connecting the product power, use the genuine power cable supplied by our company.
The use of non-genuine power cables or connecting the cable to other products may result in malfunction or fire.
If the product breaks, continued use may lead to hand or face injury. Visit a service center for repair before
use.
Product related
Cautions upon Use
01 Before Use
02
Chapter 01┃Before Use

5
Refrain from prolonged use with the ignition turned off.
Such acts could lead to battery discharge.
Do not watch or operate the product while driving.
Operating the product while driving may result in accidents.
Heed caution as the quality of recorded videos may not be good in cases of sudden changes to brightness, such as when
entering a tunnel, when the backlight is very strong, or when there is no light source during the night.
Refrain from excessive front window tints.
Heed caution as videos recorded within vehicles with sun tints may be somewhat blurry or distorted.
Heed caution as event data may not be recorded within this product in cases of accidents under a certain impact level.
In such cases, it is possible to use the manual recording feature to manually record such videos separately. If not, such are recorded as
infinite recording files.
Heed caution as video data may not be recorded if the device power becomes disconnected during a major accident.
Power installation must be done by a installation specialist.
The method of installation may differ depending on the vehicle. User installations may result in vehicle and product malfunction.
Damage to the vehicle and/or product caused by user installation/disassembly is the sole responsibility of the user.
Driving related
Cautions on Safety and upon Use
01 Before Use
03
Chapter 01┃Before Use
Table of contents


