Spotsee SpotBot Cellular User manual

PRODUCT MANUAL

2
This document is written and published by ShockWatch, Inc. All rights reserved.
PRODUCT MANUAL
1. Introduction ............................................................................................................ 3
2. Initial setup .............................................................................................................4
A. Activation .................................................................................................................................... 4
B. Account Setup ........................................................................................................................... 8
3. Configure your SpotBot ......................................................................................... 9
4. How to use your SpotBot ......................................................................................12
A. Begin Monitoring .................................................................................................................... 12
B. Alarm Triggering ..................................................................................................................... 12
C. Other information about batteries and settings ........................................................... 13
D. Login and password recovery .............................................................................................13
E. The Dashboard .........................................................................................................................15
F. Asset (SpotBot Page) .............................................................................................................16
G. Change the Date Range ........................................................................................................21
H. Set notification emails ........................................................................................................... 21
I. Change asset name ................................................................................................................ 22
5. User Management .................................................................................................23
6. Managing Data recorded in your SpotBot .......................................................... 24
a. Access a PDF or CSV report in your SpotBot .............................................................. 24
b. Clear the Trip data ................................................................................................................. 26
Contact Information ............................................................................................. 26
7. Regulatory Compliance ....................................................................................... 27
CONTENTS

3
This document is written and published by ShockWatch, Inc. All rights reserved.
PRODUCT MANUAL
Every year more than $12B in goods are lost and over $100B are
damaged during transport.
SpotBot is a reliable solution that allows you to keep track of your
shipment and how it is being handled.
• Get immediate alerts in case of mishandling with the impact level and location.
• Keep track of your shipment with hourly location updates.
• Control your cargo environment with hourly temperature readings.
And, you can access all this information - wherever you are - through
our web-based SpotSee Cloud.
Dimensions 7.000” x 5.250” x 1.375” or 17.78 cm x 13.335 cm x 3.5 cm
Weight 1.304 lbs or 590 gr with batteries,
1.104 lbs or 500 gr without batteries
Impact detection 3-Axis, 200 g Digital MEMS Accelerometer
Other features Location information
Temperature range -40˚C to 85˚C or -40˚ F to 185˚F
Power Supply Batteries: 6 x 1.5V Lithium AA Batteries
(will work with 1.5V Alkaline AA Batteries although they are not recomended)
Battery life in
normal cellular
coverage conditions
1 (summary / event) per day 243 Days
1 (summary / event) per hour 95 Days
(If Alkaline batteries are used, a lower battery life is expected)
Communication Global cellular network
1. INTRODUCTION
SPOTBOT MAIN SPECIFICATIONS

4
This document is written and published by ShockWatch, Inc. All rights reserved.
PRODUCT MANUAL
2. INITIAL SETUP
A. ACTIVATION
NOTE: STEPS 1 & 2 are NOT necessary if your company has already purchased SpotBots and established an
Administrator Account.
1. If this is the first SpotBot purchase for your company, you must assign an ADMIN that will
be responsible for user access for the account.
2. The ADMIN navigates to activate.spotsee.io to begin the activation process.
3. Insert the ADMIN email address in the pop up box & click “Enter”
A message will be sent to the ADMIN’s email address from no-reply@shockwatch.com
(NOTE: If this email is not received within approximately 2 minutes, please contact the appropriate
technical support number found onthe back of this guide. Be sure to check spam or junk
folders first)
4. Follow the link in the email to create your password.
SET UP OF ADMINISTRATIVE (ADMIN) ACCOUNT
“Customer Number”
Enter: Customer Number found on the
Packing List that shipped with the SpotBot,
the Customer Invoice,
or the Order Acknowledgement
“Unit ID”
Enter: Unit ID from one of your SpotBots
(found on front label)
Click: “Activate”
5
This document is written and published by ShockWatch, Inc. All rights reserved.
PRODUCT MANUAL
SET UP OF ADDITIONAL USERS
1. Navigate to cloud.spotsee.io and log in using the ADMIN email address and password
created in STEP 1
2. Click on Users in the column on the left side of the web page
3. Click on Plus (+) Sign in upper right of screen

6
This document is written and published by ShockWatch, Inc. All rights reserved.
PRODUCT MANUAL
4. Insert (Name, Email Address, and Mobile Phone #) and Select the Role for the New User
5. Click Add
An email will be immediately sent to the new user which will prompt them to set up a password
6. Repeat this process for additional users

7
This document is written and published by ShockWatch, Inc. All rights reserved.
PRODUCT MANUAL
Unit ID Number
Access Port
On/Off Micro USB PortReset
SPOTBOT UNIT ACTIVATION
1. To activate your new SpotBot unit
so that it will be visible in the
SpotSee Cloud, navigate to the
activation website: activate.spotsee.io
2. Enter Customer Number and Unit ID
and click “Activate”
Message will appear stating that service
has been activated for the Unit # that
was entered.
BATTERY INSTALLATION
1. Remove SpotBot Unit and batteries from the box
2. Unscrew battery panel (see image to the right)
Required to complete this step
3. Install the six (6) AA batteries provided in the
direction notated within each battery slot and
replace battery panel making sure that CE
sticker is visible

8
This document is written and published by ShockWatch, Inc. All rights reserved.
PRODUCT MANUAL
First, locate your user account information that was sent to you via email and follow the
instructions to retrieve your password.
If you can’t find the email, please make sure to check your clutter or spam folders.
Then, use the password with your email address to login into the SpotSee Cloud
at cloud.spotsee.io
B. ACCOUNT SETUP

3. CONFIGURE YOUR SPOTBOT
1. Navigate to cloud.spotsee.io and login using the email and password that were generated
during the activation process by the ADMIN
2. Click on Configure Unit in the column on the left side of the web page
3. Go to Initial Setup and follow the steps for your chosen browser. Click Launch
Configuration Application to launch and run the SpotBot Software.
Please Note: SpotBot Beta test customers must first delete existing SpotBot configuration application before
completing this step.
9
This document is written and published by ShockWatch, Inc. All rights reserved.
PRODUCT MANUAL

10
This document is written and published by ShockWatch, Inc. All rights reserved.
PRODUCT MANUAL
4. Remove the rubber cover from
the front of your SpotBot unit
5. Connect your computer to the
SpotBot using the Micro-USB
cable provided
7. Select the alarm threshold
(minimum G level in which the
SpotBot will start sending alerts)
8. Select the summary time
(frequency in which the SpotBot will
communicate its location and alarm
count)
9. Press Save
6. Push the Start/Stop button on the front of the SpotBot unit
Unit ID will appear within the profile pop-up window (shown below)

11
This document is written and published by ShockWatch, Inc. All rights reserved.
PRODUCT MANUAL
There is a tradeoff between the battery life and the summary time, if you need longer
battery life the summary time should be set to higher values. Please refer to the SpotBot
main specifications for an indication of expected battery life. (Page 3)
After you press Save, the SpotBot will send a summary message with the new settings to
the Spotsee Cloud via the cellular network.
Before you start a trip, check to make sure you can see your SpotBot in the SpotSee Cloud.
Finally, unplug the Micro-USB cable. Your SpotBot is ready to start a trip.
Login to your account at cloud.spotsee.io and you will be able to identify your SpotBot
within the dashboard.
12
This document is written and published by ShockWatch, Inc. All rights reserved.
PRODUCT MANUAL
Begin Monitoring – Press Start/Stop button in the Access Port.
The “On” and “Sending” lights will both flash green.
In Use (No Alarm) – When SpotBot is in use and not in
process of sending an alarm to the SpotSee Cloud, the
“On” light will flash green every minute if no alarm has
occurred. This light will flash yellow if the unit has low
battery life.
In Use (Alarm) – If an alarm has occurred, the red “Alarm” light and the green “On” light
will flash every minute.
Stop Monitoring - Press and hold the On/Off button (for
approximately 5 seconds) until all (3) lights stop flashing
and remain on.
4. HOW TO USE YOUR SPOTBOT
A. BEGIN MONITORING
B. ALARM TRIGGERING
A good way to verify if the trip is active is to produce an alarm. Place a notepad on
your desk and drop the SpotBot from 3 inches (8cm) onto the notepad. You will see
all 3 LEDs flash if the trip is started and no LEDs if the trip is not started.
TIP
The reason you need to hold the button to stop the trip is to
prevent people from stopping the trip while in transit with a
simple push of the button. This way stopping the trip is a deliberate action. As long
as there is cellular coverage, a notice will be sent to the SpotSee user if the trip has been
stopped or the device has been reset, so you know immediately if someone has tampered
with the device.
Alarm Triggered – When SpotBot experiences an impact above the “Alarm Threshold,” the
“Alarm” (red) as well as the “On” and “Sending” (green) lights will flash at different intervals.
The lights continue to flash as the SpotBot unit sends the alarm data to the SpotSee Cloud.

13
This document is written and published by ShockWatch, Inc. All rights reserved.
PRODUCT MANUAL
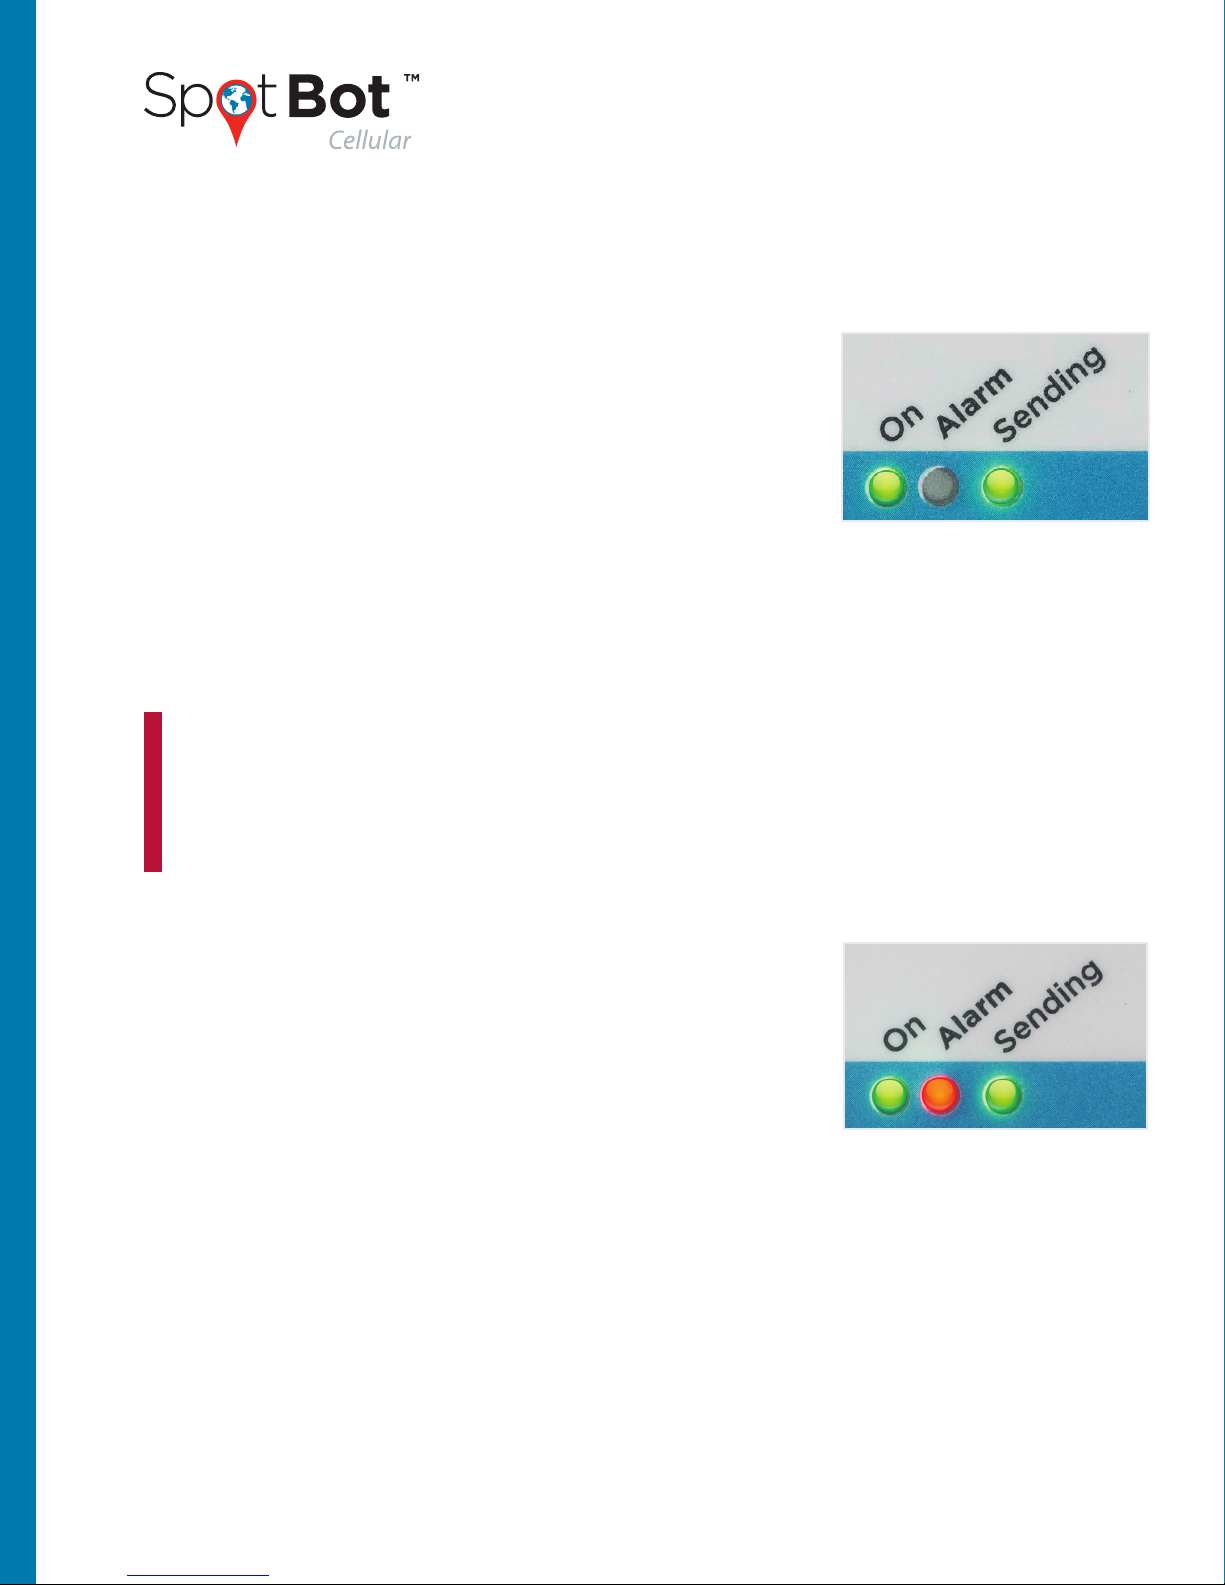
Unit Status Check – To check the status of the SpotBot unit, press the On/Off button for
one (1) second. If the “On” light flashes green and the “Alarm” light flashes red, an alarm has
occurred. If the “Alarm” light does not flash, then no alarm has occurred.
• When replacing the batteries make sure you have all you need on hand. The SpotBot will
keep settings for five (5) minutes without batteries so you can replace batteries.
• If the device goes longer than five (5) minutes without batteries, or if the SpotBot’s batteries
become depleted during a trip, you must repeat Step 3. Configure your SpotBot.
• The SpotBot will not start a trip without the correct settings, please refer to Step 4. How
to use your SpotBot, A. Begin Monitoring, for more information.
• If you want to change SpotBot settings for a new trip please refer to Step 3. Configure
your SpotBot.
C. OTHER INFORMATION ABOUT BATTERIES AND SETTINGS
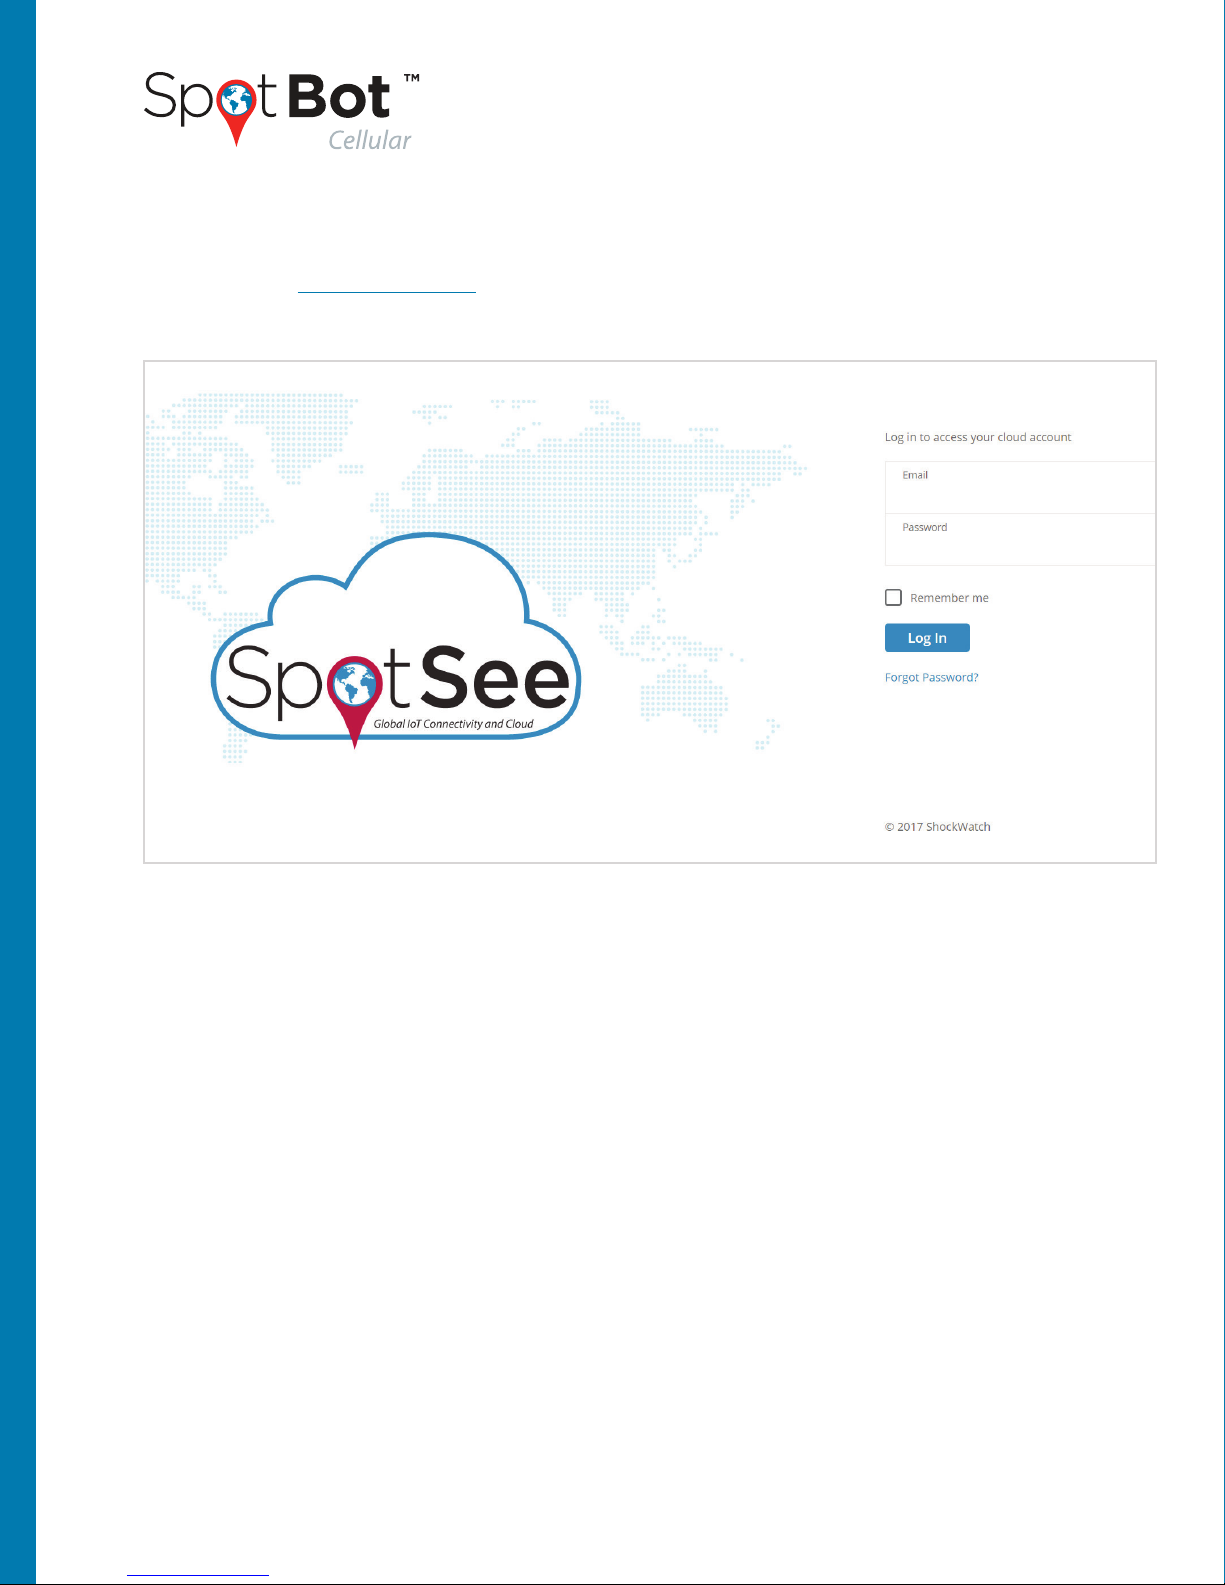
Go to cloud.spotsee.io and enter your email and password.
D. LOGIN AND PASSWORD RECOVERY
14
This document is written and published by ShockWatch, Inc. All rights reserved.
PRODUCT MANUAL
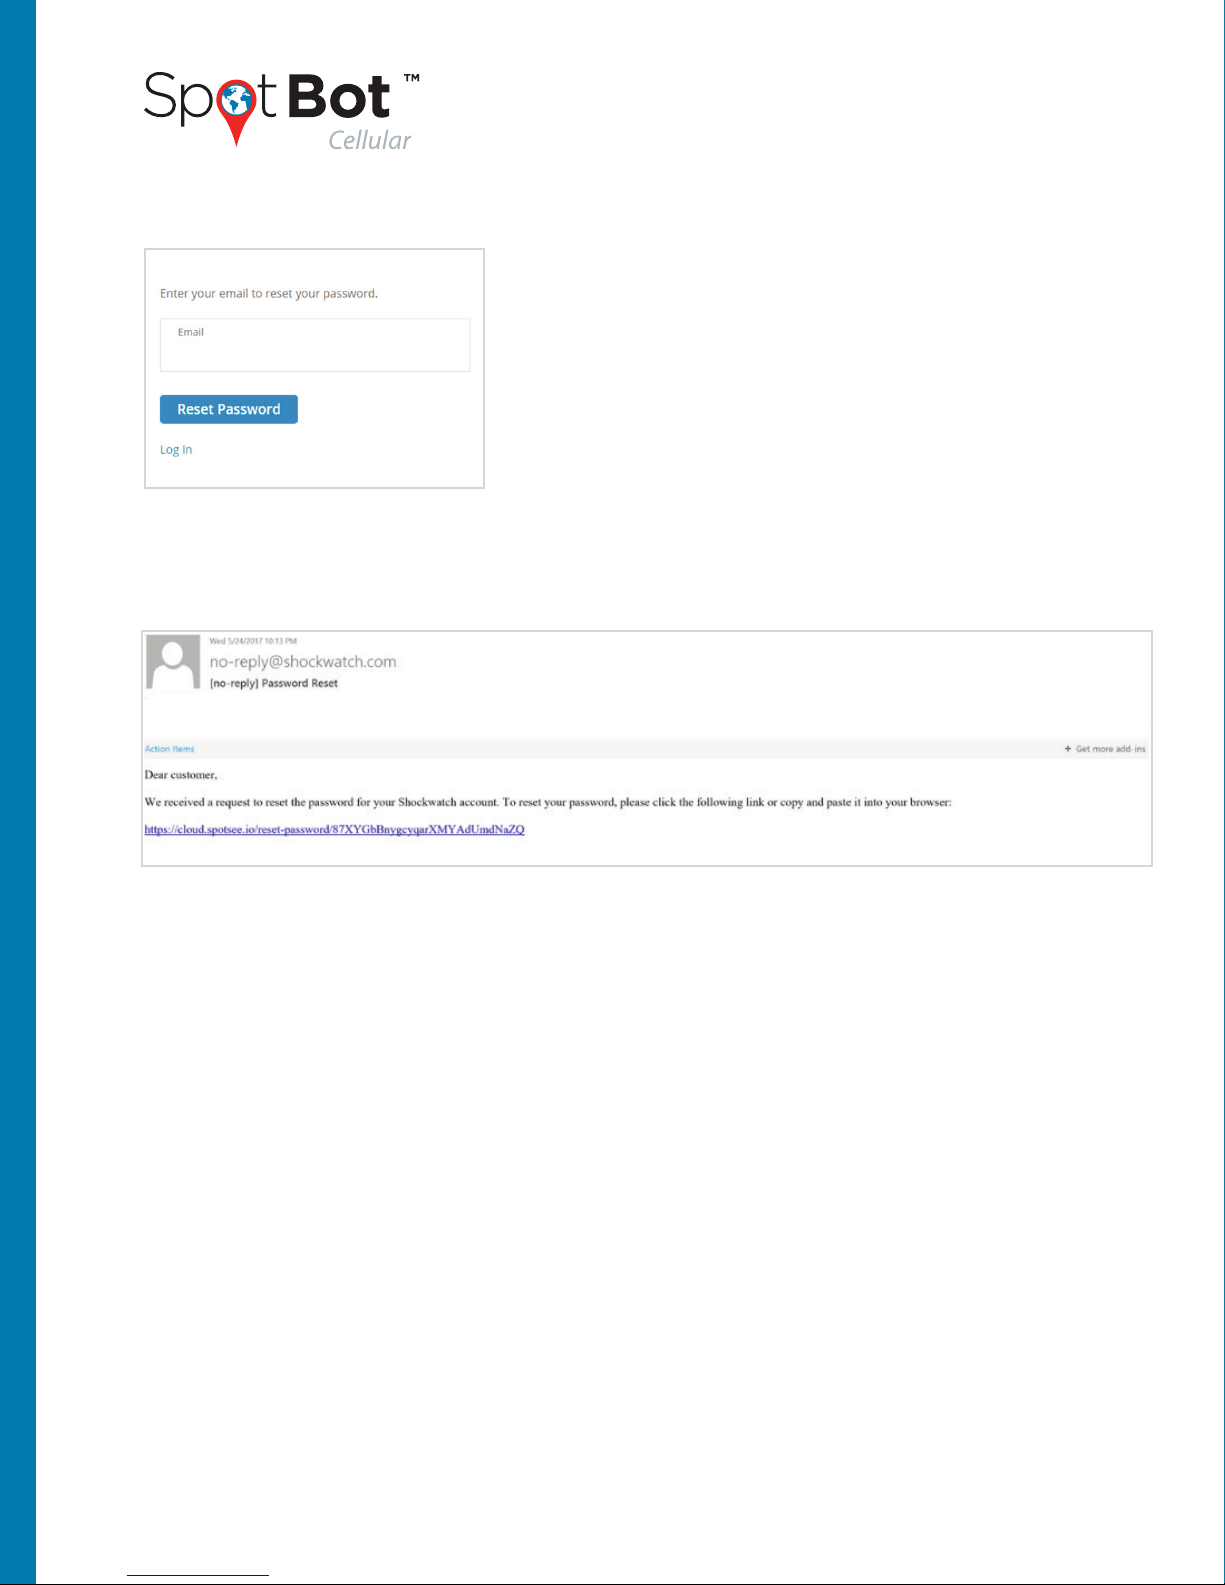
Follow the link provided in the email to reset your password. If you can’t find the email,
please check in the spam or clutter folders.
If you forgot your password, click Forgot Password to
receive a password reset email.
Enter your email and click Reset Password.

15
This document is written and published by ShockWatch, Inc. All rights reserved.
PRODUCT MANUAL
The SpotSee Cloud enables you to monitor and control your assets from any location. Upon
logging into the cloud platform you will see your dashboard. This page will show the last
known location of all your SpotBot units (referred to as assets), a list of all your active assets
and the most recent alarm for each one.
You can access each individual SpotBot by clicking on the location icon or on the asset
name in any of the lists. If active assets or units are positioned in the same location, it will
show the number of units in that location.
By clicking on the units in a specific area, the map will zoom in until you can see individual units.
E. THE DASHBOARD

16
This document is written and published by ShockWatch, Inc. All rights reserved.
PRODUCT MANUAL
When you drill down into an individual SpotBot page, you will be able to access more
detailed information about the specific SpotBot. On the map you will see all the locations
your SpotBot reported to the SpotSee Cloud.
The map will show the location pin (alarms and summaries) clustered by proximity. By
clicking the numbers on the map, the map will zoom in until you can see individual pins.
The red heat map around the numbers indicates there is at least one alarm within that
cluster. The heat map grows with the number of alarms in that location or area.
F. ASSET (SPOTBOT) PAGE
THE MAP

17
This document is written and published by ShockWatch, Inc. All rights reserved.
PRODUCT MANUAL
A blue pin represents a summary (with location and
count of all alarms registered by the unit since the
last data reset).
A red pin represents an alarm issued by the SpotBot.
The SpotBot will issue an alarm if the impact is
higher than the alarm threshold as defined in Step 3.
Configure your SpotBot.
If you prefer to see only the alarms, click on the
Summary label (under the list).
The summaries will be removed from the map and
the list and only the alarms will show.
You can do the same with the alarm label if you wish to only see summaries.

18
This document is written and published by ShockWatch, Inc. All rights reserved.
PRODUCT MANUAL
The cloud platform will trace the trip path by default when you open the unit page. If you do
not wish to see the path, you can remove it by clicking the lines icon.
Below the map is a table with relevant current information about the unit.
Unit Start Time – indicates last time a trip was started in a unit (as described in 4.A.).
Unit Stop Time – indicates the last time a unit was stopped (as described in 4.B.)
Unit Reset Time – indicates last time the unit’s data was reset (see more in Step 6.B.)
Largest Event Module – largest impact received by the cloud platform since the unit
was reset. NOTE: Modulus is calculated as
Alarm Count – number of alarms recorded by the unit since it was reset.
Summary Frequency – the frequency in which the unit will send the alarm
(as described in Step 3)
Time Since Last Message – this field indicates the last time a message was received from the
Spotbot. In case this value is larger than the summary frequency, this field works as warning
of lack of cellular coverage or mishandling of the Spotbot.
Battery Level – indicates the battery level of your unit. When this level reaches lower
percentages, it is advised to change batteries before sending the unit on a trip (please
refer to the main specifications for a reference to battery life)
The map will then show all the location points
without the path.

19
This document is written and published by ShockWatch, Inc. All rights reserved.
PRODUCT MANUAL
To guarantee data integrity, the SpotBot has a battery preservation feature that will turn off
the radio at 25% battery life but will still record the events in the unit (please refer to section
6 for more information). At 15% battery, the unit will stop recording, but the data will remain
stored in the unit.
Modulus takes the X, Y and Z directional impacts into consideration and summarizes the
combined result of all 3 impacts.
Modulus =
Below the tab you can find a graph of impacts over time with X,Y,Z
and Modulus, representing the impact levels of all the alarms issued by
the SpotBot. X,Y and Z axes directions can be found in the front label
of the unit:
Hovering the cursor over the bars in the
chart will allow you to see the individual
values for each impact.
This is true for all the graphs represented
on the web page.

20
This document is written and published by ShockWatch, Inc. All rights reserved.
PRODUCT MANUAL
Below the “Impacts Over Time” graph, you will find the “Impact Histogram.” This chart tells
you how many impacts you had over a certain impact Level. This graph divides the impact
values into intervals called bins. Each bar on the histogram represents the number of
observations falling within a bin.
In this example, most impacts fall within the <10 G. We can also see the unit had one impact
in each of the higher G ranges.
Temperature is also recorded by the SpotBot.
Other manuals for SpotBot Cellular
2
Table of contents
Other Spotsee GPS manuals


