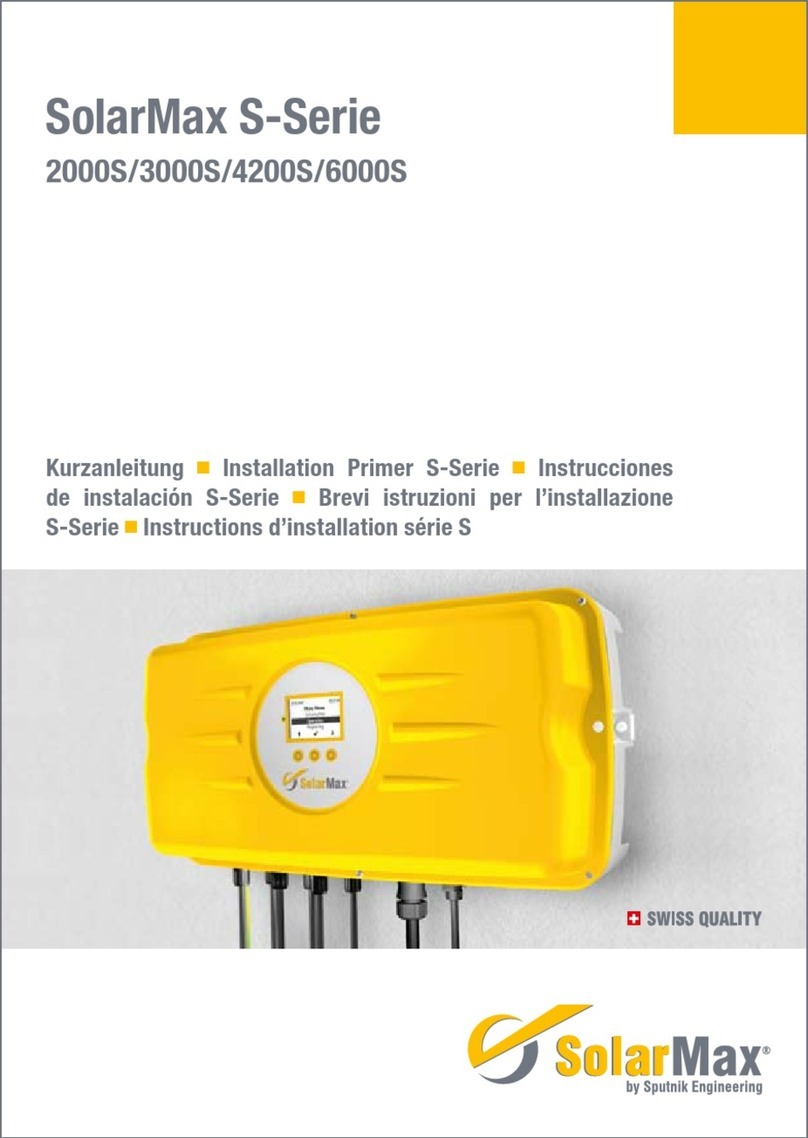
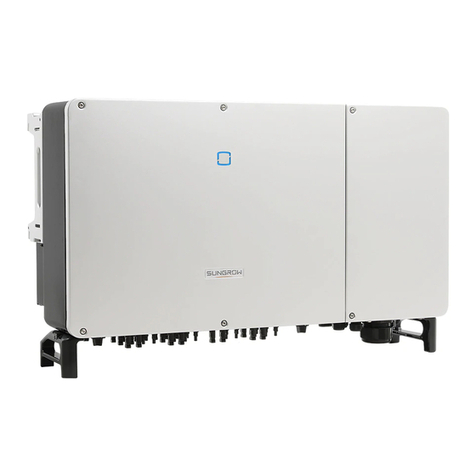
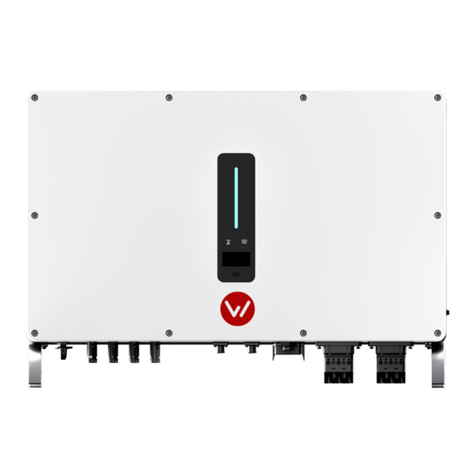
Sputnik Engineering SolarMax S Series User manual

Kurzanleitung S-Serie
Installation Primer S-Serie nInstrucciones de instalación S-Serie nBrevi
istruzioni per l’installazione S-Serie nInstructions d’installation série S
by Sputnik Engineering
10/08

10/08
de
en
es
it
fr
1.
Gerätedokumentation
SolarMax Wechselrichter
Montageschiene
2 Schrauben 6 x 50 mm
2 Unterlagsscheiben ø 18 mm
2 Dübel
Instruction manual
SolarMax inverter
Mounting rail
2 screws 6 x 50 mm
2 washers ø 18 mm
2 wall plugs
Documentación del dispositivo
Inversor SolarMax
Carril de montaje
2 tornillos 6 x 50 mm
2 arandelas ø 18 mm
2 tacos
Documentazione dell’apparecchio
Inverter SolarMax serie S
Binario per il montaggio
2 viti 6 x 50 mm
2 rondelle ø 18 mm
2 tasselli
Documentation des appareils
Onduleur SolarMax
Rail de montage
2 vis 6 x 50 mm
2 rondelles, ø 18 mm
2 chevilles
3 Schrauben M6 x 12 mm
1 Unterlagsscheibe M6
1 Federring M6
1 Kabelschuh M6
1 AC-Stecker
1 Fächerscheibe
3 screws M6 x 12 mm
1 washer M6
1 lock washer M6
1 cable socket M6
1 AC connector
1 Serrated lock washer
3 tornillos M6 x 12 mm
1 arandela M6
1 arandela elástica M6
1 terminal de cable M6
1 conector CA
1 Arandela de apriete
3 viti M6 x 12 mm
1 rondella M6
1 anello elastico M6
1 capocorda M6
1 spina AC
1 Rosette elastiche piane
3 vis M6 x 12 mm
1 rondelle M6
1 rondelle-ressort M6
1 cosse de câble M6
1 connecteur AC
1 Rondelle éventail

10/08
de
en
es
it
fr
2.
nInstallationsvorschriften in
Gerätedokumentation beachten
nPlease follow the installation
instructions in the instruction
manual
nObservar las instrucciones de
instalación en la documentación
del dispositivo
nAttenersi alle prescrizioni
per l’installazione contenute nella
documentazione dell’apparecchio
nRespecter les prescriptions
d’installation de la documentation
des appareils

10/08
de
en
es
it
fr
3.
nAnzeichnen der 2 Bohrlöcher
n370 mm Abstand zwischen den Bohrlöchern einhalten
nMit einem ø 8 mm Bohrer die Löcher mit einer Tiefe
von 60 mm bohren
nMark the 2 drill holes
nMake sure the drill holes are 370 mm apart
nUsing a ø 8 mm bit, drill to a depth of 60 mm
nMarcado de los 2 taladros
nSeparación entre los orificios: 370 mm
nTaladrar los orificios con una profundidad de 60 mm,
utilizando un taladro de ø 8 mm
nMarcare i punti dove trapanare i 2 fori
nRispettare la distanza di 370 mm fra i due fori
nCon una punta ø 8 mm trapanare due fori profondi
60 mm
nMarquer les 2 trous à percer
nRespecter l’écart de 370 mm entre les trous à percer
nAvec un foret de ø 8 mm, percer les trous sur une
profondeur de 60 mm
370 mm

10/08
de
en
es
it
fr
4.
nDübel einsetzen
nMontageschiene mit Schrauben und
Unterlagsscheiben an der Wand befestigen
nInsert the wall plugs
nAttach the mounting rail to the wall using the
screws and washers
nIntroducir los tacos
nFijar el carril de montaje a la pared con los
tornillos y las arandelas
nInserire i tasselli
nFissare alla parete il binario per il montaggio
servendosi di viti e rondelle
nInsérer les chevilles
nFixer le rail de montage à la paroi à l’aide
des vis et des chevilles

10/08
de
en
es
it
fr
5.
nWechselrichter auf der linken Seite in Montageschie-
ne einhängen, danach Wechselrichter nach rechts bis
zum Anschlag schieben, die rechte Seite des Wech-
selrichters an die Wand drücken und Wechselrichter auf
der Schiene nach links bis zum Anschlag schieben.
nSlide the inverter onto the mounting rail from the left
and push it rightwards up to the limit stop. Push the
right-hand side of the inverter against the wall and slide
it along the rail leftwards up to the limit stop.
nEnganchar el inversor por el lado izquierdo en el ca-
rril de montaje, luego deslizar el inversor hacia la de-
recha hasta el tope, presionar el costado derecho del
inversor contra la pared y deslizar el inversor sobre el
carril hacia la izquierda hasta el tope.
nAppendere l’inverter nella parte sinistra del binario
per il montaggio, far scorrere l’inverter verso destra
sino al blocco, premere la parte destra dell’inverter
contro la parete e far scorrere l’inverter verso sinistra
sul binario sino al blocco.
nSuspendre l’onduleur sur le côté gauche du rail de
montage, glisser ensuite l’onduleur vers la droite jusqu’à
la butée, presser le côté droit de l’onduleur contre la pa-
roi et glisser l’onduleur sur le rail vers la gauche jusqu’à
la butée.

10/08
de
en
es
it
fr
6.
nFixierung des SolarMax-Wechselrichters
mit Schrauben
nAttach the SolarMax inverter with screws
nFijación del inversor SolarMax con tornillos
nFissaggio con viti dell’inverter SolarMax
alla parete
nFixation de l’onduleur SolarMax par vis

10/08
de
en
es
it
fr
7.
nErdung (zweiter Schutzleiteranschluss) EN 50178 fordert
einen zweiten, festen Schutzleiteranschluss
nOption A / Optzione A / Opción A
nOption B / Optzione B / Opción B
nEarthing (second protective earth connection): according
to EN 50178 a second, fixed protective earth connection is
required
nLa puesta a tierra (segundo borne de puesta a tierra)
EN 50178 requiere un segundo borne de puesta a tierra
fijo
nMessa a terra (secondo conduttore di terra); la norma
EN 50178 esige un secondo conduttore di terra fisso
nLa mise à la terre (deuxième raccordement du conducteur
de protection) EN 50178 requiert un deuxième raccorde-
ment fixe du conducteur de protection

10/08
de
en
es
it
fr
8.
nEinrasten des AC-Steckers
nEngage the AC connector
nEnclavamiento del conector CA
nFar scattare in posizione la spina AC
nEncliqueter le connecteur AC

10/08
de
en
es
it
fr
9.
nAnstecken der DC-Klickstecker
nInsert the DC connector
nIntroducir el conector insertable DC
nInnestare il connettore DC a scatto
nEnfiler le connecteur encliquetable DC

10/08
de
en
es
it
fr
10.
nAnstecken der RJ45-Klickstecker
nInsert the RJ45 click-connector
nIntroducir el conector insertable RJ45
nInnestare il connettore RJ45 a scatto
nEnfiler le connecteur encliquetable RJ45

10/08
de
en
es
it
fr
11.
nWechselrichter AC-seitig einschalten
nDC-Trennschalter einschalten
nSwitch on the AC side of the inverter
nSwitch on the DC insulation switch
nEncender el inversor por el lado CA
nEncender el separador CC
nAvviare l’inverter dal lato AC
nAvviare il sezionatore DC
nEnclencher l’onduleur du côté AC
nEnclencher l’interrupteur d’isolement DC

10/08
de
en
es
it
fr
12.
Grundeinstellungen vornehmen:
nSprache auswählen
nLand der Installation auswählen
nDatum einstellen
nUhrzeit einstellen
Configure the basic settings:
nSelect the language
nSelect the installation country
nSet the date
nSet the time
Realizar la configuración básica:
nseleccionar idioma
nseleccionar país de instalación
najustar la fecha
najustar la hora
Effettuare le impostazioni di base:
nscegliere la lingua
nscegliere il Paese dell’installazione
nimpostare data
nimpostare ora
Procéder aux réglages de base:
nchoisir la langue
nsélectionner le pays de l’installation
nrégler la date
nrégler l’heure

10/08
de
en
es
it
fr
13.
nGratulation! Die Installation ist beendet.
nCongratulations! The installation is complete.
n¡Enhorabuena! La instalación ha concluido.
nCongratulazioni! L’installazione è terminata.
nFélicitations! L’installation est achevée.
SolarMax-Hotline
0180 / 276 5 276
0049 / 180 276 5 276
032 / 346 56 06
0041 / 32 346 56 06
0041 / 32 346 56 26
Anrufe aus nCalling from
Llamadas desde nTelefonate dalla nAppels de
Deutschland nGermany n
Alemania nGermania n
Allemagne
Österreich nAustria n
Autriche
Schweiz nSwitzerland n
Suiza nSvizzera nSuisse
Anderen Ländern nOther
countries nOtros países n
Altri paesi nAutres pays
Hotline Fax
E-mail

Sputnik Engineering AG
Höheweg 85
CH-2502 Biel/Bienne
Tel. +41 / (0)32 346 56 00
Fax +41 / (0)32 346 56 09
Vertrieb in Deutschland:
Sputnik Engineering GmbH
Schurwaldstraße 12
D-73765 Neuhausen auf den Fildern
Tel. +49 / (0)7158 986 19 0
Fax +49 / (0)7158 986 19 11
Vertrieb in Spanien/Distribución en España:
Sputnik Engineering Ibérica S.L.U.
Calle de San Eustaquio 20
Poligono Industrial La Resina
Villaverde
28021 Madrid
Tel. +34 / 91 710 04 27
Fax +34 / 91 797 18 57
Vertrieb in Italien/Distribuzione per l’Italia:
Sputnik Engineering Italia S.r.l.
Via Pola 23/b
I-20034 Giussano (MI)
Tel. +39 / 0362 311 625
Fax +39 / 0362 312 263
Vertrieb in Frankreich/Distribution pour la France:
Sputnik Engineering France S.A.R.L.
26/28 rue de Londres
F-75009 Paris
Tel. +33 / (0) 1 78 42 40 31
Fax +33 / (0) 1 78 42 40 43
www.solarmax.com
Other manuals for SolarMax S Series
2
This manual suits for next models
4
Other Sputnik Engineering Inverter manuals
