manuals.online logo
Brands
  1. Home
  2. •
  3. Brands
  4. •
  5. SSP
  6. •
  7. Control Unit
  8. •
  9. SSP CP Series Technical specifications

SSP CP Series Technical specifications

CP Series Check Valve
Maintenance Instrucons
Disassembly
Reassembly
All Kits Seal Kit Spring Kit
Maintenance
Instrucons O-Ring Spring
Label
Contents
Body
SpringPoppet
Insert with
O-Ring
Insert
Lock
Screw
1.
1. Lubricate the O-Ring and install it on the insert.
(Lubricate with system compatible lubricant)
2.
3.
2.
3.
4. Discard components that will be replaced.
5. Make sure all components are clean.
• 4CP - 3/16 HEX KEY
• 8CP - 3/8 HEX KEY
4. Tighten the insert lock screw according to the table.
5. Test product prior to installation in the system.
6. Attach the new label to the body hex, as necessary.
Valve Series Valve Material Torque Value
in·lbs (N·m)
4CP Brass 45 (5.1)
All Other 85 (9.6)
8CP Brass 100 (11.3)
All Other 300 (33.9)
WARNING
If the valve is disconnected from
a system, it must be depressurized,
cycled, and purged.
CAUTION
Care should be taken to not
scratch or damage sealing surfaces.
www.mySSP.com CPCPAMI-20B
CPA Series Check Valve
Maintenance Instrucons
Disassembly
All Kits Seal Kit Spring Kit
Maintenance
Instrucons O-Ring Spring
Label
Contents
Body
Locking
Screw
Poppet
Insert
Lock
Screw Spring
Adjusng
Screw
1. Loosen the locking screw 1/4 turn.
• 4CPA - 5/32 HEX KEY
• 8CPA - 5/16 HEX KEY
6. Discard components that will be replaced.
7. Make sure all components are clean.
2. Slide the hex wrench down into
the adjusting screw and loosen.
(Locking screw should end up ush with body face)
5.Turn the adjusting screw clockwise to
increase the cracking pressure; counter-
clockwise to decrease cracking pressure.
6. Slide the hex wrench back into the locking
screw only and turn clockwise to lock valve.
4. Tighten the insert lock screw
according to the table.
3.
3.
2.
4.
5.
7. Test product prior to installation in the system.
8. Attach the new label to the body hex, as nessessary.
Valve Series Valve Material Torque Value
in·lbs (N·m)
4CPA Brass 45 (5.1)
All Other 85 (9.6)
8CPA Brass 100 (11.3)
All Other 300 (33.9)
Reassembly
1. Lubricate the O-Ring and install it on the insert.
(Lubricate with system compatible lubricant)
WARNING
If the valve is disconnected from
a system, it must be depressurized,
cycled, and purged.
CAUTION
Care should be taken to not
scratch or damage sealing surfaces.
Insert with
O-Ring
• 4CPA - 3/16 HEX KEY
• 8CPA - 3/8 HEX KEY

Other SSP Control Unit manuals

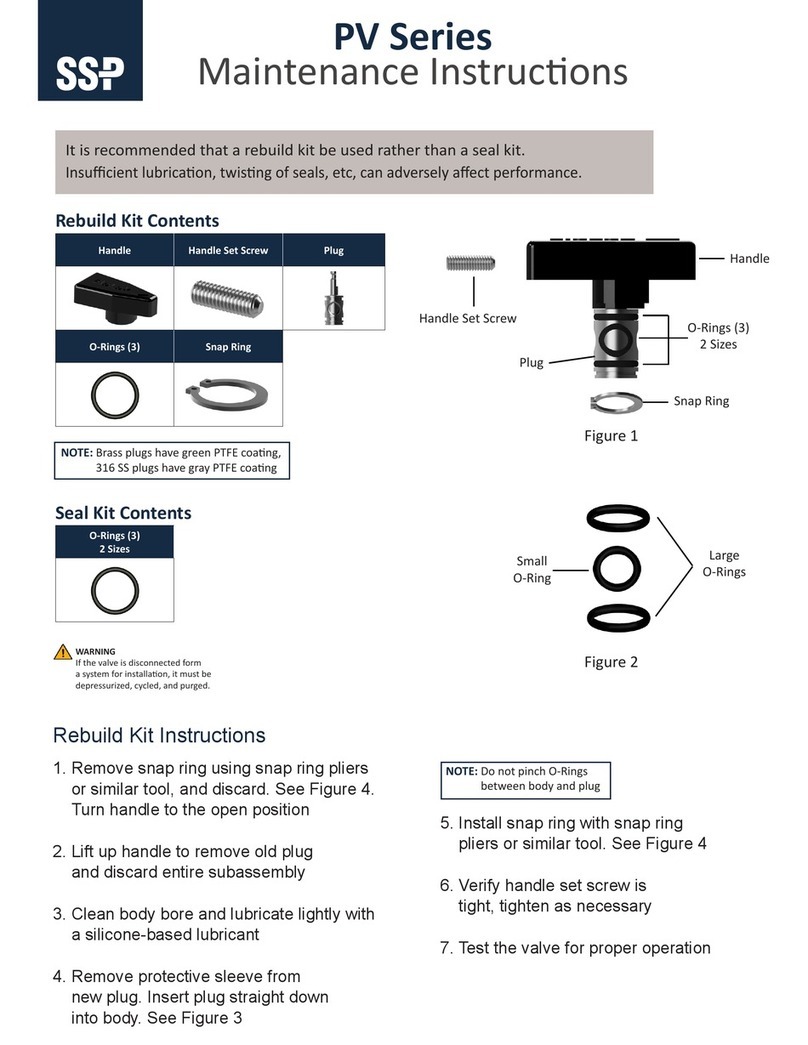
SSP 100 Series Technical specifications

SSP

SSP 100 Series Technical specifications

SSP TB Series Technical specifications

SSP

SSP TB Series Technical specifications

SSP PV Series Technical specifications

SSP

SSP PV Series Technical specifications

Popular Control Unit manuals by other brands

gefran EXP-DN-BDI-VDI instruction manual

gefran

gefran EXP-DN-BDI-VDI instruction manual

Honeywell R4795A manual

Honeywell

Honeywell R4795A manual

Protectoseal 7800 Series Installation & maintenance

Protectoseal

Protectoseal 7800 Series Installation & maintenance

EMTRION emSTAMP Helium Hardware manual

EMTRION

EMTRION emSTAMP Helium Hardware manual

Digi ConnectCore 6 Getting started guide

Digi

Digi ConnectCore 6 Getting started guide

Goetze 2140 Assembly and maintenance instructions

Goetze

Goetze 2140 Assembly and maintenance instructions

Speakman CPV-PB-PXC instructions

Speakman

Speakman CPV-PB-PXC instructions

Crest Audio CC-STS datasheet

Crest Audio

Crest Audio CC-STS datasheet

Texas Instruments TSW12QJ1600 user guide

Texas Instruments

Texas Instruments TSW12QJ1600 user guide

Mo-vis P015-61 installation manual

Mo-vis

Mo-vis P015-61 installation manual

STIEBEL ELTRON FEB Operation and installation manual

STIEBEL ELTRON

STIEBEL ELTRON FEB Operation and installation manual

Emerson Fisher GX instruction manual

Emerson

Emerson Fisher GX instruction manual

Siemens MICROMASTER Vector 6SE32 Getting started

Siemens

Siemens MICROMASTER Vector 6SE32 Getting started

Imi Heimeier Hydrolux quick start guide

Imi Heimeier

Imi Heimeier Hydrolux quick start guide

ADDAC System T-Networks ADDAC103 Assembly guide

ADDAC System

ADDAC System T-Networks ADDAC103 Assembly guide

GEA DHV operating instructions

GEA

GEA DHV operating instructions

WAGNER EPG-SPRINT XE Translation of the original operating manual

WAGNER

WAGNER EPG-SPRINT XE Translation of the original operating manual

Honeywell NOTIFIER FTM-1 Installation and maintenance instructions

Honeywell

Honeywell NOTIFIER FTM-1 Installation and maintenance instructions

manuals.online logo
manuals.online logoBrands
  • About & Mission
  • Contact us
  • Privacy Policy
  • Terms and Conditions

Copyright 2025 Manuals.Online. All Rights Reserved.