Stack STAC Colorspace 9 Quick start guide

Bedienungsanleitung
Operational Manual
COLORSPACE 9
Lichteffekt
Light effects device
by Zeck Audio · Turnhallenweg 6 · D-79183 Waldkirch

STAC Colorspace 9
Bedienungsanleitung
Sehr geehrter Kunde,
wir freuen uns, daß Sie sich für unseren Lichteffekt STAC Colorspace 9 ent-
schieden haben. Das Colorspace 9 ist ein sehr leistungsstarker Moonflower-
effekt mit Musiksteuerung und einem kombinierten Farb-Gobowechsler mit 8
Farben plus weiß und 9 Gobos. Das Colorspace 9 wurde für mobile Anwen-
dungen und für Festinstallationen im Bühnen- und Discothekenbereich kon-
struiert.
Lesen Sie vor Inbetriebnahme des Gerätes die folgenden Hinweise
sorgfältig durch. Bei Nichtbeachten der Hinweise wird keine Haftung
für die daraus entstehenden Folgen übernommen.
Dieses Gerät darf nur für den angegebenen Zweck verwendet werden.
1. Anschluß
Das Gerät wird mit fertig montierten Schuko-Netzstecker ausgeliefert.
Achten Sie darauf, daß das Gerät über den Erdkontakt der Schukosteckdose
geerdet ist, und daß beim Betrieb die Netzversorgung nicht überlastet wird.
2. Bedienung
Effektsteuerung:
Der Effekt des Colorspace 9 wird durch das von einem eingebauten Mikro-
fon aufgenommene Musiksignal gesteuert. Die Empfindlichkeit der Steue-
rung ist bereits werksseitig auf einen optimalen Wert eingestellt.
Lampenwechsel:
Vor dem Lampenwechsel ist auf jeden Fall der Netzstecker zu ziehen!
Achtung Verbrennungsgefahr: Die Lampe wird während des Betriebs sehr
heiß. Warten Sie deshalb mit dem Wechsel, bis sich die Lampe ausreichend
abgekühlt hat. Für den Lampenwechsel muß der Deckel entfernt werden.
Drehen Sie die Deckelbefestigungsschrauben auf der Rückseite heraus und
schieben Sie den Deckel nach hinten. Die Lampe kann dann nach oben ent-
nommen werden.
Achtung:
Die neue Lampe auf jeden Fall nur außen anfassen, keinesfalls den Glaskol-
ben oder die Innenseite des Reflektors berühren!
Die neue Lampe muß dann so eingesetzt werden, daß die Anschlußstifte auf
der Rückseite der Lampe waagerecht liegen und die Frontseite der Lampe an
der senkrechten Trägerplatte anliegt. Jetzt kann die Lampe vorsichtig nach
unten in den Halter geschoben werden. Achten Sie darauf, daß die Lampe bis
zum Anschlag geschoben wird.
Nach dem Anschrauben des Deckels ist das Gerät wieder betriebsbereit.
Schalter für Lampenhelligkeit:
Auf der Rückseite von Colorspace 9 ist ein Schalter zur Auswahl der Lampen-
helligkeit untergebracht. In Stellung I hat die Lampe die maximale Helligkeit
und eine Lebensdauer von ca. 100 Stunden. In Stellung II reduziert sich die
Helligkeit um ca. 15% jedoch wird die Lebensdauer der Lampe auf ca. 200
Stunden erhöht.
Wechseln der Netzsicherung:
Vor dem Austausch der Sicher ung ist auf jeden Fall der Netzstecker zu
ziehen!
Auf der Rückseite von Colorspace 9 ist die Netzsicherung untergebracht.
Sollte einmal die Sicherung ersetzt werden müssen, dann dürfen nur Siche-
rungen des selben Typs eingesetzt werden. Sollte das Gerät nach Austauschen
der Sicherung nicht einwandfrei funktionieren, so wenden Sie sich an Ihren
Händler.
3. Technische Daten
Stromaufnahme......................................................................................1,2 A
Lampe......................................................................ELC / 13163 250W / 24V
Abmessungen B x H x T (cm).......................................................27 x 12 x 36
Gewicht ..................................................................................................8,9 kg
4. Garantie
Auf das Colorspace 9 gewähren wir 1 Jahr Garantie ab Kaufdatum. Als
Garantienachweis ist der original Kaufbeleg vorzuweisen. Bewaren Sie den
Beleg deshalb auf.

STAC Colorspace 9
Operational manual
Dear customer
Thank you very much for buying our STAC Colorspace 9 lighting effect unit.
The Colorspace 9 is a highly effective 'Moonflower' type effect with sound
control and a combined color/gobo changer with 8 colors, including white,
and 9 gobos. The Colorspace 9 has been designed for mobile use and for use
as an installed light-effect system on stages and in discotheques.
Please study the following instructions carefully before using the
Colorspace 9. Our company is not responsible for any damages that
occur as a result of disregarding the instructions in this manual.
The Colorspace 9 must not be used for other than its intended purposes.
1. Connection
The unit comes equipped with an attached 3-pong mains connector with
earth contact. Always make sure that the unit is earthed through the protec-
tive earth contact and that the mains supply is capable to handle the unit's
power requirements.
2. Operation
Effect control:
The light effects of the Colorspace 9 are controlled by the unit's built-in
microphone which picks up the surrounding music. The sensitivity of the
microphone is already set to its optimum.
Bulb exchange:
Always disconnect the mains plug before changing the bulb!
Warning: Danger of burning!
The bulb gets extremely hot during operation. Always let the bulb
cool down adequately before exchange!
Loosen the cover fixation screws on the unit's back side and slide the cover
towards the back for removal. With the unit open, the bulb can be removed
from the top.
Attention: Never touch the bulb's glass body or the inside of the reflector!
Hold the bulb only on the outside.
The new bulb has to inserted with the pins pointing horizontally and the
bulb's front side facing the vertical carrier plate. Now the bulb can be pushed
carefully downwards into the socket. For safe contact and proper alignment,
it is important that the bulb contacts are pushed entirely into the socket.
After re-installation of the cover plate, the Colorspace 9 is ready again for
operation.
Brightness switch:
The Colorspace 9 has a two-position brightness switch on the unit's back side.
In position 1, the bulb runs at full power and maximum brightness with a
bulb life of approximately 100 hours. Position II yields about 15% less bright-
ness but increases bulb life to ca. 200 hours.
Mains fuse exchange:
Always disconnect the mains plug before changing the fuse!
The mains fuse is located on the back side of the Colorspace 9. Always use
fuses of the same type for substitution. Should the unit refuse to work pro-
perly after fuse exchange, contact your dealer for service.
3. Technical specifications
Current consumption . . . . . . . . . . . . . . . . . . . . . . . . . . . . . . . . . . . . . . .1.2A
Bulb . . . . . . . . . . . . . . . . . . . . . . . . . . . . . . . . . . . . . .ELC/13163 250W/24V
Dimensions (w x h x d) . . . . . . . . . . . . . . . . . . . . . . . . . 270 x 120 x 360 mm
Weight . . . . . . . . . . . . . . . . . . . . . . . . . . . . . . . . . . . . . . . . . . . . . . . . .8.9kg
4. Warranty
The Colorspace 9 is backed by a full one-year warranty from the date of
purchase. Always keep your original receipt for cases of warranty claims.
This manual suits for next models
1
Table of contents
Languages:
Popular Lighting Equipment manuals by other brands
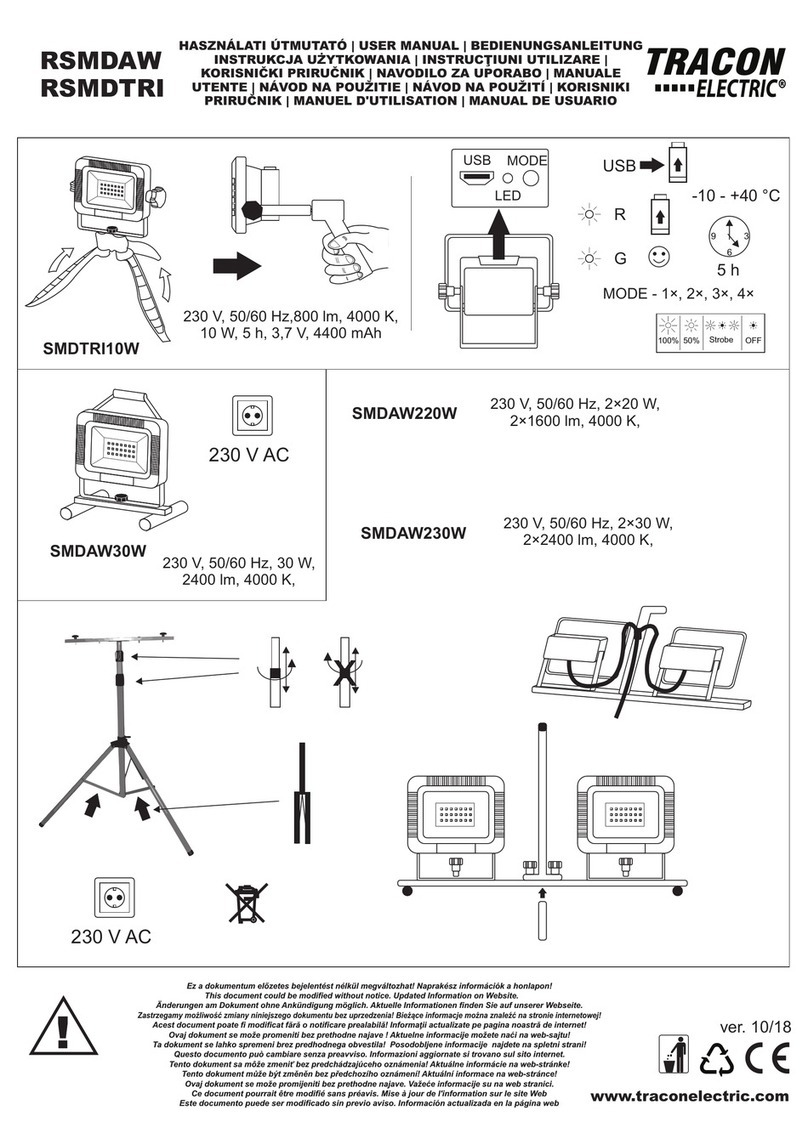
Tracon Electric
Tracon Electric RSMDAW user manual

Quoizel
Quoizel QR5135 installation guide

GAME OF BRICKS
GAME OF BRICKS Optimus Prime 10302 instruction manual

WESTEK
WESTEK BL-BAR12RC Instructions for installation

sparkfun
sparkfun Qwiic APA102C HOOK-UP GUIDE
NORDRIDE
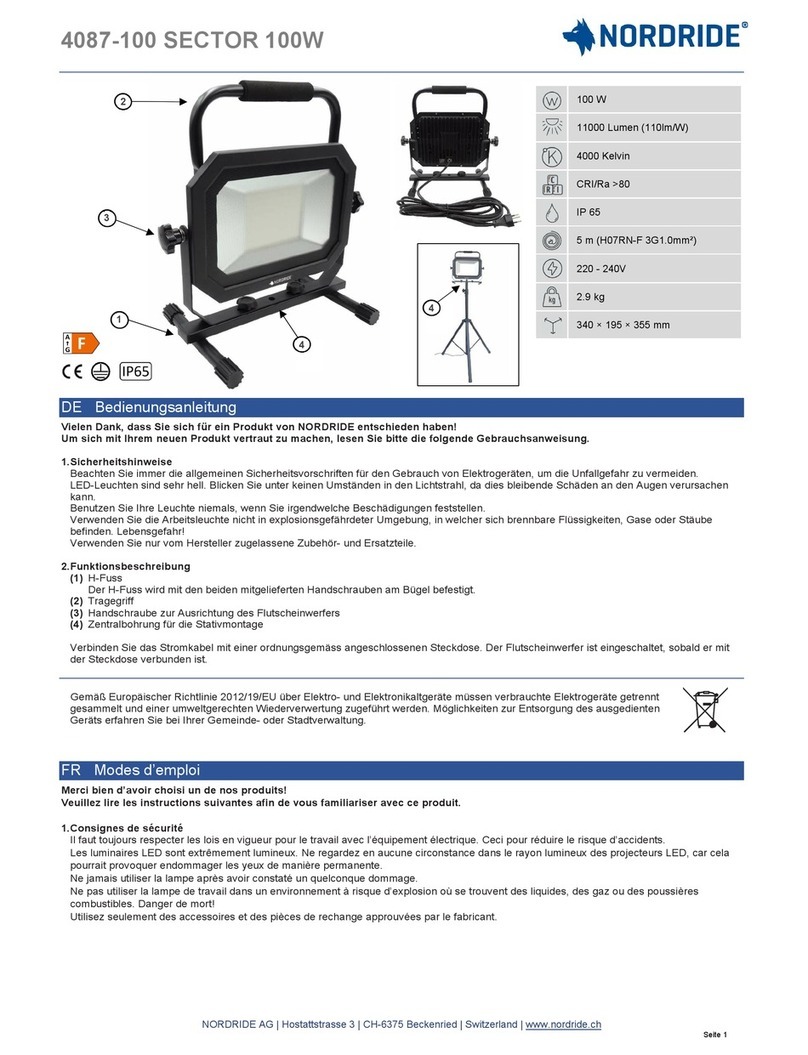
NORDRIDE 4087-100 SECTOR 100W quick start guide

