Pyroterra Lighttoys FT User manual

Pyroterra Lighttoys
presents
FT USER GUIDE
v1.2
(ENG)

Introduction
Welcome to the world of FT products from Pyroterra Lighttoys! This guide will
explain the basic operation as well as advanced and unique features, so you can
utilize your Lighttoys props to their full potential!
The concept of FT
The Future Chip Technology (FT) is a term used to describe all Lighttoys products
with any FT chip inside. FT chip is utilizing a smart 2.4GHz wireless protocol, which
enables using many Lighttoys props easily and reliably together.
Difference between FT, FT2 (& Visual) props
Two variations of the FT chip exist, depending on their technical capabilities:
•FT chip – designed to control analog RGB LEDs, can control two
independent A/B segments separately.
Example : Zebra Poi FT
•FT2 chip – designed to control digital pixel LEDs, can display graphic
patterns. When an FT2 product is also capable to display logos and pictures
with high fidelity, we use the designation: Visual.
Example : Visual Hoop
You can use Lighttoys FT props in 2 different ways:
Predefined patterns
This is the simplest way how to enjoy your Lighttoys FT props. You can play with
various predefined colors & patterns; the FT products will react accordingly as you
press the buttons on the paired FT remote:

Programmed mode
You can prepare 4 unique programmed light sequences (shows) and upload
them into the memory of your FT products for later synchronized start.
These uploaded shows can be started either manually from the FT device itself,
remotely using the FT remote or by sending a command from your computer:
Powering ON / OFF
In order to use your new FT products, you need to power on both the FT remote
and the Lighttoys FT device.
To turn on your FT device, locate its
power button. Press and hold it for
1 second, until the LEDs blink twice
with a fade-in effect.
To turn off, press and hold the power
button for 1 second, until the LEDs
blink twice with a fade-out effect.
To turn on the FT remote, press and
hold the red button for 1 second, until
the blue LED indicator on the remote
starts shining.
To turn off, press and hold the red
button again until the blue LED
indicator stops shining.
Zebra Poi FT
hold for
1 second
hold for
1 second

Auto power OFF function
Both the FT remote and the FT devices feature an auto power off functionality to
save battery life. This functionality is reset by the following activities:
•any button press
•ongoing programmed show 1-4
•received USB command
•answer from a paired FT unit (for FT remote)
FT remote
FT remote will turn off after 30 minutes of no activity.
FT device
FT device will enter a so called “silent mode” after 30 minutes of no activity. In
silent mode the LEDs are turned off, but the FT device is ready to react to radio
signals and user input normally.
FT device will turn off completely after 4 hours of inactivity spent in silent mode:
silent mode
power off
30 min 4 h

Pairing procedure
A pairing procedure synchronizes your FT remote with the FT devices of your
choice. Whenever you want to control a different combination of FT devices, you
will need to perform a new pairing procedure.
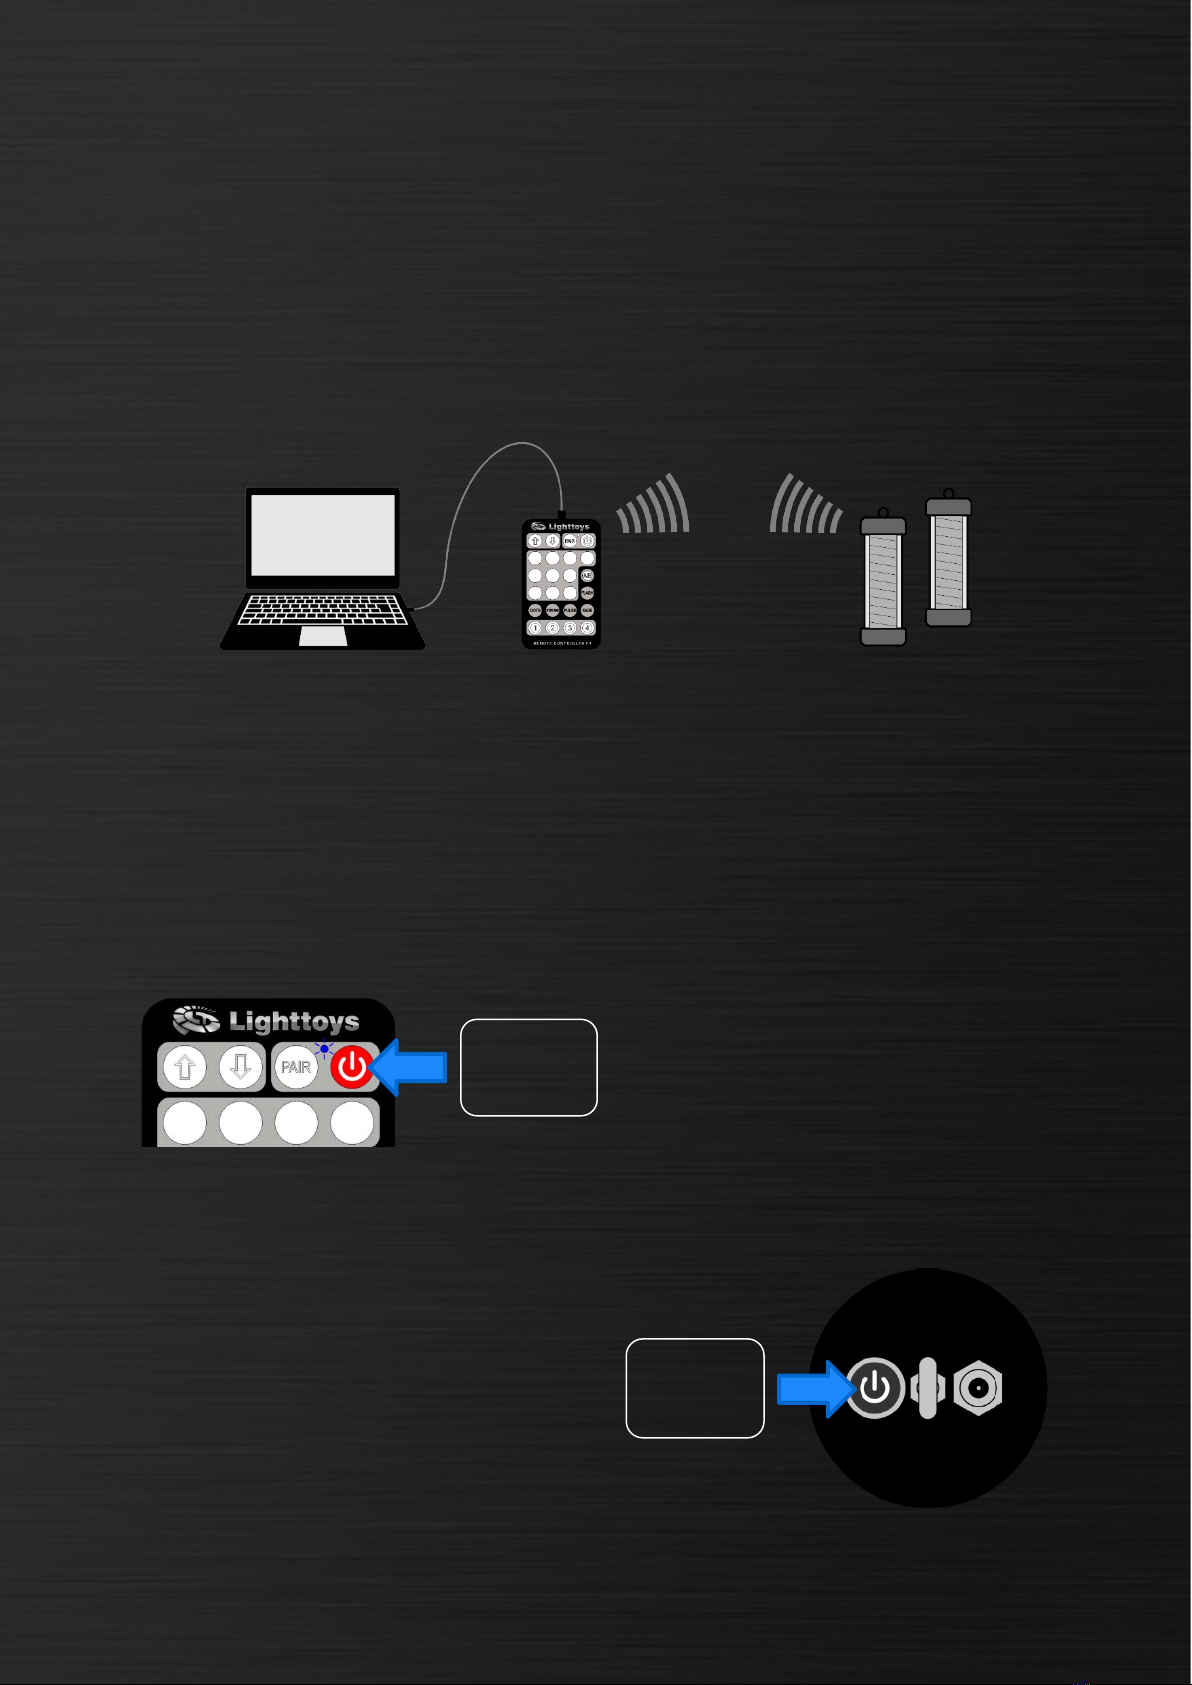
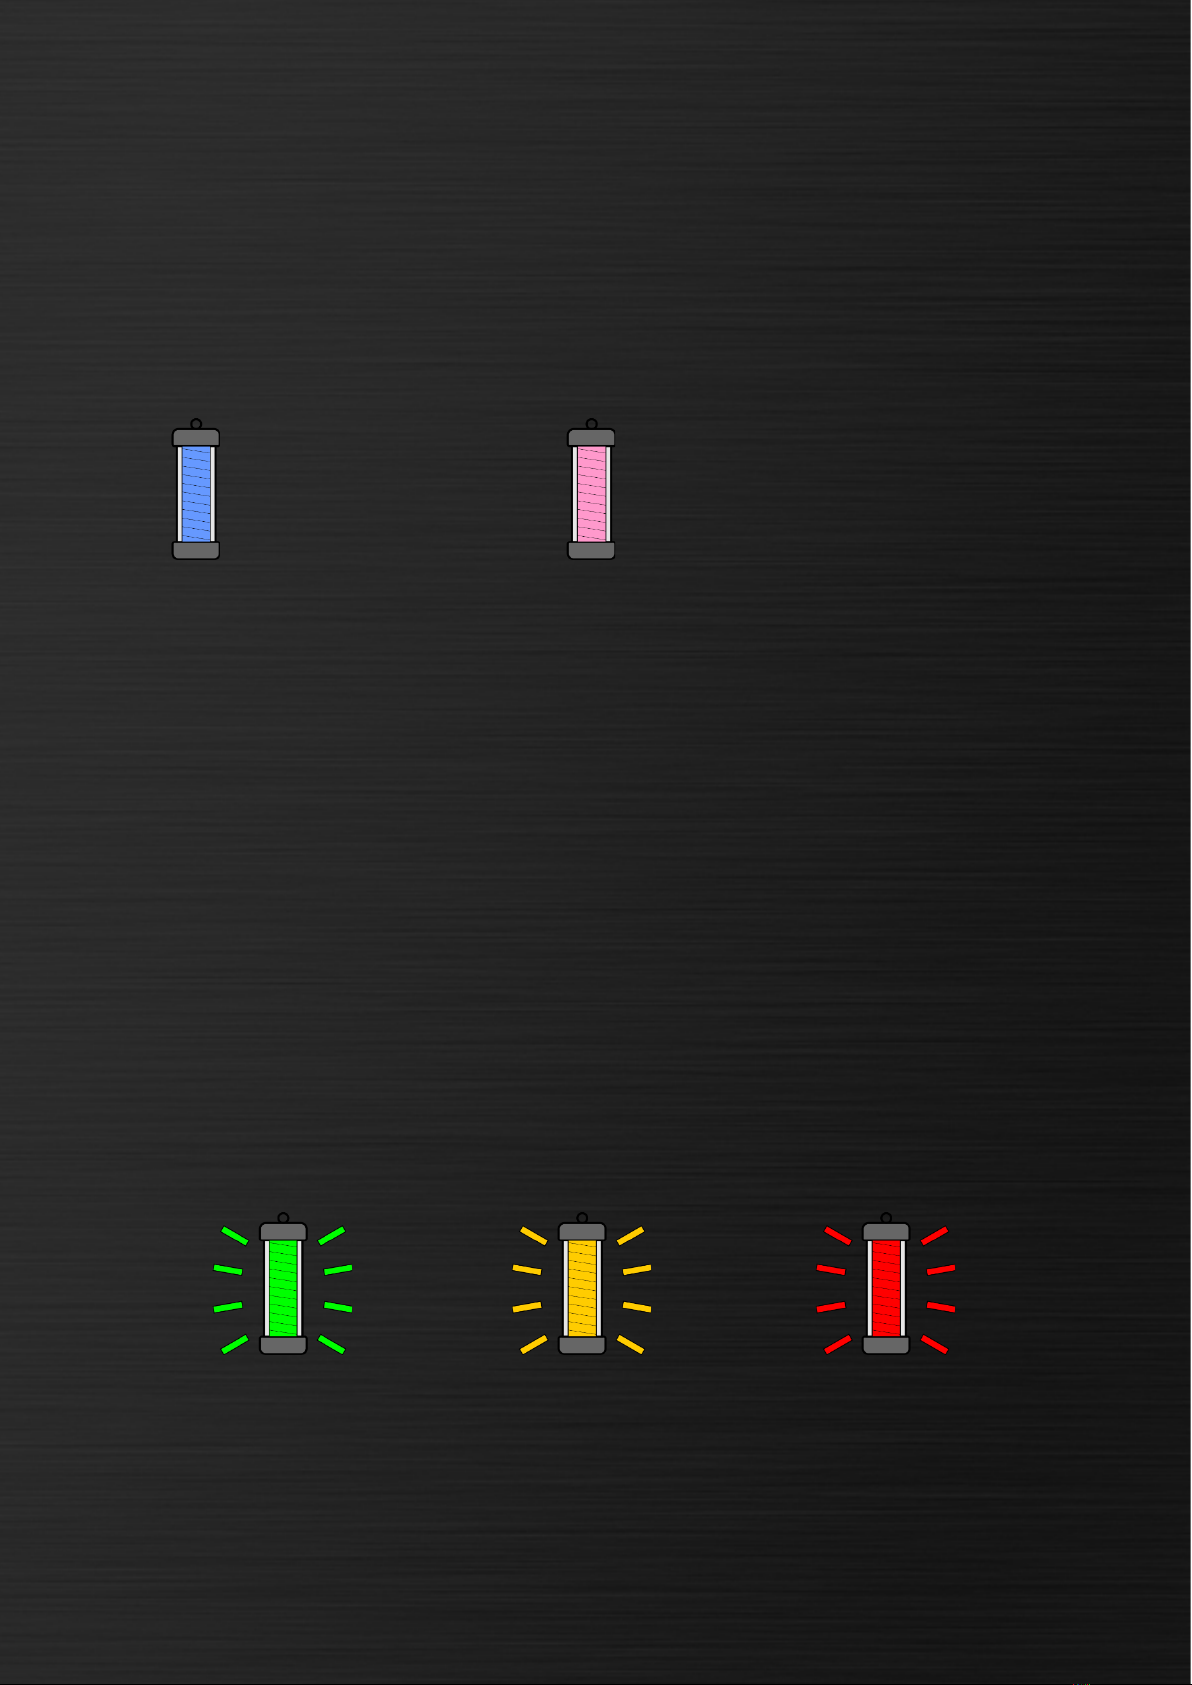
Prepare all devices you want to pair
and make sure they are all turned off.
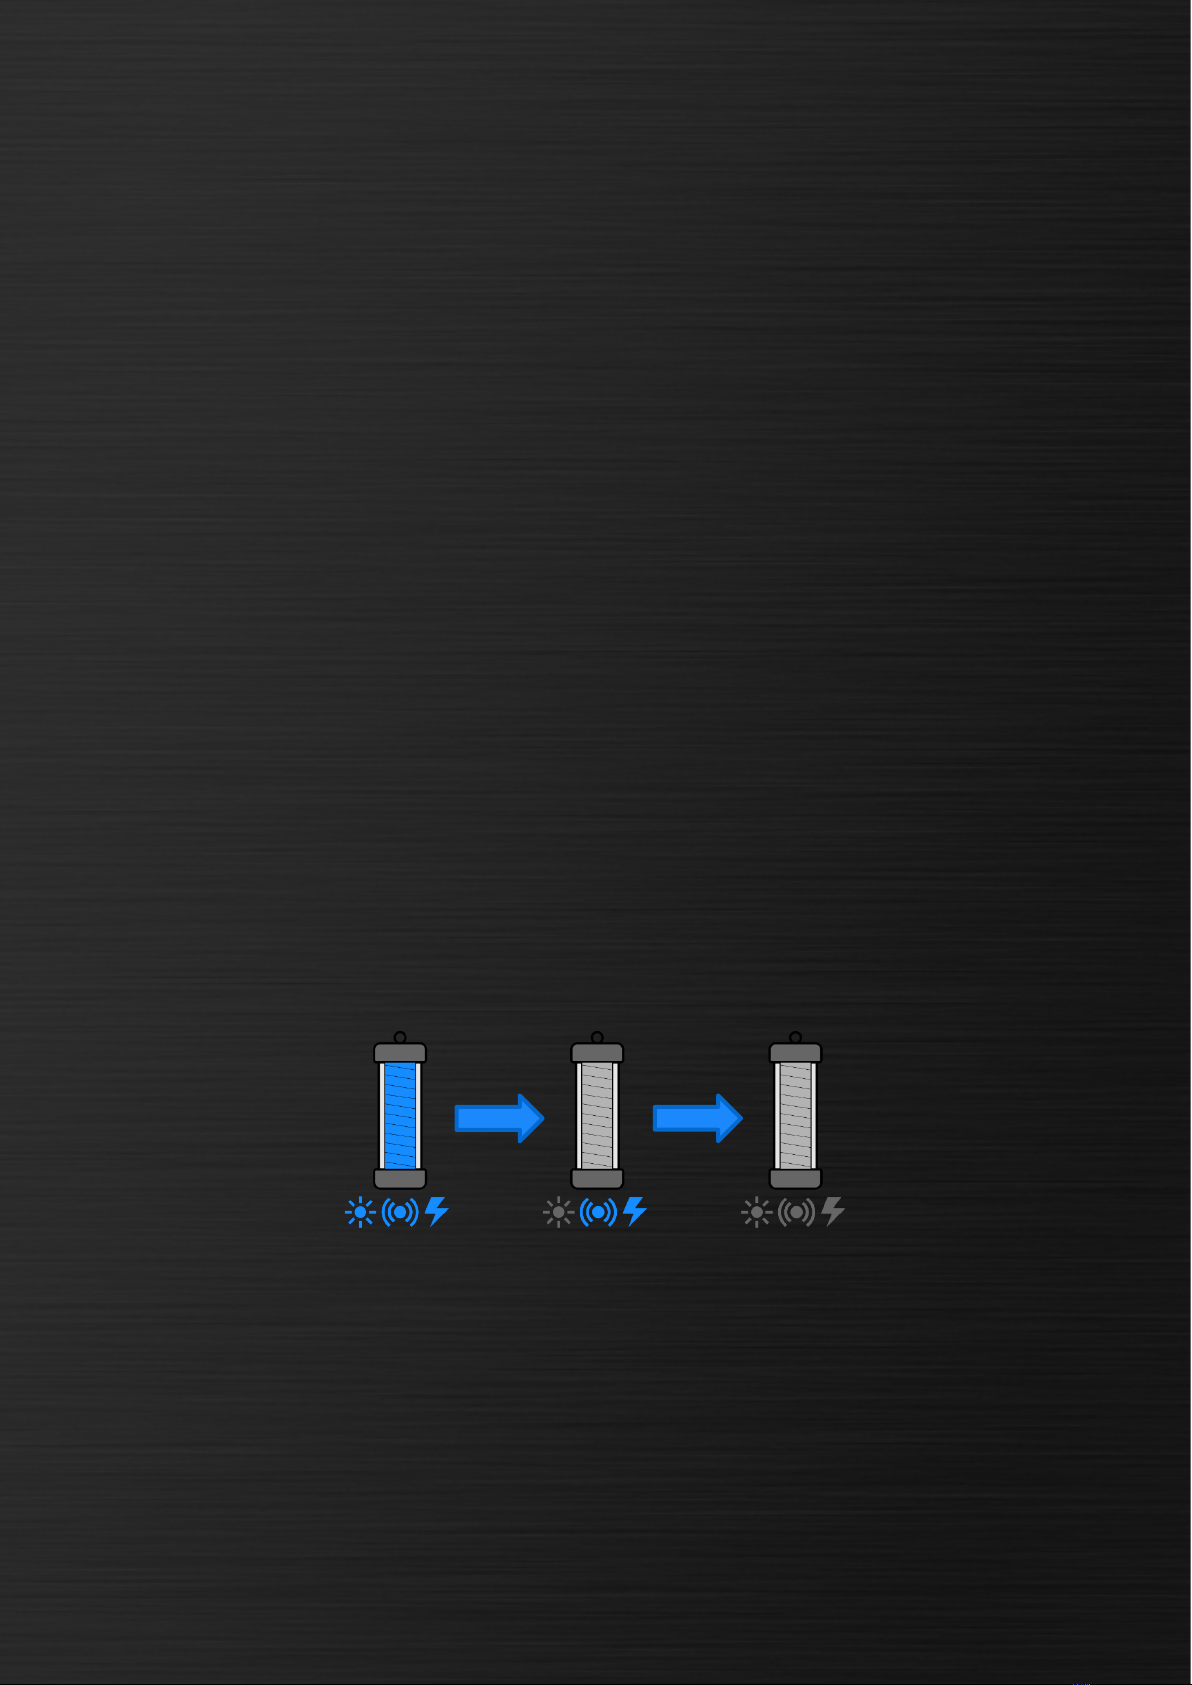
For each FT device, press and hold its
power button for 3 seconds to enter
the pairing mode. The LEDs will blink
twice in white color once successfully
paired to the FT remote.
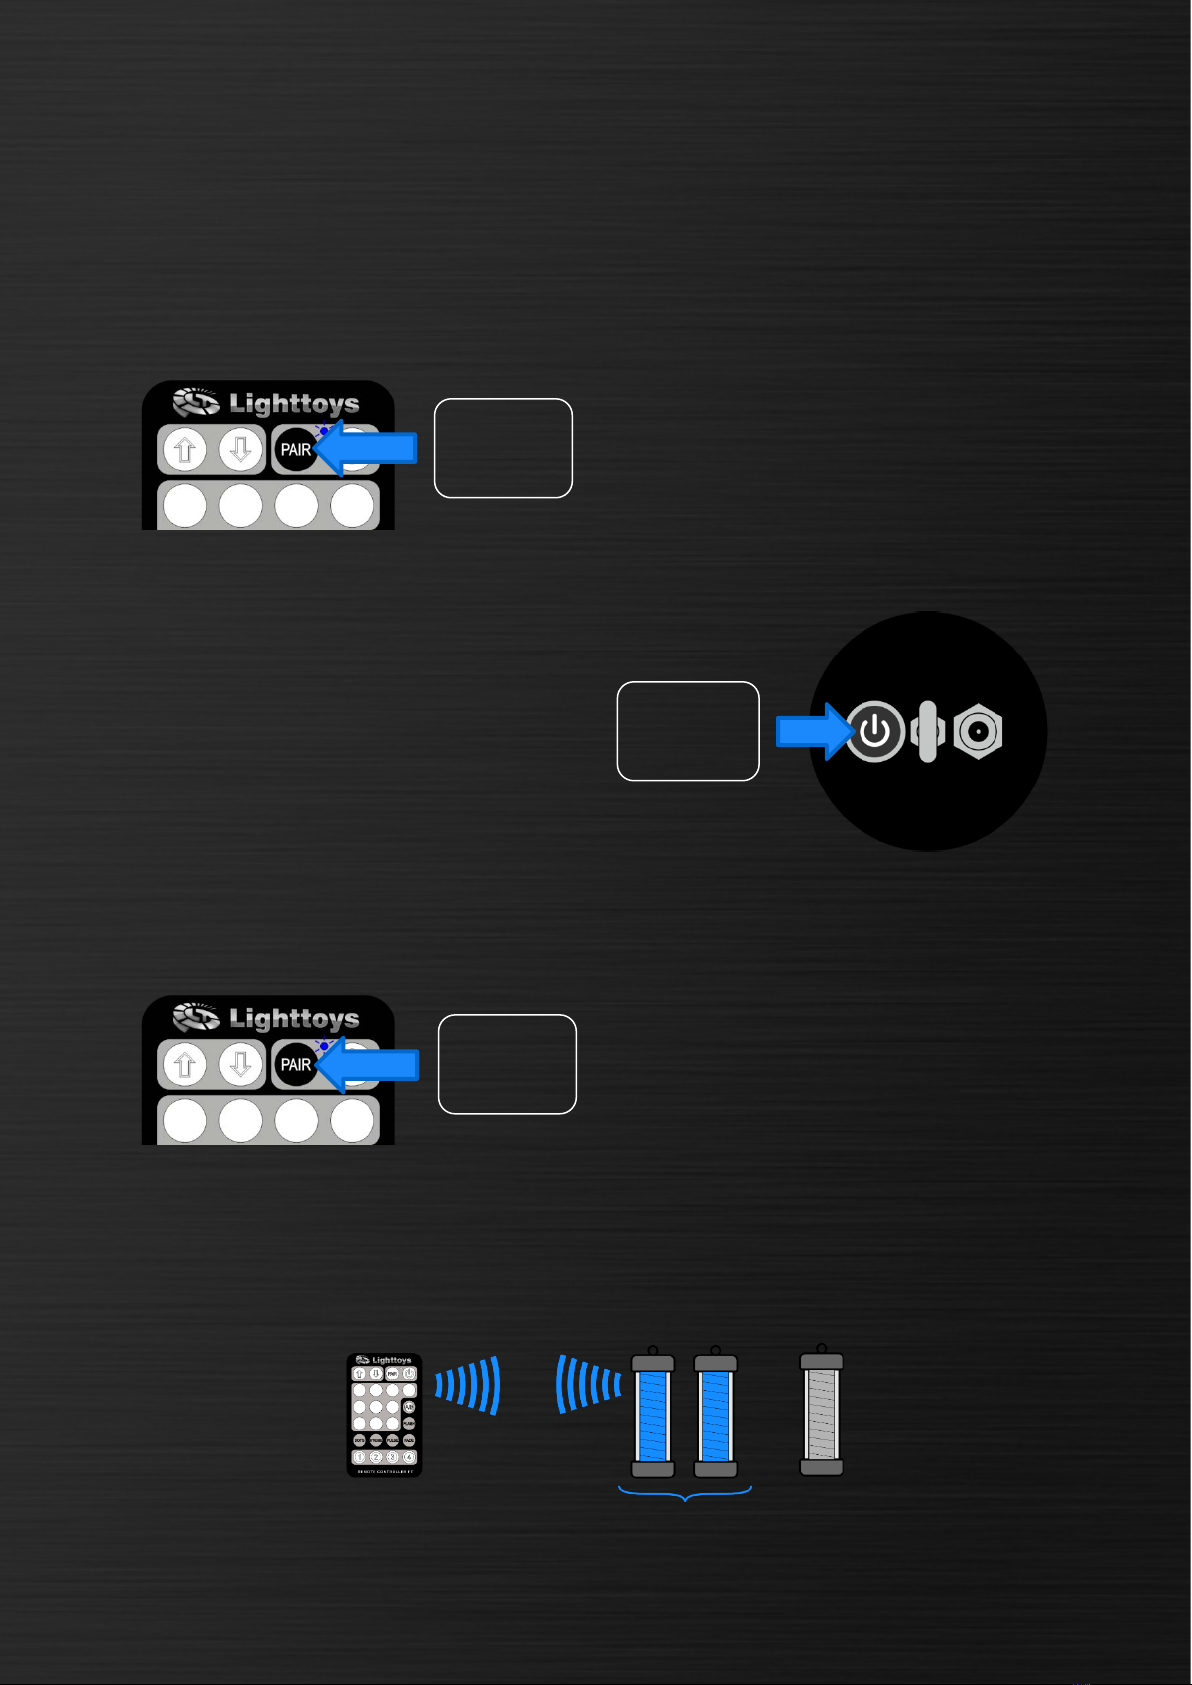
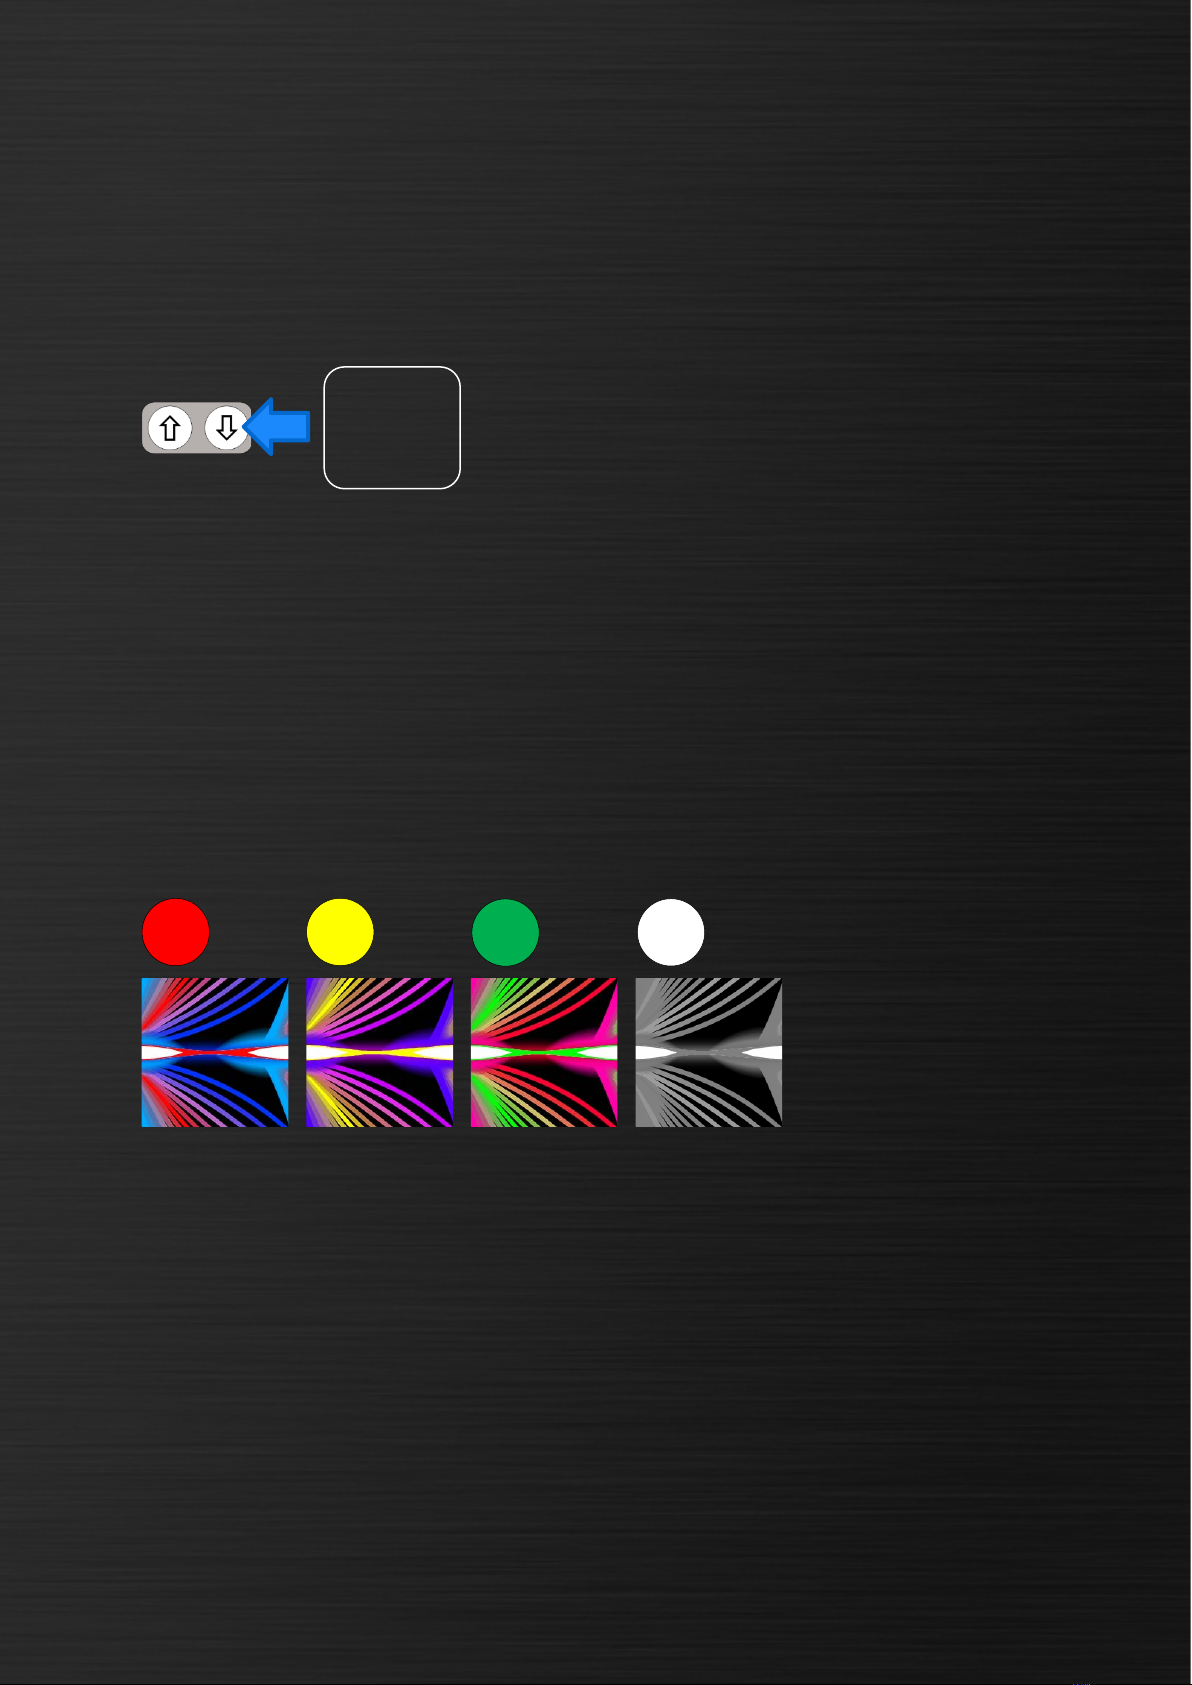
First, press and hold the PAIR button
for 1 second. The blue LED indicator
will start blinking. This indicates the
remote has entered a pairing mode.
After all FT devices are paired, press
and hold the PAIR button for 1 second.
The indicator LED will stop blinking.
Congratulations, the pairing
procedure is now completed!
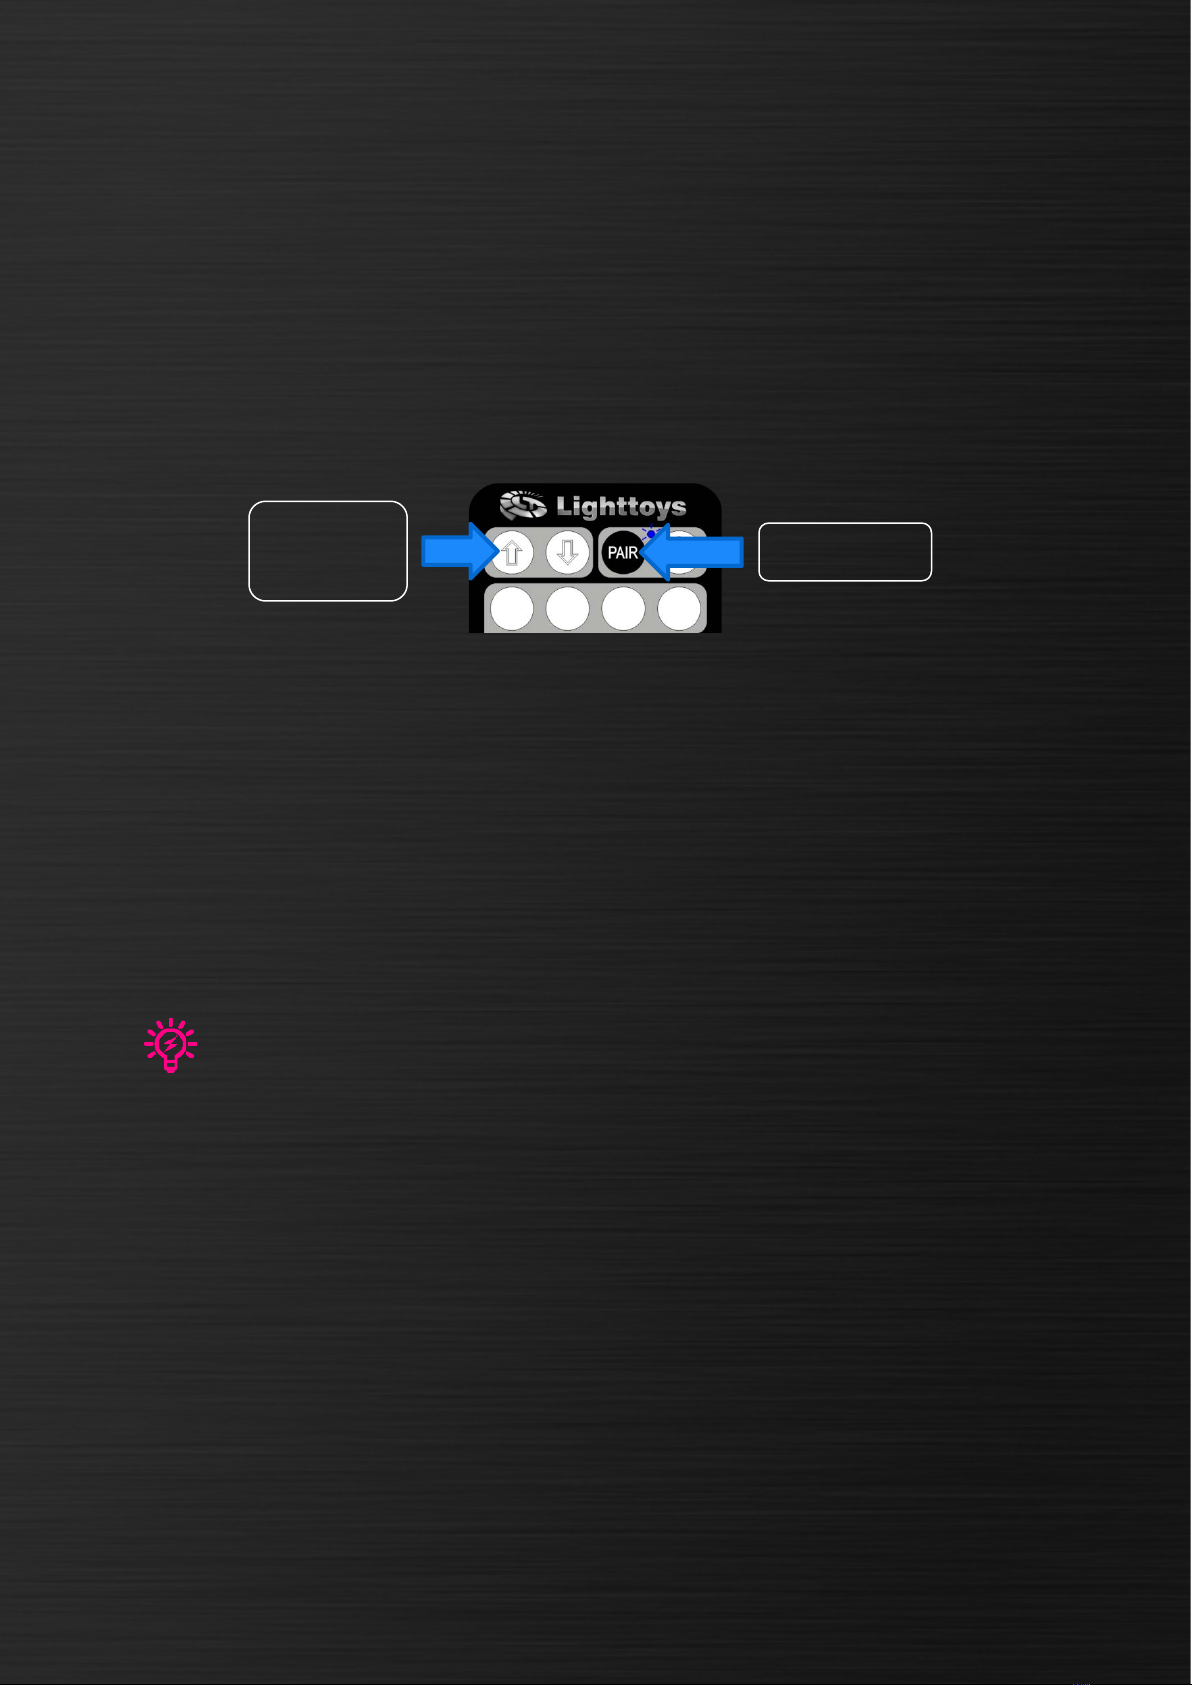
After a successful pairing, you have created a so-called “paired group” – a group
of FT devices that react in unison to the commands from the FT remote:
hold for
1 second
paired group
Zebra Poi FT
hold for
1 second
hold for
3 second

You can pair up to 32 different FT devices to a single FT remote.
Add to group
If you want to add extra FT devices to an already existing paired group, you do not
need to perform a new pairing procedure again from scratch. Use “add to group”
instead:
The FT remote will then enter “add to group” pairing mode (indicated by an
intermittent pulsing of the blue LED indicator), continue with the pairing of extra FT
devices in similar fashion as described before.
After all extra FT devices are paired, finish the procedure again by holding the PAIR
button on the FT remote.
Useful tip
During the pairing process, the 2.4GHz radio spectrum is scanned and best
channel is selected (with least interference). When performing with
Lighttoys FT props in a new venue, it is recommended to perform a new pairing
procedure close to the actual gig where performance is about to happen.
1. hold PAIR
2. hold UP
for 0.5 sec

Standby mode
After a successful pairing, all of your FT devices will enter a so-called “standby
mode”. In standby mode, LEDs will shine either in blue color, indicating strong
signal and trouble-free response; or in pink color, indicating a weak signal or no
response at all:
You can also access the standby mode by pressing the PAIR button on your FT
remote. This is useful when you have many paired FT products and want to check
their status.
Power management
Battery indication
All Lighttoys FT devices come equipped with a battery status indicator, giving you
a rough idea, how much power is still left for your performance.
The battery level indication is displayed every time you turn your FT device on or
off. The LEDs will double blink with a fade effect in a color progressing from green
to red as the charge level drops:
FT remote is
responding, signal
quality is good.
Paired FT remote is
turned off, or signal
quality is weak.
Fully
charged
Low battery
charge when possible
Empty
charge immediately

Auto-reduction of brightness
All Lighttoys FT devices offers a handy functionality – when the battery is
approaching a nearly empty level, the brightness output is automatically lowered
(by about 40%).
This extends battery life and can prevent adverse situations, like the device turning
off during a running show.
Over discharge protection
When the battery capacity reaches a critically low level, the device
starts blinking in red color for 10 seconds, then turns off completely
to protect the battery from deep discharge.
Overheat protection
When the temperature of the FT chip reaches a critically high level,
the FT device starts blinking in yellow color for 10 seconds, then
turns off completely to protect its circuits against damage from
heat.

FT remote overview
Indicator LED
The blue LED indicator located at the top of the FT remote indicates the different
conditions of the remote:
Playback speed
The speed of the preloaded dynamic effects and
images can be changed by clicking the UP / DOWN
button repeatedly.
Speed / Brightness
click to change speed
hold to change brightness
10 color buttons
click to change the color
of an image or effect
pairing mode
running show
low battery
off (charging)
add to group
Indicator LED
see below
turned on
click
5 effect buttons
click once to select an
effect (FT), click
repeatedly to cycle
through 8 different
image patterns (FT2)
Show buttons 1 - 4
press to start your show
sequence
A/B button
selects the light segment to
be controlled
ON/OFF button
turns off the running show
or FT remote

There are 8 speeds to choose from. When you reach the slowest speed, clicking
the DOWN button once more will reverse the playback direction of the effect,
indicated by a momentary dimming of the LEDs.
Brightness level
The brightness level of all images and
programmed shows can be changed in steps by
holding the UP / DOWN button for 0.5 seconds.
There are up to 6 levels to choose from. The selected brightness level is shared
between the default effects / images and programmed shows.
Color buttons
There are 10 color buttons on the FT remote, which when pressed change the color
of a dynamic effect or preloaded image in unique ways. An example follows for
the FT2 device - STROBE picture #5 and red, yellow, green and white color button
pressed on the FT remote:
It is also possible to display a pure static color across all LEDs, without any
dynamic effect. To do so, first activate the Standby mode (press the PAIR button)
then click the desired color button.
Effect buttons
There are 5 effect buttons available on the FT remote, which work slightly different
depending on the type of FT device currently under control:
hold for
0.5 sec

FT device:
there is one unique dynamic effect available under each button FLASH, DOTS,
STROBE, PULSE, FADE. Press the effect button to activate it.
FT2 device:
comes preloaded with 40 beautiful image patterns, 8 under each button. Press the
same effect button repeatedly, to cycle through the available patterns.
Silent mode
You can use the ON/OFF button on the FT remote to turn off the light output of the
FT device, entering the silent mode. In this mode you can start programmed
shows discretely, without the audience noticing.
When you are in the silent mode, press the ON/OFF button again to return to the
previous mode, or press any color or effect button to turn on the light output.
A/B segments
Most of Lighttoys FT products come with two separate light segments that can be
controlled and programmed independently.
The A/B button on the FT remote selects which
segment you currently control. Press it repeatedly to
cycle between A+B, Aor Bsegment.
FT device:
A+B AB
FT2 device:
A+B AB
click

As you press the A/B button, the selected segment will dim its LEDs
momentarily, so you know which segment is under control.
A/B variant & split point (FT2 only)
For FT2 devices you can select a different variant of the A/B segment layout as well
as the position of the split point between the A/B segments.
standard linear layout:
Hold the A/B button for 1 second, until the blue LED
indicator starts blinking. The FT remote is now in
so-called “A/B setup mode”.
All paired FT2 devices will be showing their current A/B variant on their LED outputs.
Pink color indicates segment A, blue color segment B.
Now click the A/B button repeatedly to cycle through
3 different variants of the A/B segment layout:
click
segment A
segment B
hold for
1 second
segment A
segment B
split point

1 – standard linear
2 – mirrored
3 – mirrored inverted
Use the UP / DOWN arrow to move the split point
between AB segments one LED up or down. For a
faster traverse speed, you can also hold the button
instead of clicking it.
To reset the A/B configuration to the factory default settings, hold the A/B button
for 1 second.
To save your new personal configuration and leave the “A/B setup mode”, press
any other button.
click
or hold
UP
DOWN
first LED
last LED
split point

LtComposer 3 software
To start using the powerful programming capability of your Lighttoys FT props,
download our free, easy to use, flexible composition software called LtComposer 3,
available for both Windows and Mac OS platforms.
With LtComposer you can create your light
sequences (shows) built from images and patterns,
preview them with music, and upload them to your FT
devices for later synchronized start during your
performance.
There are 4 different memory banks to choose from on each FT device, each bank
can hold a different light show sequence.
Starting the shows
Your uploaded shows can be started and stopped in several different ways, each
suitable for different scenarios. Let’s check them out!
Via the FT remote
The most straightforward way to start your
shows is from a paired FT remote by
pressing a corresponding button labeled
1 to 4.
The show sequence will then start immediately running on all FT devices in the
paired group.
Example: Button 1 was pressed, all paired FT devices with correctly uploaded show
sequence to memory bank number 1 will start playing.
A running show can be stopped by holding the ON/OFF button on the FT remote
for 1 second.
click

When the show playback finishes, the FT device will return to the previous
state before the show was launched (e.g. color, standby, or silent mode).
Via LtComposer or other software
For users seeking more flexibility and control, like synchronized start of the light
sequence and the underlying music track, there are several options.
The FT remote then acts as an intermediary transmitter (bridge), accepting USB
serial commands from the connected computer and the software running on it:
LtComposer 3 with its “run show” option is one possibility (consult the user manual
for more details). There is also an FT module for the flexible software Chataigne.
One of our customers had success with using FT in the Ableton software.
For the technically skilled out there, the FT remote can even be controlled directly
via serial commands sent over the USB line. This enables unlimited freedom and
integration into any environment (contact us for more details).
Manually on the FT device
The shows can be also started directly on the FT device via its power button.
This might come handy in some special situations:
•when the FT remote is impractical for the performing act
•in case of a strong radio interference
Press the power button once in any mode
(except silent mode or a running show).
click

The FT device will enter the memory bank selection, where you can select which
show to play. It is indicated either with the color of the Asegment (FT device) or on
the 4 LEDs closest to the beginning of the LED strip (FT2 device):
Press the power button repeatedly to cycle your selection between bank 1-4:
Bank 3 selected
To confirm your selection, make a longer press of the power button – the FT device
will enter a “prelaunch state”, indicated by a darker color of the LED(s), ready to
start the show at a single click:
Bank 3 ready
When you are ready, press the power button and the show sequence will start to
play immediately. To stop the show, hold the power button on the FT device for 1.5
seconds.
FT device:
FT2 device:
bank 1
bank 2
bank 3
bank 4

Note: when there are no shows uploaded to the device memory, it will be
indicated on the LEDs in dim white color:
no banks uploaded
Silent ping
Silent ping is a special feature of all FT devices, increasing the comfort and
assurance of artists on the stage.
If you press the power button of any FT
device in silent mode, it will blink softly in
white color, giving you a visual indication
that the device is turned on and ready for
a show.
This feature works even during black
passages of a running show.
Perfect Sync
Perfect Sync is a unique functionality of FT products. It makes sure that your
devices always start and run synchronized, no matter how strong the electronic
interference on the stage is or when the performer stops the show accidentally.
How it works
When you press the button 1-4 on the FT remote to start the programmed light
sequence, the remote begins to send repeatedly this start signal along with a
current time mark (actual position into the running show):
click

If some FT device doesn't catch the initial start signal, the moment it finally gets it,
it will calculate its precise position in the show (with 2 millisecond accuracy) and
start from there!
Perfect Sync feature helps to rescue the following unfavorable situations:
•SITUATION 1 – some FT device(s) don’t catch the start signal.
Remedy: wait for the FT device(s) to catch the signal; when the
interference is strong, come closer with the FT remote.
•SITUATION 2 – the artist stops the show by a long press of the main button.
Remedy: turn on the FT device, it will start from the correct time position
immediately.
•SITUATION 3 – some FT devices(s) were not turned on when the show
started.
Remedy: turn on the FT device, it will start from the correct time position
immediately.
The following video shows the Perfect sync feature in action:
https://youtu.be/avgoezJM9Z0.
show: #1
time: 02:37.160

Device charging
FT remote
When the blue LED indicator starts to show low battery
status (intermittent dimming), charge the FT remote.
You can use any 5V USB charger with a USB 2.0 Micro-B
cable. FT remote is also charged whenever attached to a
computer. The FT remote is designed to last several days
of constant use.
FT & FT2 devices
For charging your Lighttoys FT devices, please use the specific Lighttoys charger
included. The charger has a red / green LED indicator to display its charging
status:
red – battery is being charged
green – battery full / no device
connected
Do not leave the charger connected to your FT devices without the mains
cable also connected to your power outlet. If you do so, it will slowly
discharge the device battery.
For charging your Lighttoys FT2 devices, you can use any 5V USB charger, ideally
with fast charging capability (2.0A or higher).
The battery charging is indicated on the FT2 device by pulsing of the blue LED
indicator next to the USB connector. Once the charging is finished and battery is
full, the LED indicator will turn off.
USB
power

We wish you many great moments
with Lighttoys FT!
This manual suits for next models
1
Table of contents
Other Pyroterra Lighttoys Lighting Equipment manuals
Popular Lighting Equipment manuals by other brands

Osram
Osram TW-DL-12V/110mA-Power Pack Installation instruction

Oypla Leisure
Oypla Leisure 4040 user manual

dun-bri GROUP
dun-bri GROUP DBG M37 Series manual

AeroFlash
AeroFlash Nexus PRO Installation and operating manual

Lumisys
Lumisys MX08 installation guide

Access Lighting
Access Lighting 20291LEDDLP quick start guide