StarFive VisionFive 2 User manual

Using VisionFive 2 GPIO to Make An
LED Blink
StarFive

Legal Statements
PROPRIETARY NOTICE
Contact Us
StarFive

Preface
About this document
Revision History
Table 0-1 Revision History
Version Released Revision
Notes and noces
•Tip:
•Note:
•Important:
•CAUTION:
•Warning:
StarFive

Contents
1. Introducon.........................................................................................................................................................................7
2. Preparaon.......................................................................................................................................................................... 8
3. Running Demo Code.......................................................................................................................................................... 12
4. Demo Source Code............................................................................................................................................................ 13
StarFive

List of Tables
StarFive

List of Figures
StarFive

1. Introducon
1.1. 40-Pin Header Denion
Figure 1-1 40-Pin Denion
1
3
5
7
9
11
17
19
23
27
31
35
13
15
21
25
29
33
37
39
2
4
6
8
10
12
18
20
24
28
32
36
14
16
22
26
30
34
38
40
5V Power
5V Power
GND
GPIO5 (UART TX)
GPIO6 (UART RX)
GPIO38
GPIO51
GND
GPIO49 (SPI CE0)
GPIO40
GPIO46 (PWM0)
GPIO36
GND
GPIO54
GPIO50
GPIO56
GND
GND
GPIO61
GPIO44
3.3V Power
GPIO58 (I2C SDA)
GPIO57 (I2C SCL)
GPIO55
GND
GPIO42
3.3V Power
GPIO52 (SPI MOSI)
GPIO48 (SPI SCLK)
GPIO45
GPIO39
GPIO63
GPIO43
GPIO47
GPIO53 (SPI MISO)
GND
GPIO37
GPIO59 (PWM1)
GPIO60
GND
StarFive
2. Preparaon
2.1. Environment Requirements
•
•
•
•
2.2. Preparing Hardware
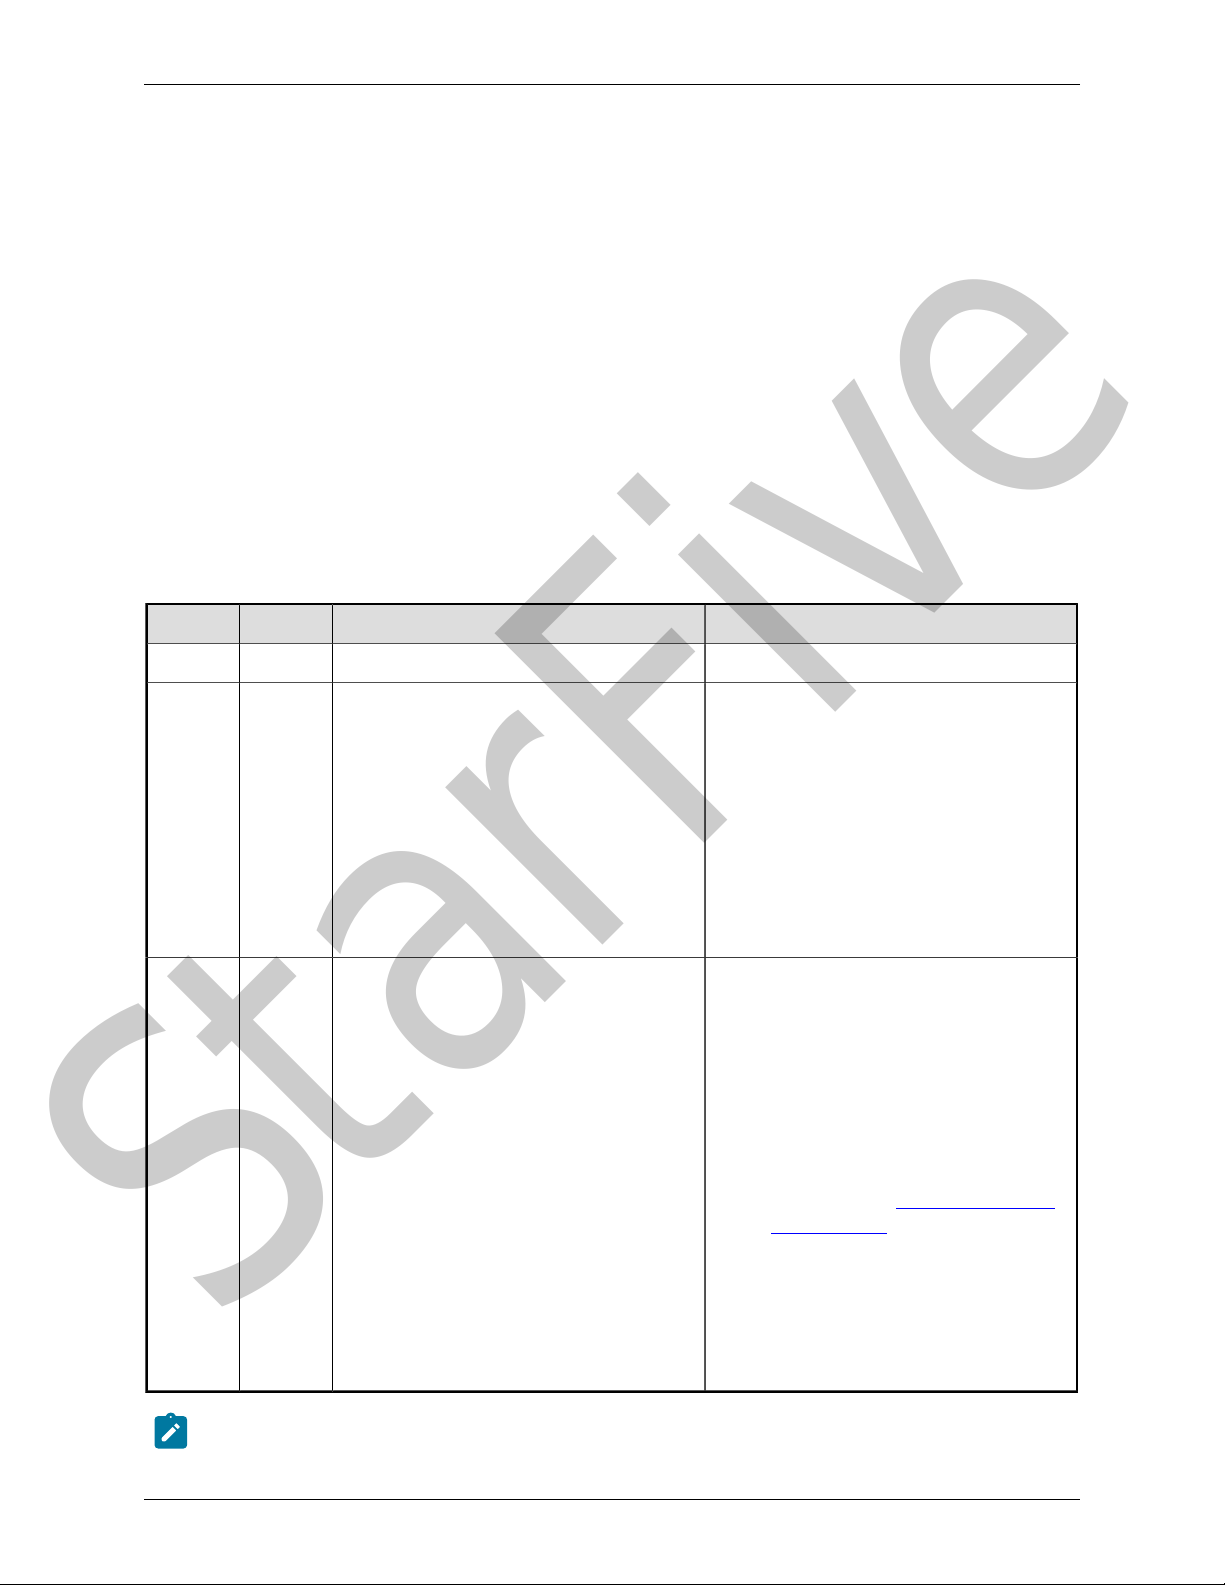
Table 2-1 Hardware Preparaon
Type M/O*Item Notes
•
•
•
•
•
•
•
•
•
•
•
•
•
(on page 9)
•
Note:
StarFive
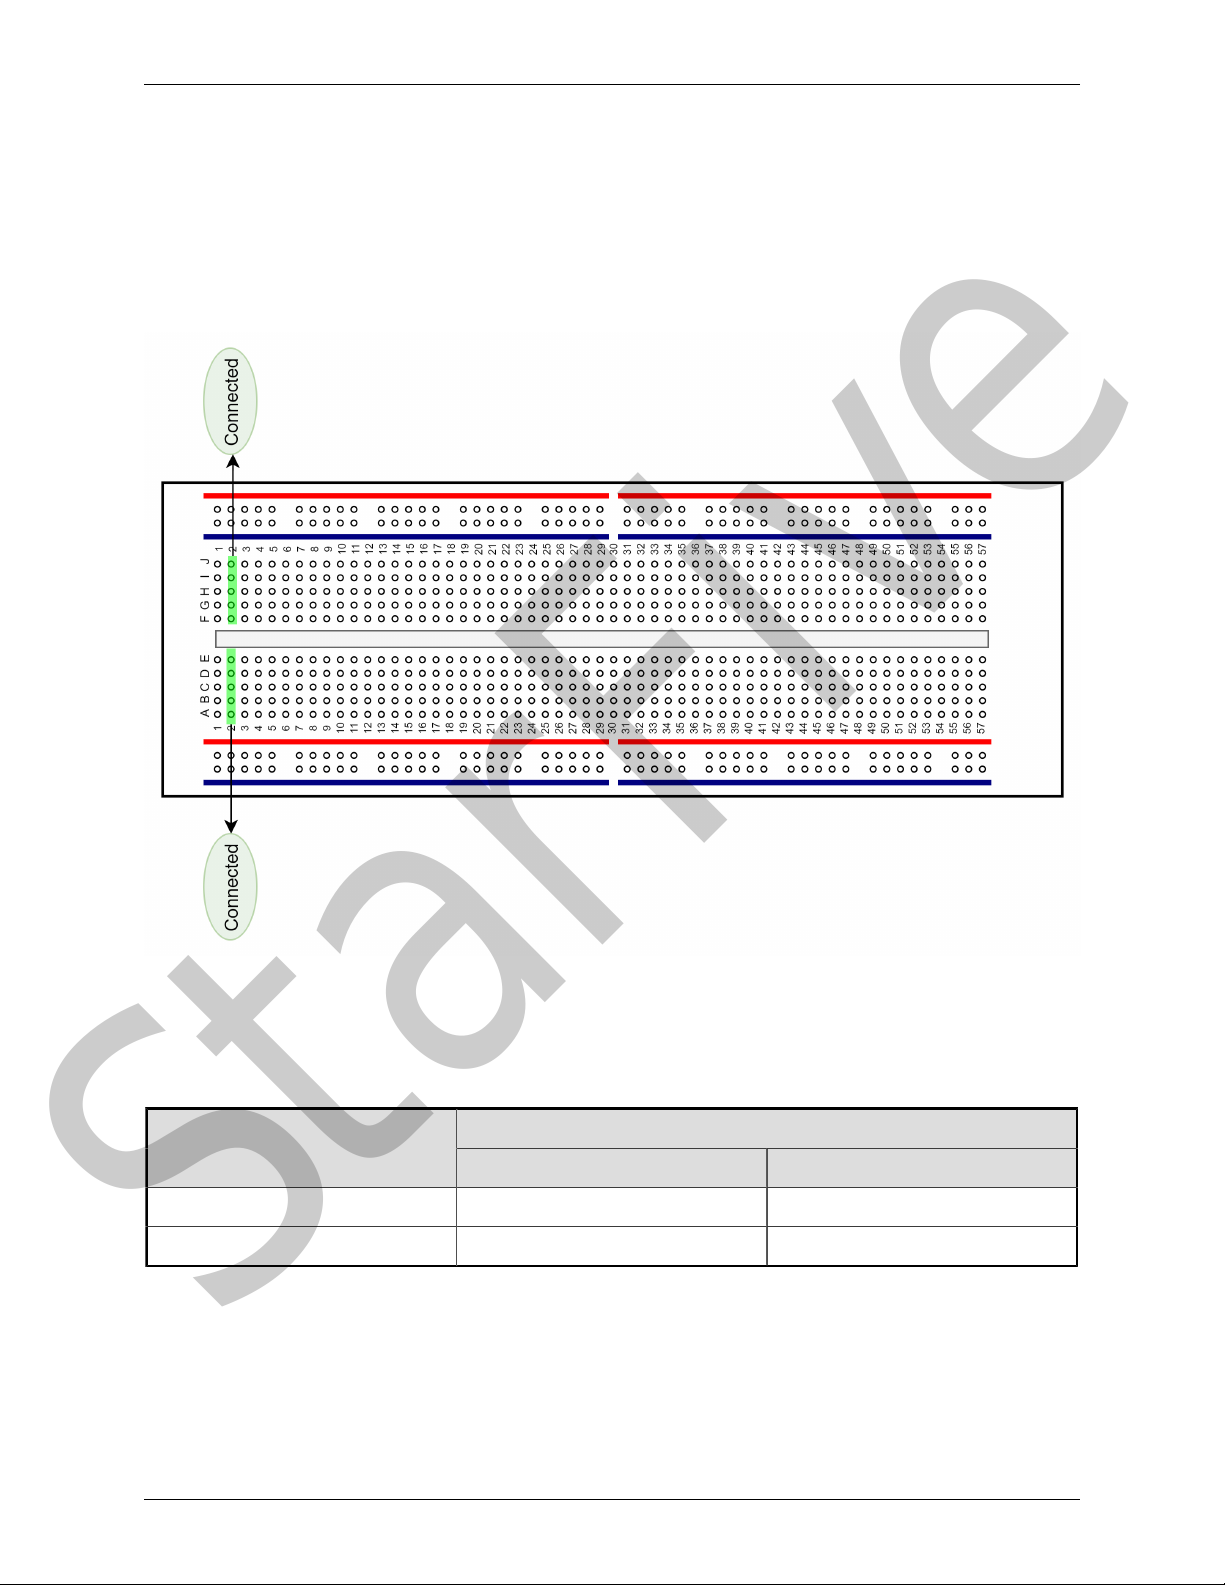
Breadboard Introducon
Figure 2-1 Breadboard Overview
2.2.1. Hardware Setup
Table 2-2 Connect LED to the 40-Pin Header
40-Pin GPIO Header
LED
Pin Number Pin Name
StarFive
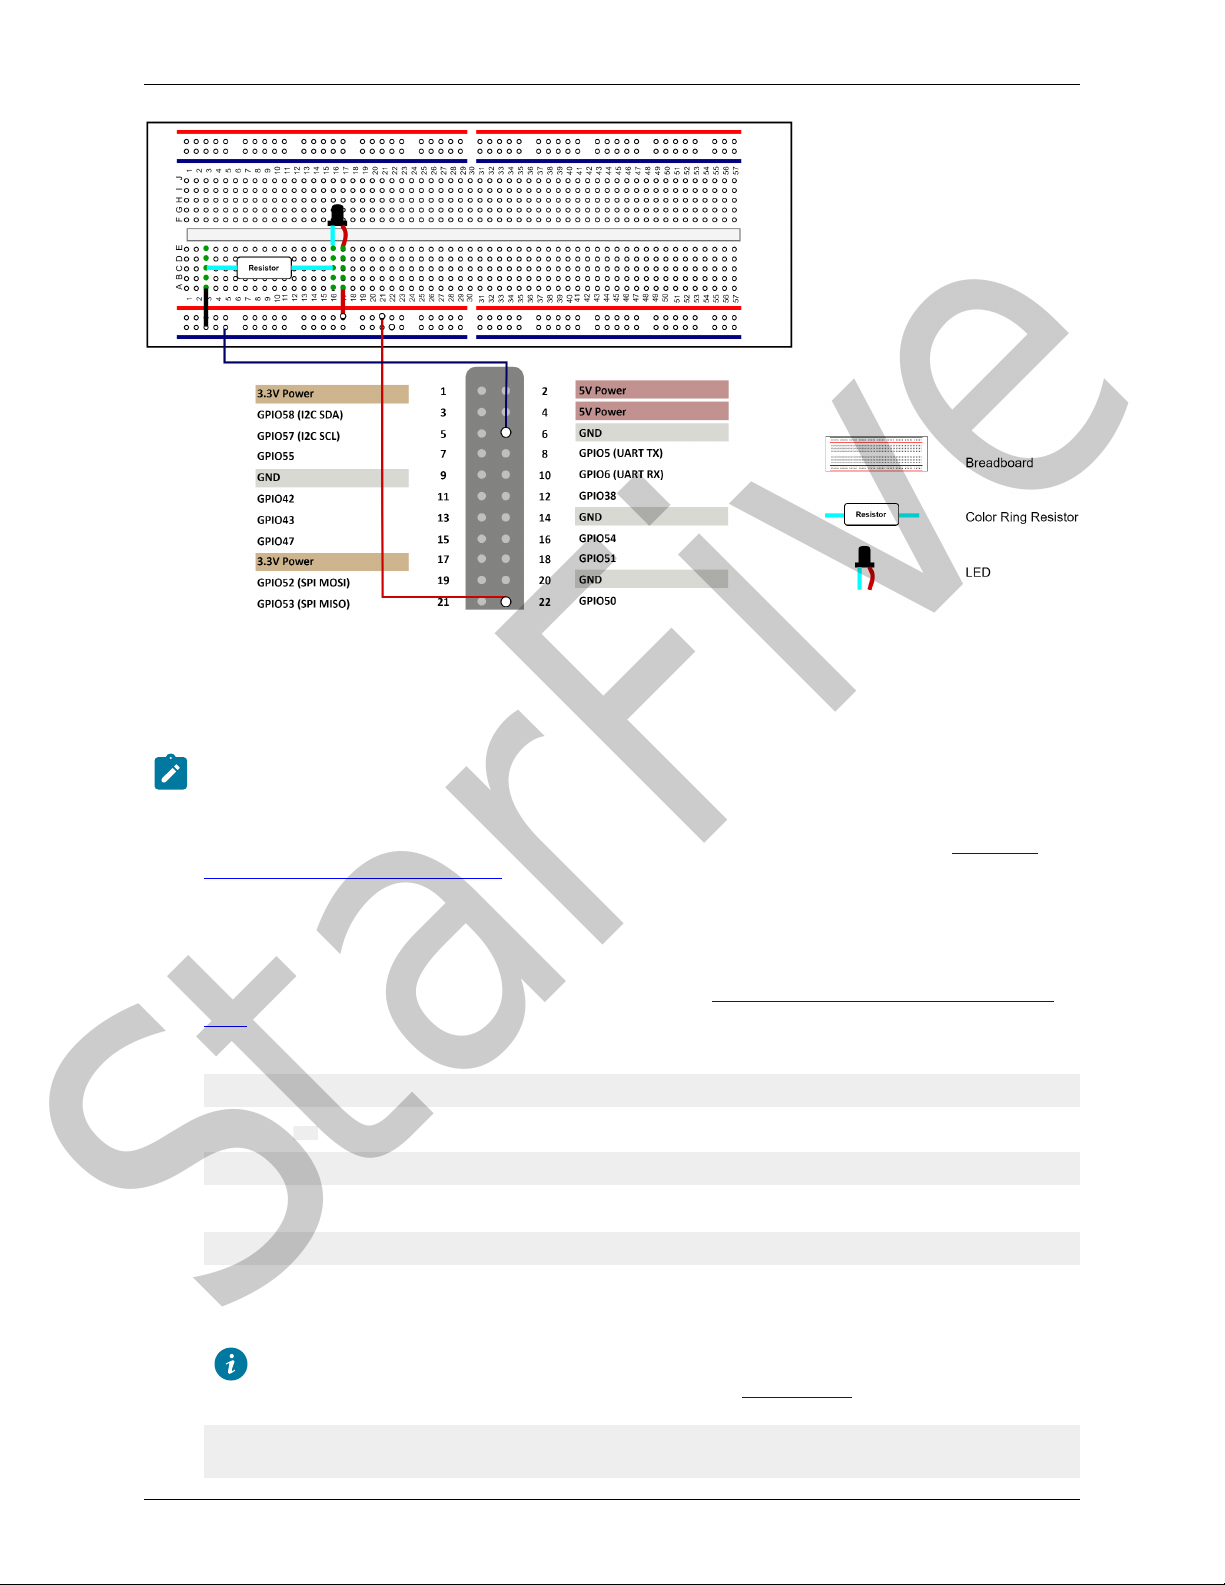
Figure 2-2 Connect LED to the 40-Pin Header
2.3. Preparing Soware
Note:
VisionFive.gpio
Flashing OS to a Micro-SD Card VisionFive 2
Single Board Computer Quick Start Guide
Using
SSH over Ethernet Using a USB to Serial Converter VisionFive 2 Single Board Computer Quick Start
Guide
Extend Paron VisionFive 2 Single Board Computer Quick Start
Guide
apt-get install python3-pip
pipVisionFive.gpio
sudo pip install VisionFive.gpio
sudo pip3 install VisionFive.gpio
Tip:
sudo apt-get install python3-dev
sudo python setup.py install
StarFive


3. Running Demo Code
led.py
VisionFive.gpio
pip show VisionFive.gpio
Example Result:
Location: /usr/local/lib64/python3.9/site-packages
Note:
/usr/local/lib64/python3.9/site-
packages
cd /usr/local/lib64/python3.9/site-packages
sample-code
cd ./VisionFive/sample-code/
sample-code
sudo python led.py
sudo python3 led.py
2
[riscv@fedora-starfive sample-code]$ sudo python3 led.py
Enter delay(seconds): 2
Result:
StarFive

4. Demo Source Code
led.py
'''
Please make sure the LED is connected to the correct pins.
The following table describes how to connect the LED to the 40-pin header.
-----------------------------------------
_______LED_________Pin Number_____Pin Name
Positive 22 GPIO50
Negative 6 GND
-----------------------------------------
'''
import VisionFive.gpio as GPIO
import time
led_pin = 22
#Configure the direction of led_pin as output.
GPIO.setup(led_pin, GPIO.OUT)
def light(delay):
#Configure the voltage level of led_pin as high.
GPIO.output(led_pin, GPIO.HIGH)
time.sleep(delay)
#Configure the voltage level of led_pin as low.
GPIO.output(led_pin, GPIO.LOW)
time.sleep(delay)
if __name__ == '__main__':
try:
delay_s = input("Enter delay(seconds): ")
delay = float(delay_s)
while True:
light(delay)
finally:
GPIO.cleanup()
StarFive
Other manuals for VisionFive 2
4
Table of contents


