Starizona HyperStar C9.25 User manual
The HyperStar Lens allows CCD imaging at f/2.2 with compatible Celestron 9.25”
Schmi t-Cassegrain telescopes an compatible CCD cameras. These instructions show
the proper metho s for installing the HyperStar lens an CCD camera on the telescope,
an for collimating the lens for the best optical performance.
For more etails on CCD imaging, visit www.starizona.com an see the Guide to CCD
Imaging, an visit www.hyperstarimaging.com for vi eo tutorials on imaging.
Warning: When the HyperStar lens and CCD camera are mounted on the telescope,
there is the potential for damaging the corrector plate if caution is not exercised at all
times. Be especially careful not to bump the CCD camera or HyperStar lens hile they
are attached to the telescope. Also, be sure that all cables from the CCD camera are
properly tied off to prevent them from pulling on the camera and lens. Additional tips
and arnings are clearly marked throughout the assembly instructions. As long as care
is used, no problems ill occur.
Parts List
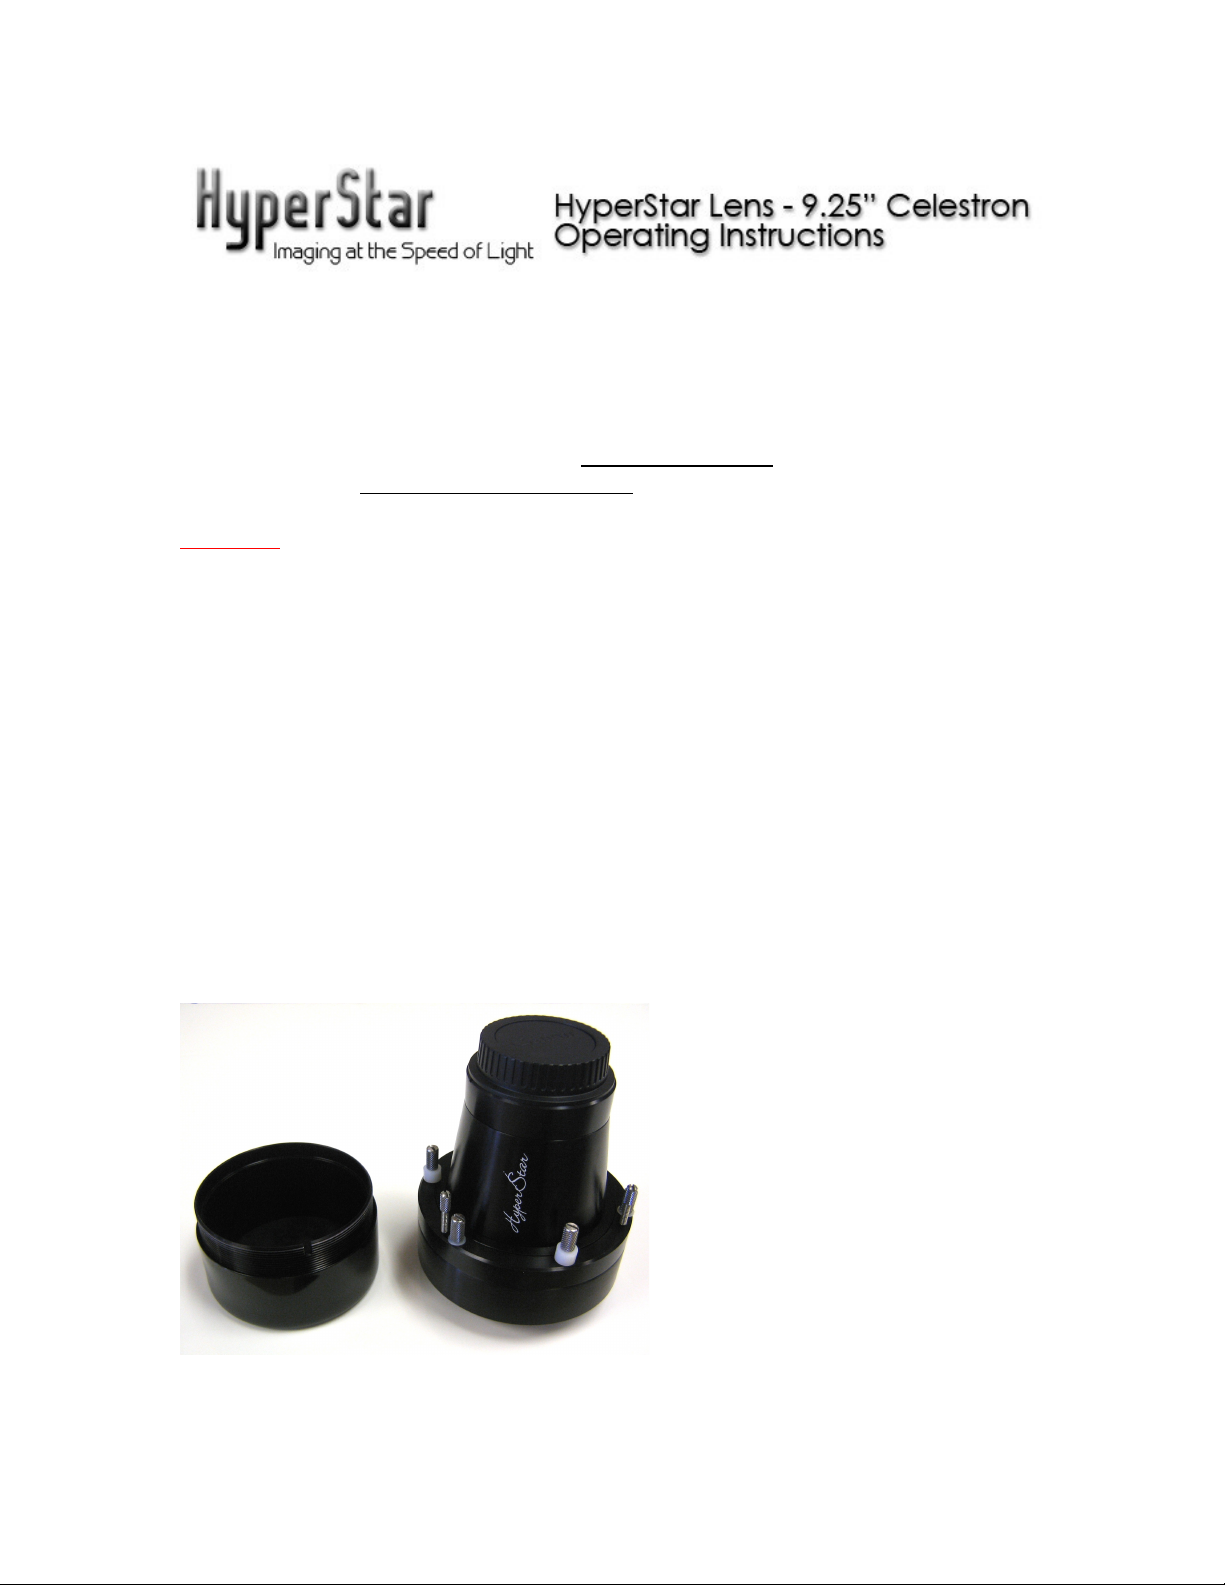
The HyperStar Lens Assembly inclu es three pieces:
HyperStar Lens
Secondary Mirror Holder
Counterweight
Secondary holder (shipped attached to lens) & HyperStar lens
Positioning the Telescope
1) Begin by aiming the telescope up at about a 45- egree angle. This will prevent the
secon ary mirror or HyperStar lens from falling out uring installation.
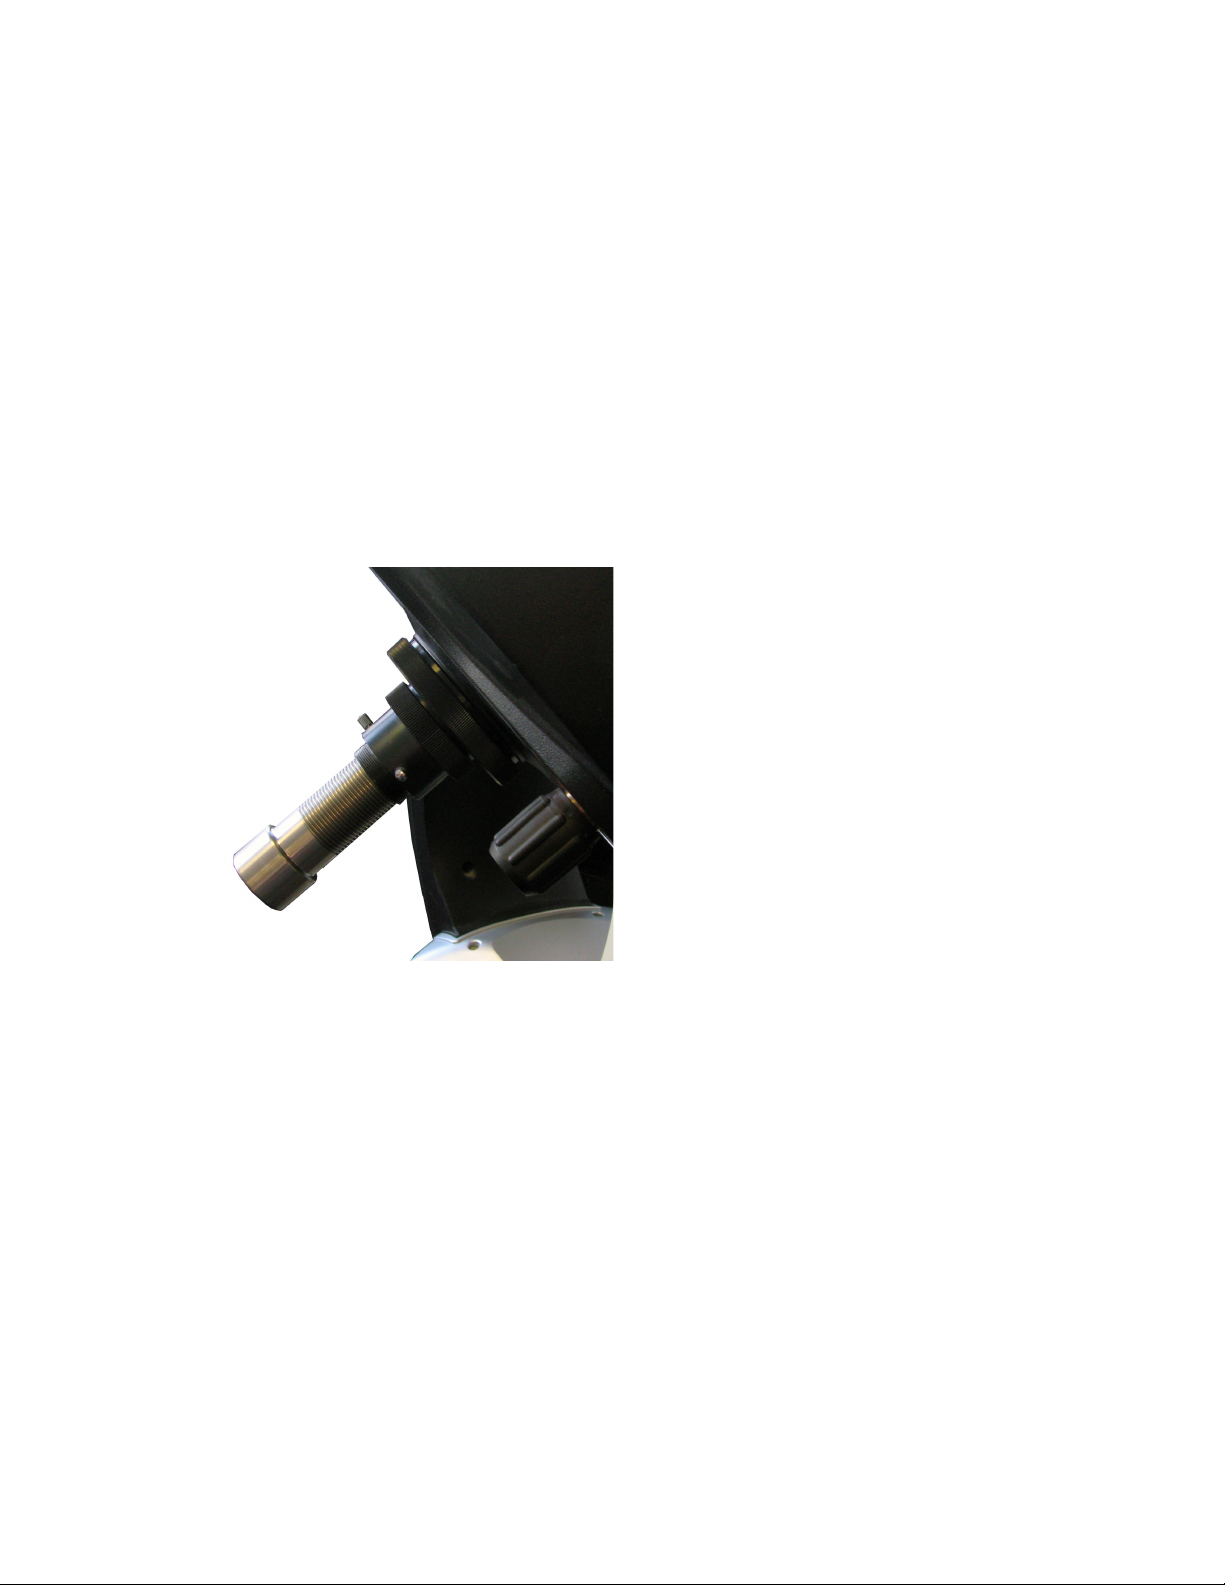
Attaching the Counterweight
2) The inclu e counterweight goes into the stan ar 1.25” visual back on the rear of the
telescope. Begin by sli ing the weight partway into the visual back an lock it in
place with the set screws. Later you will balance the telescope to etermine the
proper position of the counterweight.
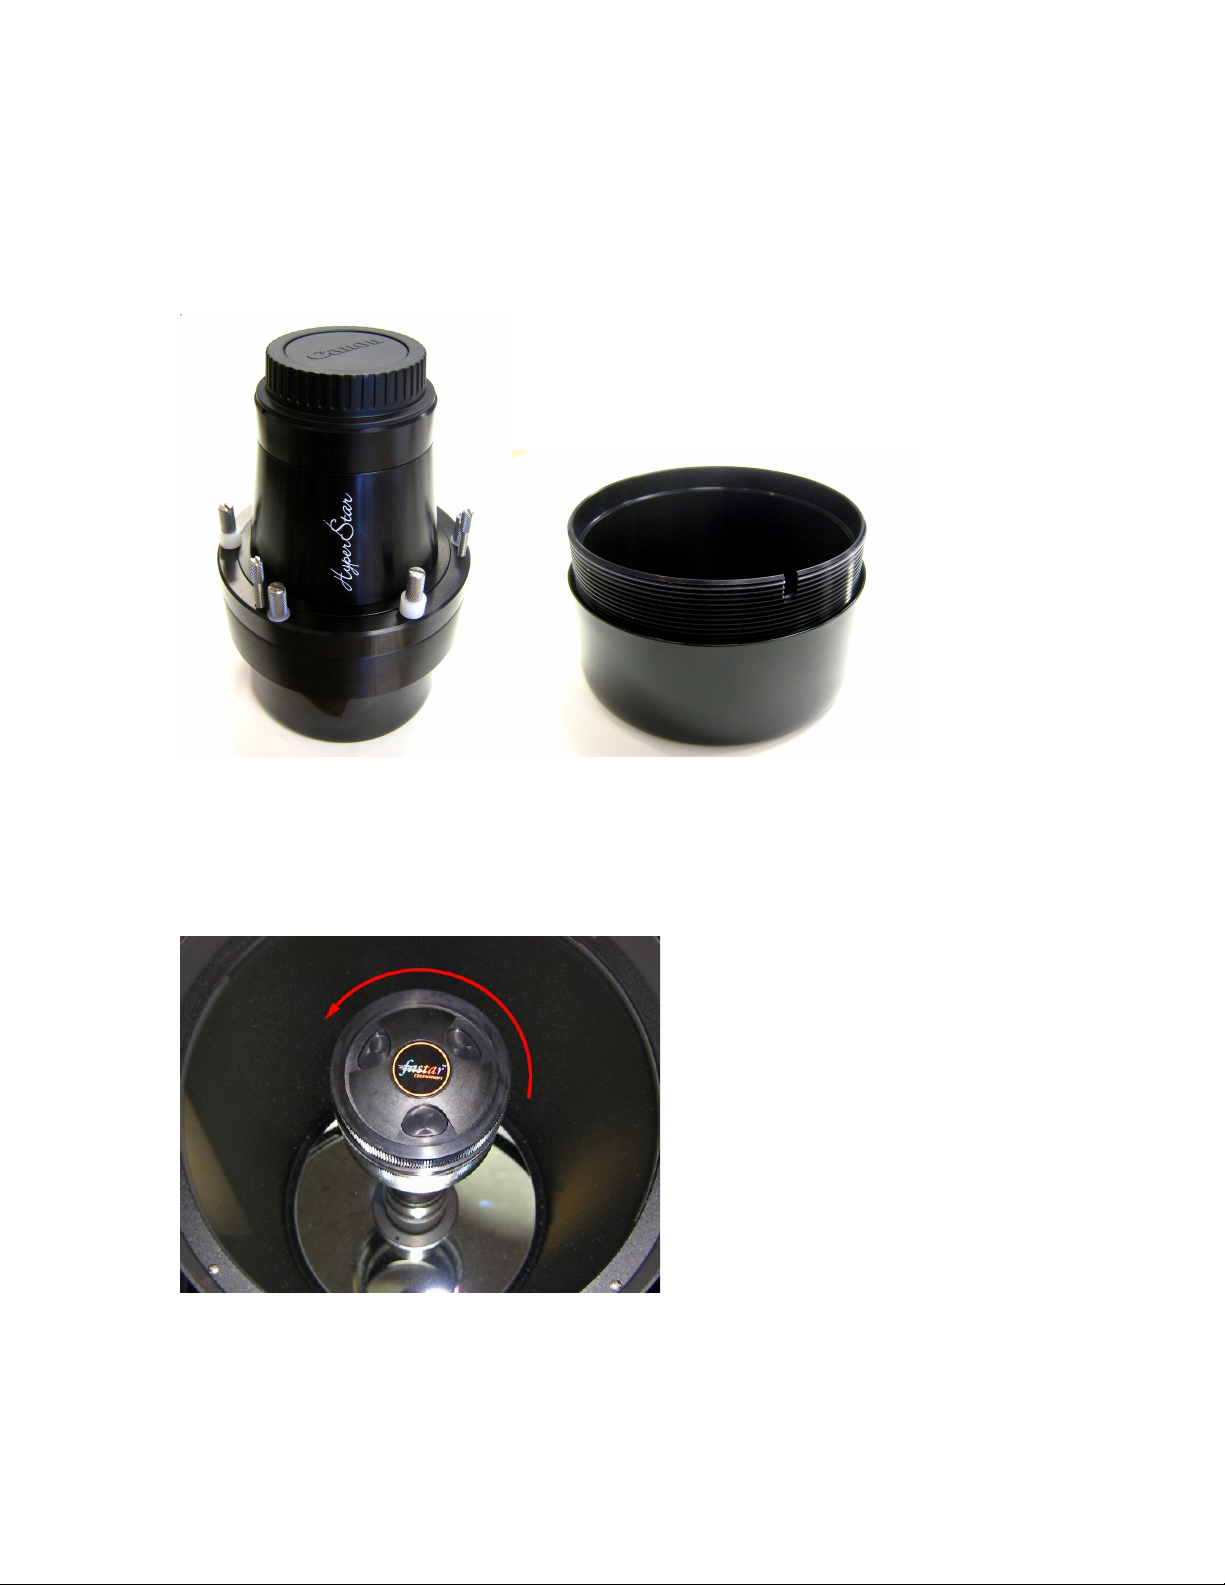
emoving the Secondary Mirror Holder
3) The secon ary mirror hol er also functions as the bottom cover for the HyperStar
lens. It simply unthrea s from the bottom of the HyperStar lens. The hol er consists
of a metal cylin er with a vinyl cap on the bottom.
emoving the Secondary Mirror
4) Unthrea the retaining ring from the secon ary mirror hol er as shown below.
5) Carefully remove the secon ary mirror assembly from the front of the telescope. Do
not touch the surface of the mirror itself.
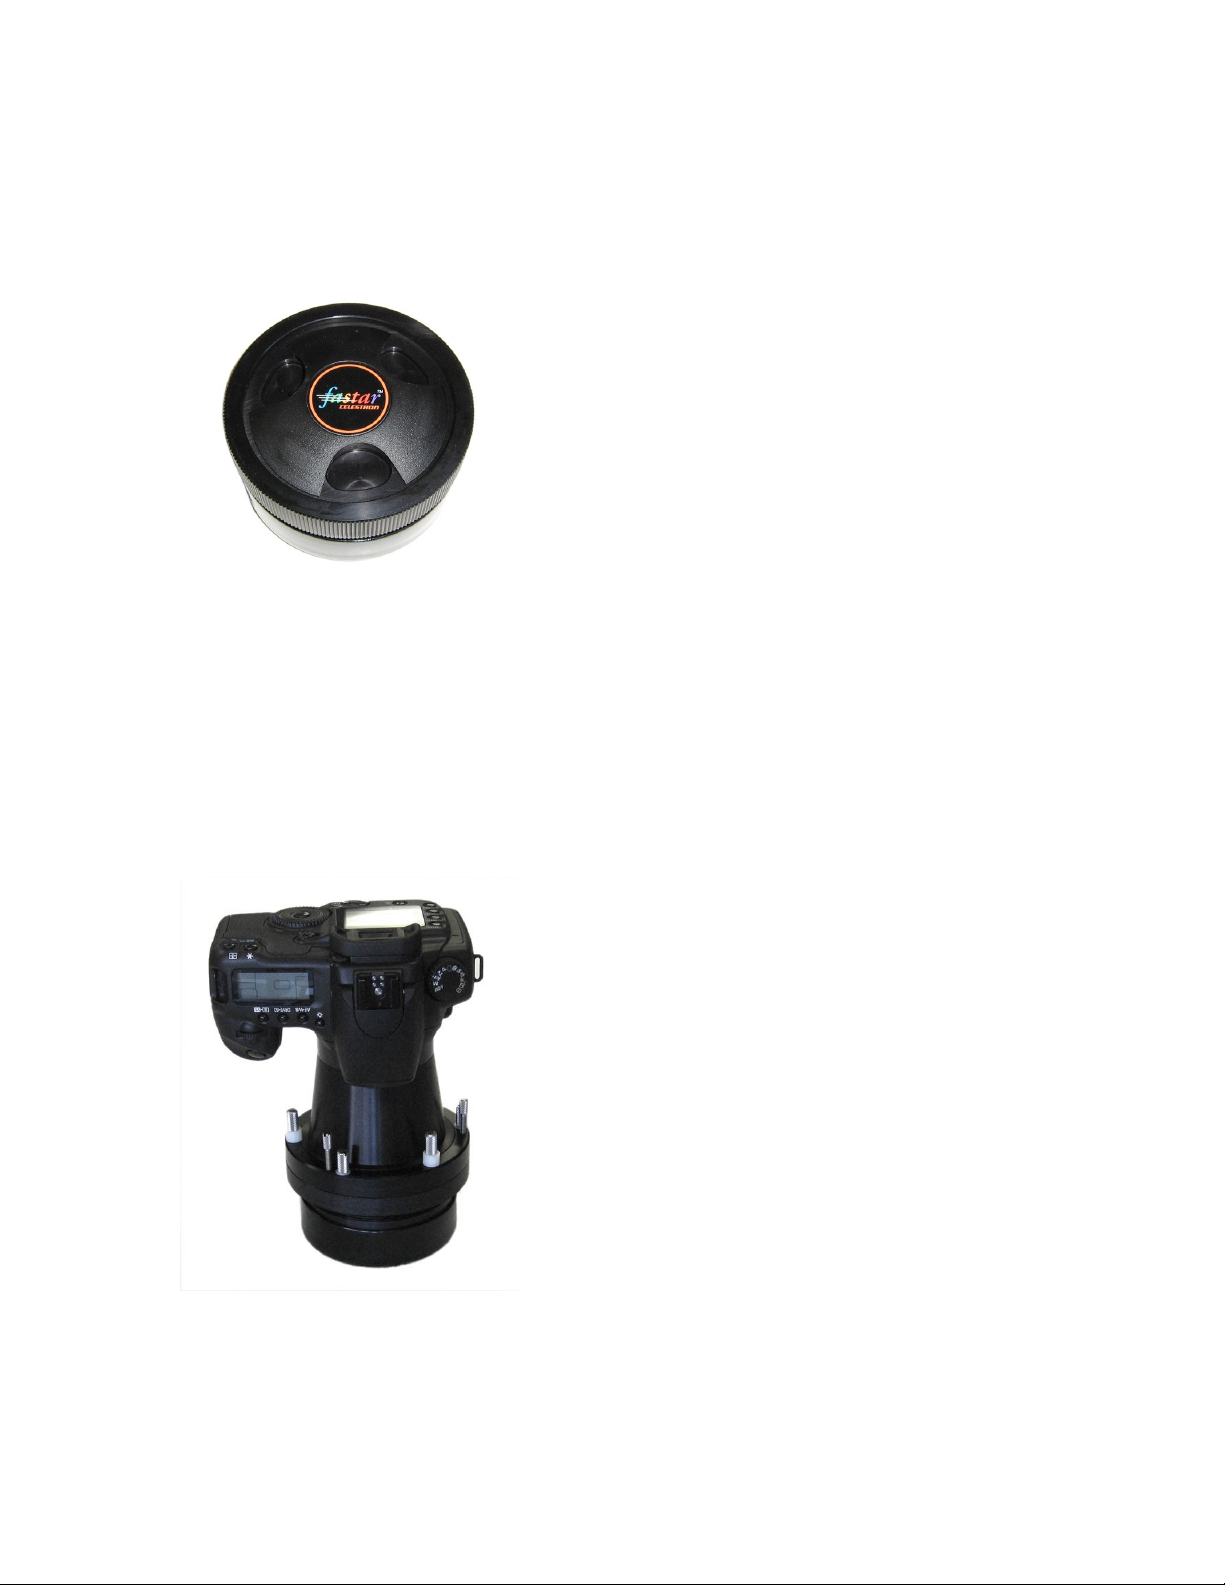
6) Place the secon ary mirror assembly into the secon ary mirror hol er. Note the
notch on the si e of the secon ary hol er which accepts the small screw on the si e of
the mirror assembly. Use the original retaining ring to lock the mirror assembly in
place.
Attaching the CCD Camera
7) A CCD camera will attach to the HyperStar using T-threa s. Most cameras have a
1.25” or 2” nosepiece that must be remove to allow the HyperStar to threa into the
T-threa s. DSLR cameras will attach using a stan ar bayonet mount.
8) Attach the CCD camera or DSLR to the HyperStar lens.
9) Carefully threa the entire assembly into the front of the telescope. Camera
orientation can be change later.

Balancing the Telescope
10) While hol ing on to the telescope tube, release the altitu e clutch on the fork arm.
Carefully release the telescope tube an see if it is front-heavy or rear-heavy. If the
front of the scope moves own, you nee to sli e the counterweight farther back. If
the front of the scope moves up, you nee to sli e the counterweight forwar .
Balancing the telescope is critical for getting good tracking accuracy.

Collimating the HyperStar Lens
The HyperStar incorporates a simple collimating system. The three pairs of screws
aroun the base of the HyperStar push an pull to tilt the lens an correct for any
alignment error.
Warning: Keep in mind that the three pull scre s (sho n belo ) hold the lens in place
on the telescope. Do not loosen these scre s too much. Small adjustments should be all
that is necessary to collimate the HyperStar.
You will only nee to make a collimation a justment if there is a noticeable coma effect
(flaring of the star images to one si e) on one e ge or corner of the fiel while the rest of
the stars appear sharp. This implies the primary mirror is slightly tilte an not perfectly
aligne with the optical axis of the HyperStar. This is normally compensate by
a justing the secon ary mirror, but with the mirror remove it now nee s to be
compensate for with the HyperStar.
The easiest metho is to take a single short exposure of a star fiel (1-3 secon s is usually
enough). Make an a justment by loosening one of the pull screws (shown below) an
tightening one of the push screws. This will tip that si e of the HyperStar outwar . Take
a secon image an see if there was an improvement. If things got worse, return the pair
of screws to their original position an try a ifferent set. Continue until the stars are
sharp across the full fiel . It may be necessary to refocus uring a justment to see the
best results.
Tip: Try adjusting the scre s about ¼ turn at a time. Very little adjustment is all that is
usually necessary.

Adjusting Camera Position
The thir set of screws (labele above as ROTATE) allow the HyperStar an camera to be
rotate into a ifferent orientation for the purpose of framing objects. Loosen the three
screws slightly. The nylon bushings will allow the lens to rotate with the screws still
somewhat snug. Once the camera an lens are in the esire orientation, tighten own
the screws.
Using Filters
The top portion of the HyperStar lens is a removable a apter, specific to your camera.
The insi e of this a apter is threa e for 2” filters. Unthrea the a apter from the
HyperStar lens. A 2” filter can then be threa e into the insi e of the a apter. Replace
the a apter on the HyperStar lens an you are set to go. Popular filters inclu e the IDAS
LPS-D1 an Optolong L-Pro filters, both of which work well to block light pollution.

HyperStar C9.25 Specifications
Focal atio: f/2.2
Focal Length: 525mm
Field of View and esolution with Common Cameras
Camera Field of View Pixel esolution
Atik 490EX 81.8' x 65.5' 1.45”/pixel
Canon EOS 80D 147.3’ x 98.2’ 1.46”/pixel
ZWO ASI183MC 86.4’ x 57.6’ 0.94”/pixel
ZWO ASI294MC 125.7’ x 85.8’ 1.82”/pixel
Exposure Factors (Equivalent Exposure Times)
Focal atio Exposure Factor Example Exposures
f/2.2 (HyperStar C9.25) 1 30 secon s
f/3.3 2.3 1.2 minutes
f/5 5.2 2.6 minutes
f/6.3 8.2 4.1 minutes
f/10 20.7 10.4 minutes
Starizona
5757 N. Oracle Rd., Suite 103
Tucson, AZ 85704
520 292 5010
www.starizona.com
Table of contents
Other Starizona Lens manuals


Popular Lens manuals by other brands


FujiFilm
FujiFilm FUJINON ZA17x7.6BERD-S6 Operation manual

Panasonic
Panasonic Lumix H-PS14042 owner's manual

Sony
Sony VCL-610WEA operating instructions

Zeiss
Zeiss Cinema Zoom 15-30 Change instructions

Blackfin
Blackfin Lamina PLUS Ring installation instructions

Sigma
Sigma 18-200mm F3.5-6.3 II DC OS HSM instructions


