manuals.online logo
Brands
  1. Home
  2. •
  3. Brands
  4. •
  5. StarTech.com
  6. •
  7. Switch
  8. •
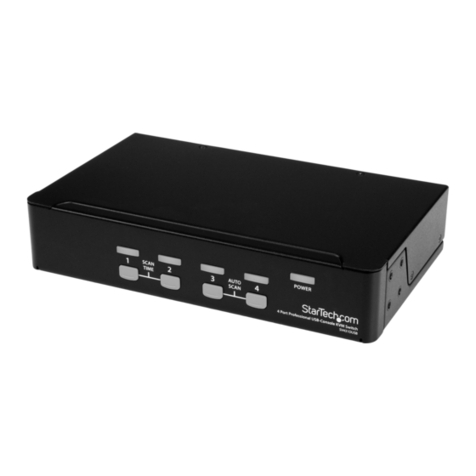
  9. StarTech.com SV211KUSB User manual

StarTech.com SV211KUSB User manual

Other manuals for SV211KUSB

3

This manual suits for next models

1

Other StarTech.com Switch manuals

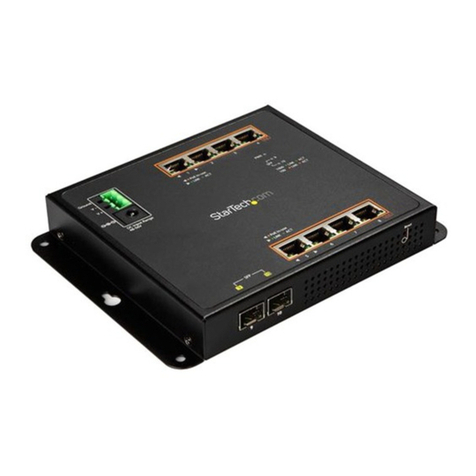
StarTech.com ST4205READ User manual

StarTech.com

StarTech.com ST4205READ User manual

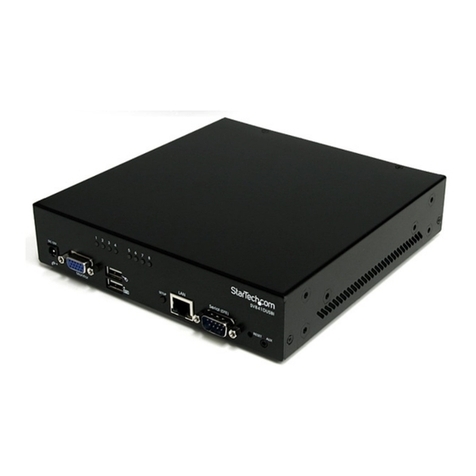
StarTech.com ST4200USBM User manual

StarTech.com

StarTech.com ST4200USBM User manual

StarTech.com Presentation Jockey Manual

StarTech.com

StarTech.com Presentation Jockey Manual

StarTech.com ICUSB23208FD User manual

StarTech.com

StarTech.com ICUSB23208FD User manual

StarTech.com C2-D46-UAC-CBL-KVM User manual

StarTech.com

StarTech.com C2-D46-UAC-CBL-KVM User manual

StarTech.com VS221HD4KA User manual

StarTech.com

StarTech.com VS221HD4KA User manual

StarTech.com ST4200USB Manual

StarTech.com

StarTech.com ST4200USB Manual

StarTech.com IES1G52UPDIN User manual

StarTech.com

StarTech.com IES1G52UPDIN User manual

StarTech.com 8STST7300USBME User manual

StarTech.com

StarTech.com 8STST7300USBME User manual

StarTech.com VS421HD4KA User manual

StarTech.com

StarTech.com VS421HD4KA User manual

StarTech.com SV431HU34K6 User manual

StarTech.com

StarTech.com SV431HU34K6 User manual

StarTech.com DS51072 User manual

StarTech.com

StarTech.com DS51072 User manual

StarTech.com SV831HD Manual

StarTech.com

StarTech.com SV831HD Manual

StarTech.com MSTCDP123HD User manual

StarTech.com

StarTech.com MSTCDP123HD User manual

StarTech.com SV431DHD4KU User manual

StarTech.com

StarTech.com SV431DHD4KU User manual

StarTech.com 5port System manual

StarTech.com

StarTech.com 5port System manual

StarTech.com ST7200USB User manual

StarTech.com

StarTech.com ST7200USB User manual

StarTech.com SV431HDU3A2 User manual

StarTech.com

StarTech.com SV431HDU3A2 User manual

StarTech.com HB30AM4AB User manual

StarTech.com

StarTech.com HB30AM4AB User manual

StarTech.com IES81GPOEW User manual

StarTech.com

StarTech.com IES81GPOEW User manual

StarTech.com SV231DVGAU2A User manual

StarTech.com

StarTech.com SV231DVGAU2A User manual

StarTech.com SV221NANOU User manual

StarTech.com

StarTech.com SV221NANOU User manual

StarTech.com USB221SS User manual

StarTech.com

StarTech.com USB221SS User manual

StarTech.com DuraView RACKCONS1708 User manual

StarTech.com

StarTech.com DuraView RACKCONS1708 User manual

Popular Switch manuals by other brands

SMC Networks SMC6224M Technical specifications

SMC Networks

SMC Networks SMC6224M Technical specifications

Aeotec ZWA003-S operating manual

Aeotec

Aeotec ZWA003-S operating manual

TRENDnet TK-209i Quick installation guide

TRENDnet

TRENDnet TK-209i Quick installation guide

Planet FGSW-2022VHP user manual

Planet

Planet FGSW-2022VHP user manual

Avocent AutoView 2000  AV2000BC AV2000BC Installer/user guide

Avocent

Avocent AutoView 2000 AV2000BC AV2000BC Installer/user guide

Moxa Technologies PT-7728 Series user manual

Moxa Technologies

Moxa Technologies PT-7728 Series user manual

Intos Electronic inLine 35392I operating instructions

Intos Electronic

Intos Electronic inLine 35392I operating instructions

Cisco Catalyst 3560-X-24T Technical specifications

Cisco

Cisco Catalyst 3560-X-24T Technical specifications

Asante IntraCore IC3648 Specifications

Asante

Asante IntraCore IC3648 Specifications

Siemens SIRIUS 3SE7310-1AE Series Original operating instructions

Siemens

Siemens SIRIUS 3SE7310-1AE Series Original operating instructions

Edge-Core DCS520 quick start guide

Edge-Core

Edge-Core DCS520 quick start guide

RGBLE S00203 user manual

RGBLE

RGBLE S00203 user manual

Thrustmaster FLIGHT SIMULATOR X quick guide

Thrustmaster

Thrustmaster FLIGHT SIMULATOR X quick guide

Southwire SURGE GUARD 41390 RVC troubleshooting guide

Southwire

Southwire SURGE GUARD 41390 RVC troubleshooting guide

Buhler Nivotemp NT 61 Brief instructions

Buhler

Buhler Nivotemp NT 61 Brief instructions

Kramer VS-41HDCP user manual

Kramer

Kramer VS-41HDCP user manual

Techly IDATA AU-270 user manual

Techly

Techly IDATA AU-270 user manual

Belkin F1U109 user manual

Belkin

Belkin F1U109 user manual

manuals.online logo
manuals.online logoBrands
  • About & Mission
  • Contact us
  • Privacy Policy
  • Terms and Conditions

Copyright 2025 Manuals.Online. All Rights Reserved.

Quick Installation Guide Applicable models: 2/4-port Slim Palmtop USB KVM Switch
Rev. 1.81 Copyright© All rights reserved.
KVM Switching Client Software for Windows
User-definable Hotkeys
Independent/Simultaneous Audio & PC Switching
Autoscan Delay Time Programmable
2/4-port Slim Palmtop USB KVM Switch
w/ optional Audio&Mic
Quick Installation Guide
Thank you for purchasing the 2/4-port Slim Palmtop USB KVM
Switch w/ (optional) Audio&Mic! With our highly reliable and
quality product, user can enjoy countless benefits from using it.
2-port (w/o Audio&Mic) 2-port (w/ Audio&Mic)
4-port (w/o Audio&Mic) 4-port (w/ Audio&Mic)
Introduction
The 2/4-port Slim Palmtop USB KVM Switch with optional audio
and microphone switching function. It allows you to access,
control, boot and reboot multiple USB-enabled computers. The
independent audio/mic switching function allows an uninterrupted
audio experience on a same connected computer even when you
switch to another computer.
For PCs running Windows systems, it provides an innovative and
easy-to-use KVM Switcher Software -- a small windows client
application to facilitate your KVM switching operations such as
PC selection and hotkey sequence programming, autoscanning,
autoscan delay time programming, independent/simultaneous
audio & PC Switching, etc.
Out-of-the-box Installation
Take the Companion Diskette/CDROM and the KVM Switch
out of the box and follow the steps below for installation….
Step 1. Insert the companion CD ROM into your CD drive, and
the installer program, USBKVMIn.exe, will be run (or
you can find it with the Explorer and double-click its
software icon to start installation). Complete the
software installation on each of the computers to be
connected to the KVM Switch.
After the installation is completed, you will see a KVM
Switcher icon on the system tray of your window
desktop. Just right click to evoke the operation menu
and double-click to evoke configuration box. For
operation details of the KVM Switcher software, please
refer to the Operation Quick Reference.
: No live connection detected
: Current active PC channel is on port 1
: Current active PC channel is on port 2
The KVM Switcher Software supports only the Windows operating
system on PC platforms. For other OS platforms such as Linux , you can
still use the keyboard hotkey - ScrLk + ScrLK - to switch PC. However,
this switching hotkey is not available on non-PC platform such as MacOS.
When connected to a Mac machine, use the face-panel button to switch
port.
Step 2. Connect the shared USB keyboard, mouse, monitor,
speaker/headphone and microphone each to its port on
your KVM Switch.
Step 3. Connect each KVM PC port to a computer, using the
slim 3-in-1 KVM combo cable and the audio/mic cable.
After you have connected the KVM and computers
properly, Now you can operate the KVM Switch
immediately.
Some older computers with USB interface might need to manually
enable the USB option in the BIOS settings before you can use any
USB devices. If your USB interface does not work, please check the
USB option status in the BIOS.
If you use Windows 95/98/SE and has not yet installed a USB
mouse on your computer, there might be an error message telling
you that mouse is not detected and prompting you to decide whether
to ignore the same message in the future, and yet you found there is
no mouse movement to disable this message….So it is suggested that
you should installed your USB mouse on your computer first, before
connecting it to this KVM Switch.
Configuration Diagram (showing only the 4-port model)
Easy Operation
There are two methods to control your KVM Switch for PC
switching: using the face-panel push buttons or a hotkey
sequence. For audio/mic switching, use the hotkey command. See
Error! Reference source not found.
Face-panel buttons
The face-panel buttons allows you a direct control over PC port
switching. Simply press the button to switch PC port. By default,
PC port switching and Audio/Mic port switching are unbound
(either will be switched independently).
Keyboard hotkey
A keyboard hotkey sequence consists of at least three specific
keystrokes: See Quick Reference Sheet
Hotkey = Ctrl+ Alt + [Command key]*
Universal hotkey = ScrLK + ScrLk
* The command key is user-definable via the configuration
dialog box
Each keystroke within a hotkey sequence should be pressed within 2
seconds. Otherwise, the hotkey sequence will not be validated.
Operation Quick Reference
Applicable models: 2/4-port Slim Palmtop USB KVM Switch
Rev. 1.81 Copyright© All rights reserved
Slim Palmtop USB KVM Switch - Operation Quick Reference
There are three methods to control your KVM Switch
for PC and Audio/Mic channel selection: using (1) the
face-panel push buttons, (2) a hotkey sequence or (3) the
KVM Switcher Software.
Face-panel button
The face-panel button allows you a direct control over KVM
switching operation. Simply press the button to switch to the
corresponding PC port (and audio/mic channel, if binding is
enabled). By default, PC port switching and audio/mic port
switching are bound together.
You can use the face-panel button to switch to an empty port that is
not connected with any computer. Normally, if you use keyboard hotkeys
or the KVM Switcher software, you will not be able to switch to an empty
port.
Keyboard hotkeys
User-definable hotkeys for PC selection:
Hotkey sequence = Ctrl + Alt + [command key]*
* Please refer to next section for keys that are qualified to
be used as a command key
Universal hotkey for PC toggle-switching:
Both the universal hotkey, ScrLk + ScrLk and the user-definable
hotkey, Ctrl + Alt + [command key] WILL NOT allow you to switch to an
empty port that is not connected with any computer. To force your KVM
to switch to an empty port, just press the face-panel button to switch.
Universal Hotkey sequence = ScrLk + ScrLk
* For other operating systems on PC such as Linux, you can
still use this special hotkey to facilitate PC switching. This
special hotkey is not available for Mac. HOWEVER, you can
press button to switch in any case.
Each keystroke within a hotkey sequence should be pressed within 2
seconds. Otherwise, the hotkey sequence will not be validated.
After port switching, you have to wait till the KVM Switch icon
shows forth the target port before you can perform next switching again.
The KVM Switcher icon could be found on the system tray of your
Windows desktop after its installation.
All the hotkeys are only functional after your PCs are booting into
the OS. If you want to switch PC in the BIOS/preboot stage, press the
face-panel buttons to switch.
KVM Switcher Software (only for Windows platform)
In addition to PC switching, the KVM Switcher Software also
allows you more advanced functions such as described in the
next section….
.
KVM Switcher Operation Reference
Switch to PC x by Operation Menu
Right-click the KVM Switcher icon to evoke the operation
menu, then select whichever PC that is available for switching.
Once you select a PC channel, it will immediately switch to
that PC. Note that the unconnected port(s) or the active port
will be grayed-out and non-selectable.
KVM SWITCHER Operation Menu KVM SWITCHER Configuration Dialog Box
Switch to PC x by Keyboard Hotkeys
Hit the hotkey according to your current hotkey definition:
Hotkey sequence = Ctrl + Alt + [command key]*
* The factory default hotkey setting is Ctrl + Alt + 1/2/3/4
for PC 1/2/3/4. You can also use ScrLk + ScrLk to switch PC.
Start Auto-scan
Right-click the KVM Switcher icon to evoke the operation
menu, then select
Start Auto-Scan
to activate autoscanning.
Stop Auto-scan
(While autoscanning) right-click the KVM Switcher icon to
evoke the operation menu, then select
Stop Auto-Scan
to de-
activate autoscanning. Or you can press any button on the
face-panel to stop Auto-scan.
KVM Switcher configuration
Right-click the KVM Switcher icon and select
Settings
or
double-click the icon to bring up the configuration dialog box.
Define Hotkey commands
You can specify the command key as you like by typing it in.
For example, you can specify the hotkey for switching to PC 1
as CTRL + ALT + A by typing an A (not case-sensitive) in the
editable field.
Hotkey Sequence = CTRL + ALT + [command key]*
* The command key is user-definable via the configuration
dialog box
Except those control keys such as Alt, Ctrl, Shift, CAPS, Tab, Esc and
those functions keys and edit keys, all other keys on the keyboard,
including those number keys on the number pad are all qualified to be
used as hotkey command key. In addition to the software KVM Switching
by the operation menu and the user-defined hotkeys, you can always use
the universal hotkey for PC switching – ScrLk + ScrLk.
Turn On Buzzer (optional feature, not available on this model)
This feature is not available on this model. [Check this option
to turn on the buzzer sound]
Fix Audio Port at PC x
Check this option and then select the PC to fix the audio/mic
channel to the selected PC. Once this option is checked, the
audio/mic channel will be fixed and become non-switchable.
Auto Scan Period
Select the Autoscan period from 10 to 60 seconds with an
increment of 5 seconds. The Autoscan period is the time your
KVM Switch will wait to switch to next PC.