SteadiStand STNDI2 User manual
SteadiStand Installation Manual
For part numbers: STNDI2 (i2 stand), STNDX2 (x2 stand)
Version 1.3 – August 2008

Table of contents
Letter to our customers ................................................................... 1
Preface............................................................................................. 2
Cautions and warnings.................................................................... 3
Recommended tools........................................................................ 4
Overview......................................................................................... 5
Installation Procedure ..................................................................... 6
Troubleshooting ............................................................................ 13
Warranty information.................................................................... 13
© SteadiStand, LLC 2009, all rights reserved.
This material may be freely copied and distributed subject to inclusion of this
copyright notice and our World Wide Web URL http://www.SteadiStand.com

Page 1
Dear valued customer,
It is our hope that the SteadiStand will serve your needs for
years to come. We’ve worked hard to design and manufacture
the best product we can.
We invite you to let us know how the SteadiStand has worked
for you. We encourage our customers to send us their
thoughts, suggestions, and ideas so that we may continue to
improve our products and create new ones. Feel free to
include a picture and send it to us as an e-mail attachment to:
feedback@SteadiStand.com
Thank you again for choosing SteadiStand.
Sincerely,
Aaron Gauger
SteadiStand, LLC

Page 2
Preface:
I love my new toy but…
One of the first things we hear new Segway
®
owners
comment about regarding their new PTs is the instability of
the parking stand. $54.00 seems like a small price to pay to
be able to leave their PT parked upright almost anywhere
but people are afraid to use it. Using the stock parking stand,
a Segway
®
cannot be parked on a sloped or uneven surface.
Owners have to be watchful not to lean against it for fear of
knocking it over. They are constantly looking back over their
shoulders to be sure a gust of wind is not about to send their
Segway
®
crashing to the ground.
After doing some research on some popular Segway
®
internet forums, we found that the displeasure with the
Segway
®
brand parking stand has become an epidemic.
Something has to be done…
Owners have few aftermarket parking stand options. Some
stands require modification to the Segway
®
, some are too
costly, and some are unsightly. We believe there is a
genuine sense of pride that comes with owning a Segway
®
and most owners are not about to make extensive
alterations to what we would consider to be an otherwise
perfect machine.
After much research, several prototypes, and a month of use
on a Segway
®
tour fleet, we can now offer a parking stand
solution which offers superior performance, superb
aesthetics, and minimal cost. We call it the ‘SteadiStand’.
Let’s share it with the world…
At the suggestion of our local Segway
®
dealer, we decided
to make the SteadiStand available to Segway
®
owners
throughout the world through direct sales on our website as
well as through participating Segway
®
dealers. The
SteadiStand is so simple, easy to install and use, and works
so well- it seemed unfair to keep it to ourselves.

Page 3
Cautions and Warnings:
Never stand on your Segway
®
PT while the parking
stand is deployed. Doing so may damage the stand
or your Segway
®
PT and/or result in personal injury.
Never attempt to move your Segway
®
PT while the
parking stand is deployed. Doing so may damage
the stand or your Segway
®
PT.
Never attempt to use the parking stand if your
Segway
®
PT is heavily loaded with cargo,
particularly if placed in the handlebar bag. Doing so
may damage the stand or your Segway
®
PT.
While very sturdy, the ‘SteadiStand’ parking stand is
designed to support only the weight of your
Segway
®
PT.
Periodically check the tension of your stand. If the
stand moves from position to position too freely, the
spring tension may need to be increased.
It is imperative that the spring tension be maintained
to reduce the chances of the stand deploying while
your Segway
®
is in motion, as injury may result.
Periodically check that the SteadiStand is
completely threaded into the stock Segway
®
parking
stand swivel mount. In the unlikely event that the
SteadiStand becomes unthreaded, the length of the
stand may increase, causing the rubber base to
move dangerously close to the Segway
®
tire.
Periodically check to see that the rubber base is
securely fastened to the aluminum rod. It has been
glued on but is imperative that it does not come
loose because of its proximity to the Segway
®
tire.

Page 4
Recommended tools:
The following tools may be necessary to complete the
installation of the SteadiStand:
□
3mm Allen (hex) key
Used to make adjustments to the tensioning set screw located
inside the stock Segway
®
parking stand swivel mount. This tool
was included when you purchased Segway
®
PT.
□
4mm Allen (hex) key
Used to unscrew the original Allen (hex) set screw from the stock
Segway
®
parking stand swivel mount. This tool is only necessary
if the spring portion cannot be removed by hand or with the use
of pliers.
□
Pliers (Channel Lock type if available)
Used to remove the old spring portion should it not easily loosen
by hand.

Page 5
Overview:
Note: If you have purchased the 'SteadiStand' packaged
with the stock Segway
®
parking stand swivel mount
(model numbers COMPI2 and COMPX2), please refer
to the installation instructions provided by Segway
®
.
If you do not have these installation instructions, you
can download them from the Segway
®
website:
http://www.segway.com/downloads/pdfs/Parking_Stand.pdf
Installation of the SteadiStand retrofit kit is simple and
straightforward. Essentially, the spring portion of the stock
Segway
®
parking stand is removed, the tension of the swivel
mount is adjusted (if necessary), and the SteadiStand is
threaded into place.
Most people find this procedure easiest to do with the
parking stand mounted to your Segway
®
. You will also find it
helpful to have a second person hold the handlebar back
slightly to elevate the stand off the ground. Alternately, you
can place an object under the front of the forward battery
such as a hard plastic cup to elevate the stand off the
ground.

Page 6
Installation Procedure:
____________________
STEP #1
____________________
Remove the spring portion of the stock Segway
®
parking stand
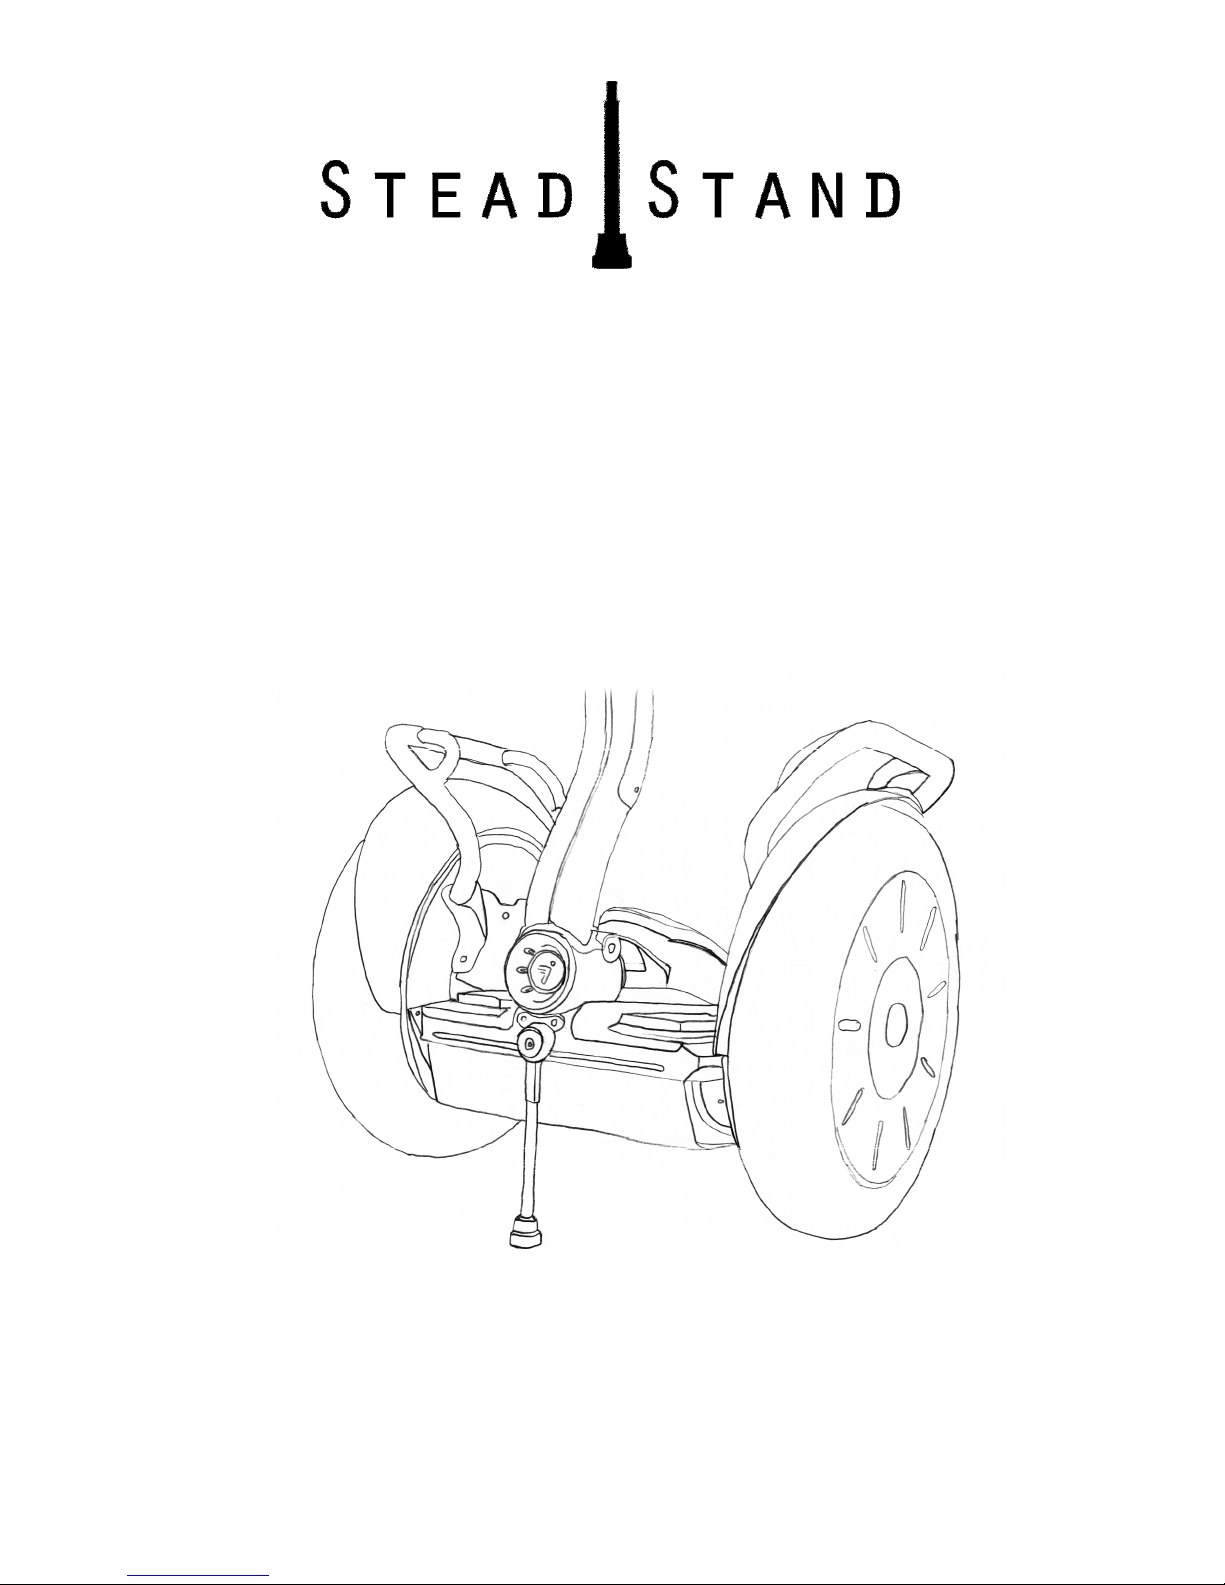
a. Identify the stock Segway
®
parking stand
swivel mount. See figure 1.1
b. Remove the spring stand from the stock
Segway
®
parking stand swivel mount by
unscrewing it in a counter-clockwise direction.
Try this with your bare hands first. Often the
spring stand will unscrew without any
additional tools. See figure 1.2

Page 7
Fig. 1.1 Fig 1.2
c. If this doesn't work, try using
a pair of pliers (Channel Lock
®
style pliers work great) to unscrew
the spring from the mount. Grasp
the top of the spring with the pliers,
which will apply pressure on the
set screw inside. Then twist
in a counter-clockwise direction.
d. If this does not work, grasp the spring
with your right hand near the top. In one
continuous motion, twist clockwise (to uncoil
the spring slightly from around the set screw)
while pulling down and to the side (this will take
a bit of muscle). This will stretch the spring
open and pop the bottom of the set screw from
between the coils of the spring. Using a 4mm
Allen (hex) key, completely unscrew the spring
and set screw in a counter-clockwise direction.
Page 8
____________________
STEP #2
____________________
Once the spring portion is removed, check to be sure
that your stock Segway
®
parking stand swivel mount
locks into position (left, center, right) firmly. It is
important to adjust the tensioning set screw while the
adjustment screw is readily accessible.
Note: If the swivel mount is in need of adjustment
follow the remaining instructions in step 2.
If no adjustment is necessary, skip to step 3.
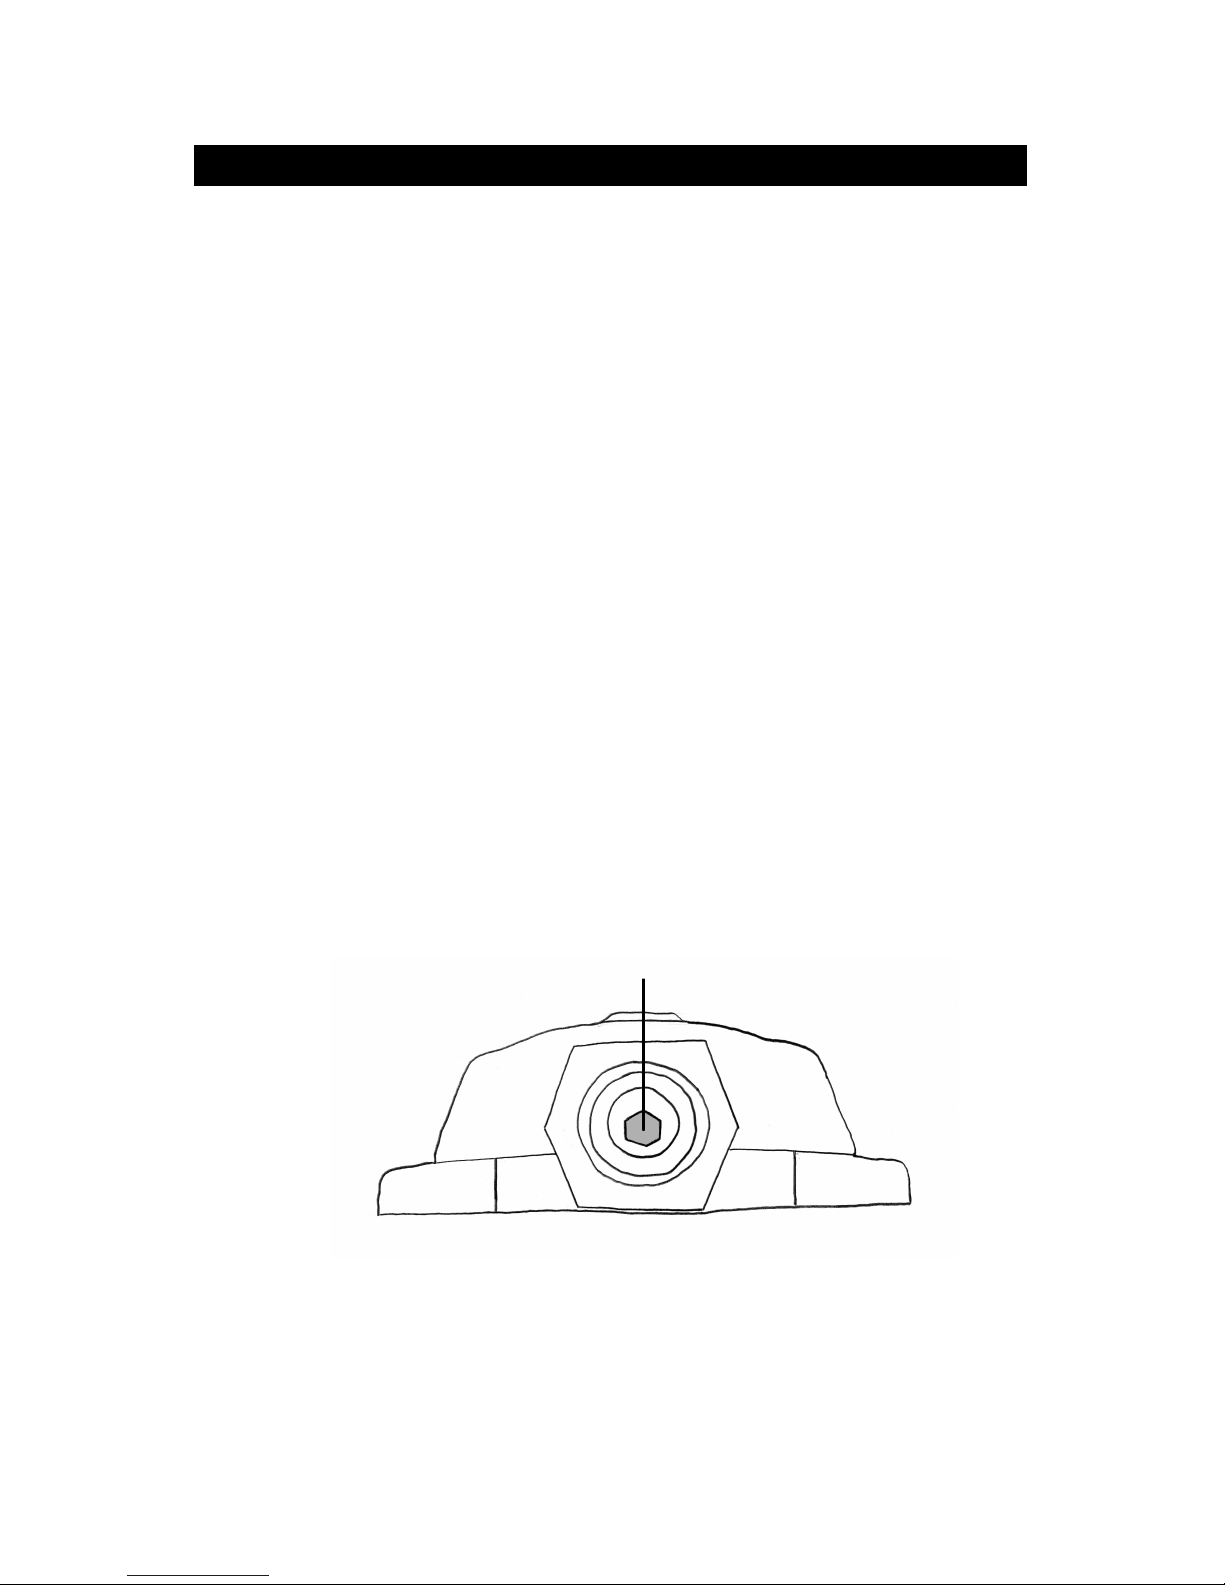
a. Locate the 3mm Allen (hex) set screw inside
the stock Segway
®
parking stand swivel mount.
It is located approximately 1
1
/
8
inches (2.9
centimeters) inside the threaded opening on
the bottom.
See figure 1.3 and figure 1.4
Fig. 1.3
3mm Allen (hex) set screw
(Looking into swivel mount threaded opening)

Page 9
Fig. 1.4
b. Be sure the swinging portion of the mount is
set to one of the three positions:
•straight down
•completely up to the left
•completely up to the right

Page 10
c. Using a 3mm Allen (hex) key, turn the set
screw clockwise to increase the tension. If the
tension is increased too much, the swivel will
not be able to move from one position to the
next causing your stand to be stuck in
whatever position it was set to before you
tightened the set screw.
Note: We have found that a good starting point is to
tighten the set screw just to the point where the
stand can no longer move, then reducing the
tension by about one half turn. This setting will offer
a solid click into the desired stand position.
Note: There is nothing permanent about installing the
SteadiStand retrofit kit. Should the stand positions
become loose in the future, simply unscrew the
SteadiStand from the stock Segway
®
parking stand
swivel, tighten the 3mm screw inside, and reattach.
Periodically check the tension of your stand. If the
stand moves from position to position too freely, the
spring tension may need to be increased.
It is imperative that the spring tension be maintained
to reduce the chances of the stand deploying while
your Segway
®
is in motion, as injury may result.
Page 11
____________________
STEP #3
____________________
Attach the retrofit kit to the base of the stock Segway
®
parking stand swivel mount.
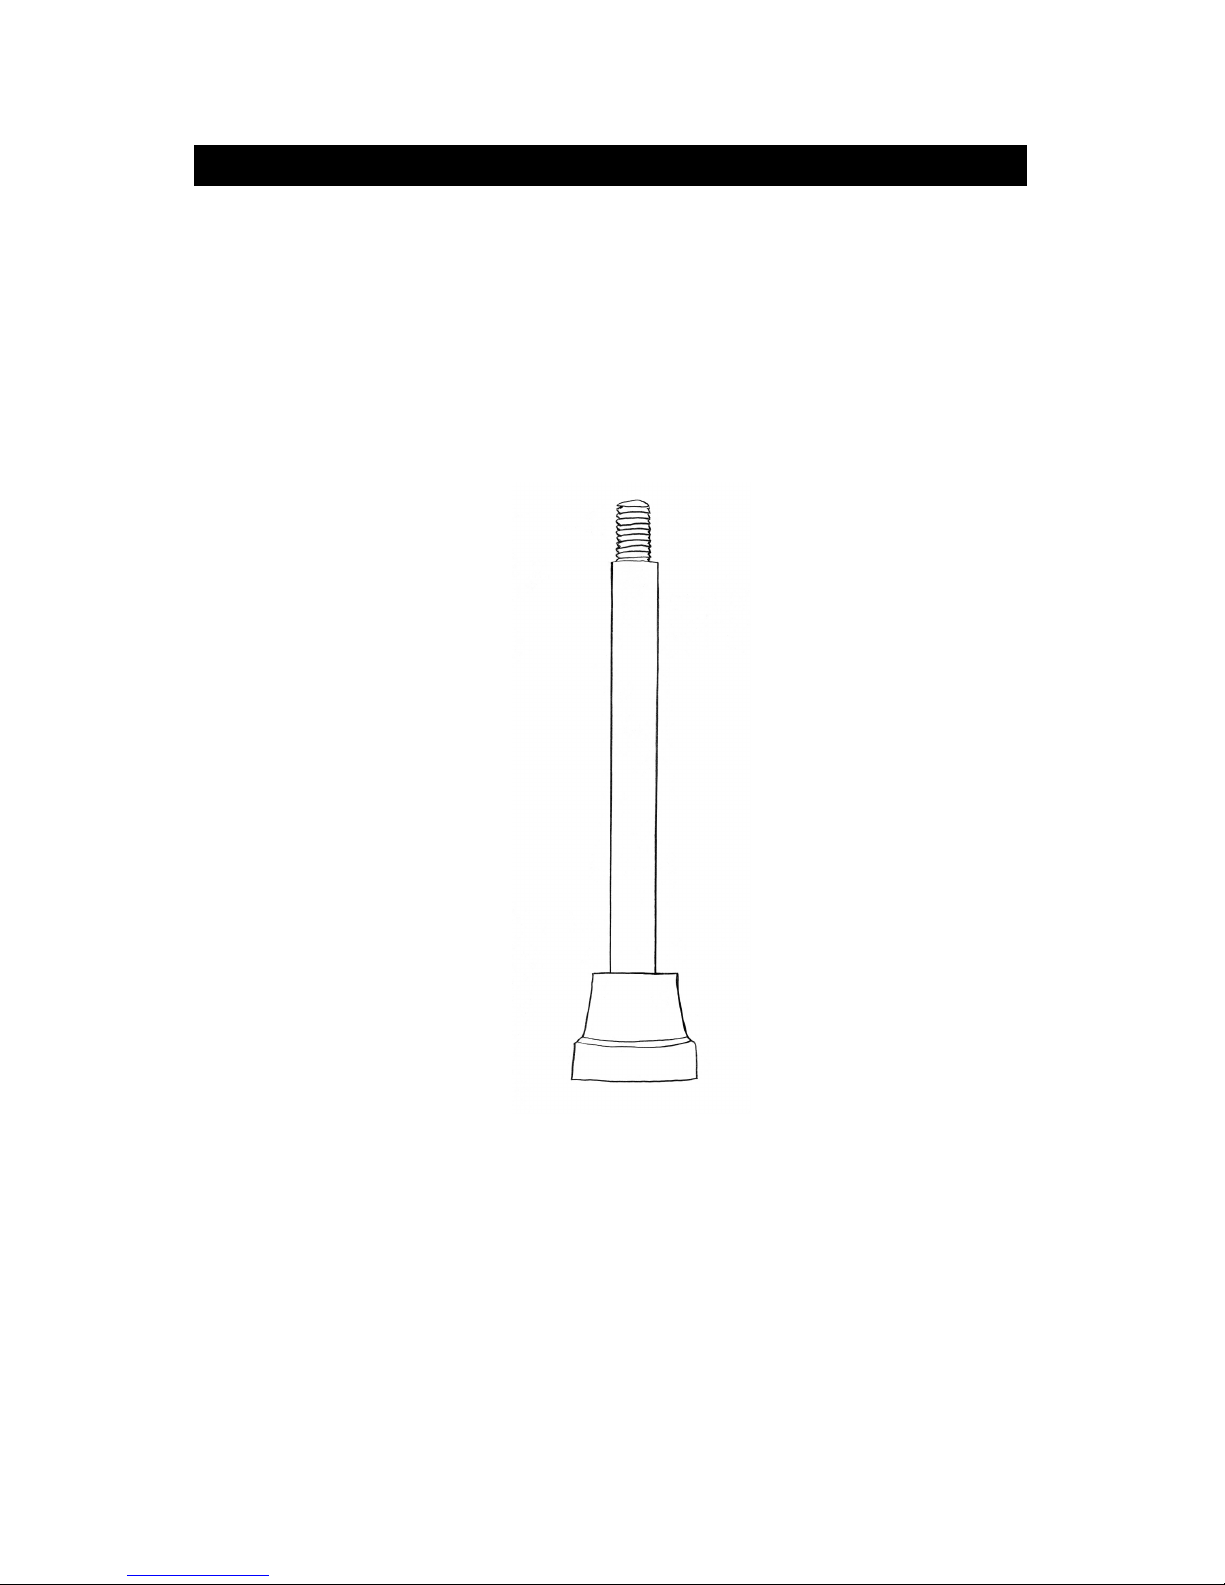
a. Locate the SteadiStand to be installed.
See figure 1.5
Fig. 1.5
b. If necessary, smooth the pre-applied Teflon
®
tape around the threads. This tape will ease
the installation of the SteadiStand as well as
prevent the SteadiStand from unthreading due
to vibration.
c. Thread the SteadiStand assembly into the
base of the stock Segway
®
parking stand
swivel mount in a clockwise direction.
See figure 1.6

Page 12
Fig. 1.6
Hint: Do not use tools such as pliers or wrenches to
tighten the retrofit kit to the stock Segway
®
parking stand swivel mount. Doing so may
damage the painted surface or the rubber
base.

Page 13
Troubleshooting and Warranty Information:
If, after following the above installation instructions, you are
still unable to successfully install your SteadiStand retrofit kit,
please feel free to contact us for assistance.
SteadiStand, LLC
(919) 600-2001
Hours: M-F 8:30am – 5:30pm ET
Limited One Year Warranty
The SteadiStand retrofit kit comes with a limited one (1) year
warranty from date of purchase against original defects in
materials or workmanship. Should this product fail to perform
for either of the above reasons, contact us and we will replace it
with an equivalent product, or refund your original purchase
price, at the option of the manufacturer.
Please note that we only warranty the parts we manufacture.
We cannot, and thus do not, warranty the Segway
®
stock swivel
mount, either express or implied, as this part is manufactured
only by Segway
®
. Likewise, Segway’s warranty of their stock
swivel mount does not extend to any part of the SteadiStand
retrofit kit. Also note that any warranty Segway
®
provides for
their parking stand may be voided by adding the SteadiStand
retrofit kit to it. Please contact Segway
®
for additional
information regarding their warranties.
We also make no warranties, either express or implied, for the
SteadiStand if not used or installed in accordance with this
manual. Furthermore, we cannot accept liability for any injury
or loss that may occur as a result of misuse, faulty maintenance,
or improper installation of the SteadiStand.

SteadiStand, LLC
825 Maurepas Drive
Knightdale, NC 27545
V. (919) 600-2001
F. (919) 869-2483
www.SteadiStand.com
info@SteadiStand.com
This manual suits for next models
1
Table of contents


