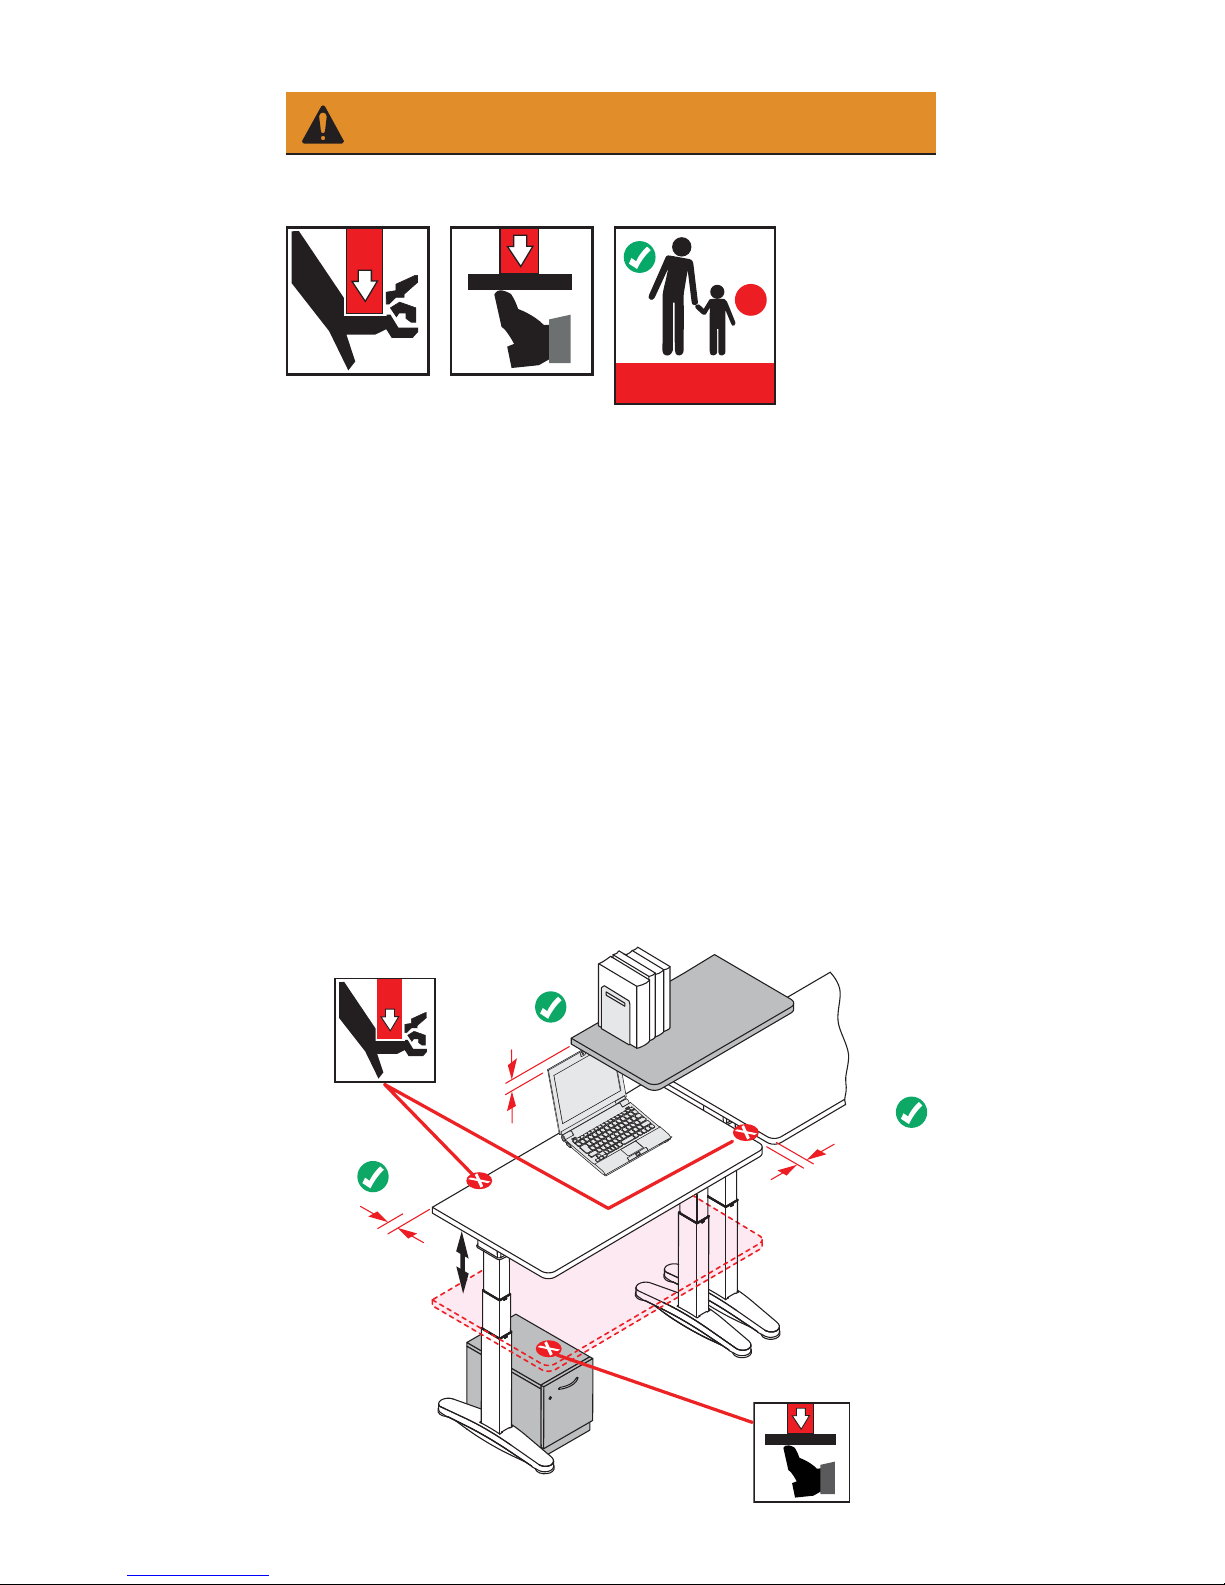
SET CHANGE OF POSTURE TIMER
The desk is equipped with Active Motion, which delivers a subtle
up/down motion signaling when it is time to move. The timer is set
in 15 minute increments, from 15-90 minutes.
•Press and hold the button for one second and cycle through
until your preferred time is shown. Release the button to
select. The light guide fills to save the selection.
•The icon will appear in the bottom right of the height display
to indicate that a timer is active. TIP: To wake the controller from
sleep mode to view the icon, press any button on the controller.
Note: If you do not change postures within five (5) minutes of the
Active Motion reminder, the timer will reset to OFF. You will
need to set the posture reminder timer again.
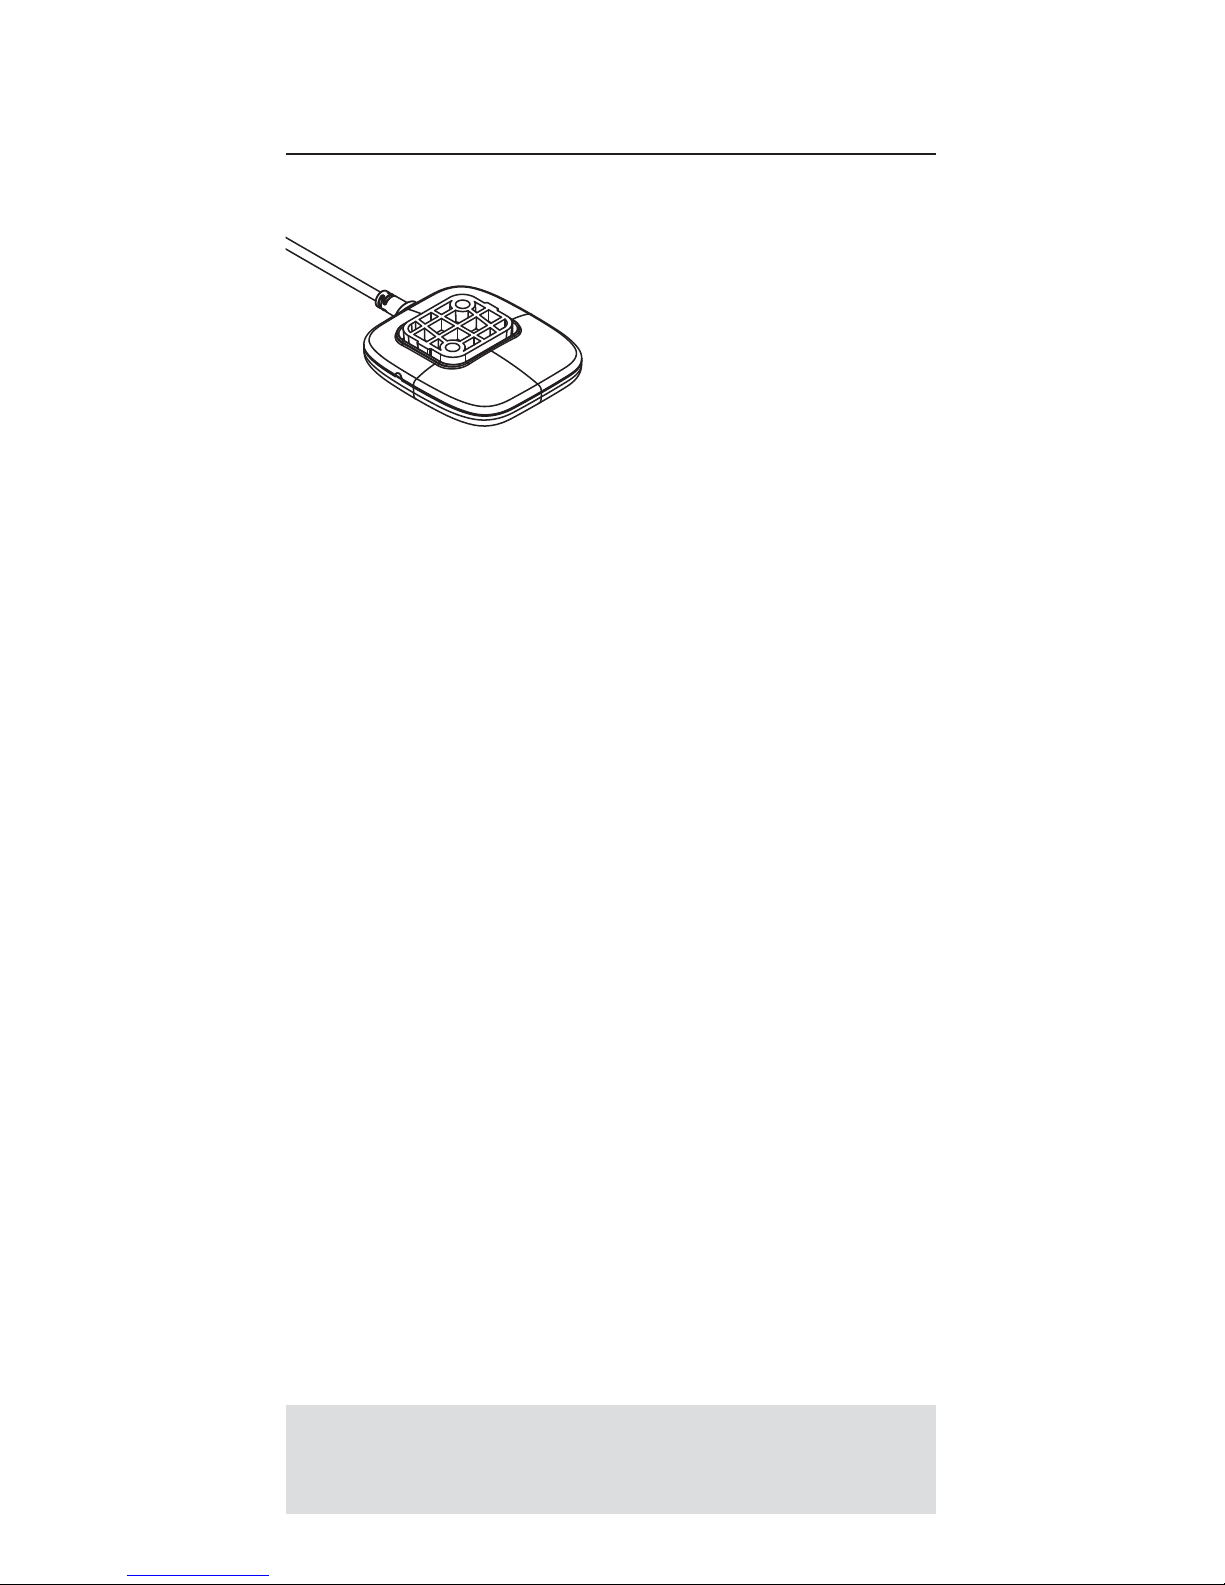
PAIR THE APP TO THE DESK
•Download the free Personal Assistant Rise app by Steelcase,
which is compatible with both android and iOS devices, from
the App stores. The app allows you to connect to the desk via
Bluetooth and allows you to track sitting and standing activity.
•In your phone settings, set Bluetooth to On.
•On the controller, press and hold the 2and buttons
simultaneously for 2 seconds, until the desk identification
number appears (e.g. ID DESK - 1234).
•In the app, select the identification number that matches the
desk you are pairing to. Your phone should read “Connected”.
•The controller will display “BLUETOOTH PAIRED” when
successful.
•To exit from the display, press any button on the controller.
•The will appear in the upper right corner of the height display
to indicate the desk is paired. TIP: To wake the controller from
sleep mode to view the icon, press any button on the controller.
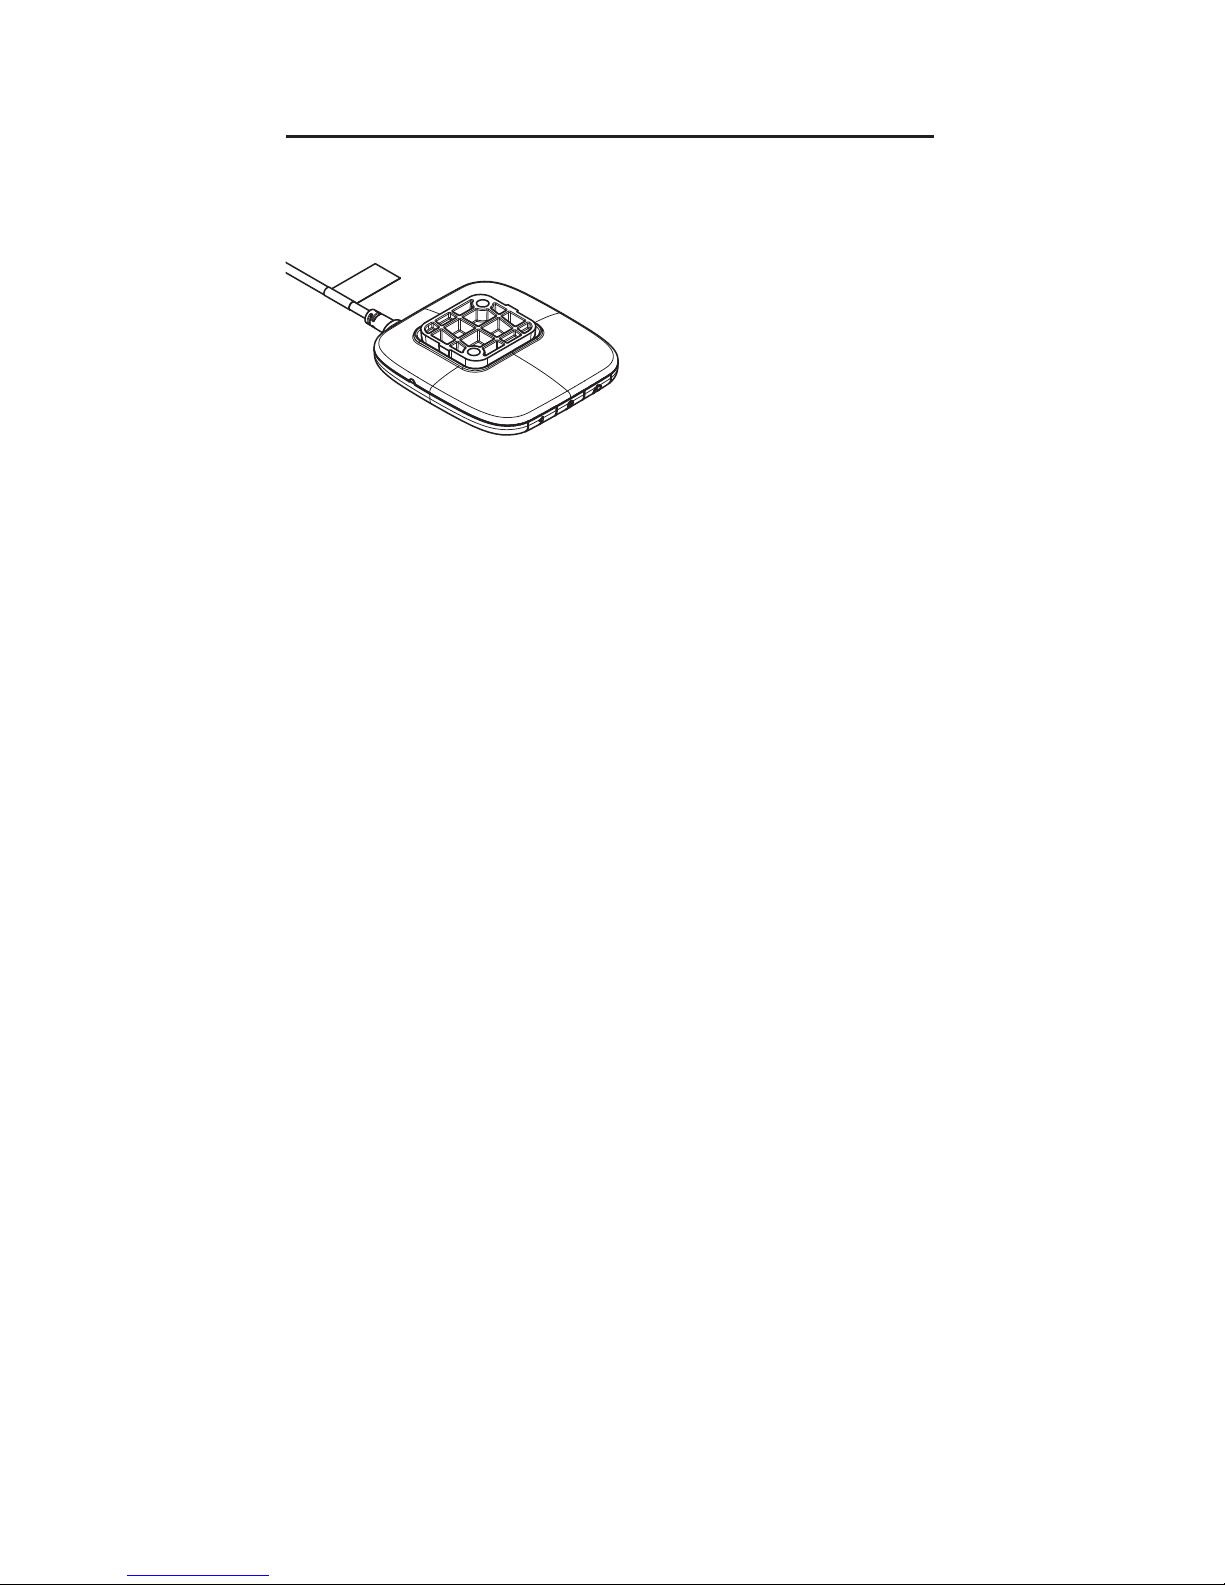
ADJUSTING THE HEIGHT DISPLAYED
•It may be necessary to adjust the height displayed, which is set
to the default setting from the factory.
•Press and hold the 1, 2and buttons simultaneously for four
seconds.
•The display will flash “ADJUST HEIGHT”, and then the current
desk height will flash on the display.
•Lift up or press down on the controller to change the height
displayed. The new desk height will flash until the light guide fills.
TIP: The desk should not move during this step.
SWITCH DISPLAY FROM INCHES TO CENTIMETERS
•Press and hold the 1and buttons simultaneously for three
seconds, to change the display from “INCH” to “CM”. The new
selection will flash until the light guide fills.
ERROR CODES
•In the event of a fault, the display may show an error
code number and brief description. Refer to the Ology
troubleshooting guide for further instruction.