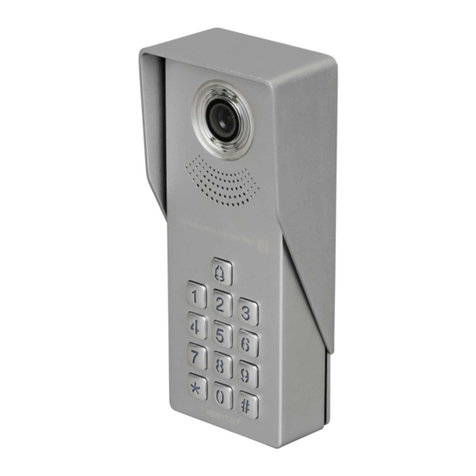
STEVEN SY806MJW User manual

11
11. Failure diagnosis
Malfunction Checking Debug
Fail to start the
product
If turn the switch to the "ON"? Turn the switch to the ON
If the power of Li-on battery is
not enough? Charge the Li-on battery
Fail to charge
If the plug of power adaptor
correctly plug into mini-USB?
Re-connect indoor monitor
with power adaptor
If the power adaptor correctly
get through the 100-240V AC
electricity?
Re-insert the plug to make
power adaptor get AC
electricity.
No voice in talk
mode
If the talk volume is adjusted to
be the least?
To adjust the talk volume to
be suitable.
The image is
flashing or
noisy
If the indoor monitor is close to
induction cooker and
microwave oven which has
magnetic wave?
Keep indoor monitor far away
from these things which has
magnetic wave.
No signal in
indoor monitor
If the outdoor camera doesn't
connect the power?
To connect power adaptor to
the outdoor camera
If the outdoor camera is far
away from the indoor monitor?
Keep the distance in 60
meters within (stopped by
multi-wall)
If there is other strong
magnetic space bother?
Keep indoor monitor far away
from the strong magnetic
space
2.4GHz Digital
Wireless Video Door Phone
User Manual
●Thank you for purchasing our product.
●For better taking advantage of the prior functions please carefully
read user manual for correct installation and operation.

1
Contents
1. Introduction……………………………………………………...2
2. Features…………………………………………………………2
3. Indoor monitor…………………………………………………..3
4. Outdoor monitor………………………………………………...4
5. Setting……………………………………………………………5
6. Installation ………………………………………………………7
7. Operation………………………………………………………...9
8. Work environment……………………………………………..10
9. Notices………………………………………………………….10
10. Package…………………………………………………………10
11. Failure diagnosis……………………………………………….11
10
8. Working environment
(1) Working temperature: -15℃—+55℃
(2) Working humidity: ≤85%
9. Notices
(1) Please don’t cover anything on the Microphone or speaker when it is in
working mode.
(2) Please always use the specified power adaptor, or that with the same
model (same standard voltage and current). Using the unspecified adaptor
may cause the damage of the product.
(3) Do not attempt to service this product yourself as opening or removing
covers may expose you to dangerous voltage or other hazards. Refer all
servicing to qualified service personnel.
(4) Please strictly follow the user manual before you install and test this
product. If there is any question, please contact our technical support and
customer service.
10. Package
(1) Outdoor camera, size: 168*110*65mm
(2) 7’ indoor monitor and fixed iron, size: 238×132×24mm
(3) Power adapter for outdoor camera
Input: 100-240V 50/60Hz Output: 5V/1A Cable length: 150cm
(4) USB power adapter for indoor monitor;
Input: 100-240V 50/60Hz Output: 5V/1A
(5) BL-5J battery of camera (optional) and indoor monitor
(8) Screw kit
(9) User manual

9
7. Operation
(1). Status Indicator
(2) Talk and Unlock
The visitor presses the ‘call’ button of the outdoor camera, in door monitors will
sound melody and show the image of visitor.
A. Press "monitor” key to turn off the screen and enter into standby mode to
ignore visitor.
B. Press 'call' key to talk to visitor, and press 'unlock' key to open the door.
(3) Monitor
Press 'monitor' key to wake up at the status of standby.
(4) Take picture
System records pictures of visitors automatically when door bell is pressed. To
view recorded pictures press “Capture” button for 2 sec to enter playback mode.
Use left/right button on the left side of the monitor to view all pictures recorded.
You can delete all images at once only. When you finish with images, touch
“capture” button again and you will see message “Delete all images?” Use
left/right button to choose Yes or No and touch “capture” button again to confirm.
Do not expect any confirmation message.
Note: the video door phone can keep about 130pcs photos, the first picture will
be replaced once available memory exceeded. 2
1. Introduction
Our wireless video door phone is composed of outdoor camera, indoor monitor and
wireless unlock control. You can operate the indoor monitor to communicate with
visitors via voice and video, and then unlock the door if you wish. It’s applicable in
apartment, hotel, house, office, building and so on.
The outdoor camera is easy to install. Indoor monitor is portable. It can be hung on
the wall or cabinet; or be placed on the desk, tea table or dining table…
2. Features
(1) 2.4GHz digital frequency hopping and encryption technology, transmission
distance up to 300 meters in free field, robust anti-interference.
(2) Clear night vision can capture image in low-illumination environment.
(3) Rain shield for the outdoor camera.
(4) 7 inch TFT color panel.
(5) Surveillance, wireless unlock, hands-free call and talk.
(6) 16 chord melodies and melody volume is adjustable.
(7) Brightness and talk volume is adjustable.
(8) Tim shown on screen, adjustable.
(9) Indoor monitor could take pictures automatically or by instruction. It could store
up to 130 pictures with date and time
(10) BL-5J battery of camera and monitor is replaceable and rechargeable
(11) Wireless unlock control supports power on and power off unlock mode.
(12) One outdoor camera supports up to 3 indoor monitors.

3
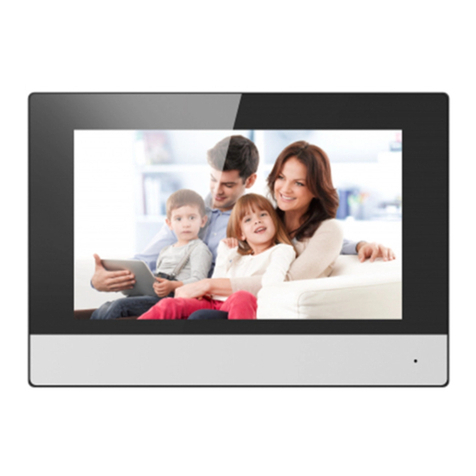
3. Indoor monitor
8
Power on lock Electronic
Power off lock Magnetic lock

7
6. Installation
(1) Recommended location: avoid direct light shinning, proper installation height
around 1.5m
(2)Switch setting
Unlock time setting: by switch M1 (on the back of the camera)
A . 1.5s (Default, M1 left)
B . 5s (M1 right)
Power mode setting: by switch M2 (on the back of the camera)
A.Normal mode (default, M2 left)
B. low power consumption mode (M2 right, under this mode, it is powered by the
outdoor camera battery and only the outdoor camera calling the indoor monitor can
be realized, indoor monitor to outdoor camera can not)
Pare setting:by M3
A.1 outdoor camera + 1 indoor monitor (default, M3 left)
B.1 outdoor camera+ many indoor monitors (M3 right)
(3)E-lock connection
There are 2 models of e-lock: power on unlock model and power off unlock model.
The user can choose the e-lock basing on the power requirement; also to set the
unlock time and e-lock connect way basing on the e-lock specification.
The 2 models E-lock connections are show in the following figure:
4
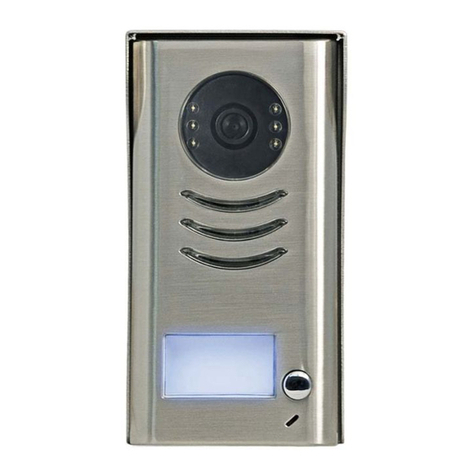
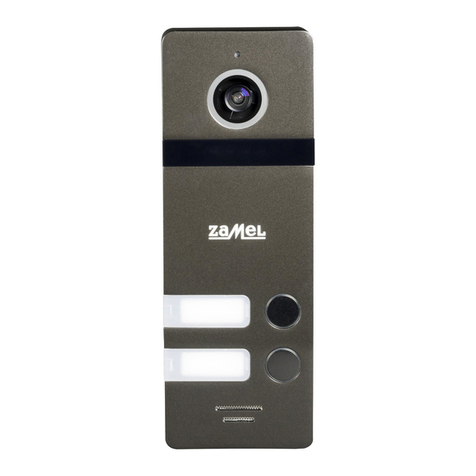
4. Outdoor camera
(1) Microphone
(2) Infrared light
(3) Camera lens
(4) Speaker
(5) ‘Call’ button
(6) Indicating light
(7) Power connector
(8) Unlock interface
(9)Code, a pair with indoor monitor
(10)Switch
(11) Lithium Battery
(12)Rain-proof shell

5
5. Setting
A Indoor monitor turn on/off
Turn on: Turn monitor On/Off switch on a left side of video monitor in “On”
position. It will start playing “Welcome” music. Touch “Monitor” button to stop
the music and you can use it now as a door phone.
Turn off: Press ON/OFF button for 1 second, monitor light will shut down and
stop ring the melody.
B Setting
(1) Time
Press ‘talk’ button for 2 seconds to enter time adjustment screen, press
the / /▲/▼button to adjust the time freely.
(2) Talk Volume
In the talk mode, press /button to adjust the talk volume.
Adjust level: 0-8.
(3) Melody
In the no-intercom mode, press ,button to select one of the 16 chord
melodies as the sound of the bell.
(4) Brightness
In the intercom/monitor mode, press the ▲/▼button to adjust the
brightness. Adjust level: 0-8.
(5) Charge
Place batteries in video monitor and door station and charge them fully
approximately for 6 hours until indicator light turned green. According to our
tests we advise to keep door station connected to the mains at all times for
6
two following reasons:
A) With battery operated door station you will get the video only when doorbell is
pressed. The Video monitoring function is available only when the door
station is connected to the mains.
B) The battery inside the door station will provide power in case there is no main
power. Video monitor can be carried around the house and used as battery
powered. Good to connect to the mains over night to charge battery fully for
next day use.
(6) Pair
Note: The system only support models as below. User can’t mix them when
purchase. For 1in1 system, adding more outdoor camera or more indoor
monitor can’t become one-to-multiple system.
(6.1) One outdoor camera and one indoor monitor system
Press ‘pair’ button of outdoor camera, indicating light flash, at the same time,
press the indoor monitor’s monitor buttons until the video from outdoor camera
will be shown in the screen of indoor monitor. Then the pair finishes.
(6.2) One outdoor camera and up to 3indoor monitors system
Repeating the 1in1 system pairing way one monitor by one monitor will be ok.
Table of contents
