manuals.online logo
Brands
  1. Home
  2. •
  3. Brands
  4. •
  5. Opiz
  6. •
  7. Intercom System
  8. •
  9. Opiz OP-D4D2AR User manual

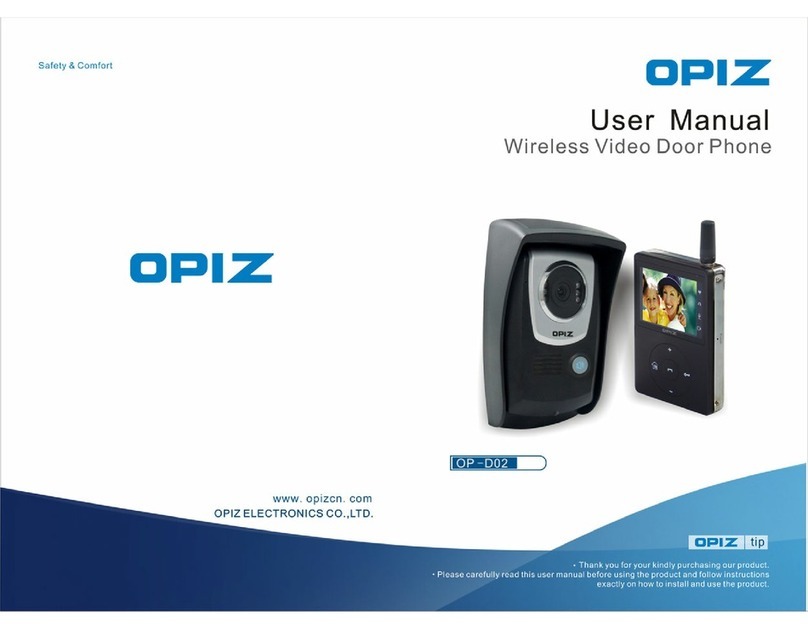
Opiz OP-D4D2AR User manual

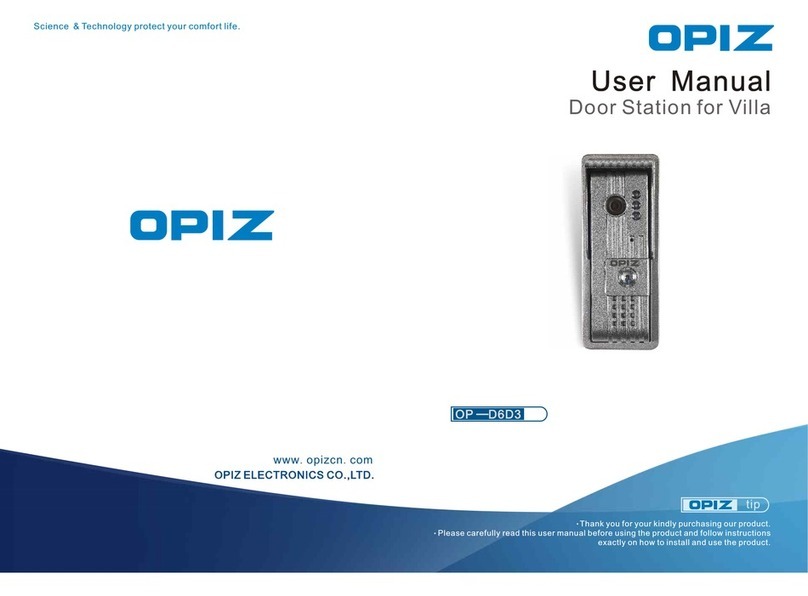
OPIZ ELECTRONICS CO.,LTD.
www.opizcn.com
tip
User Manual
Science & Technology protect your comfort life.
Thank you for your kindly purchasing our product.
Please carefully read this user manual before using the product and follow instructions
exactly on how to install and use the product.
4Wires Door Station
PROGRAMMING
Ⅴ.
OP —D4B1A
OP —D4D2AR
- 2 -
VIEW
SPECIFICATIONS
Ⅳ.
OPERATION
Ⅲ.
FUNCTIONS
Ⅱ.
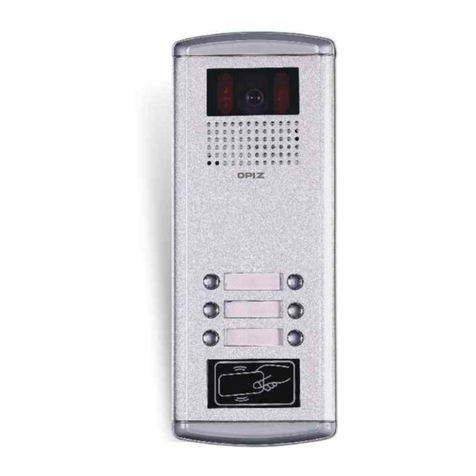
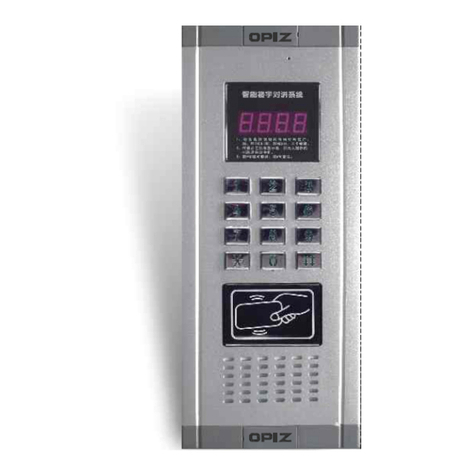
1. Front View
2. Rear View
① Screw
② Digital display area
③ The operating area of the keyboard
④ Access ID card reading area
⑤ Speaker
⑥ MIC
⑤
①
⑥
②
④
①
①②⑤
④
③
+-L
+1 2 3 4 V + -1
① 1 2 V power supply
② System lines
③ DCAM
④ Expand to the second keyboard
⑤ ID card DCAM
①Power line:
②system lines
1 Power line for door phone, unlock signal line for doorbell and door phone
(connect with door phone port 1)
2 Communicating line for doorbell and door phone, (connect with door phone port 2)
3 Ground wire (connect with door phone port 3)
4 Calling line (connect with door phone port 4)
V Video line (no need)
1.Two way communication
2.One room one password
3.Release door by ID card (If required)
4.Can work with 256 door phones
5.Calling tone adjustment
Call the indoor phone A visitor key in three or four digits room number on the door stati
on, the door station will ring the household indoor phone, when the householder pick
up the handset and dual talk to the visitor, and press the unlock button to release the
door.
Release door by password:Press the code button then will display “c” then key in the
room number there will display “L” key in the right 4 passwords, the lock will be unlock
ed automatically.
Unlock password settings:Cut the doorbell power off for more than30seconds,press
the Code button and switch on again, wait the display area display a “_ _ _“,key in the
room number which need to be set password, the display area will display “L_ _”key in
4digital numbers, there will display “_ _ _”.The first group password setting finish. If ne
ed to set the other householder password, continue to key in the room number ,passwo
rd ,after finishing the setting ,press delete to confirm, the doorbell back to the standby
mode automatically .
Attention:This system contains 256groups passwords, private password for each ho
useholder, the mode is: room number+4 digital passwords, can not set 4 “0”.for if set
password as 4 “0”stands for cancel the function of unlock bu password. The initial sett
ing is password unlock, if the householder need this function, should set the password
setting first.
Password changing:Press the code button for three times continuous ,press “0”foron
ce,then press the code button for once ,the digital are will display “b_ _”,key in the room
number ,there will display “L¬_ _”,key in the old password, then display “n_ _” key in the
new 4 digital password, there will display “888”,the password changed successful.
Cancel the unlock password: If one householder need to cancel the password, accordin
g to the previous operation (changing password),wait display “n_ _”press “0”for 4 times,
then this householder can not use password unlock any more. When the householder
forgot the password and can not unlock the door ,need to adjust: cut the power off for
30seconds wait display “_ _ _ ”,key in the new 4digital password, wait display “_ _”.
Press clear button to confirm .the operation finished.
Attention:Remember the room number, do not change the other’s password by mistake,
better ask the administrator to operate.
Tone setting:Press “*” for three times continuous, and then press “01”,stands for the
first tone setting; “02” stands for the second tone, “03” stands for the third tone .
:
- 1 -
Temperature: -40℃~70℃
Elative humidity: 45% ~ 95%
Atmospheric pressure: 86 ~ 108Kpa
Fire endurance rating: IP33
Operating voltage: DC12V
Static current:2 0mA
Current: 0.12A
Power dissipation:1.44W
Dimension: 315*130*45mm
Embedded size:300*113*32mm
N.W :880 g
③
Ⅴ. PROGRAMMING
+-L K 1 2 3 4 V
+-
4
3
2
1
4
3
2
1
Power supply
E-Lock
Door bell
Door phone Door phone
The product configuration
Door station
8P plugs line, mounting screws, if take charge function will increase
the management card 2 pieces, remote control one
Monitor
Door station power supply 12V 1A
Product cable instructions
Door station to monitor distance with 50 meters use RVV4 * 0.5 square mm of line,
more than 50 meters with RVV4 * 0.75squares mm
Branch line within 20 meters use RVV4 * 0.2 square mm of line, more than 20
meters with RVV4 * 0.3squares mm
Door station to power supply use RVV2 * 0.75 square mm of line
Door station to electronic within 5 meters use RVV2 * 1.0 square mm of line
1 2 3 4
Room number
8
2 41
8
2 41
- 4 -
Ⅵ.FOUR WIREDS INDOOR PHONE EXPLANATIONS
⑵
⑶
⑴
① Unlock button
② LOGO
③ Receiver
⑴ System connection port. connects with the outdoor station 1234 line on corresponding.
⑵ Floor code port, all the pins are corresponding number add together is the floor number.
⑶ Room code port, all the pins are corresponding number add together is the floor number.
Floor
Such as:
This room number is 101 This room number is 306
This room number is 1110 This room number is 1616
8
2 41
8
2 41
Room number
Floor
8
2 41
8
2 41
Room number
Floor
8
2 41
8
2 41
Room number
Floor
8
2 41
8
2 41
Room number
Floor
①
②
③

This manual suits for next models

1

Other Opiz Intercom System manuals

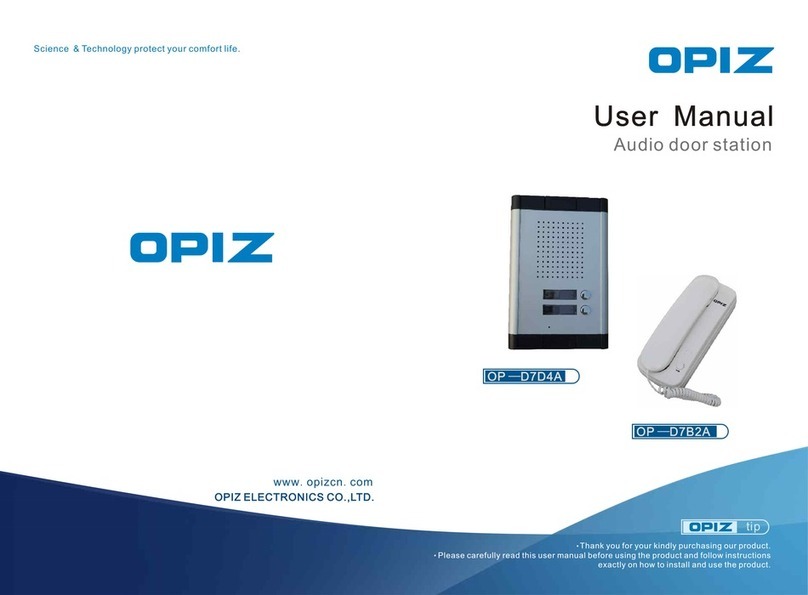
Opiz OP-D02 User manual

Opiz

Opiz OP-D02 User manual

Opiz OP-D05-S User manual

Opiz

Opiz OP-D05-S User manual

Opiz D2 User manual

Opiz

Opiz D2 User manual

Opiz OP-D6D3 User manual

Opiz

Opiz OP-D6D3 User manual

Opiz OP-D7D4A User manual

Opiz

Opiz OP-D7D4A User manual

Opiz OP-D2A3 User manual

Opiz

Opiz OP-D2A3 User manual

Opiz OP-D7D14 User manual

Opiz

Opiz OP-D7D14 User manual

Opiz OP-D7D6-R User manual

Opiz

Opiz OP-D7D6-R User manual

Opiz OP-D7D9 User manual

Opiz

Opiz OP-D7D9 User manual

Opiz OP-D7D4 User manual

Opiz

Opiz OP-D7D4 User manual

Opiz OP-D2D2A User manual

Opiz

Opiz OP-D2D2A User manual

Opiz OP-D7D5R User manual

Opiz

Opiz OP-D7D5R User manual

Opiz OP-D6D19 User manual

Opiz

Opiz OP-D6D19 User manual

Opiz OP-D6A8M4 User manual

Opiz

Opiz OP-D6A8M4 User manual

Opiz OP - D04 User manual

Opiz

Opiz OP - D04 User manual

Opiz OP-D6D10-2 User manual

Opiz

Opiz OP-D6D10-2 User manual

Opiz OP-D7D6-R User manual

Opiz

Opiz OP-D7D6-R User manual

Opiz OP-D6A8M3 User manual

Opiz

Opiz OP-D6A8M3 User manual

Opiz OP-D05 User manual

Opiz

Opiz OP-D05 User manual

Popular Intercom System manuals by other brands

Fermax 8300 manual

Fermax

Fermax 8300 manual

Tracplus RockAIR owner's manual

Tracplus

Tracplus RockAIR owner's manual

RTS BP-319 user manual

RTS

RTS BP-319 user manual

HOLOVISION 100-Pan2 installation instructions

HOLOVISION

HOLOVISION 100-Pan2 installation instructions

Chamberlain myQ Business CAPXM installation manual

Chamberlain

Chamberlain myQ Business CAPXM installation manual

2N IP Style installation manual

2N

2N IP Style installation manual

LTS LTH-M201-C quick guide

LTS

LTS LTH-M201-C quick guide

Farfisa ZHERO ZH1262PLB manual

Farfisa

Farfisa ZHERO ZH1262PLB manual

urmet domus 1183 Instruction

urmet domus

urmet domus 1183 Instruction

Gehrke NeuroKom IP WS-908-1 product manual

Gehrke

Gehrke NeuroKom IP WS-908-1 product manual

Grandstream Networks GDS3710 Connection & Wiring Diagrams

Grandstream Networks

Grandstream Networks GDS3710 Connection & Wiring Diagrams

ESENE IS710v2 user manual

ESENE

ESENE IS710v2 user manual

M-E VS-10 operating instructions

M-E

M-E VS-10 operating instructions

Audio Authority 1550 user manual

Audio Authority

Audio Authority 1550 user manual

urmet domus 1060/71 manual

urmet domus

urmet domus 1060/71 manual

Alpha Communications VM25WH Series Installation and use instructions

Alpha Communications

Alpha Communications VM25WH Series Installation and use instructions

Videx 4000 Series Technical manual

Videx

Videx 4000 Series Technical manual

HME Clear-Com EQUIP G30238-3A1 installation guide

HME

HME Clear-Com EQUIP G30238-3A1 installation guide

manuals.online logo
manuals.online logoBrands
  • About & Mission
  • Contact us
  • Privacy Policy
  • Terms and Conditions

Copyright 2025 Manuals.Online. All Rights Reserved.