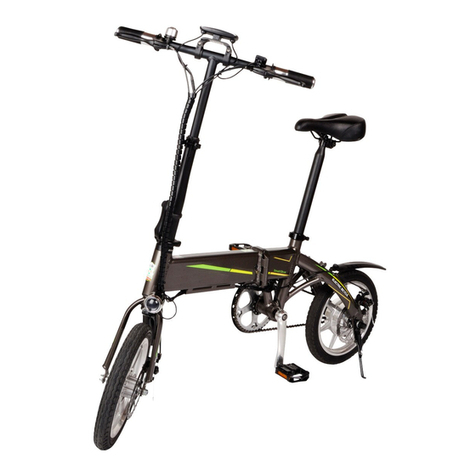
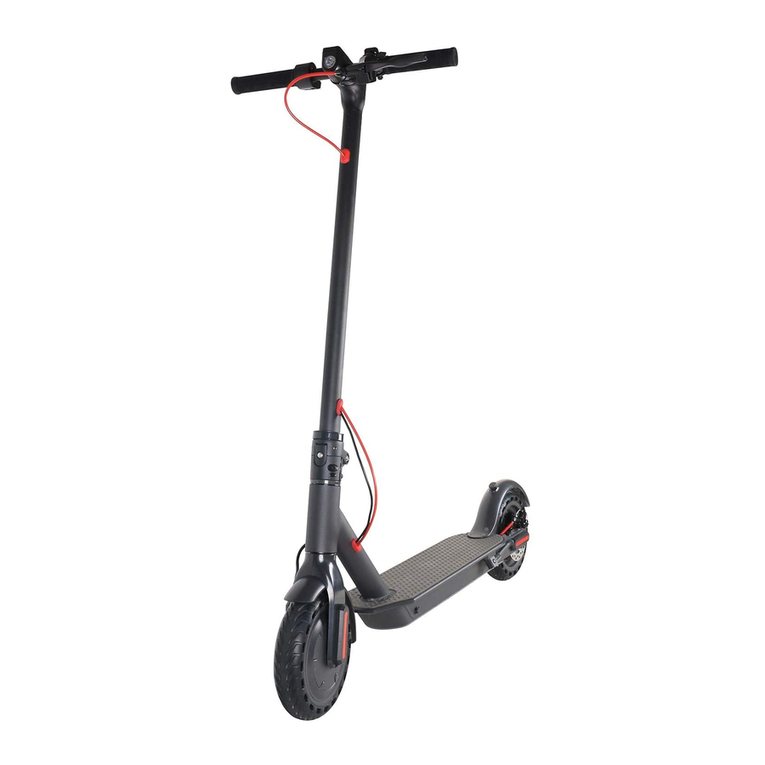
STIGO Stigobike User manual


TABLE OF CONTENTS
1. BOX CONTENTS
2. DISCLAIMER, COPYRIGHT NOTICE AND TRADEMARKS
3. STANDARDS
4. BEFORE YOU BEGIN
5. OPENING THE BOX
6. MIRROR INSTALLATION (NOT APPLICABLE TO ALL MODELS)
7. STIGO SCOOTER DETAILS
8. STIGO SCOOTER DISPLAY DETAILS
9. HOW TO UNFOLD version1
HOW TO UNFOLD version2
10. HOW TO FOLD
11. STARTING A STIGO
12. CHARGING
13. PRE-RIDE INSTRUCTIONS
14. IMPORTANT COMPONENTS
15. SAFETY AND WARNINGS - MODIFICATIONS AND
RIDING IN ICY/WET CONDITIONS
16. WARRANTY
17. SERVICE
18. DISPOSAL AT END-OF-LIFE
Need help?
For replacement parts, product support and a list of authorised
service centres, visit our website at www.stigobike.com
14.1 BRAKES
14.2 KICKSTAND
14.3 CHARGER
14.4 FRAME AND FRAME NUMBER
14.5 BATTERIES
14.6 TIRES

1. BOX CONTENTS
2. DISCLAIMER, COPYRIGHT NOTICE AND TRADEMARKS
3. STANDARDS
Stigo scooter
Charger
Electronic key
Mirror and Allen key for mounting (optional)
Manual
The performance, information and specifications of the Stigo and other
products manufactured by or sold under the license of Stigo Ltd and
featured in this document may change without notice. It is the responsi-
bility of the user to determine the appropriate and safe conditions to use
the products and to periodically check the product to ensure secure and
proper operation. To the extent permitted by law, any liability that may
be incurred as a result of use of a product manufactured by or sold
under a license granted by Stigo Ltd is limited to the cost of repairing or
replacing the failed product or component at the discretion of Stigo Ltd
and does not extend to any loss or damage which may be caused as a
consequence of misuse or failure of the product. Damage to the prod-
uct, other property or any persons are the responsibility of the user of
the Stigo product. By using a product manufactured by or sold under a
license granted by Stigo Ltd, you state that you have read this disclaimer
and agree to hold Stigo Ltd, its owners and any of its employees or direc-
tors free from all liabilities, and that you agree to use and operate the
product at your own risk.
Stigo and Stigobike are registered trademarks of Stigo Ltd. The trade-
marks and logo of Stigo cannot be used without the express written
approval of Stigo Ltd.
The Stigo is an L1e category electric powered moped/scooter developed
in accordance with the following EU directives:
2002/24/EC
2013/60/EC
© Copyright Stigo Ltd. All rights reserved.

4. BEFORE YOU BEGIN
5. OPENING THE BOX
Please read and understand this manual prior to using your Stigo for the
first time. There are many cautions and warnings, which, if ignored, may
increase the risk of damaging the Stigo, cause injuries or invalidate the
warranty.
This manual was written to help you achieve optimal performance, com-
fort, enjoyment and safety when riding your Stigo scooter. The manual
describes care, maintenance and usage procedures that ensure years of
trouble-free riding and keep the product covered by warranty. It is impor-
tant to understand your new Stigo scooter, its features and its operation, to
acheive maximum enjoyment with maximum safety. By reading this
manual before riding your Stigo scooter for the first time, you will know
how to get the most from your Stigo. It is also important that your first ride
on a Stigo scooter is taken in a controlled environment, away from traffic
and obstacles.
Riding a Stigo or any other electric vehicle involves the risk of damage to
the Stigo, injury or death, particularly if use of the vehicle takes place in
busy urban environment. Please understand these risks and carefully read
the manual to help prevent accidents. Please do not attempt to use the
Stigo beyond the limits of your ability or those of the product itself.
Remove the contents from the box. Remove any separators that protect
the components from damage during shipping. Inspect the contents of the
box for visual defects that may have occurred during shipping. As the Stigo
was 99% assembled (except for the mirror) and carefully packed at the
factory there should not be any problems, even if the box arrives slightly
damaged.
The only assembly required by you is installing the mirror that should not
take more than a few minutes. If you do not feel confident doing it yourself,
please seek assistance from a service specialist.

6. MIRROR INSTALLATION (NOT APPLICABLE TO ALL MODELS)
Required tool for mirror mounting
(included in the accessory box):4mm Allen key.
Remove the endcap from
the left side end of the
handlebar.
Insert the mirror
into the handlebar.
Fasten the bolt inside
the mirror with the
supplied Allen key
until the mirror is firmly
fixed to the handlebar.

7. STIGO SCOOTER DETAILS
Rear lock opening lever
Front lock opening lever
Throttle
ON/OFF switch
Horn switch
Mirror
Rear brake lever
Front brake lever
Light
Horn
Frame number.
Starts with V6G
Kickstand
Motor
Transportation wheels

Status indicator - white = power on / red = charging / green = fully charged
Odometer
Speed reading
Speed unit
Battery level
8. STIGO SCOOTER DISPLAY DETAILS
2
3
4
5
1

Hold the Stigo in an upright position.
Grabbing the center of the handlebar with your
left hand, slightly tilt the Stigo forward and locate
the front lock opening lever.
Using the other hand, pull the front lock
opening lever with your thumb.
Tilt the Stigo further down and bring the
handlebar upwards until your hear the
CLICK, that locks the mechanism.
9. HOW TO UNFOLD version 1

Place your foot on the
footrest.
Hold the Stigo in an upright position.
Push down on the footrest
until you hear the CLICK,
that locks the mechanism.
HOW TO UNFOLD version 2
Grabbing the center of the handlebar with
your left hand, slightly tilt the Stigo forward
and locate the front lock opening lever.

Place your right hand on the
handle behind the seat.
Using the other hand, pull the front lock
opening lever with your thumb.
Tilt the Stigo further down and bring the
handlebar upwards until your hear the CLICK,
that locks the mechanism.
Pull the handle briskly upwards
until your hear a second CLICK,
that locks the mechanism.

10. HOW TO FOLD
Grab the rear lock
opening lever.
Keep pushing down
the seat until you hear
the CLICK, that locks
the mechanism.
Pull up the lever and
at the same time,
push down the seat.

To turn on the Stigo
scooter, hold down
the ON/OFF button
for 2 seconds.
11. STARTING A STIGO
Grip tightly on the carrying handle with
your fingers and place your thumb on
the front lock opening lever and pull
the lever.
While lifting the Stigo upwards from the
carrying handle, use the other hand to
grab the center of the handlebar and
bring the fork closer to the frame until
you hear the CLICK, that locks the
mechanism.

A small white dot will
light up on the display
to indicate that the
bike is activated.
Next you need to unlock the bike with the
RFID key. To do so, touch the key to the white
circle located on the plastic front panel, below
the display. The bike is unlocked when the
display lights up.
The Stigo scooter has a twist throttle that is located on the right hand
grip. To start moving, twist the throttle backwards, towards you. You
control the throttle by twisting it towards yourself. The further you twist,
the more power is applied. To slow down, simply release the throttle to
rotate it back towards its resting position.

Remove the rubber cap from the charging
plug and plug in the charger.
Plug the charger into a 100-240V wall outlet.
12. CHARGING
To turn off the Stigo
scooter, press and
hold down the
ON/OFF button for 2
seconds until the
display switches off.
Always keep the RFID
key with you in order
to prevent unauthor-
ized usage.
5

If the Stigo is switched ON while charging, the display will show the battery
charging level. There are a total of 8 LEDs indicating the battery level and the
last LED will turn red when battery is critically low.
Observe the charging
indicator light on the
charger. Red light indicates
that the battery is charging.
Once the indicator light on
the charger turns green,
the battery is full.
First unplug the charger from the wall
outlet and then from the bike.
Put back the protective rubber cap.

Check and maintain your Stigo scooter:
The Stigo should be maintained and repaired in accordance to the manufactur-
er’s specifications, using only original spare parts, and should never be modi-
fied.
Make safety your first priority by ensuring that your Stigo scooter is in good
working order. Visual and mechanical checks are outlined below and should
always be performed prior to riding. In case worn parts or other technical
issues are found during your inspection, do not ride your Stigo scooter until the
problem has been addressed.
Please do not use the Stigo if you believe that it is not functioning properly
or it might be damaged in any way.
13. PRE-RIDE INSTRUCTIONS
Brakes:
Pull the brake levers individually while pushing the Stigo scooter to
see if it rolls. You should be able to lock-up the wheels completely
by applying the brakes.
Throttle:
With the ON/OFF switch in the OFF position, fully twist the throttle
and release to verify that the throttle is smooth and returns correctly.
Lights:
Check that the lights are operating properly. Pull the brakes to see
if the brake light is working.
Tires:
Check both tires for condition and tread depth. Check the tire pres-
sure frequently. Maintain correct tire pressure as indicated on the
sidewall of the tires.

14. IMPORTANT COMPONENTS
14.1 BRAKES
To adjust the brake lever throw, turn the brake cable adjuster in or out until
the desired brake adjustment is attained. The adjuster for the front brake
is located on the brake cable guide (noodle) and for the rear brake it is
located on the brake caliper. As seen on the images below. If the brakes
require further adjustment, visit a qualified service specialist to do so.
Your Stigo scooter is equipped with a disc brake for maximum reliability
and efficiency. Applying hand pressure to the brake lever will cause the
brake pads to apply friction against the brake rotor, slowing down the
wheel. The more pressure applied, the faster it will come to a stop. Once
you have eased off the throttle, pull the brake lever towards you to slow
down and stop. The rear brake is capable of locking the wheel and throwing
an unsuspecting rider off balance. Practice in an open area free from
obstacles until you are familiar with the brake functions. Avoid skidding the
tires, as this can cause you to lose control and/or damage the tires.
In the event that an emergency stop is required, apply both brakes in a safe
and controlled way until you have brought the Stigo to a complete stop. Do
not release the brakes until it is safe to do so.

14.3 CHARGER
Read all safety warnings and all instructions. Failure to adhere to the warn-
ings and instructions may result in an electric shock, fire and/or serious
injury. Save all safety warnings and instructions for future reference. Keep
the charger away from moisture. The penetration of water into a battery
charger increases the risk of electric shock. Only charge your Stigo scooter
using the original charger. Keep the battery charger clean. Dirt or oxidation
can lead to short circuit or the danger of an electric shock. Before each use,
check the battery charger, cable and plug. If damaged, do not use the
battery charger.
Never open the battery charger yourself. Have repairs performed only by a
qualified technician using original spare parts. Damaged battery chargers,
cables and plugs increase the risk of an electric shock. Do not operate the
battery charger on easily inflammable surfaces (e. -g., paper, textiles, etc.)
or surroundings. The battery charger heats up while charging, which is
normal. Be aware of the heat, as it can pose a fire hazard. The battery can
emit vapors or smoke in case of a damaged and improperly used battery
pack. Ventilate the rooms and seek medical attention in the event of com-
plaints. The vapors can irritate the respiratory system. Never try to charge
a damaged battery pack.
Supervise children at all times to ensure that they do not play with the
charger. Children or persons that, owing to their physical, sensory or
mental limitations or their lack of experience or knowledge, are not capable
of securely operating the charger may only use this charger under supervi-
14.2 KICKSTAND
Using the kickstand – fold it out of its resting position all the way; then
support the bike on it and make sure it stands safely. Once you lift the Stigo
scooter to a vertical position, the kickstand will automatically fold. Please
note that it is a safety feature!
The kickstand might not prevent the Stigo electric scooter from falling. It
depends on wind and the surface on which the Stigo is standing on. The
kickstand is not designed to be used while someone is sitting on the Stigo
electric scooter. Please be aware that even with the kickstand applied the
Stigo scooter can still fall over and get damaged or cause injuries.
sion or after having been instructed by a responsible person. Otherwise,
there is danger of errors and injuries when operating.
Always connect the charger to the bike first and then plug the charger into
a standard 100-240V wall outlet. Check to ensure that the LED light on the
charger lights up. The LED light on the charger will turn from red to green
once the Stigo is fully charged. Once charging is completed, unplug the
charger from the wall outlet and then from the bike. Do not leave a fully
charged bike connected to the charger, this will damage the batteries and
can cause a fire hazard. Never charge lithium batteries unattended.
Your batteries capacity will decrease over time. However, it your battery
does not hold sufficient charge even for a short trip, contact your Stigo
dealer or reseller to order a replacement. The charger supplied with your
Stigo scooter should be regularly examined for damage to the cord, plug
and other parts. In the event of damage, do not use the charger until the
charger has been repaired or replaced. If the charger emits unusual
sounds or odors, stop using it immediately and contact our customer
service.
Observe the mains voltage! The voltage must correspond with the data
given on the nameplate of the battery charger.

Read all safety warnings and all instructions. Failure to adhere to the warn-
ings and instructions may result in an electric shock, fire and/or serious
injury. Save all safety warnings and instructions for future reference. Keep
the charger away from moisture. The penetration of water into a battery
charger increases the risk of electric shock. Only charge your Stigo scooter
using the original charger. Keep the battery charger clean. Dirt or oxidation
can lead to short circuit or the danger of an electric shock. Before each use,
check the battery charger, cable and plug. If damaged, do not use the
battery charger.
Never open the battery charger yourself. Have repairs performed only by a
qualified technician using original spare parts. Damaged battery chargers,
cables and plugs increase the risk of an electric shock. Do not operate the
battery charger on easily inflammable surfaces (e. -g., paper, textiles, etc.)
or surroundings. The battery charger heats up while charging, which is
normal. Be aware of the heat, as it can pose a fire hazard. The battery can
emit vapors or smoke in case of a damaged and improperly used battery
pack. Ventilate the rooms and seek medical attention in the event of com-
plaints. The vapors can irritate the respiratory system. Never try to charge
a damaged battery pack.
Supervise children at all times to ensure that they do not play with the
charger. Children or persons that, owing to their physical, sensory or
mental limitations or their lack of experience or knowledge, are not capable
of securely operating the charger may only use this charger under supervi-
14.4 FRAME AND FRAME NUMBER
Each Stigo has a unique VIN (vehicle identification number). It is pressed
into the right side of the head tube of the bike as well as on a silver label
riveted to the bottom side of the main frame. This number is required
when you need to make a warranty claim.
The Stigo frame is made of 6061 aluminum. It is covered with several layers
of bicycle paint and clear coat. Some of the main joints are anodized.
Abusive or careless use can accelerate the wear and tear of components
(off-road use, jumping, stunt riding, skidding, etc.). As a result, sudden and/
or premature failure of some components may occur without warning and
there may be a risk of injury. If the Stigo has been damaged (besides light
cosmetic scratches), dented, bent, cracked or damaged in any other way,
do not use the Stigo until it has been checked by an authorized service
center.
sion or after having been instructed by a responsible person. Otherwise,
there is danger of errors and injuries when operating.
Always connect the charger to the bike first and then plug the charger into
a standard 100-240V wall outlet. Check to ensure that the LED light on the
charger lights up. The LED light on the charger will turn from red to green
once the Stigo is fully charged. Once charging is completed, unplug the
charger from the wall outlet and then from the bike. Do not leave a fully
charged bike connected to the charger, this will damage the batteries and
can cause a fire hazard. Never charge lithium batteries unattended.
Your batteries capacity will decrease over time. However, it your battery
does not hold sufficient charge even for a short trip, contact your Stigo
dealer or reseller to order a replacement. The charger supplied with your
Stigo scooter should be regularly examined for damage to the cord, plug
and other parts. In the event of damage, do not use the charger until the
charger has been repaired or replaced. If the charger emits unusual
sounds or odors, stop using it immediately and contact our customer
service.
Observe the mains voltage! The voltage must correspond with the data
given on the nameplate of the battery charger.
Table of contents
Other STIGO Scooter manuals

