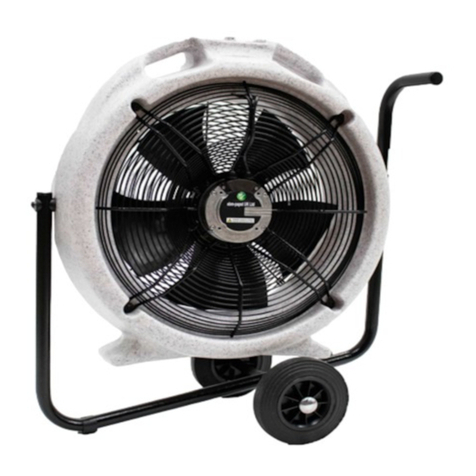
Stingray ALVA Air ACS201 User manual
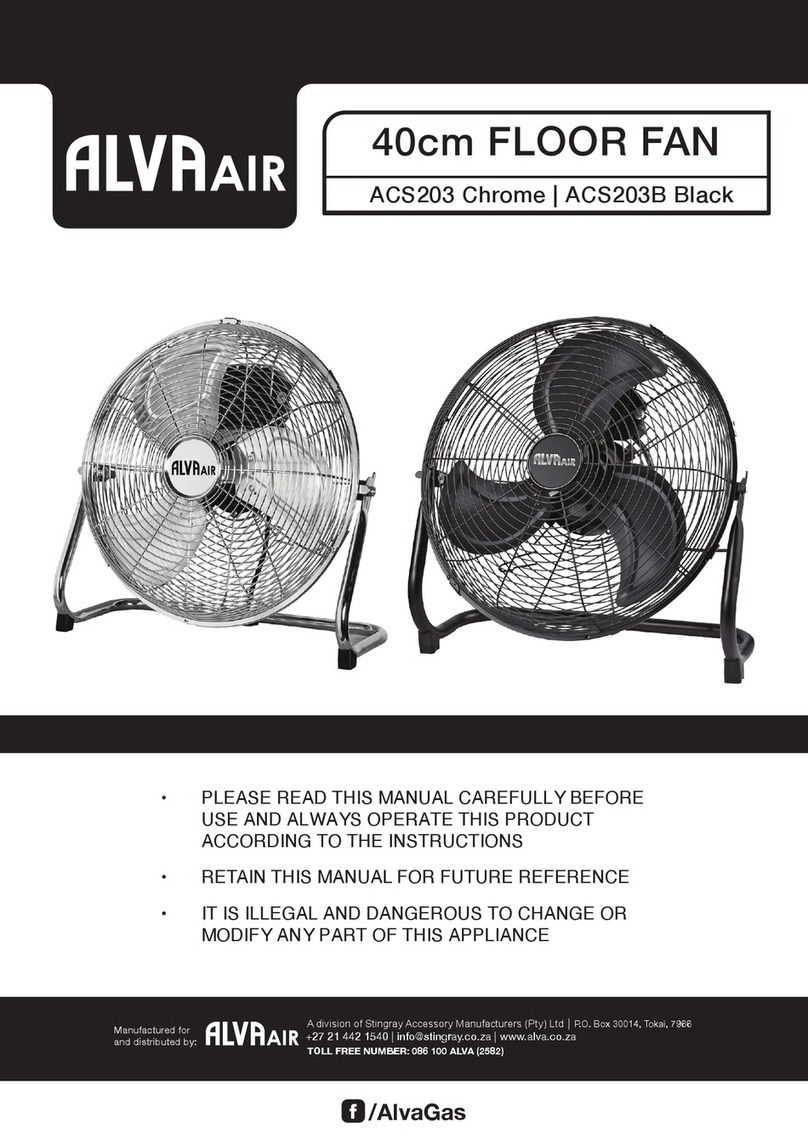
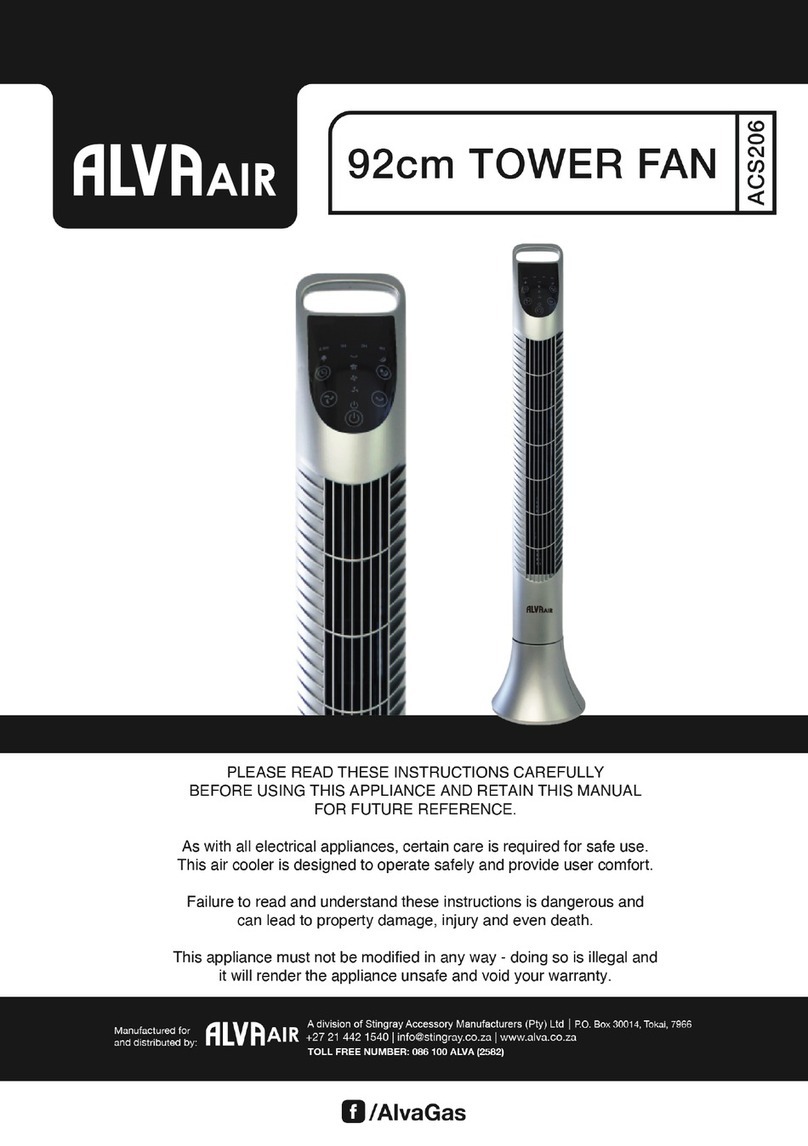
Other Stingray Fan manuals
Popular Fan manuals by other brands
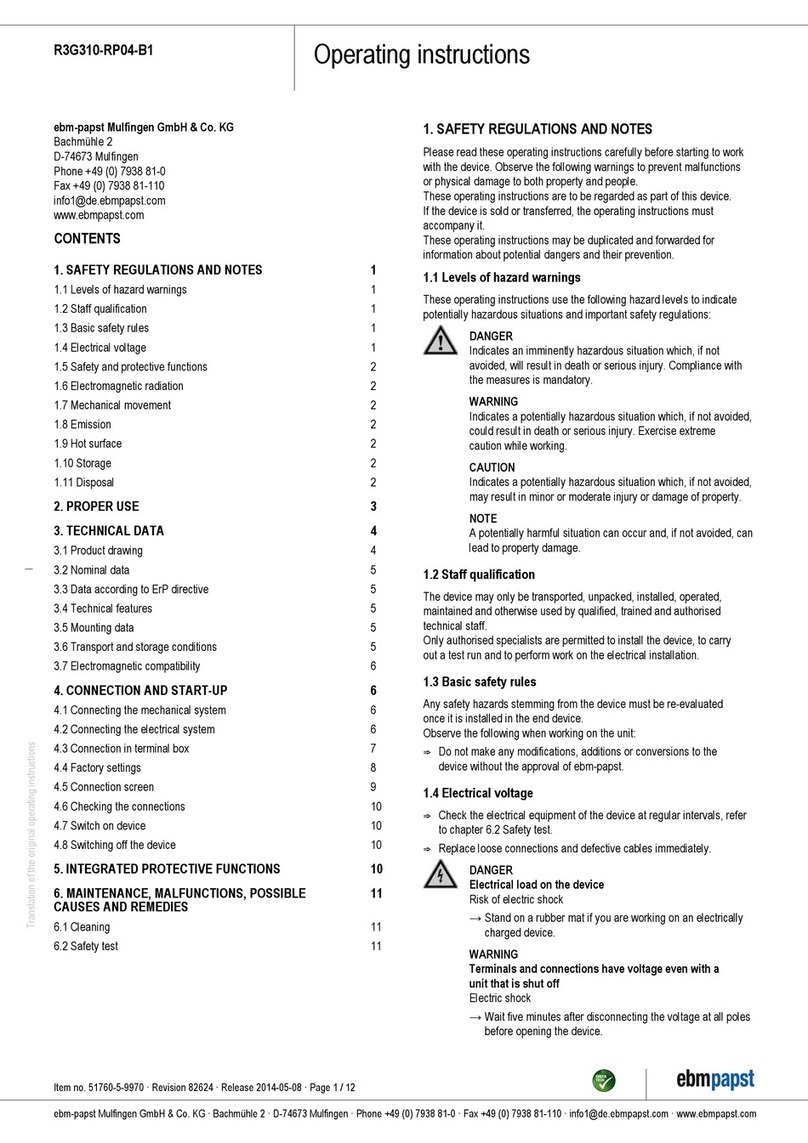
Ebmpapst
Ebmpapst R3G310-RP04-B1 operating instructions

Wind Chaser
Wind Chaser WindColumn WP-PA2615 instruction manual
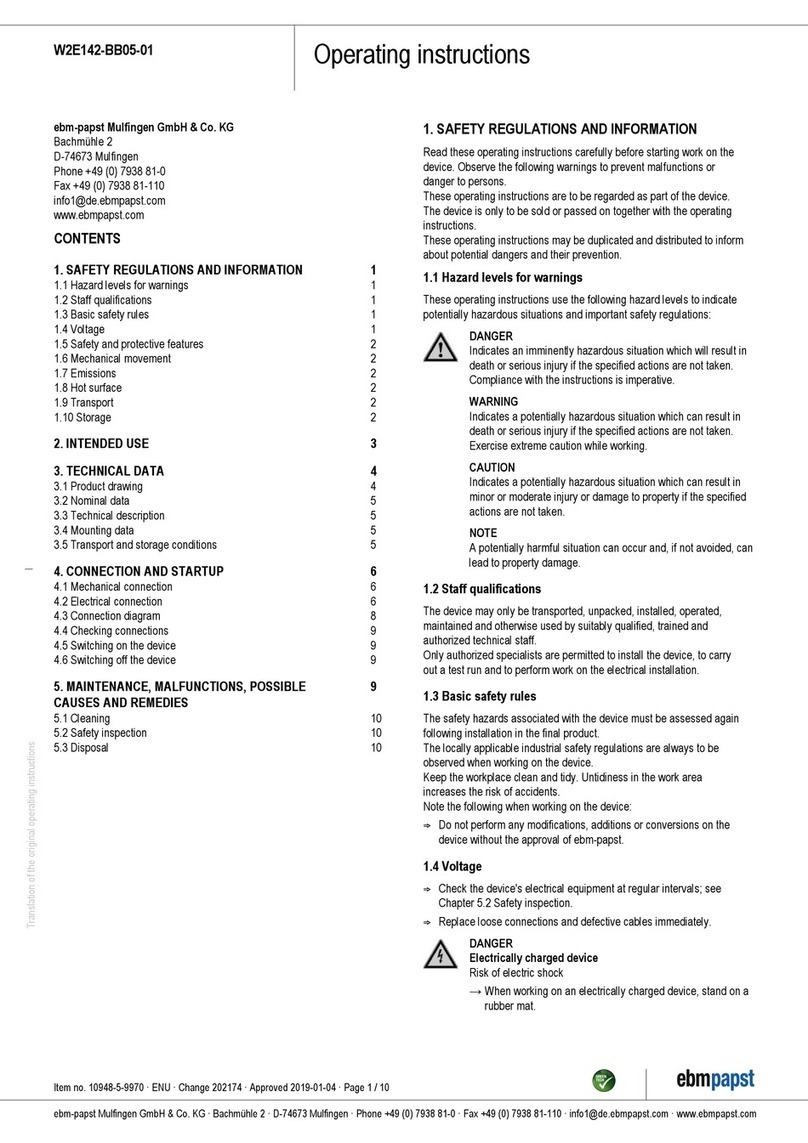
Ebmpapst
Ebmpapst W2E142-BB05-01 operating instructions
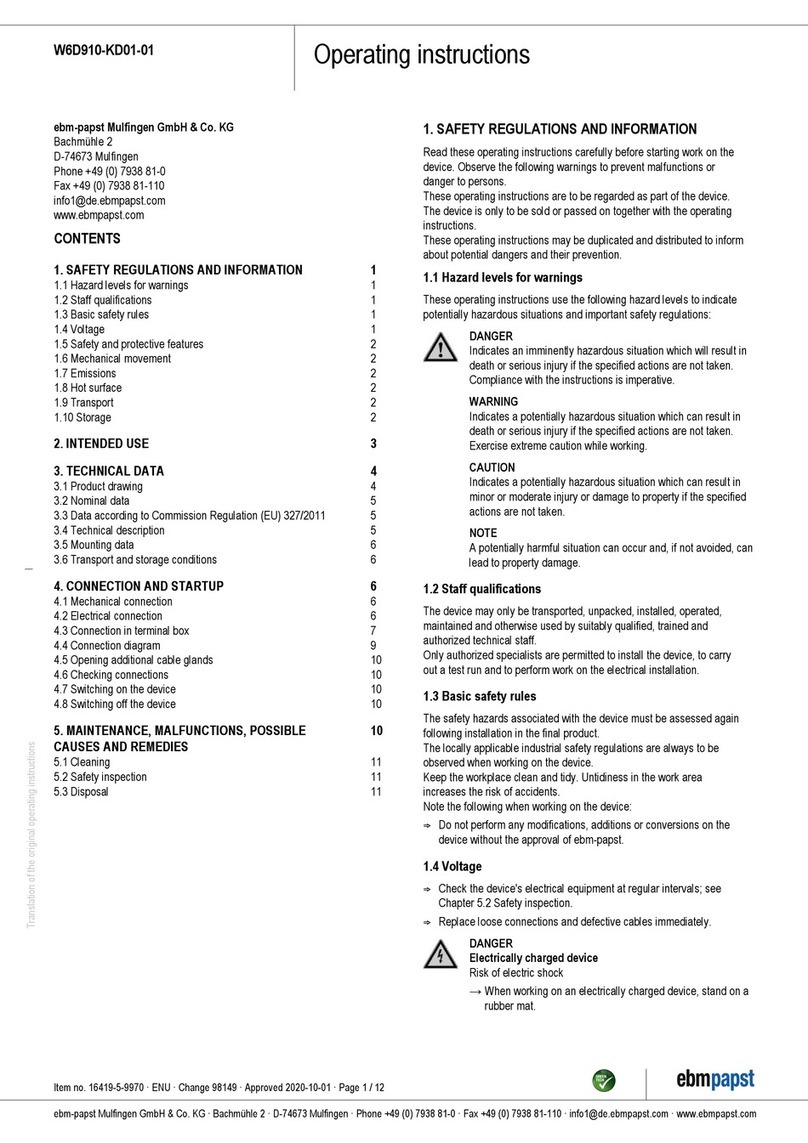
Ebmpapst
Ebmpapst W6D910-KD01-01 operating instructions
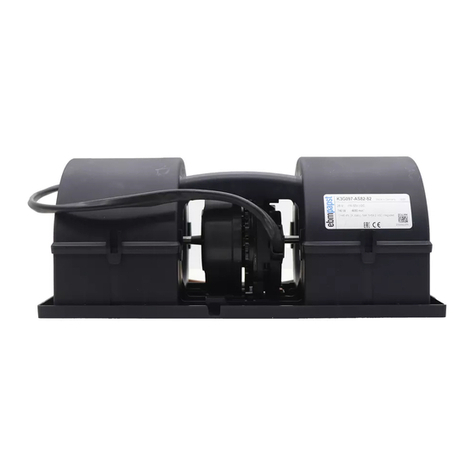
Ebmpapst
Ebmpapst K3G097-AS82-82 operating instructions
M Confort
M Confort PERSONAL FAN user manual
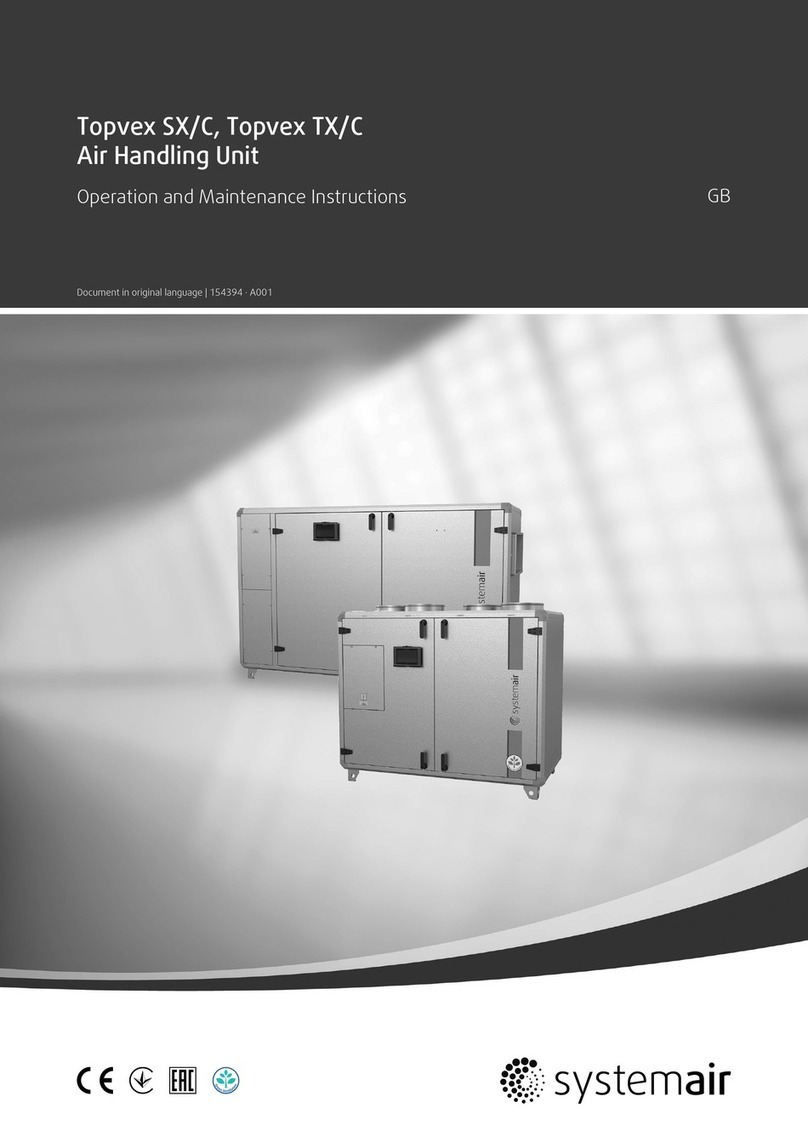
System air
System air Topvex SX/C Operation and maintenance instructions

Ebmpapst
Ebmpapst A3G630-AD03-A8 operating instructions

Ebmpapst
Ebmpapst W3G910-GU22-01 operating instructions
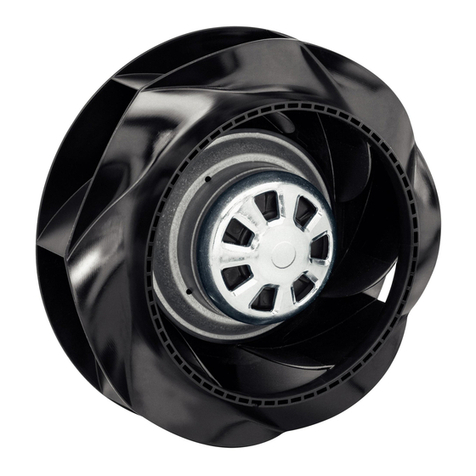
Ebmpapst
Ebmpapst R3G190-RC05-03 operating instructions
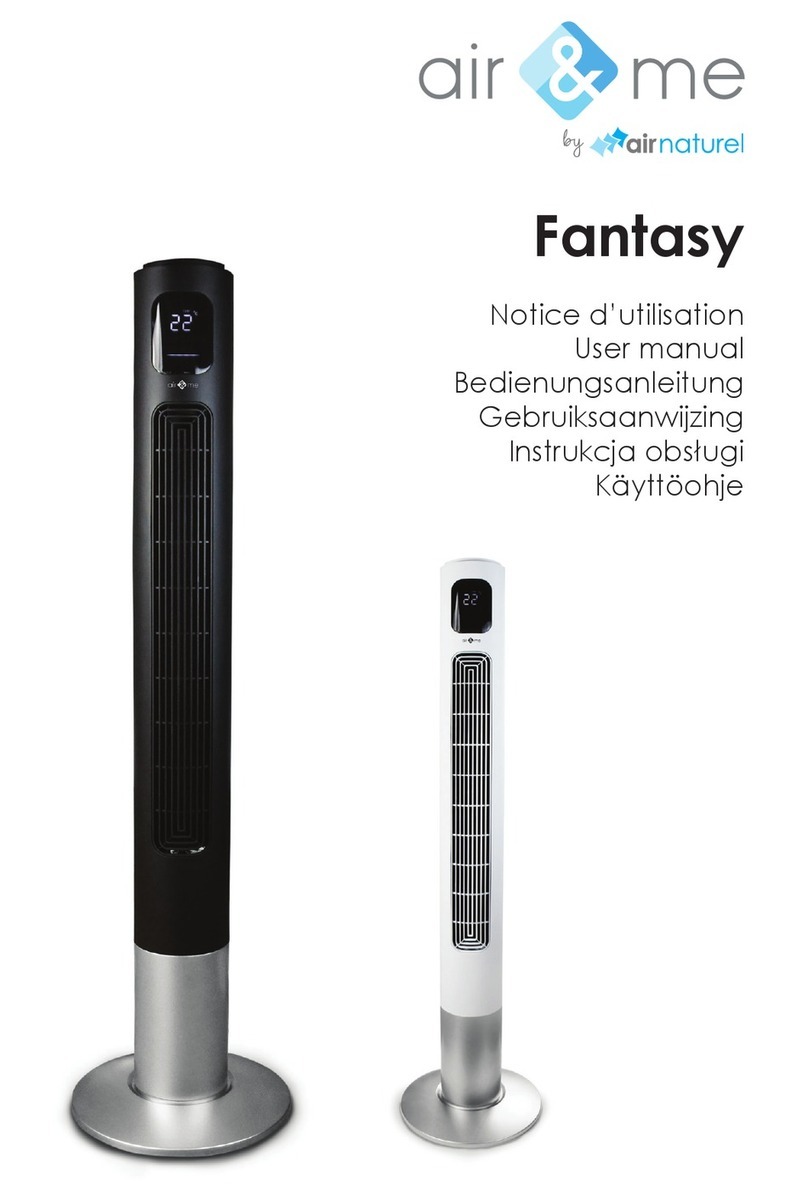
Air Naturel
Air Naturel Air&me Fantasy user manual
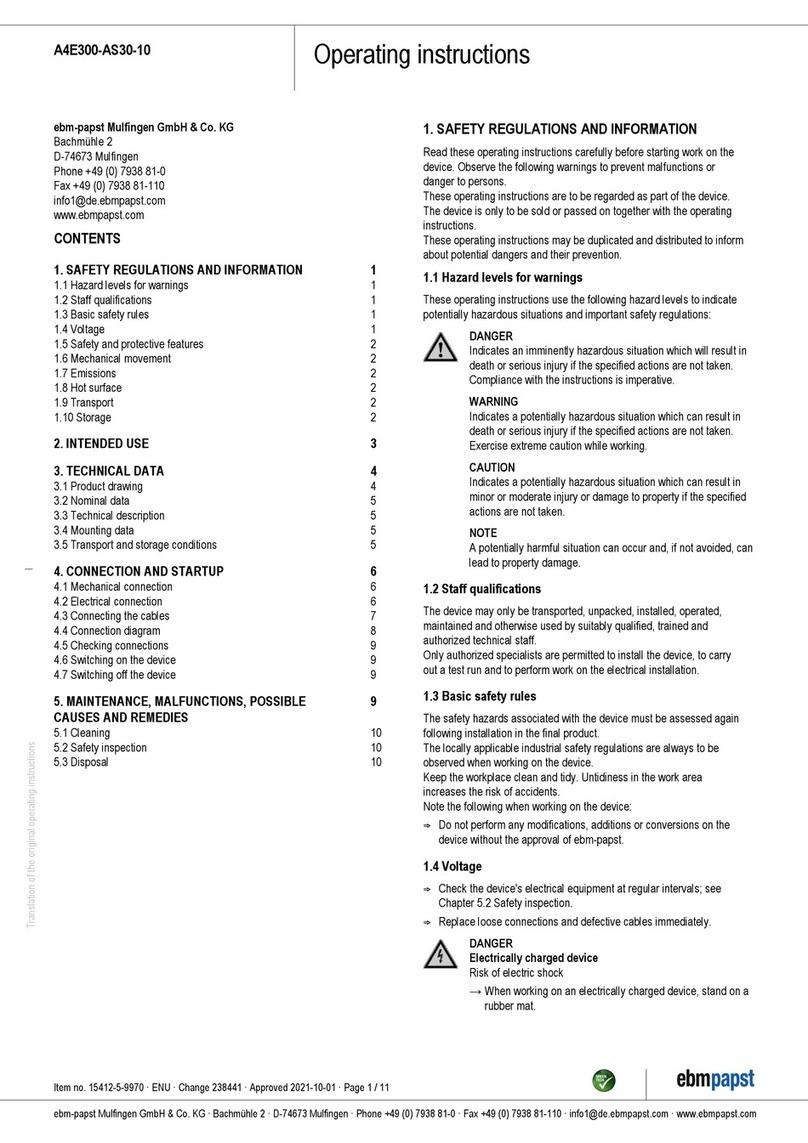
Ebmpapst
Ebmpapst A4E300-AS30-10 operating instructions


