08
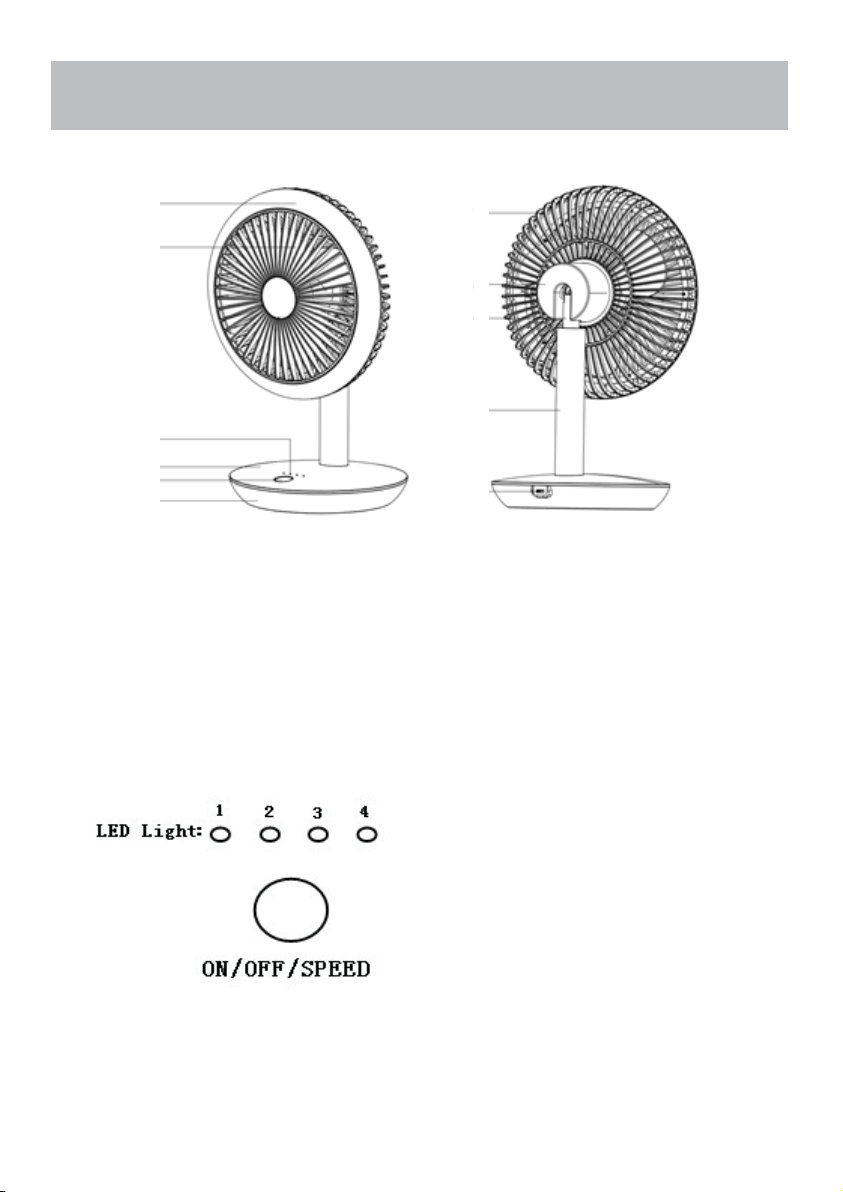
4. FUNCIONES Y DISPLAY
4.1. MODO ENCENDIDO
4.1.1 Cuando la batería tiene carga para funcionar, la luz LED se
encenderá o apagará de acuerdo con las condiciones de trabajo.
4.1.2 Cuando la carga de la batería es del 10% o inferior al 10%, la luz
1 parpadeará continuamente flash flash rápido durante 0.25s encen-
dido / apagado)
4.1.3 Cuando la batería está demasiado baja para funcionar, el venti-
lador se apagará automáticamente. Presione el botón nuevamente, la
luz 1 parpadeará 5 veces (flash rápido para encendido / apagado
–intervalo durante 0.25 segundos por vez), luego se apagará
automáticamente (solo el flash LED sin ventilador funciona).
4.2. MODO DE CARGA (Apagado)
Cuando el aparato está apagado, y cargue la unidad con un cable
USB, la luz 1 parpadeará continuamente (parpadeo lento para encen-
dido / apagado –intervalo durante 1 segundo por vez). Cuando esté
completamente cargada, la luz 1 se encenderá sin parpadeo.
4.3. MODO DE CARGA (Encendido)
4.3.1 Cuando no hay energía, el indicador de batería baja parpadea
rápidamente cuando el cargador no está conectado. Cuando el car-
gador está conectado, el indicador de carga parpadea lentamente
(encendido-1, apagado-1), lo que indica que se está cargando (siem-
pre que el cargador esté conectado, la indicación de carga tiene
prioridad) hasta que la batería esté completamente cargada.
4.3.2 Al cargar, la luz 1 sigue parpadeando lentamente después de
encender a velocidad de silencio, y otros indicadores de velocidad
están encendidos de acuerdo con la velocidad de trabajo correspon-
diente.
4.3.3 Si el voltaje de la batería es demasiado bajo para funcionar
durante la carga, el primer indicador parpadeará 5 veces (encendi-
do-0.25s, apagado-0.25s) y se apagará automáticamente.