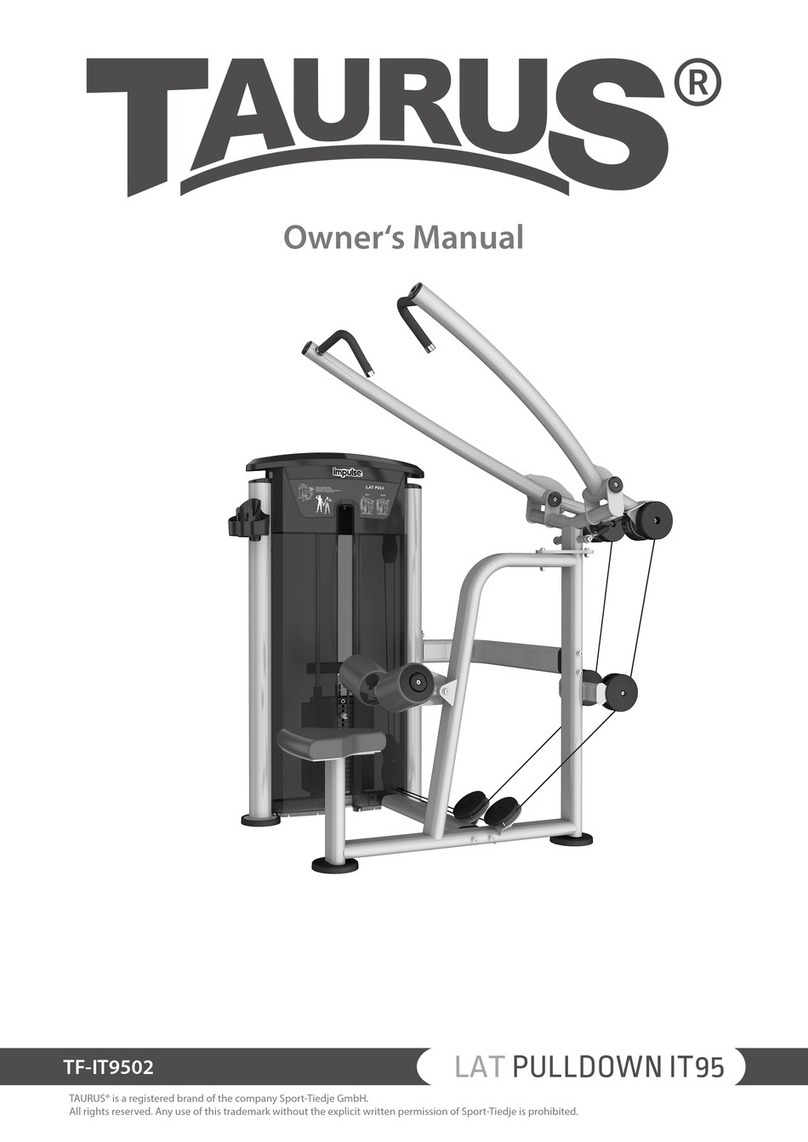
Street Barbell MB 7.45 User manual

Professional Power Outdoors
MB 7.45
GLUTEUS RADIAL
in standing position with variable load
ASSEMBLY MANUAL
Art.Nr.3254107

2
QUALITY MANAGEMENT
SYSTEM
REGISTERED TO:
ISO 9001:2008
ISO 9001:2011

3
CONTENTS
GENERAL VIEW 4
OVERALL DIMENSIONS* 4
PURPOSE 5
BASEMENT 5
SEQUENCE OF OPERATIONS 6
BASEMENT EXEMPLAR 7
INSTALLATION DIMENSIONS 8
PARTIAL ASSEMBLY 9
TOOLS REQUIRED 9
SEQUENCE OF OPERATIONS 9
TABLE 1 10
CONNECTING ROD ADJUSTMENT 12
EXPLODED VIEW 13
SPECIFICATION 14
MAINTENANCE 15
VISUAL ROUTINE INSPECTION 15
FUNCTIONAL INSPECTION 15
MAIN ANNUAL INSPECTION 15
REGULAR MAINTENANCE 16
REPAIRS 18
GUARANTEE TERMS AND CONDITIONS 19
GUARANTEE CARD 20

4
GENERAL VIEW
OVERALL DIMENSIONS*
* Herein and hereinafter, the dimensions are in millimeters.

5
PURPOSE
The exercise machine is designed to train gluteus maximus muscles,
semitendinosus muscles and semimembranosus muscles.
Max leg load: 760 N
ACTIVE MUSCLE GROUP
BASEMENT
The foundation work should be done when air temperature is above 0°C (32°F).
Anchors should be installed 28 days after cast-in-place concreting.
Nevertheless, if foundation work is planned to be done when air temperature is
below 0°C (32°F), workmen should follow cold weather concreting recomendations
(special recomendations for your State and region).
The basement of the exersise machine: a cast-in-situ concrete slab with
reinforcing network (see detail below). The basement height is 150 mm. The
basement is placed under the whole training machine playground. Anchors should
be installed in the spot of the equipment placing.

6
SEQUENCE OF OPERATIONS
1. Excavate a foundation pit and pour leveling course (gravel)
2. Install formwork and reinforcing framework (see detail on page 7)
3. Cast concrete and wait 28 days
4. Earth a foudation and install anchor bolts (12 pcs)
5. Install the exercise machine onto foundation
6. Tighten the nuts
7. Install a rubber case on each stanchion (see detail on current page)
8. After the installation of all exercise machines on a playground, it is advisable to
cover the playground with rubber coating.
*The exercise machine has been removed for clarity

7
*IMPORTANT!
Foundation works should be done according to the building codes of your State.
BASEMENT EXEMPLAR

8
INSTALLATION DIMENSIONS

9
PARTIAL ASSEMBLY
TOOLS REQUIRED
• WRENCHES: 22, 24, 27, 30 (imperial: 7/8’’, 61/64’’, 1 3/32’’, 1 3/16’’)
• ADJUSTABLE WRENCH (for USA and UK)
• ALLEN KEY (HEX KEY): 10
• RUBBER MALLET
• BALL JOINT SEPARATOR: 18.5
• TAPE MEASURE
• PEOPLE: 2
SEQUENCE OF OPERATIONS
The sequencing of assembly and quantity of weights are shown, using exercise
machine 7.44 as an example. The rest of Street Barbell machines should be
assembled the same way. The table 1 (page 10) contains a quantity of weights for
each product of Street Barbell series.
On both sides of the exercise
machine: attach the sleeve. Put weight
plates (5 pcs of 10 kg each) on the
sleeve.
On both sides of the exercise
machine: insert the guide rail into the
sleeve. Fasten the ends by nuts.

10
On both sides of the exercise
machine: place weight plates (3 pcs of
2,5 kg each), as shown in the gure.
Then attach a small guide rail to a lever
by nuts. It’s done!
← Detail A.
TABLE 1
Street Barbell exercise machines. Set of weights.
Part No Title 10 kg 2,5 kg Other weight
MB 7.29
Bench press in standing position with
variable load
10 6
MB 7.30
Chest press in standing position with
variable load
14 6
MB 7.31
Butterfly in standing position with variable
load
86
MB 7.32
Butterfly reverse in standing position with
variable load
86
MB 7.33
Dumbbell set in standing position with
variable load
11kg, 16kg, 18,5kg

11
Part No Title 10 kg 2,5 kg Other weight
MB 7.34
Dumbbell set in standing position with
variable load
21kg, 26kg, 31kg.
MB 7.37
Lat pull with variable load
14 6
MB 7.38
Pull down with variable load
14 6
MB 7.39
Biceps curl in standing position with
variable load
66
MB 7.40
Squat with variable load
14 6
MB 7.41
Deadlift with variable load
14 6
MB 7.42
Triceps in standing position with variable
load
86
MB 7.43
Leg curl in standing position with variable
load
10 6
MB 7.44
Leg extension in standing position with
variable load
10 6
MB 7.45
Gluteus radial in standing position with
variable load
14 6
MB 7.46
Vertical rope pull in standing position
with variable load
86
MB 7.47
Street workout bodyweight exercises
Euro classic with handles:
10kg, 15kg, 20kg.
MB 7.48
Canopy
MB 7.49
Outer thigh in standing position with
variable load
14 6
MB 7.50
Inner thigh in standing position with
variable load
14 6
MB 7.51
Abdominal in standing position with
variable load
10 6
MB 7.52
Converging chest press in standing
position with variable load
14 6
MB 7.53
Diverging lat pull with variable load
14 6
MB 7.54
Converging bench press in standing
position with variable load
10 6
MB 7.55
Diverging pull down with variable load
14 6

12
CONNECTING ROD ADJUSTMENT

13
EXPLODED VIEW
The equipment design and specications are subject to change without notice.

14
SPECIFICATION
Format
Zone
Item NO
Part NO Description
Qty
Note
Assembly units
1
MB 7.43.01.00 Left stanchion
1
2
MB 7.43.01.00-01 Right stanchion
1
3
MB 7.43.02.00 Stanchion
1
4
MB 7.43.03.00 Left lever
1
5
MB 7.43.03.00-01 Right lever
1
6
MB 7.43.05.00 Left leg
1
7
MB 7.43.05.00-01 Right leg
1
8
MB 7.43.05.00 Adjustable connecting rod
2
9
MB 7.43.04.00 Guide rail
2
Parts
10
K-22 (M14) Cap
6
11
K-30 (M20) Cap
8
12
MB 7.00.02 Bushing
4
13
MB 7.00.10 Handle
2
14
MB 7.00.21 Shaft
2
15
MB 7.00.22 Sleeve
2
16
MB 7.00.23 Small guide rail
2
17
MB 7.00.32 End cap D63
2
Standard products
18
Hexagon head bolt ISO 4014-M14 x 130-10.9
2
19
Prevailing torque type hexagon nut ISO 7040 - M14-10
6
20
Prevailing torque type hexagon nut ISO 7040 - M20-10
8
21
GOST 7805-70 Bolt M20-6gx170
2
22
GOST 11738-84 Screw M12-6gx30
8
23
GOST 5919-73 Nut M16x1,5 - 6H
4
24
GOST 8752-79 Cuff 1.1-38 x55-1 /4
6
25
GOST 8338-75 Bearing 106
8
26
GOST 11371-78 Washer A 14.37
6
27
GOST 11371-78 Washer A 20.37
8

15
MAINTENANCE
Equipment condition monitoring includes:
1. equipment inspection prior to commissioning;
2. visual routine inspection;
3. functional inspection;
4. main annual inspection.
VISUAL ROUTINE INSPECTION
The search for visual dangerous defect. It could be a result of vandalism, misuse
or climate.
The customer makes a schedule of visual routine inspection according to the
rules of use. Included operations:
1. appearance and cleanliness testing for equipment (and a playground);
2. estimating a clearance between equipment parts and playground surface;
3. checking for protruding foundation parts;
4. checking for obvious exercise machine malfunctions (or defects);
5. checking for missing equipment parts;
6. checking for equipment structural integrity.
FUNCTIONAL INSPECTION
Included operations: the detailed estimation of equipment operability, wear
assessment, strength evaluation and sustainability assessment. An inspection is
carried out on a quarterly basis.
MAIN ANNUAL INSPECTION
Included operations: the estimation of equipment operability (the exercise
mashine should correspond to safety requirements); the equipment service; the
search for metal corrosion; the estimation of repairment impact on the equipment
security.
The particular attention should be paid to the invisible and inaccessible
equipment parts.
If a problem was found in operation, it should be troubleshooted immediately.
When troubleshooting is impossible, the usage of equipment should be prohibited
(or equipment should be removed from the playground). The usage of unsafe
exercise machine is prohibited.
WARNING! Any structural redesign of equipment (or parts) without prior written
approval from the manufacturer of the equipment is banned.

16
The decision about the necessity of carrying out a regular maintenance (and
included operations) is based on the results of the visual routine inspection (of the
functional inspection; of the main annual inpection).
REGULAR MAINTENANCE
Regular maintenance involves activities to support the safety and quality of the
equipment and coating of the playground:
1. Inspection of element attachment points of the exercise machine. Nuts
tightening, if necessary.
An existence of extra clearances between training machine elements (between a
bolt and training machine element) results in necessity of tightening of element nuts.
Depending on the joint type (imbus or bolt+nut), tightening should be done by
proper wrench or allen key, until disappearing of the clearance.
The play between bolted joint elements is unacceptable.
2. Searching for backlash in movable elements of the exercise machine. The
backlash should be eliminated.
The backlash elimination procedure: take off the end cap, tighten the nut with
proper wrench. The element should retain the ability to return to the initial position
without extra help. If the backlash still remains, then replace the bearing.
3. The replacement of broken bearings.
In order to replace a broken bearing you need to take off the end cap. Then
loosen the nut by proper wrench and take it off. Remove the bearing by a bearing
puller tool. The assembly of the joint should be done in reverse order.
4. Filling built-in lubricators (if available).
Some exercise machines contain a built-in lubricator, it should be lled with the
lubricant (Liqui Moly Mehrzweckfett, Mobil Mobilux EP, Motul Grease 100 and the
like) by a grease gun.
The built-in lubricator has a special nut (metric wrench size: 9 mm; imperial
standards: 23/64’’). If the proper wrench is unavailable in your country (e.g.,USA,
UK) use ajustable wrench for replacing the lubricator.

17
5. Loss checking of tightening torque of anchor nuts.
The joint of exercise machine stanchion and the foundation should be rm
and reliable. The clearance between the foundation and a stanchion plate is
unacceptable. Besides, the clearance should not appear during a workout.
Tighten an anchor nut and clearance will disappear. The training machine should
be reinstalled in case of clearance existence after tightening anchor nuts.
6. Installation of missing stanchion rubber cases (page 6).
There is a rubber case placed on each stanchion of the exercise machine. The
case covers protruding anchor bolts of the equipment.
The edges of the rubber case are joined by a dovetail joint. To prevent the theft of
the product it is advisable to lock the dovetail joint by a screw.
7. Installation of missing or damaged PVC handles.
Damaged PVC handles (cracks, missing parts) should be replaced. For the
replacement, cut off handle residue. Erase a metal surface by a sandpaper, then
degrease the surface. Glue a new handle by polyurethane adhesive (e.g., Loctite PL
Premium, Gorilla Glue).
8. Installation of missing or damaged bakelite plywood coverings.
Bakelite plywood coverings with defects (cracks, spalls, uneven edges) should
be replaced because of possible injuries of an athlete.
Unscrew the nuts placed on a reverse side of the metal plate which carries the
covering in order to replace a covering. Use wrench 13 (33/64’’). Then pull out
furniture bolts. The attachment of the covering should be done in reverse order.
9. Installation of missing or damaged plastic caps placed on bolts and nuts.
Protruding bolts and nuts should be covered with caps, excluding hex bolts.
10. Inspection of rubber shock absorbers (existence and degree of wear).
It is necessary to install a new shock absorber in the place of the stolen one.
Damaged rubber shock absorbers (cracks, missing parts) should be replaced.
Unscrew the nut in order to replace a shock absorber.
11. Inspection of bearing end caps (existence and degree of wear).
An end cap protects a bearing against moisture and dust, the bearing is out of
reach of children and curious people. Pick up the end cap by the slotted screwdriver
in order to replace the end cap.
12. New information plates gluing.
The equipment information plates display correct exercising and accident
prevention.
Gluing should be done when air temperature is above 10°C (50°F). Take off
damaged information plate residue and dust. Degrease the surface of the equipment
and glue new information plate.

18
REPAIRS
Repairs include:
• fasteners replacement;
• welding;
• equipment parts replacement (stanchions, discs, guide rails);
• corrosion removal and equipment recoloring.

19
GUARANTEE TERMS AND CONDITIONS
This guarantee does not affect your statutory rights under applicable national laws relating to the
sale of consumer products.
This product corresponds to the standard and it is suitable for use. The purpose of the product is
training of human body muscles.
The manufacturer guarantees this equipment to the original purchaser to be free from defects in
materials and workmanship.
The guarantee period is one year, commencing from the original date of purchase, provided that
the purchaser follows the maintenance rules (see Maintenance chapter).
When the purchase date is not conrmed, guarantee period commences from the equipment
production date.
If the purchaser has a document proving the delivery date, the guarantee period commences from
the delivery date.
Guarantee period does not extend in case of guarantee repair of the equipment.
The lifetime of the equipment is 5 years since purchase date.
When the lifetime is over all parts and joints of the equipment should be carefully examined by
specialists. The specialists decide then if further use is possible.
If such examination is impossible, then the equipment should be removed off the playground.
This guarantee does not cover if:
• the damage caused by not following the maintenance rules;
• the damage caused by a misuse;
• there are impact marks on the product surface;
• there is repair (attempted repair) made to the product by a third party;
•there is force majeure.

20
GUARANTEE CARD
Serial number:___________________
GUARANTEE CARD #1
guarantee repair of exercise machine
Vendor:________________________________________________________________________
______________________________________________________________________________
Purchase date:_______________
L.S. _______________
seller’s signature
Purchaser:______________________________________________________________________
Address of the purchaser:__________________________________________________________
Purchaser’s signature:__________________________
Defects eliminated_______________________________________________________________
______________________________________________________________________________
______________________________________________________________________________
______________________________________________________________________________
______________________________________________________________________________
______________________________________________________________________________
Vendor: __________________
Purchaser:_________________________________
----------------------------------------------------------------------------------------------------------------------------------
Tear-off coupon of guarantee card #1
guarantee repair of exercise machine
Date of repair:_______________________
Vendor: ______________________
This manual suits for next models
1
Table of contents
