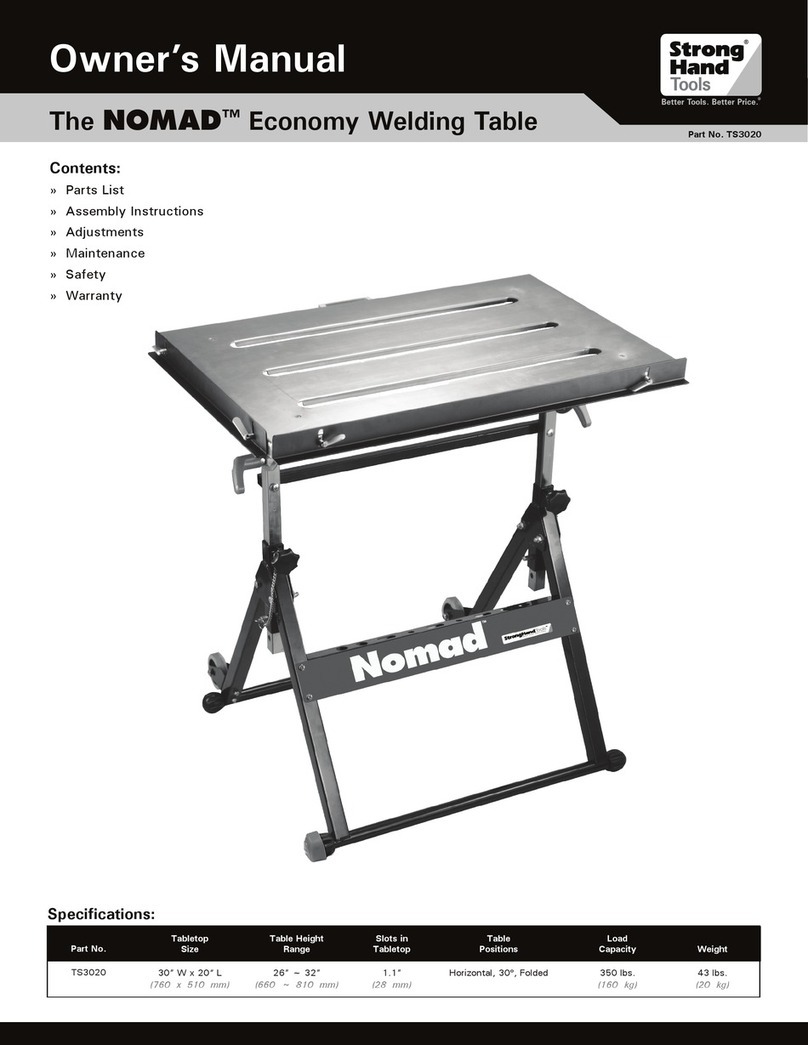
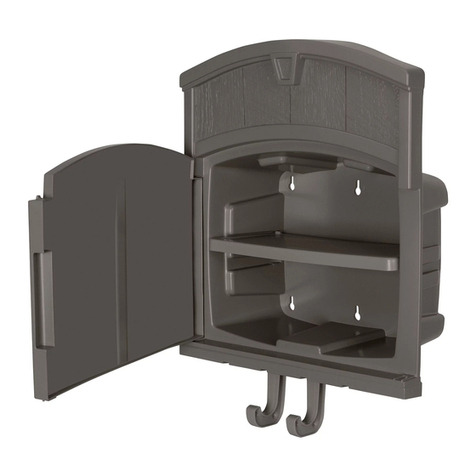
StrongHandTool FixturePoint User manual
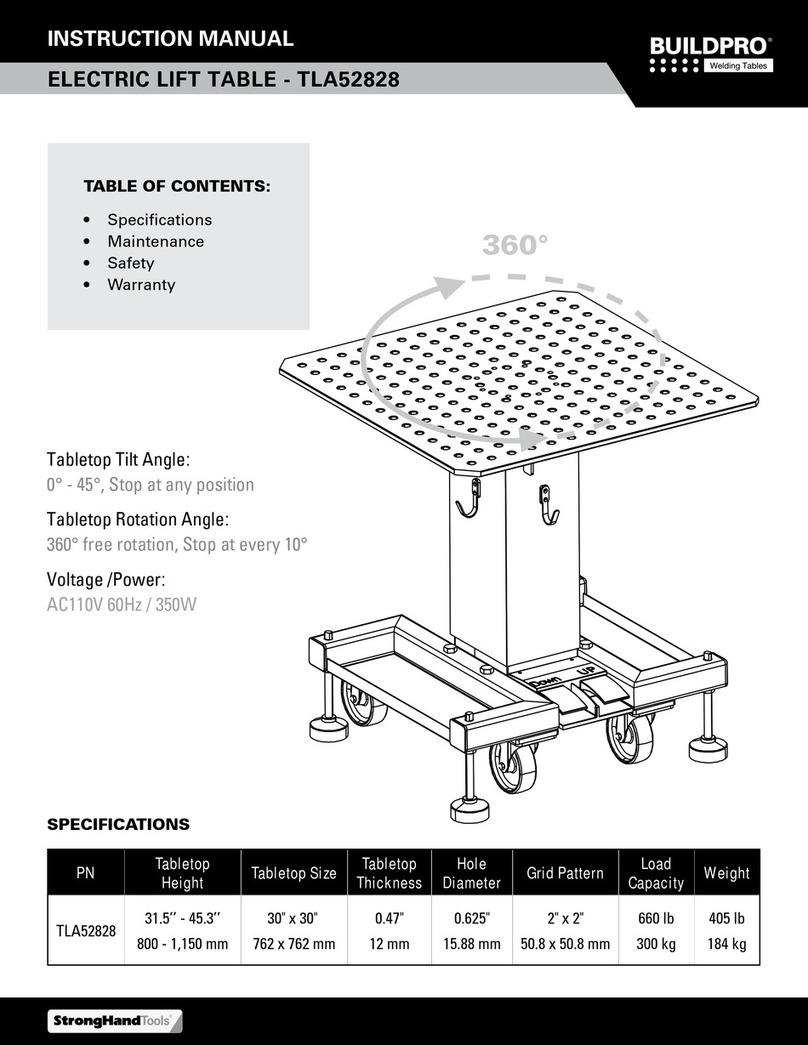
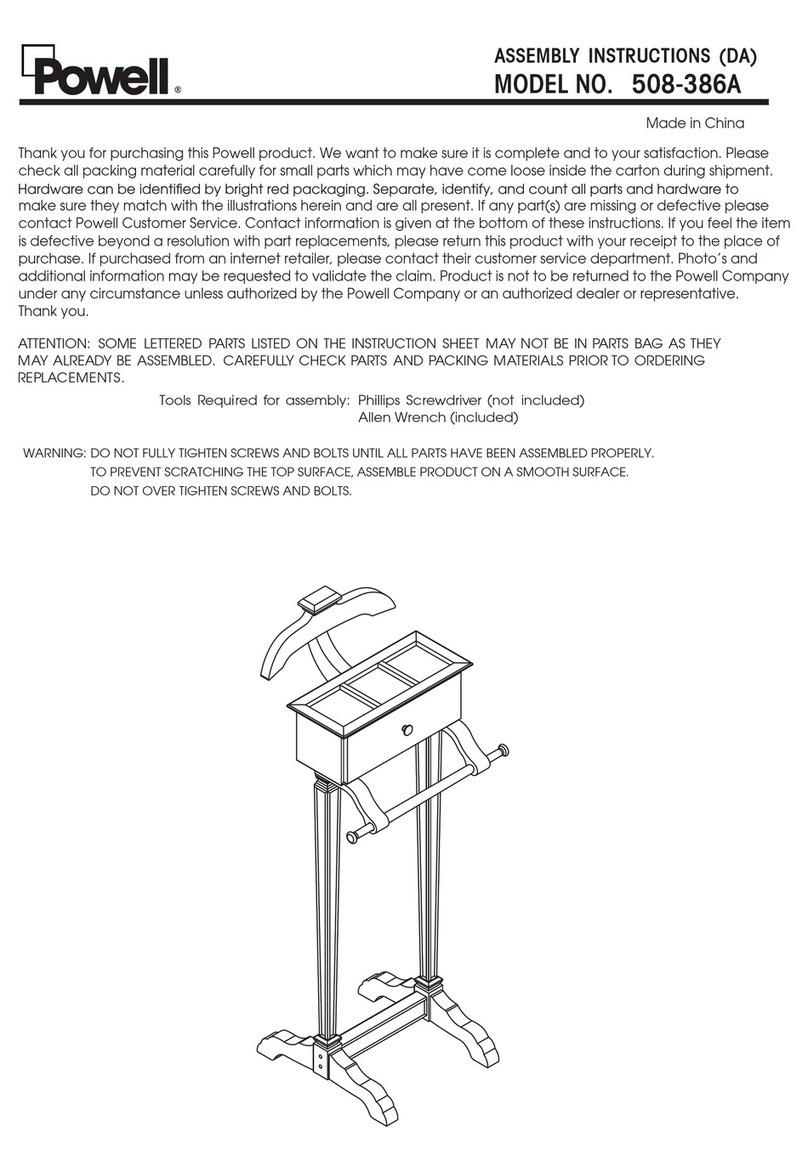
Other StrongHandTool Indoor Furnishing manuals
Popular Indoor Furnishing manuals by other brands

Sauder
Sauder Harbor View 400742 Assembly instructions

Dorel Asia
Dorel Asia DA7563-GR Instruction booklet
nbf
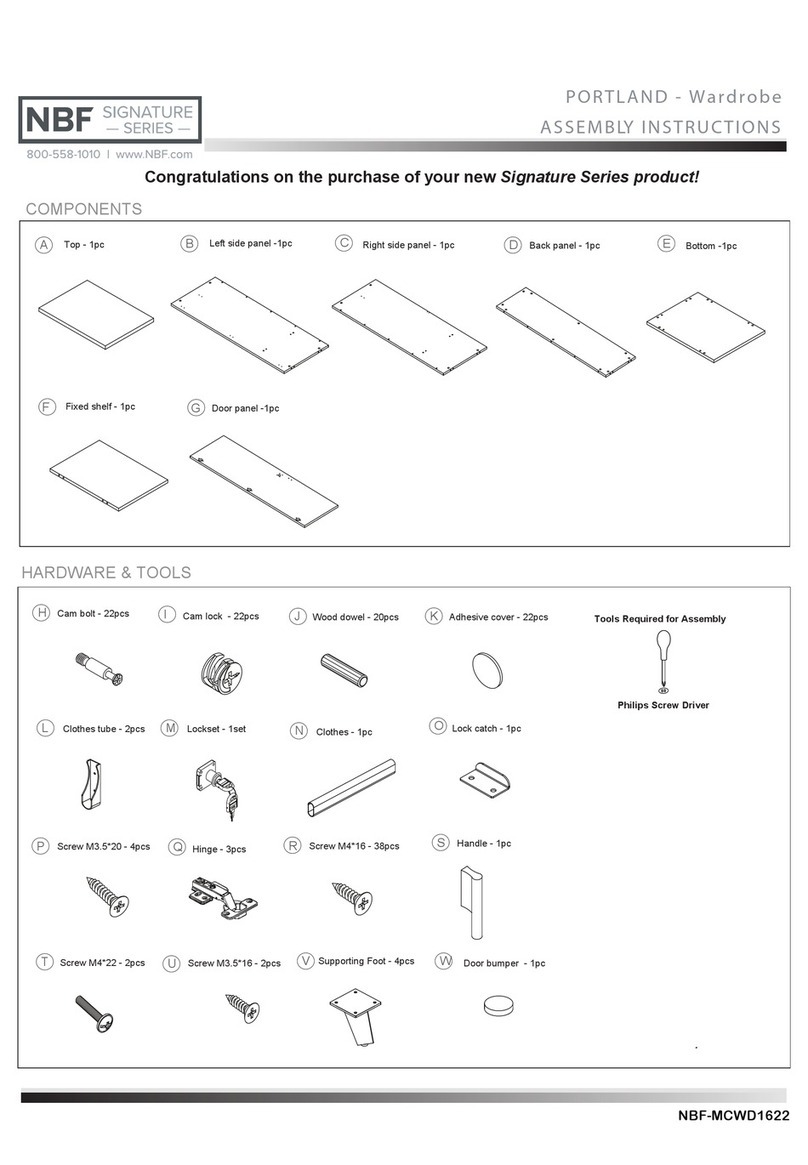
nbf Signature Series Assembly instructions

Tradecraft Specialties
Tradecraft Specialties M3KGTR-1 instruction manual

Furniture of America
Furniture of America YNJ-16917C0 Assembly instructions
FEZIBO
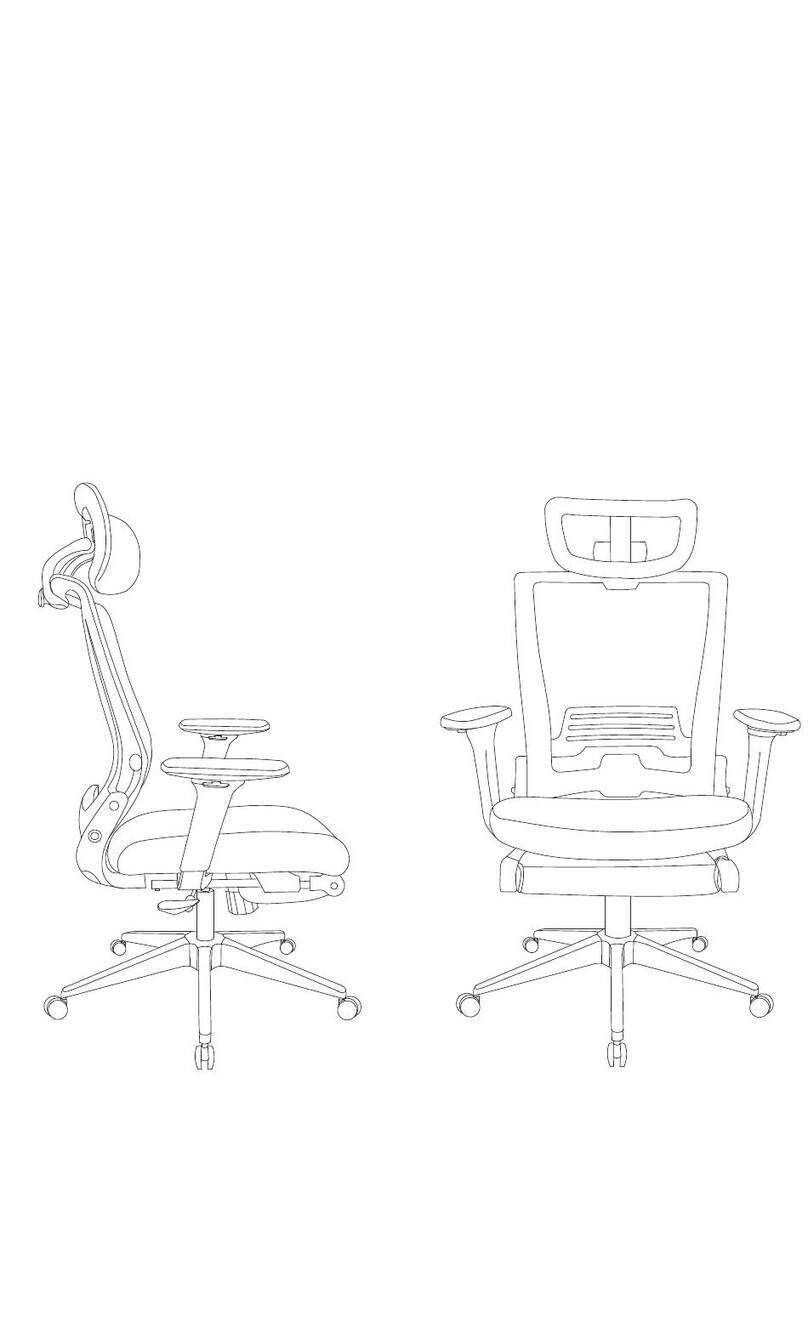
FEZIBO 40836584276037 Assembly instructions
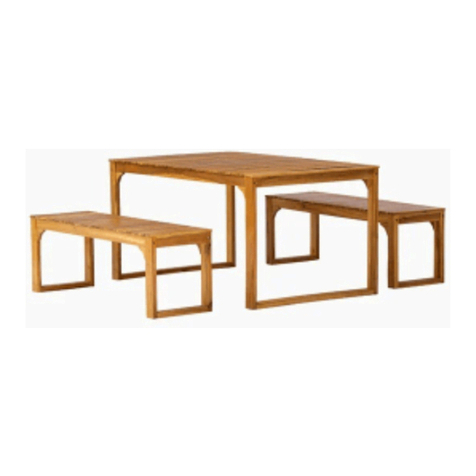
Lifely
Lifely Levin LVN-3PDS-OTDR-LWNT Assembly instructions
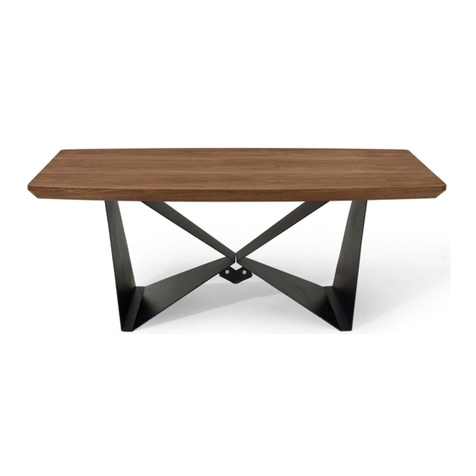
modway
modway EEI-3889 quick start guide
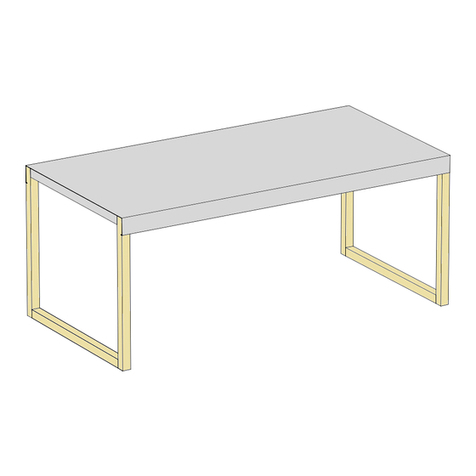
Habitat
Habitat KILO-LO-S09-A quick start guide
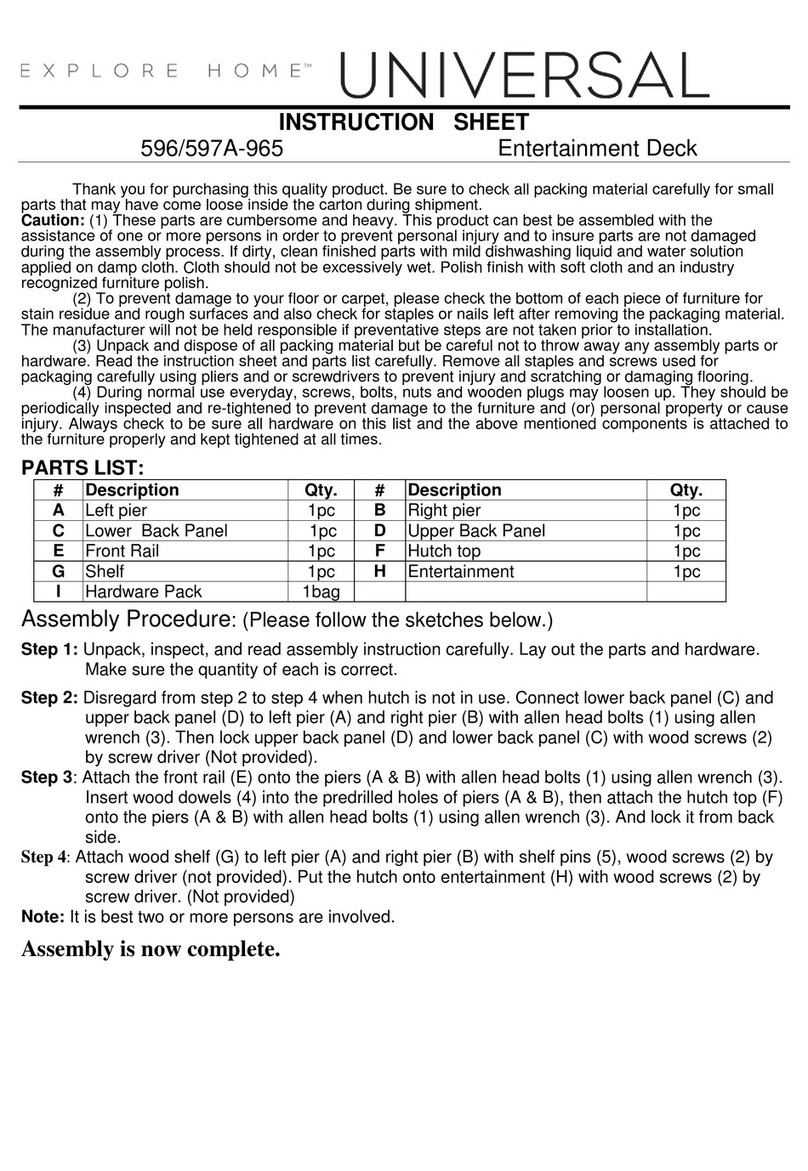
Universal Furniture
Universal Furniture EXPLORE HOME 596A-965 instruction sheet

Walker Edison
Walker Edison W58BMHPAS Assembly instructions
Next
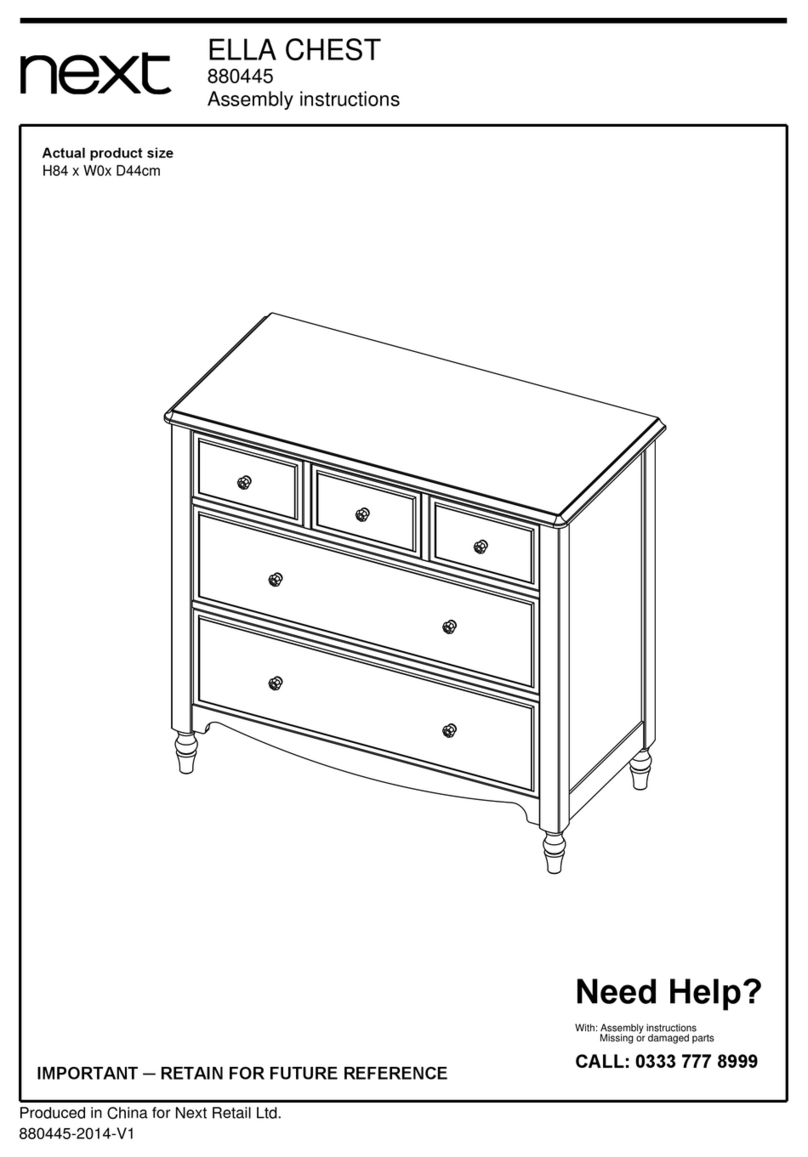
Next ELLA 880445 Assembly instructions


