Stuctura, Inc. |9635 Widmer Rd., Lenexa, KS 66215 |913.390.8787 |www.structura.com
Mac/Mac II
Installation Instructions
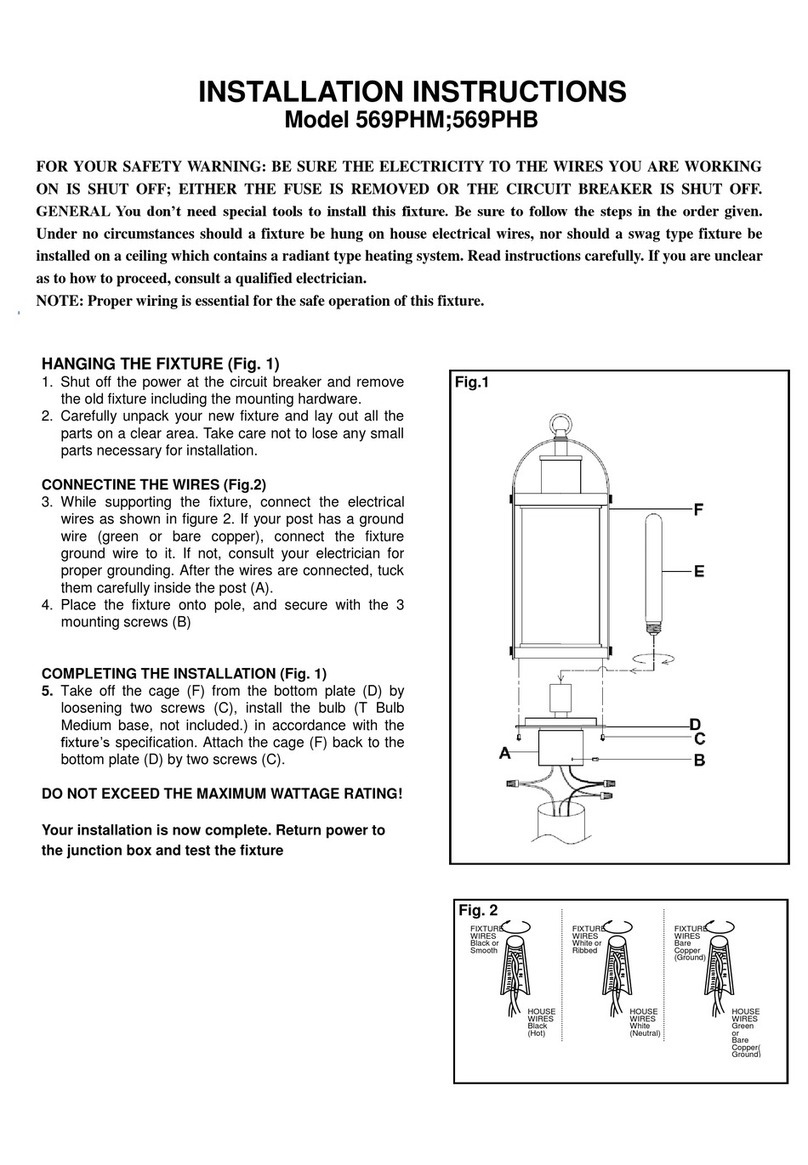
Warnings
CAUTION—risk of fire and this product must be installed
in accordance with the applicable installation code by a
person familiar with the construction and operation of the
product and the hazards involved.
Suitable for wet locations.
Mounting orientation must have light source facing down.
Electrical service must be disconnected during installation.
Proper grounding is required to protect against shock and
proper operation.
Tools Required
5/64” Allen wrench for 8-32 set screws
9/16” socket for 3/8” threaded rod assemblies
Philips drive for driver box lid
Wiring tools and connectors
Bollard Installation
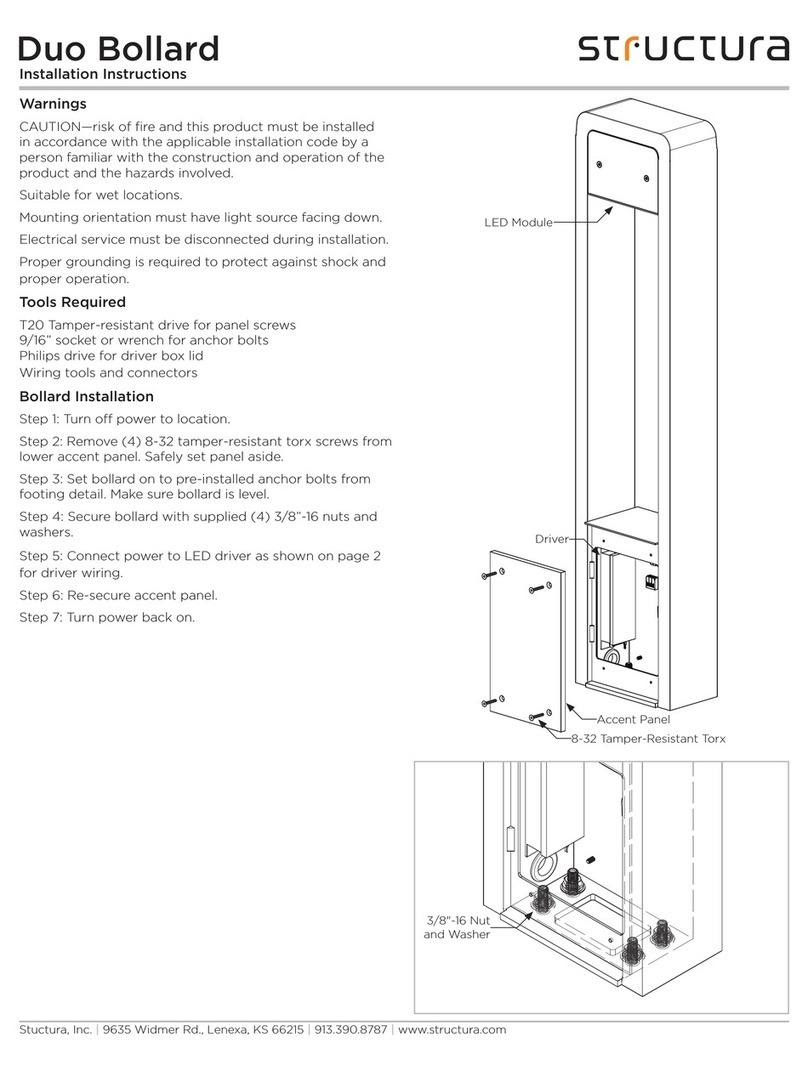
Step 1: Turn off power to location.
Step 2: Tighten (4) 8-32 set screws into bollard sides to
allow for LED module and cap removal.
Step 3: Loosen (2) 3/8”-16 thread rod assembly until
baseplate is removable.
Step 4: Attach baseplate to pre-installed 3/8”-16 anchor
bolts. Make sure baseplate is level.
Step 5: Connect power to LED driver in driver
compartment. See page 2 for driver wiring.
Step 6: Place bollard upright onto baseplate.
Step 7: Retighten threaded rod to secure bollard body to
baseplate.
Step 8: Place LED module and cap back into top of bollard
and secure by looseninng set screws.
Step 9: Turn power back on.
8-32 x 1”
Set Screw
3/8”-16
Threaded Rod
3/8”-16
Coupling Nut
Driver
Compartment
LED Module
Step 2
