manuals.online logo
Brands
  1. Home
  2. •
  3. Brands
  4. •
  5. Studiomaster
  6. •
  7. Speakers
  8. •
  9. Studiomaster GX10 User manual

Studiomaster GX10 User manual

1Introduction
1Read the User Guide
1Unpacking
2Safety Instructions
3-4 Controls & Features - GX active series
5Applications
6-7 Technical Specification
8Warranty
9Service Information
1
WEEE Mark
If you want to dispose of this product,
do not mix with general household
waste. There are separate collection
systems for used electronic products in
accordance with legislation under the
WEEE Directive (Directive 2002/96/EC)
and is effective only within the
European Union.
INTRODUCTION
Thank you for buying this Studiomaster product.
The GX series comes in both active and passive versions, in 10", 12" and
15" configurations, and 12" and 15" monitor speaker configuration. All
passive cabinets feature a 2-way crossover network and high precision
components. The active models have high power built-in amplifiers with
gain, level and eq controls. All GX speaker cabinets come with
comfortable flush handles and a 35mm 'top-hat' socket for pole
mounting.
READ THE USER GUIDE
The GX range is very easy to use, although to get the best from your
new purchase, we recommend you read this User Guide before getting
down to any serious work.
It also contains important safety information.
UNPACKING
Remove your Studiomaster product from its packaging.
Retain the packing carton in the eventuality that the unit needs to be
returned for service or repair, and please complete and return your
warranty card. Returning the completed warranty card does not
diminish your statutory rights in any way.
2
WARNING
THESE PRODUCTS ARE CAPABLE OF VERY HIGH VOLUME LEVELS AND PROLONGED EXPOSURE CAN RESULT IN HEARING DAMAGE
GX active models only (GX10A/12A/15A/12MA/15MA)
1. Before connecting the A.C. power cord make sure the
wall supply voltage is suitable for the GX active series.
For 230V models the supply must be between 220 and
240V.
For 115V models the supply must be between 110 and
120V.
2. Only use the A.C. power cord / mains lead supplied
with the product. Replace if it becomes damaged in
any way.
3. Never operate without, or remove the safety ground
(earth) from the A.C. power cord / mains lead.
All GX series (active and passive)
4. Do not attempt to remove any screws or panels.
There are no user serviceable parts inside.
5. Do not operate the unit next to heat sources such as
radiators.
6. The unit should not be operated or stored near rain or
moisture.
7. This equipment must not be exposed to dripping or
splashing and no objects filled with liquids should be
placed on top of it.
8. Write the serial number in the box provided in the
Warranty section for future reference.
9. If the unit gets damaged, has been dropped or appears
to have developed a fault refer to the Service
Information section for details.
WARNING
THIS APPARATUS MUST BE EARTHED (GROUNDED)
3
CONTROLS & FEATURES -
GX active (GX10A/12A/15A/12MA/15MA)
1. MIC INPUT : Balanced input using a professional
female XLR connector for low impedence
microphones.
1a. MIC GAIN : This is used to match the incoming signal
to the internal operating level of the GX powered
speaker.
2. LINE INPUT : Balanced XLR or unbalanced RCA
Phono connectors for line level equipment like mixing
consoles, CD/MP3 players, keyboards etc.
2a. LINE GAIN : This is used to match the incoming signal
to the internal operating level of the GX powered
speaker.
3. LINE OUTPUT : Can be used to link the input signal to
additional GX powered speakers. The connector types
are balanced professional male XLR and unbalanced
6.3mm 1/4" jack.
3a. LINE OUTPUT LEVEL : This controls the output level
of the LINE OUTPUT sockets.
4. HI : EQ boosts or cuts the high / HF frequencies.
5. MID : EQ boosts or cuts the mid / MF frequencies.
6. LO : EQ boosts or cuts the low / LF frequencies.
Tone controls : HI, MID & LO
The controls marked HI, MID and LO are very useful for changing the characteristics or
tone of the sound. For simplicity or for new users set these controls to the centre position,
which effectively turns off or bypasses the tone control section and you will not need to
worry about these controls until you feel more confident.
However to get the best out of your audio system or if you just want to experiment read
on....
Adding a little HI on CDs can add brightness to the sound. For microphones increasing
the MID ranges tends to 'lift' the vocal adding clarity to the voice.
For CDs, adding LO makes the bass section of music more prominent. For microphones
doing the opposite and removing a little bass helps stop the 'popping' or 'boomy' sound
often apparent when a microphone is used too close to the mouth.
For best results with microphones or CDs, don't be over enthusiastic with the tone
controls as this can make the sound un-natural. With guitars or other instruments more
extreme tone setting can be used to create more of a sound effect.
7. MAIN LEVEL : This control adjusts the overall volume
of the GX powered speaker.
4
CONTROLS & FEATURES (continued) -
GX active (GX10A/12A/15A/12MA/15MA)
8. PEAK LED : Illuminate when the speaker is close to
its maximum volume.
9. POWER LED : Illuminates when the GX powered
speaker is switched on.
10. POWER : switch turns on and off the GX powered
speaker.
11. POWER CONNECTOR : The AC power connector
also contains the AC power fuse.
12. EXTENSION SPEAKER : This industry standard
speaker socket is wired in parallel with the internal
speakers of the GX cabinet and is used to power an
additional passive speaker. To avoid damage it is
recommended that only a Studiomaster GX passive
speaker of the same size should be used with a GX
active speaker.
However, other speaker cabinets can be used providing they
have the correct power rating and are 8 ohms impedance or
above.
CAUTION : Do not use any speakers with the extension
speaker socket less than 8 ohms impedence or damage may
occur.
5
1. Using the GX10/12/15 active speakers with a mixer
Connect the mixer to the LINE input. Set the LINE
INPUT GAIN, EQ and MAIN LEVEL controls to the
centre (12 o'clock) position and make all volume and
tone adjustment on the mixer.
2. Speaker stand / pole mounting
The GX series are ideal for mounting on suitable
35mm stands.
GX10 GX12 GX15 GX12M GX15M
Power Handling (program) 200W 400W 500W 400W 500W
Nominal Impedance 8 ohms 8 ohms 8 ohms 8 ohms 8 ohms
Frequency Response 80Hz - 18kHz 60Hz - 18kHz 40Hz - 18kHz 60Hz - 18kHz 40Hz - 18kHz
Sensitivity 1W/1m 97dB 97dB 98dB 97dB 98dB
Crossover frequency 4kHz 4kHz 3kHz 4kHz 3kHz
Low frequency driver 10" 12" 15" 12" 15"
High frequency driver piezo piezo 1.35" driver piezo 1.35" driver
Nominal dispersion (H x V) 90 x 60 degree 90 x 60 degree 90 x 60 degree 90 x 60 degree 90 x 60 degree
Connection (parallel wired) 2 x 4 pole industry standard sockets
Size (w x h x d) metric mm 350 x 520 x 260 390 x 570 x 290 470 x 710 x 350 400 x 530 x 370 680 x 470 x 350
imperial inches 13.8 x 20.5 x 10.2 15.4 x 22.4 x 11.4 18.5 x 28 x 13.8 15.7 x 20.9 x 14.6 26.8 x 18.5 x 13.8
Weight (net) 13kg (28.6lb) 20kg (44lb) 26kg (57.2lb) 20kg (44lb) 26kg (57.2lb)
Weight (shipping) 14.5kg (31.9lb) 21.5kg (47.3lb) 28kg (61.6lb) 21.5kg (47.3lb) 28kg (61.6lb)
6
GX10A GX12A GX15A GX12MA GX15MA
Output Power (music) 100W 200W 250W 200W 250W
Frequency Response 80Hz - 18kHz 60Hz - 18kHz 40Hz - 18kHz 60Hz - 18kHz 40Hz - 18kHz
Maximum SPL 120dB 124dB 126dB 124dB 126dB
Crossover frequency 4kHz 4kHz 3kHz 4kHz 3kHz
Low frequency driver 10" 12" 15" 12" 15"
High frequency driver piezo piezo 1.35" driver piezo 1.35" driver
Nominal dispersion (H x V) 90 x 60 degree 90 x 60 degree 90 x 60 degree 90 x 60 degree 90 x 60 degree
HIGH EQ (+/-15dB) 10kHz 10kHz 10kHz 10kHz 10kHz
MID EQ (+/-12dB) 2.5kHz 2.5kHz 2.5kHz 2.5kHz 2.5kHz
LOW EQ (+/-15dB) 500Hz 500Hz 500Hz 500Hz 500Hz
Power Supply (all models) 230V range : +/-10% ~50/60Hz 115V range : +/-10% ~50/60Hz
Size (w x h x d) metric mm 350 x 520 x 260 390 x 570 x 290 470 x 710 x 350 400 x 530 x 370 680 x 470 x 350
imperial inches 13.8 x 20.5 x 10.2 15.4 x 22.4 x 11.4 18.5 x 28 x 13.8 15.7 x 20.9 x 14.6 26.8 x 18.5 x 13.8
Weight (net) 13kg (28.6lb) 20kg (44lb) 26kg (57.2lb) 20kg (44lb) 26kg (57.2lb)
Weight (shipping) 14.5kg (31.9lb) 21.5kg (47.3lb) 28kg (61.6lb) 21.5kg (47.3lb) 28kg (61.6lb)
7
8
The Manufacturer warrants all Studiomaster products to be free
from defects in materials and workmanship for a period of one
year from date of purchase. The Manufacturer reserves the right
to the final decision on all warranty claims.
Exclusions to Warranty Cover
Damage caused by accident, misuse, improper
installation or neglect.
Damage caused by repair, modification or service by
persons not authorised by Studiomaster.
Products on which the serial number has been
defaced, altered or removed.
Who is Protected
This warranty is enforceable by the original purchaser and any
subsequent owner(s) during the warranty period, providing a
copy of the original sales receipt is submitted whenever a
warranty service is required.
It is recommended that you complete and mail the Warranty
Registration Card supplied with your product.
For your reference in the event of a warranty or service repair,
please complete the following information and attach a copy or
your original sales receipt.
Model :
Serial Number :
Purchase Date :
Purchased From :
Note : THIS WARRANTY DOES NOT AFFECT YOUR
STATUTORY RIGHTS
9
If you have a problem with your Studiomaster product or think it
has developed a fault you should first carefully check the Trouble
Shooting section in this guide. If this does not solve the problem
or if the product is physically damaged, contact your local dealer
or distributor for service details.
Should it be recommended you return the product to your
nearest Studiomaster Service Centre you must first contact
them.
You will be asked for the product type and serial number. You
will then be given a Returns Authorisation (RA) number.
Pack the unit in its original carton to protect it from shipping
damage.
You must have the Returns Authorisation number clearly marked
on the outside of the carton or we may refuse the delivery.
Studiomaster cannot be held responsible for damage resulting
from the equipment being packed incorrectly.
Label the equipment clearly with your name and address and
include a clear description of the fault. The more information you
supply helps the service engineer, minimising repair cost when
out of warranty.
Important : No liability will be accepted by Studiomaster for any
transit damage to units not returned in their original packing, for
warranty repairs or otherwise.
In Accordance with our progressive product development, Studiomaster / Studioking Limited reserve
the right to change features and specifications without prior notice.
Studioking Limited UK
Tel : 44 (0)1525 217111 Fax : 44 (0)1525 378466 Email : [email protected]
GXM ENG V1 MADE IN CHINA

This manual suits for next models

9

Other Studiomaster Speakers manuals

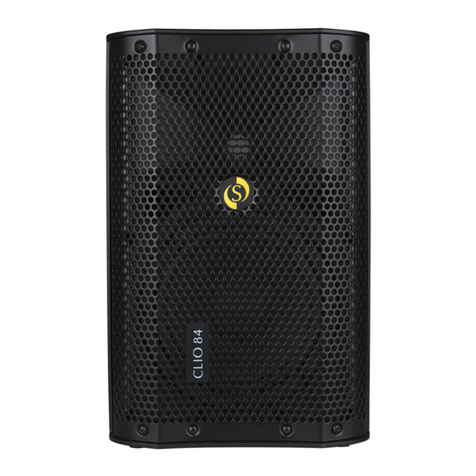
Studiomaster CLIO Series User manual

Studiomaster

Studiomaster CLIO Series User manual

Studiomaster PAS6 User manual

Studiomaster

Studiomaster PAS6 User manual

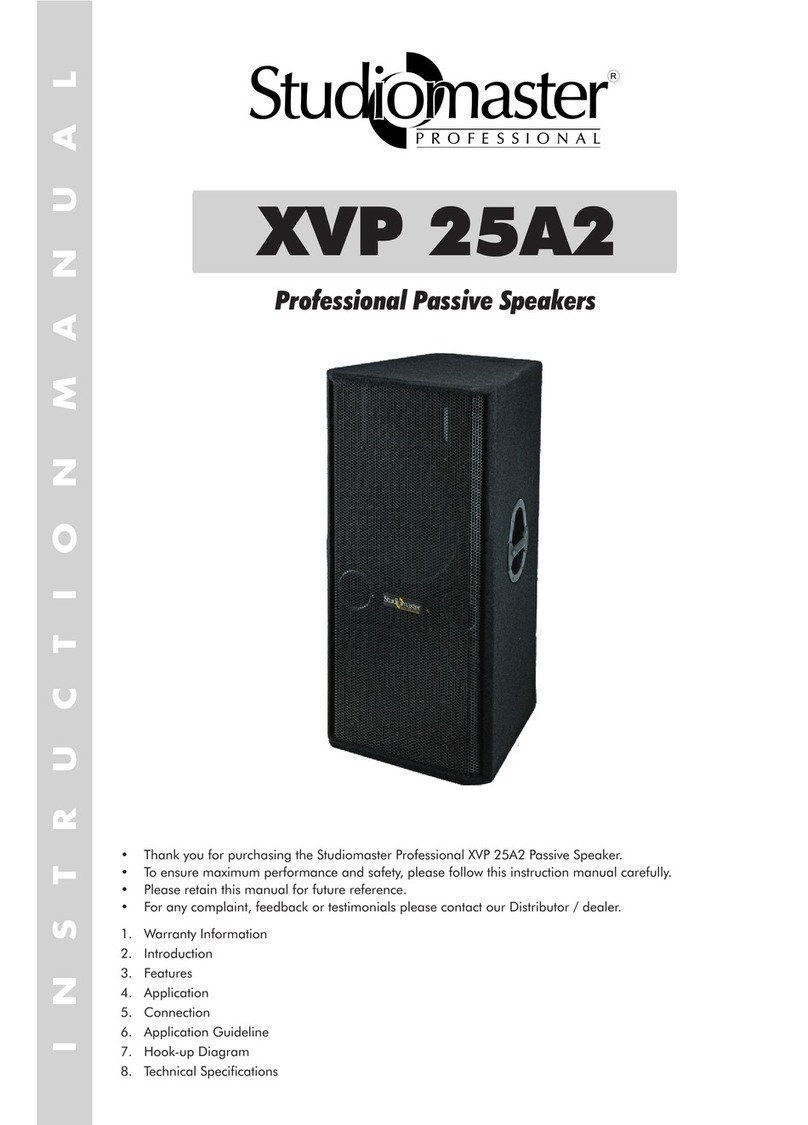
Studiomaster XVP 25A2 User manual

Studiomaster

Studiomaster XVP 25A2 User manual

Studiomaster sm15mb Guide

Studiomaster

Studiomaster sm15mb Guide

Studiomaster XVP 1560 User manual

Studiomaster

Studiomaster XVP 1560 User manual

Studiomaster PAX10+ User manual

Studiomaster

Studiomaster PAX10+ User manual

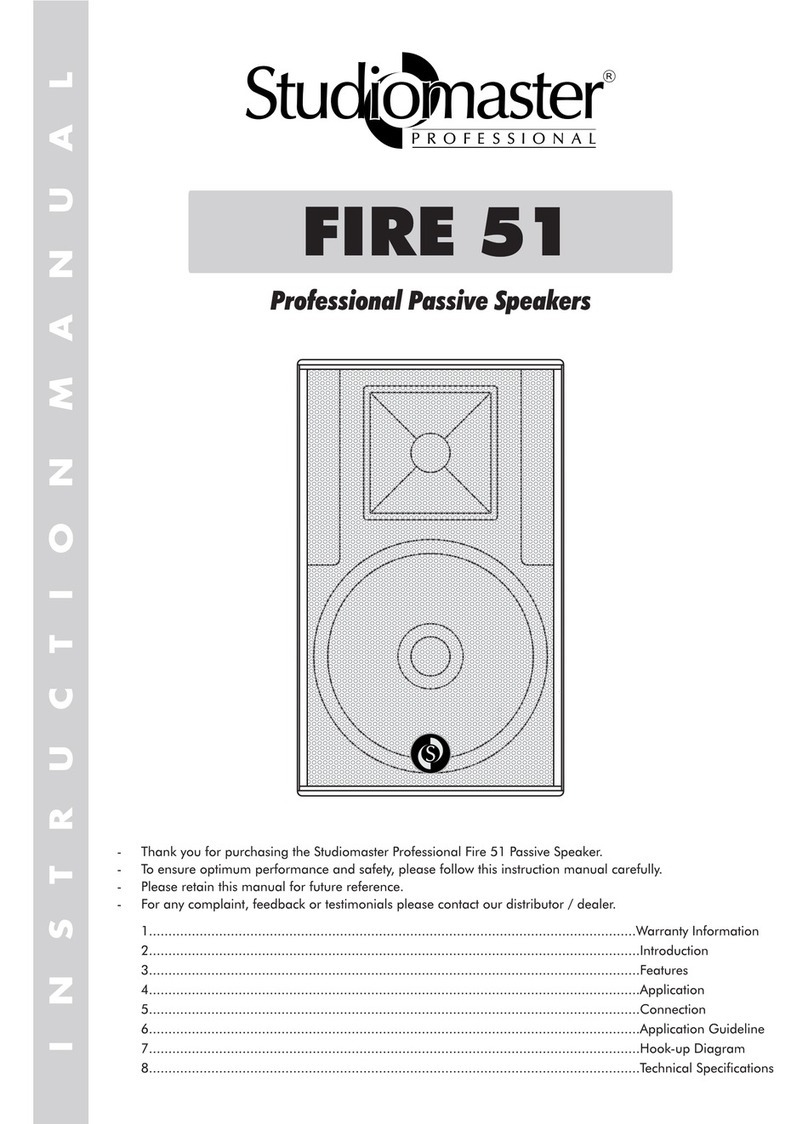
Studiomaster Fire 51 User manual

Studiomaster

Studiomaster Fire 51 User manual

Studiomaster ARIA 15 User manual

Studiomaster

Studiomaster ARIA 15 User manual

Studiomaster XVP 25A6 User manual

Studiomaster

Studiomaster XVP 25A6 User manual

Studiomaster B 200 User manual

Studiomaster

Studiomaster B 200 User manual

Studiomaster Sat 5 User manual

Studiomaster

Studiomaster Sat 5 User manual

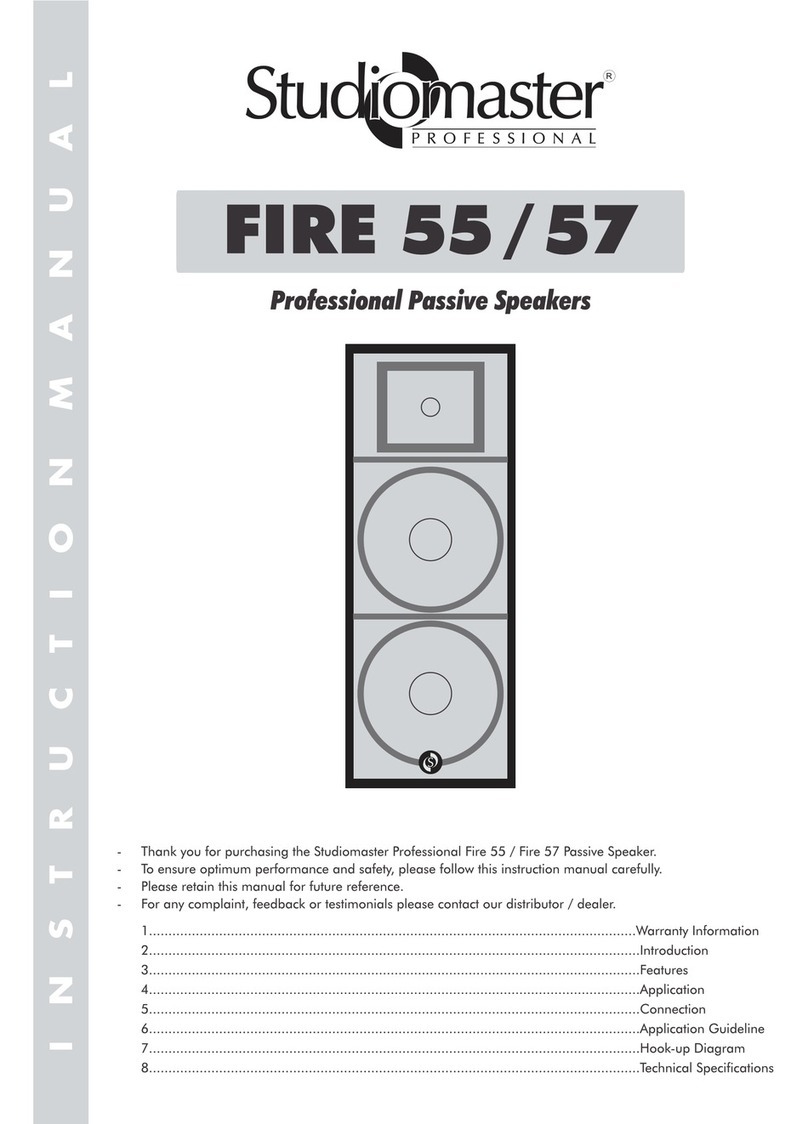
Studiomaster FIRE 55 User manual

Studiomaster

Studiomaster FIRE 55 User manual

Studiomaster XVP 1540M User manual

Studiomaster

Studiomaster XVP 1540M User manual

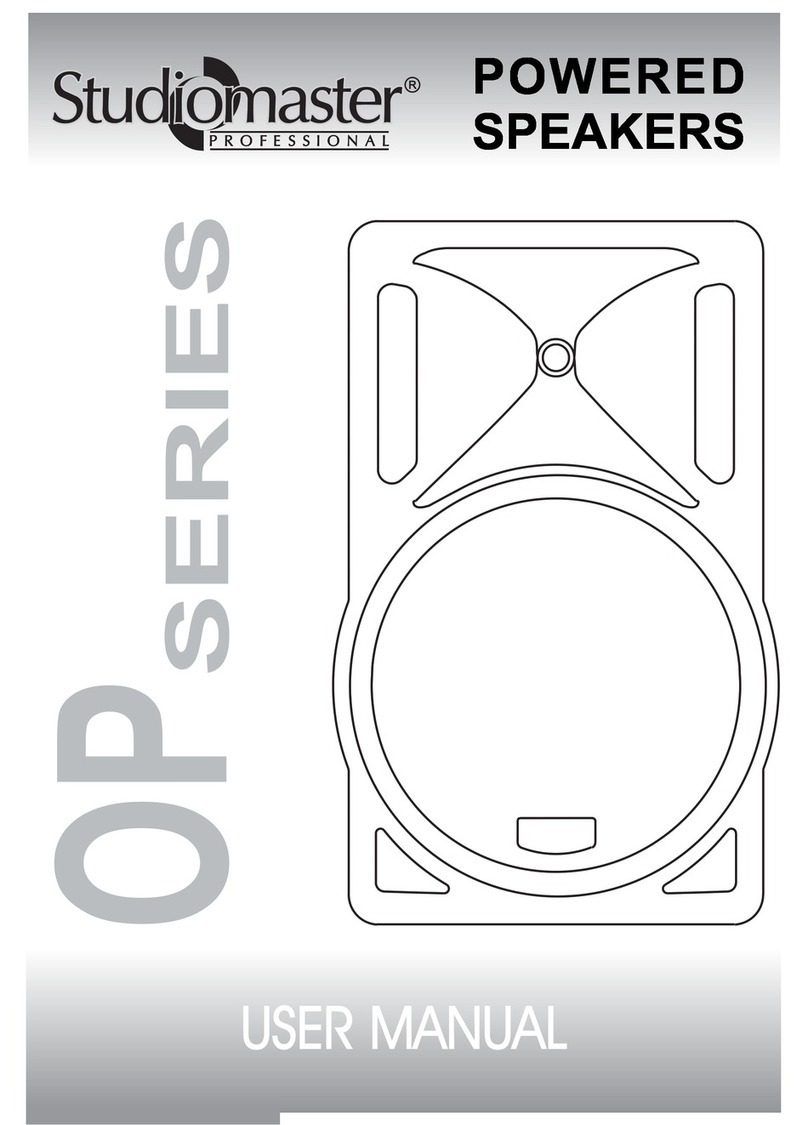
Studiomaster OP 215 User manual

Studiomaster

Studiomaster OP 215 User manual

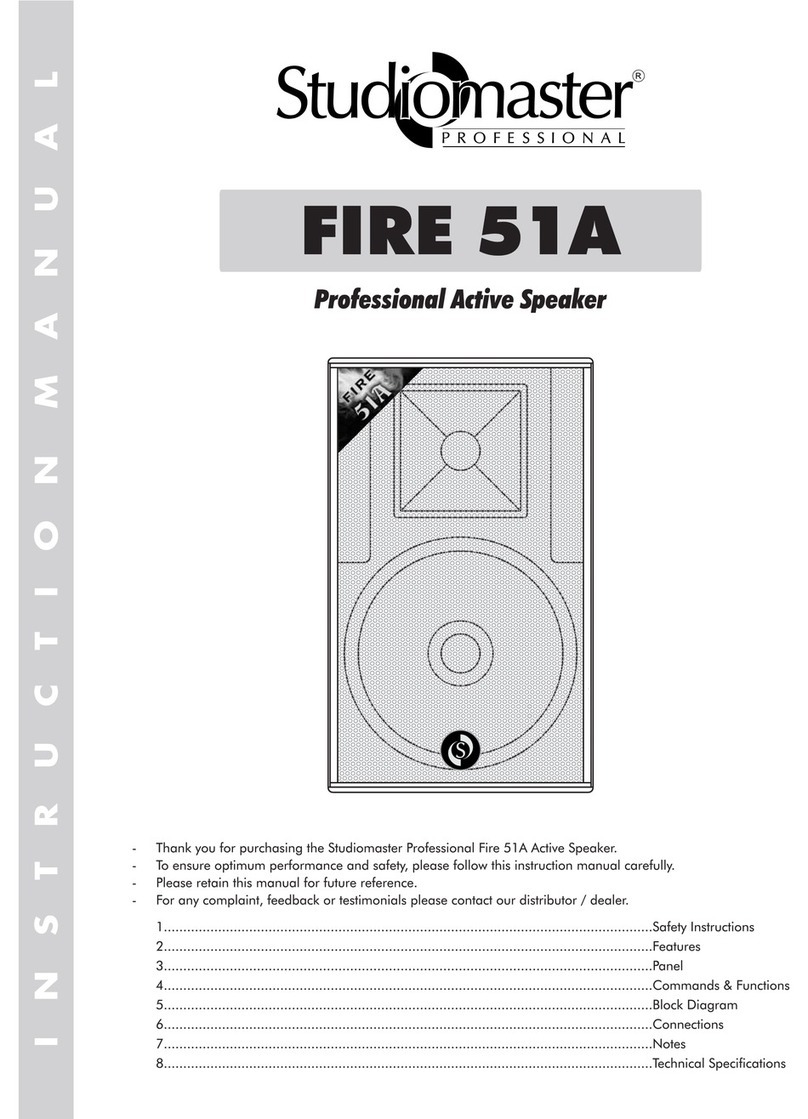
Studiomaster FIRE 51A User manual

Studiomaster

Studiomaster FIRE 51A User manual

Studiomaster XVP 1225 User manual

Studiomaster

Studiomaster XVP 1225 User manual

Studiomaster Fire 57 User manual

Studiomaster

Studiomaster Fire 57 User manual

Popular Speakers manuals by other brands

Algo 8180 user guide

Algo

Algo 8180 user guide

HoMedics SOUNDSPA ENLIVEN instruction manual

HoMedics

HoMedics SOUNDSPA ENLIVEN instruction manual

LG RK1 owner's manual

LG

LG RK1 owner's manual

Martin Audio Wavefront W8CS manual

Martin Audio

Martin Audio Wavefront W8CS manual

Roland MA-20 owner's manual

Roland

Roland MA-20 owner's manual

DeWalt DCR006 instruction manual

DeWalt

DeWalt DCR006 instruction manual

Vanatoo TRANSPARENT ZERO owner's guide

Vanatoo

Vanatoo TRANSPARENT ZERO owner's guide

Tronsmart Element Mega Bluetooth user manual

Tronsmart

Tronsmart Element Mega Bluetooth user manual

Infinity QPS1 owner's manual

Infinity

Infinity QPS1 owner's manual

Alesis M1ACTIVE 520 quick start guide

Alesis

Alesis M1ACTIVE 520 quick start guide

Partybag Mini user manual

Partybag

Partybag Mini user manual

Samsung HW-J355 user manual

Samsung

Samsung HW-J355 user manual

ENERGY SISTEM Party 3 Go user manual

ENERGY SISTEM

ENERGY SISTEM Party 3 Go user manual

DAPAudio DRX Active Series manual

DAPAudio

DAPAudio DRX Active Series manual

Niles iC7500 installation guide

Niles

Niles iC7500 installation guide

AiAiAi S10 quick start guide

AiAiAi

AiAiAi S10 quick start guide

Exibel BNX100 instruction manual

Exibel

Exibel BNX100 instruction manual

Orion XTR8S specification

Orion

Orion XTR8S specification

manuals.online logo
manuals.online logoBrands
  • About & Mission
  • Contact us
  • Privacy Policy
  • Terms and Conditions

Copyright 2025 Manuals.Online. All Rights Reserved.