14
• The fogging of the front glasses can be avoided by inserting Silicagel or by
applying an antifogging liquid.
CHANGING A LENS
SUBAL SGH4 allows changing the lens without camera removal.
• Unlock the Port Lock.
• Remove the frontport.
• Push the lens release button to release the lens lock mechanism.
• Turn the lens clockwise to remove it.
• Leave the lens release button, put the new lens onto the camera and at-
tach the proper port.
OPERATING THE FUNCTIONS
The operation of the camera functions is the same as for surface use: By
pressing the corresponding levers, push buttons or turning of the knobs.
If illumination of the subject is insufcient to guarantee proper autofocus
operation, additional lighting has to be used (pilot light of ash unit, etc.) or
the camera has to be switched over to manual focus.
Therefore a focus gear is required (not possible with all lenses).
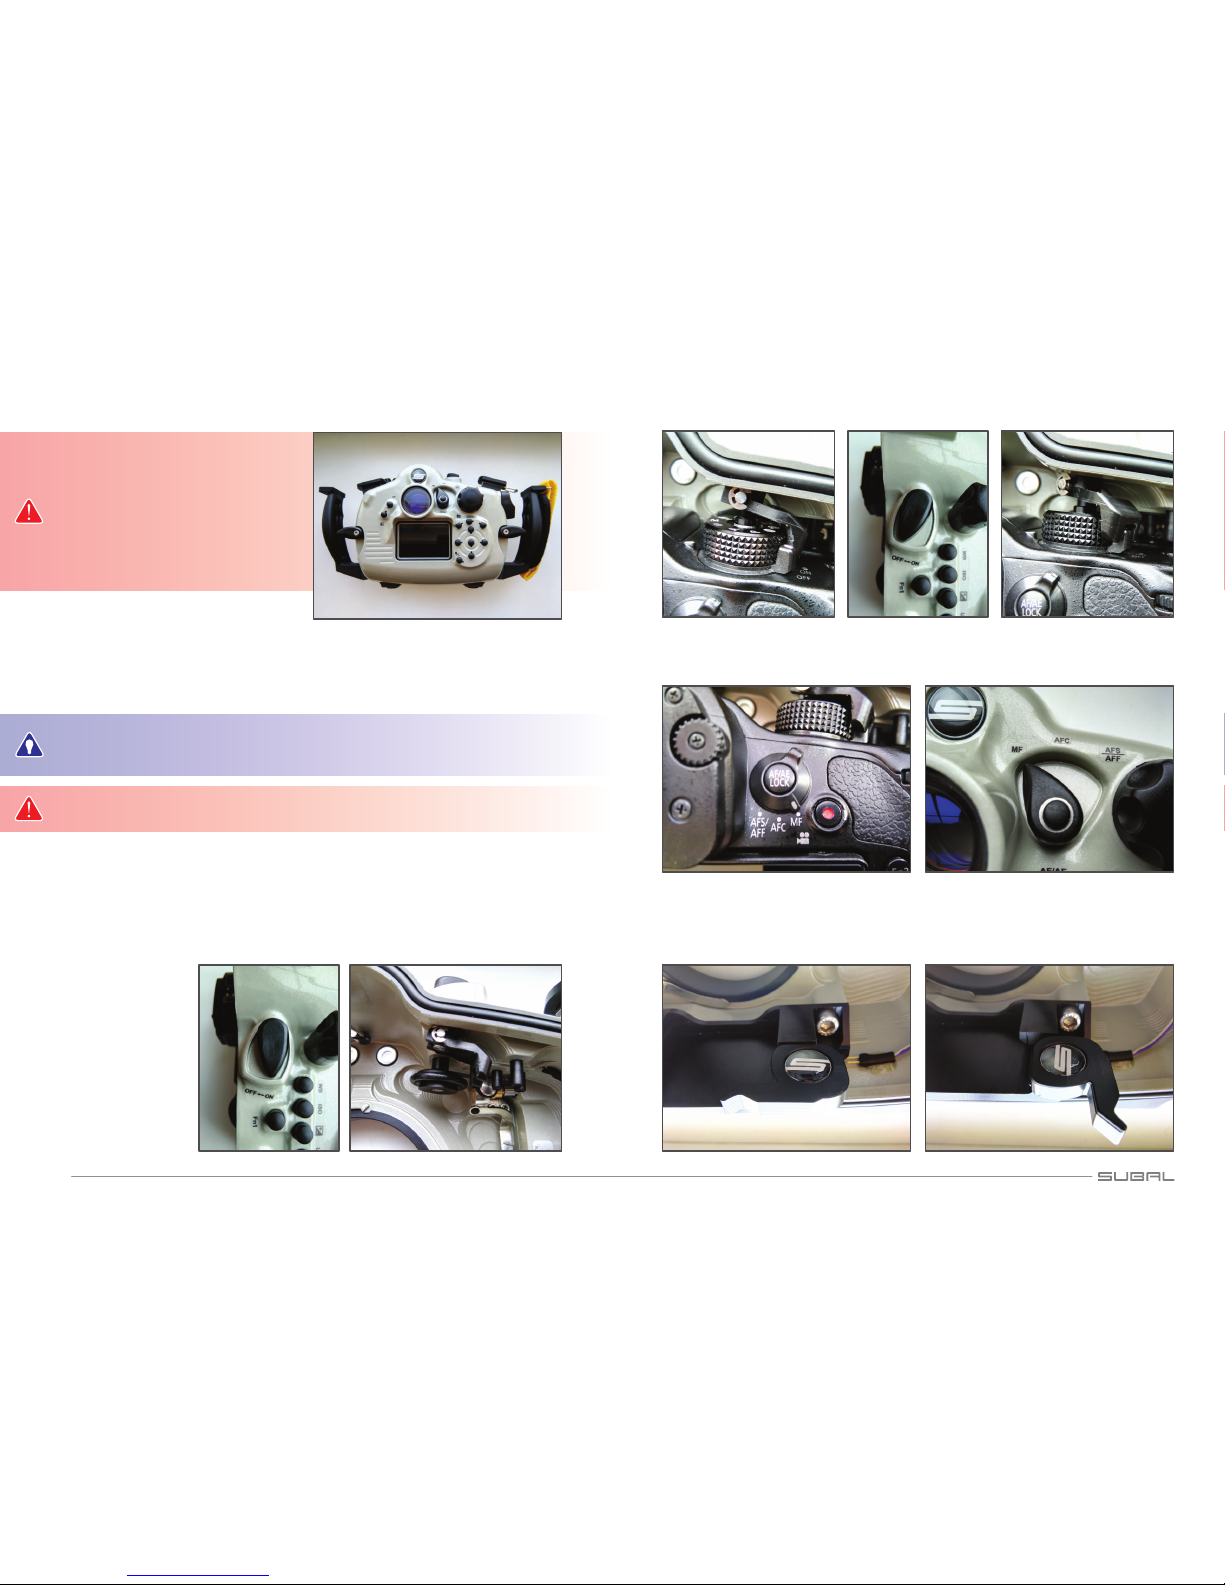
Autofocus mode
If the subject in the picture is out of focus, there are a number of methods
available for restoring sharpness:
• Adjust the focus by pressing the shutter release lever slightly until AF
activates, keep it half pressed while you compose the picture and shoot.
• Adjust the focus by pressing down the shutter release lever slightly until
AF activates. Now press the AF-lock lever (the shutter release lever now
can be left) and keep it pressed until you have chosen the wanted frame
and have shot your photo.
• Choose the point of autofocusing with the Focus Area Selector.
Manual focusing operation
To adjust focus manually a focus gear ring on the lens is required.
Please note the mounting instructions enclosed with the focus gear ring.
The crown wheel inside the housing and the focus gear on the lens have to mesh.
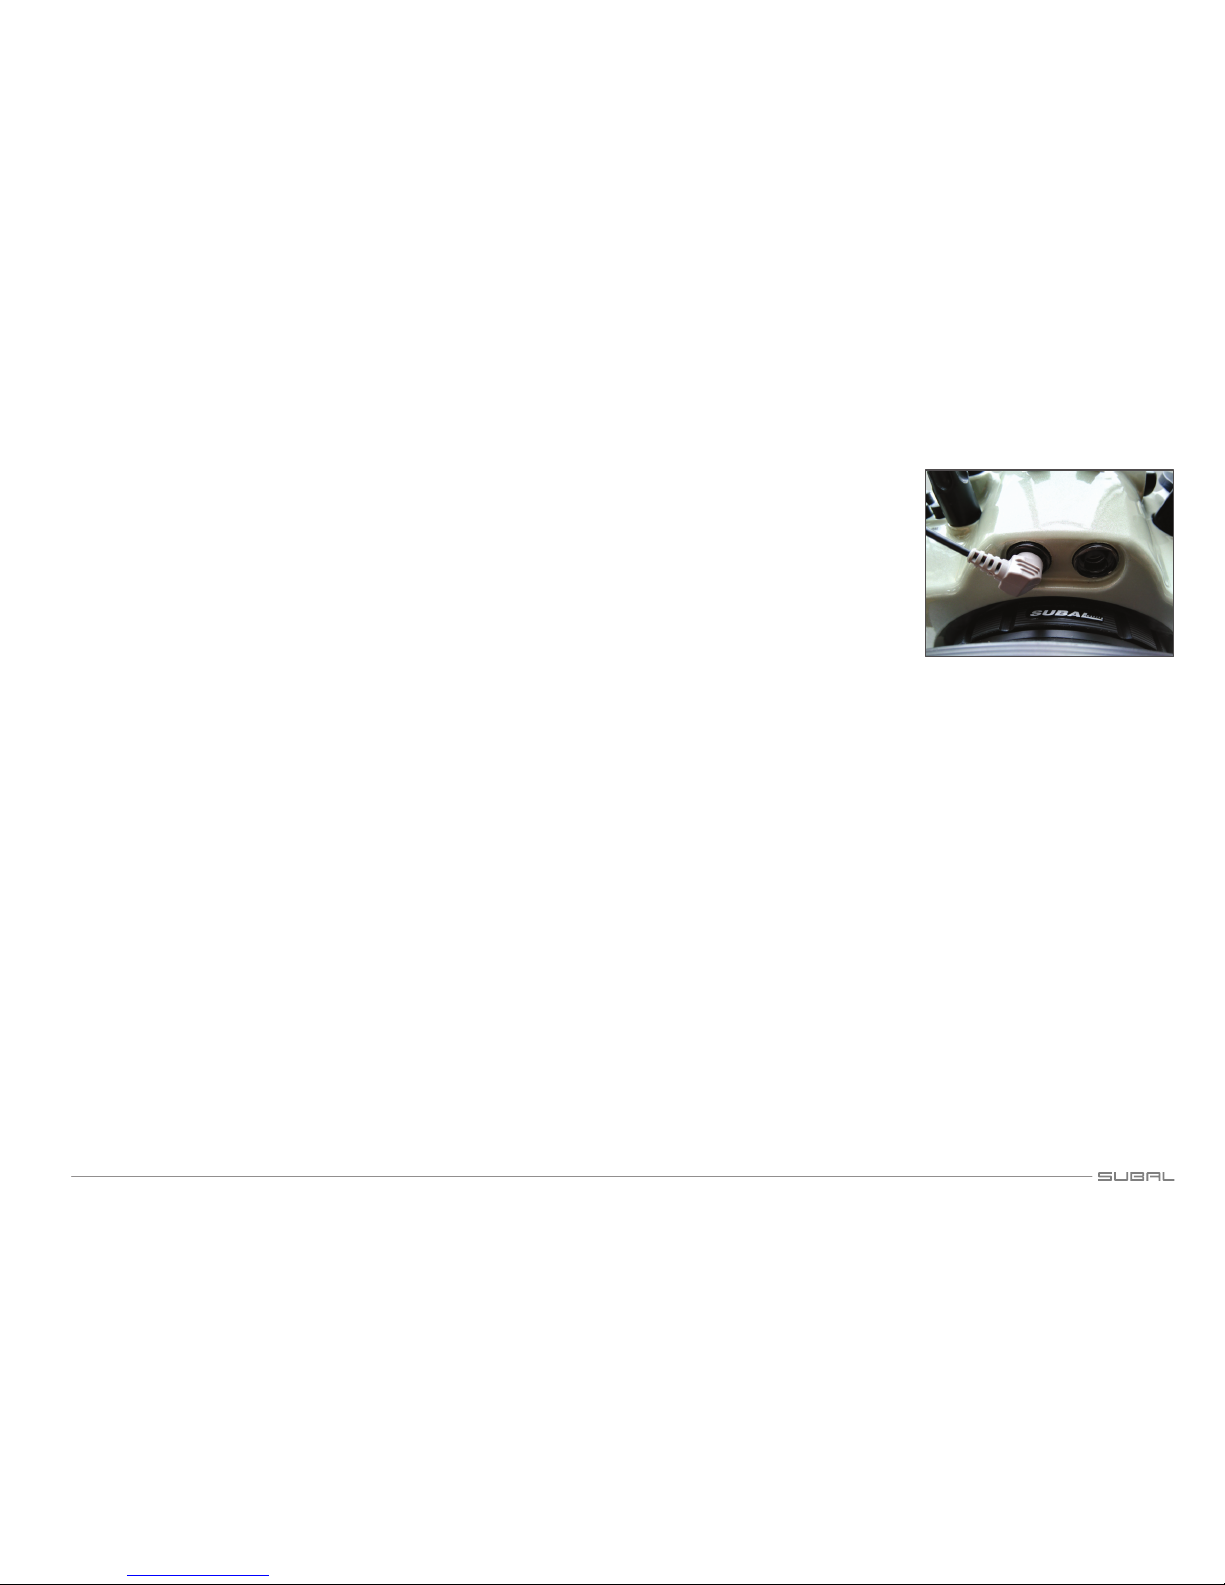
MOUNTING AND CONNECTING A FLASH UNIT
The SUBAL SGH4 is equipped
with 2 ports to connect Sea&Sea -
ber optic cables. Adapters for other
systems (e. g. INON) are available as
accessories (Fig. 17).
Modern strobes with STTL func-
tion provide full TTL control!
Optionally a built in ash elec-
tronic with up to max. 3 strobe sock-
ets is available. This can be upgraded
by your local dealer.
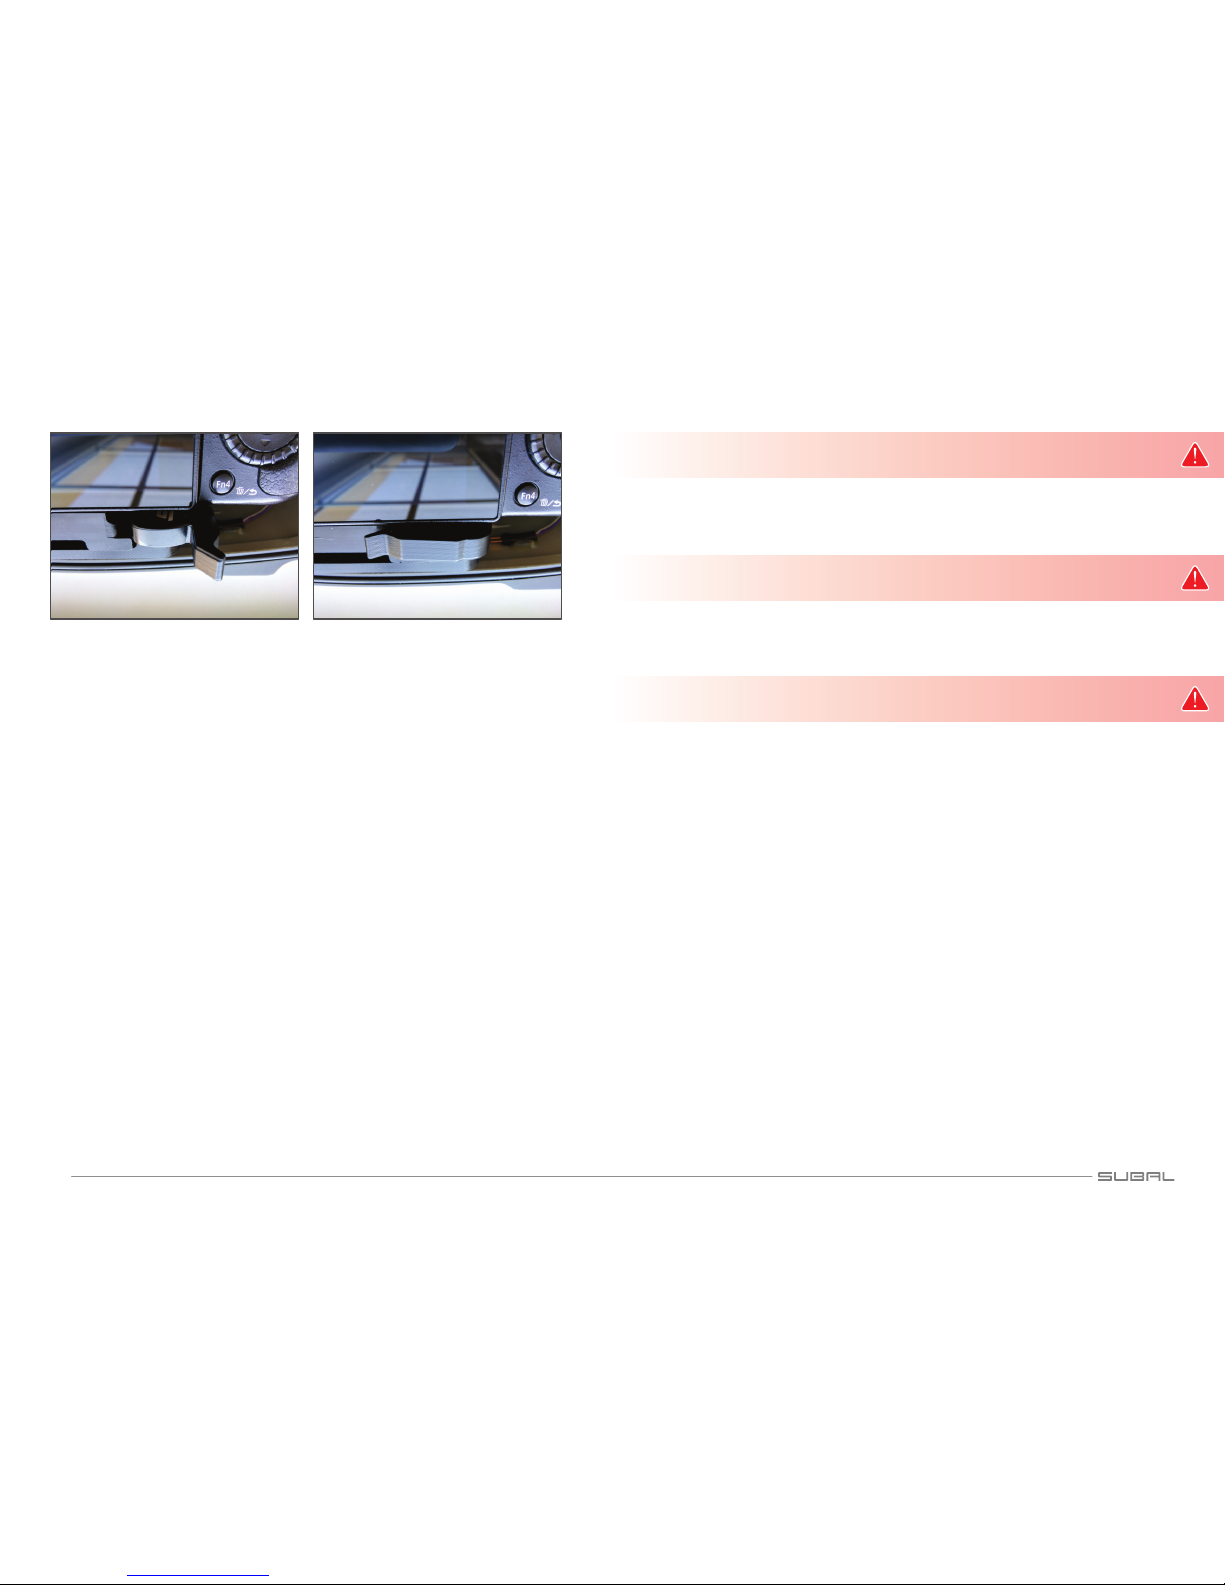
If you use your strobes via STTL (Strobe TTL) – connected to the sync ports –
the built in strobe of the camera has to be popped up. This will be provided by
a push button at the upper side of the housing. To switch off the internal strobe
turn the pear-shaped lever to the left upper side of the housing downwards.
A wide range of perfected strobearms are available for the combination of a
SUBAL SGH4 housing and strobes on the market (Sea & Sea, INON, etc.).
The arms are fastened by pushing them onto an adapter plate on the up-
per part of the housing. The swivel arm is secured by screwing the footscrew
into the center indentation of the adapter plate. For handheld ash operation
(point and shooting), the screw needs only to be unscrewed a little and the
ash unit removed fortlessly and quickly and can be freely guided.
For other ash arms (eg. Nikonos, Sea & Sea etc.) adapters are available
which allow the mounting of the corresponding swivel arms by use of trays
(please see accessories).
We also provide a Nikonos 5 pin strobe bulkhead, or S6 or Ikelite Bulkhead
for it as accessories.
When inserting the ash unit plug, please take care:
• The socket must be free of dirt, sand and moisture.
• The plug O-ring, too, has to be checked carefully for cleanliness and
should be lightly greased.
• Note the position of the indexing key and groove and push the plug into
the socket without using force, to avoid damage to the contact pins.
• The plug should be pushed in a few millimeters into the socket by hand and
only then the knurled screw screwed into the socket and slightly tightened.
Fig. 17