[3]
Electrical Safety
Always power off the unit using the switch at the back of the refrigerator before any electrical service.
Wait 5 minutes after powering off the refrigerator before servicing to allow the capacitor to drain to a
safe voltage.
Installation
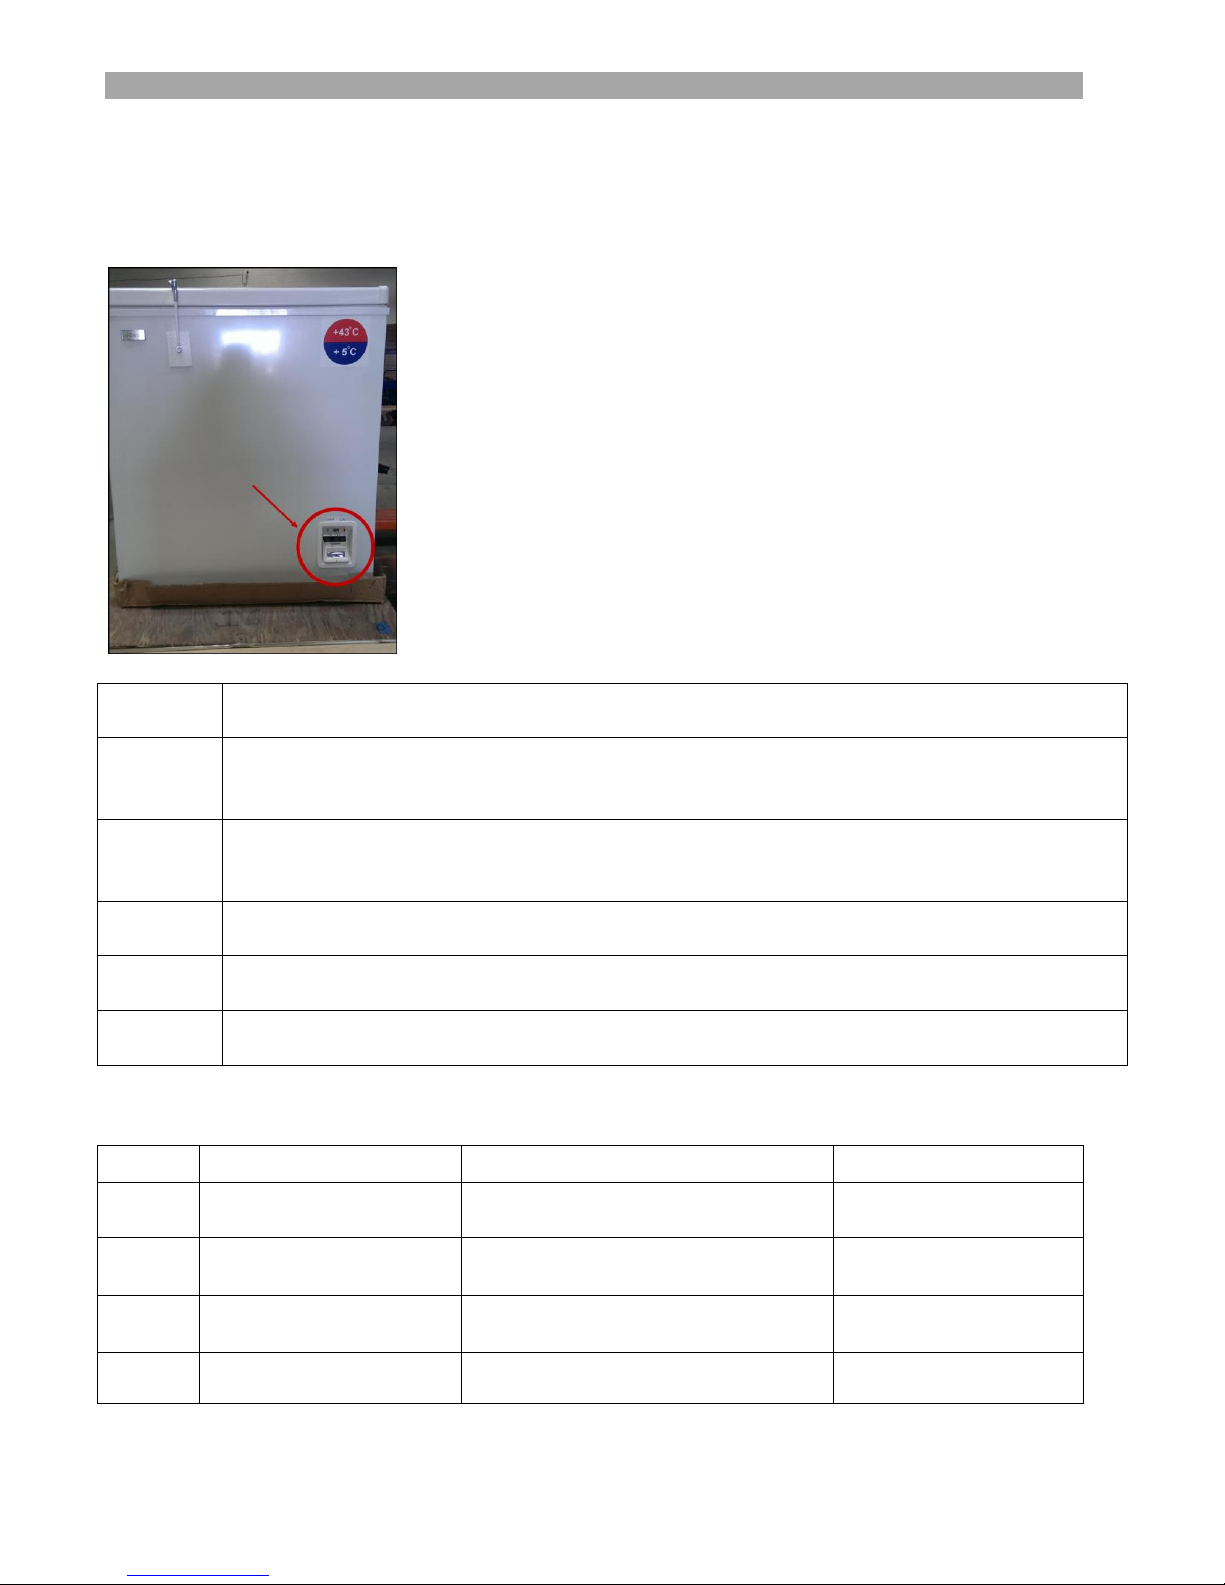
Unpacking the unit
Remove all packaging and securing tapes from the appliance.
To avoid injury and causing damage to the appliance, be extremely cautious when using sharp or
pointed tools to complete this task.
Keep children away from the packaging material. DANGER OF SUFFOCATION!
Do not clean the appliance with abrasive or corrosive cleaning agents, steel wool, scouring sponges, or
chemical cleaning agents should not be used under any circumstances.
A sponge, soft brush or towel is recommended.
After cleaning, thoroughly rinse and dry.
You may want to leave the lid open allowing the compartment to ventilate for
20
-30 minutes to get rid
of residual odors.
Check with your local Environmental Agency for recommendations on recycling packaging materials in
your area.
Positioning the unit
The area in which the appliance is to be installed must be relatively cool, dry, and suitably ventilated.
The area must be protected against any beating rain and free of abundant dust.
To ensure proper function, the appliance must be placed horizontally on a flat, firm, and stable surface
resting level on all four supports.
The floor must be sufficiently strong enough to support a fully loaded cabinet.
Adjust the feet or use wood or metal shims to level the appliance if necessary.
Do not place the appliance close to heat sources (heater, stove, boiler, chimney, etc.), and avoid
prolonged exposure to direct sunlight.
This appliance uses the exterior walls to transfer heat from the inside of the cabinet. Do not cover or
insulate the exterior walls
Ensure that there is adequate space between the appliance and neighboring walls or large objects; a
minimum spacing of 7.5cm is highly recommended. This will provide sufficient airflow around the
appliance resulting in more efficient operation and longer appliance lifetime.
Always keep the air vent openings of the compressor housing cover free from dust and obstructions.
Avoid keeping the lid open for extended periods of time or opening the lid too frequently as warm air will
enter the cabinet and cause the compressor run unnecessarily often.
If the unit will not be in service, or needs to be stored for a long period of time after it has been in use,
first let unit warm up, then leave the lid partially open to allow natural ventilation and drying of the
interior.