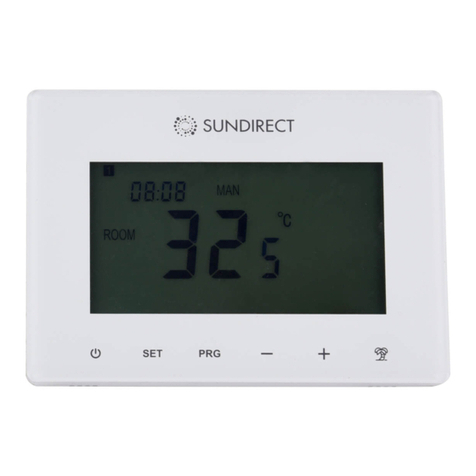
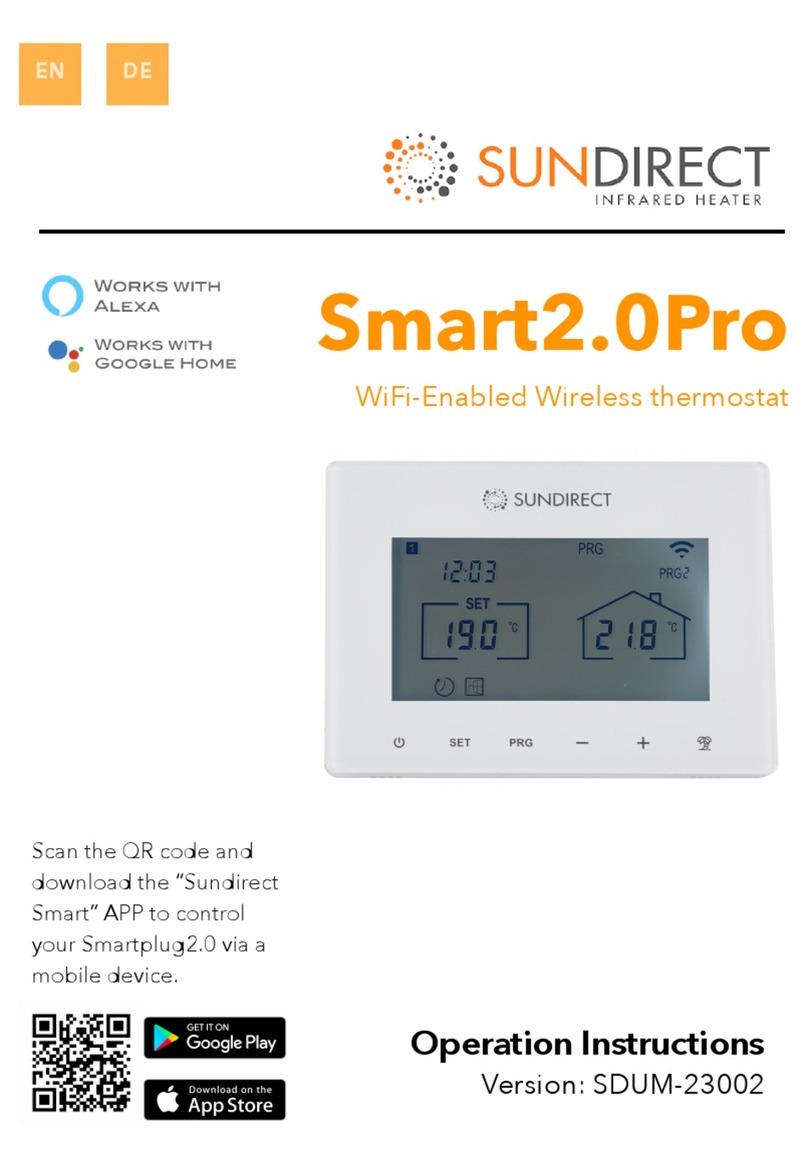
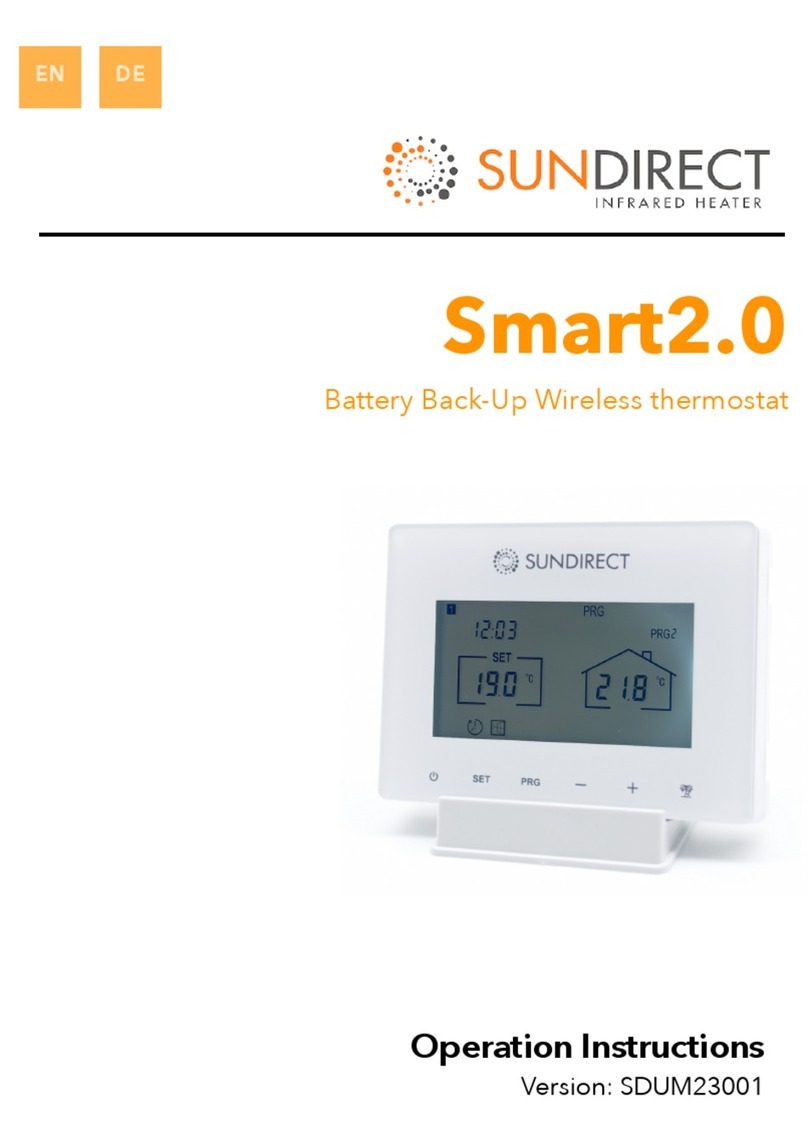
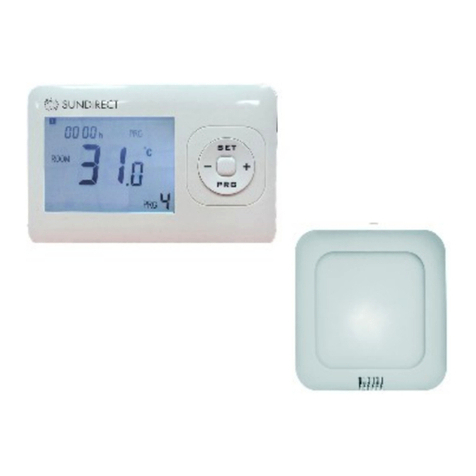
Sundirect Smart1.0 User manual

1
Smart1.0Pro
WiFi-Enabled Wireless thermostat
Operation Instructions
Version: SDUM-200201
EN
DE
HU
SLO
HR
CZ
SK
NL

Table of Contents:
1. General Introduction
2. Key features
2.1 Open window detection
2.2 Adaptive start technology
3. Display and buttons
4. Mounting instructions
5. Operation instructions
5.1 Pair to the receiver
5.2 Time settings and temperature calibration
5.3 Brief introduction of operation modes
5.4 Manual mode
5.5 Smart mode
5.5.1 Entering smart mode
5.5.2 Smart mode program setting
5.6 Holiday mode
5.6.1 Entering holiday mode
5.6.2 Quitting holiday mode
5.7 Child lock
6. WIFI and APP operation
6.1 How to download Sundirect Smart APP
6.2 Connect to WiFi
7. Technical specifications
8. Warranty and disposal
2
EN

1. General introduction
The Smart1.0Pro is specifically designed to work together with Sundirect
“Plus” range infrared panel heaters. Smart1.0Pro is a wireless thermostat
remote control. The receiver that pairs to Smart1.0Pro has already been
pre-assembled on the backside of the panel. One Smart1.0Pro can pair
to more than one “Plus” heater, i.e. multiple heaters within one room can
be controlled by the Smart1.0Pro thermostat."
The Smart1.0Pro will operate the “Plus” range infrared heaters by turning
them ON if the room temperature is lower than the desired room
temperature and will turn them OFF if the room temperature is reached."
Please read these instructions carefully and keep safe for future use.
Failure to comply with these instructions will void your warranty."
2. Key features
2.1 Open window detection
When the room temperature is above 14°C and our system detects a
dramatic temperature drop in a short time period, it will recognize that a
door/window was opened. To save energy Smart1.0Pro will power offand
re-start heating after one hour. If you closed the window/door or you
would like to start heating again you can manually turn on the heater
again by pressing the power button. You can activate/deactivate this
function by pressing “SET” and “+” buttons together for 3seconds. "
2.2 Adaptive start technology
When in Smart mode, if the temperature is significantly lower 15 minutes
before the next PRG period than the set temperature in that period, the
system will self-learn to adjust and turn on the heater earlier if necessary.
This gives you a more comfortable temperature right from the start of the
next PRG period. You can activate/deactivate this function by
pressing “SET” and “-” buttons together for 3seconds. "
3

3. Display and buttons
4. Mounting instructions
Smart1.0Pro is designed to be
installed to the standard electrical
box. Follow the drawing to finish
the mounting."
4
1: Weekday$ "
2: Time"
3: Temperature"
4. Heat-on status"
5: Operation Modes"
6: Holiday dates"
7: PRG period "
8: Power button"
9: SET button"
10: PRG button"
11: - button"
12: + button"
13: Holiday button

5.1 Pair to the receiver
All “Plus” range heaters have a built-in
thermostat receiver-Receiver01 on the
backside of the panel. On the right, see the
drawing of the signal lights and button of
Receiver01. The following is a detailed
description of the buttons and signal lights:"
1.Pair status signal light (green light)
2.Heating status signal light (red light)
3.“P” button "
4. Power switch"
Step1: Plug your heater to an electricity outlet, switch the Power switch
of Receiver01 on, double press the “P” button and the “Pair signal light”
will start to flash and is ready for pairing."
Step2: Power-offthe Smart1.0Pro, long press the “SET” button. The
“PAIR” signal will show on the screen of the remote control. Wait until the
“Pair signal light” stops flashing and glows green to finish the pairing."
Note: Once Receiver01 and Smart1.0ProPro are paired, the pair signal
light will always be on and the Receiver01 will be only commanded by the
Smart1.0 Pro. One Receiver01 can only pair to one Smart1.0Pro,
however, one Smart1.0Pro can be paired to several Receiver01 if they are
in the same room."
5.2 Time settings and temperature calibration
Power on Smart1.0Pro. Press “SET” button for 5 seconds to enter the
settings. The screen on the thermostat will show as below and the
minutes of the timer setting will start to flash. "
5

Modify the settings by pressing “-” and “+” button. Continue by pressing
“SET” to save the settings and to shift to the settings from one menu to
another."
If you would like to leave the settings, press the “POWER” button to quit."
5.3 Brief introduction of operation modes
Smart1.0Pro has 3 different operation modes: "
•Manual mode (MAN): Simple manual temperature control."
•Smart mode (PRG): Programmable temperature control- 7days per
week*4 time zones per day. "
•Holiday mode (HOL): Holiday temperature control with a countdown
timer of the holiday mode period. "
5.4 Manual mode
To enter the manual mode, power on the thermostat, press “PRG” button
until the “MAN” sign shows on the thermostat. Now the thermostat will
operate in Manual mode. Adjust the desired temperature by pressing ”-”
and “+“."
5.5 Smart mode
5.5.1 Entering Smart mode
To enter Smart mode power on the thermostat, press “PRG” button until
the “PRG” sign shows on the thermostat. Now the thermostat will operate
in Smart mode. Adjust the desired temperature by pressing ”-” and “+“,
i.e you are adjusting the temperature setting of this current time zone for
6
Menu
Description
1
Timer setting- Minutes
2
Timer setting- Hours
3
Weekday settings
4
Temperature calibration (Range: -5℃to +5℃)

once. If you would like to permanently modify the setting, please follow
the next paragraph (5.5.2 Smart mode program setting)."
5.5.2 Smart mode program setting
a.) Long press “PRG” to start the program setting."
b). Press “-” or “+” button to set the time of the 1st period of Monday
Program (or weekday program under simple program setting-01)."
c). Press the “PRG” button again to confirm the time setting and the
screen will shift to the temperature setting of the 1st period of the
Program. "
d). Continue by pressing “PRG” button to shift to the time setting of the
2nd period. Repeat the above procedure to finish the settings of the
remaining 3 periods of the Program. And then move on to the setting of
the next day till Sunday to finish. "
To leave the settings in between, please press “Power” button."
5.6 Holiday mode
The Holiday mode on Smart1.0Pro is a useful feature that you can use in
order to avoid frozen or bursting water pipes during a prolonged leave. It
has a countdown timer of your holiday date and the remaining days of
your holiday will be shown on the thermostat. After the holiday period, the
thermostat will switch back to Manual or Smart mode as of your previous
settings."
5.6.1 Enter Holiday mode
Long press the “Holiday” button on the thermostat. The days setting of
the holiday period will start to flash, the screen on the thermostat will be
as shown below."
7

a). Adjust how many days you will leave on holiday by pressing “-” or “+”."
b). Press again the “Holiday button” to set the desired temperature during
your leave."
c). Press again the “Holiday button” to confirm the setting and enter
holiday mode."
5.6.2 Quit the Holiday mode
The thermostat will automatically shift back to the previous settings after
the set holiday period. However, if you need to shift back to your regular
mode before the set holiday time is over, press the “PRG” button to quit
Holiday mode."
5.7 Child lock
Press “SET” and “Holiday” buttons at the same time for 3 seconds to
activate child lock and the signal will show on the screen. Please press
again “SET” and “Holiday” buttons for 3 seconds to deactivate child lock."
8

6. Wi-Fi and APP operation
6.1 How to download the Sundirect Smart APP"
Scan the QR code on the right to start the download of
the APP, or you can download the APP “Sundirect Smart”
on the App Store or Google Playstore. Open the APP and
register with your phone number or Email address."
6.2 Connect to WiFi:
Step1: Connect Smart1.0Pro to the electricity, and make sure the Wi-Fi
signal on Smart1.0Pro is rapidly flashing (if not please power off
Smart1.0Pro and long press the “PRG” button until the Wifi signal is
flashing rapidly). Open the APP on your smart phone and add the device
by pressing “+” on the top right of the APP."
Step2: Enter the Wi-Fi password of your home network. Please make
sure your home Wi-Fi is working and keep the heater and smartphone/
tablet as close as possible to the Wi-Fi router. Please notice that our APP
only works with 2.4GHz network."
Step3: Wait until the connection status shows 100% to finish the setting.
The Wifi signal on the control box will stop flashing now. "
If you failed to connect, please power offSmart1.0Pro. Long press the
“PRG” button on the thermostat until the Wi-Fi signal is flashing slowly
and repeat the connection process."
9

7. Technical specifications
8. Warranty
Sundirect offers a 2-year manufacturing warranty on Smart1.0Pro."
Within the warranty period from the date of purchase, Sundirect will repair
or replace your Smart1.0Pro where the fault is due to defects in
workmanship or materials. Please contact your local Sundirect dealer in
the event of a warranty claim and return the control box together with
proof of purchase. "
The warranty covers the repair or replacement of the Smart1.0Pro only.
The removal of the serial number on the back of Smart1.0Pro will also
void this warranty. All labels shall not be removed. "
Any damages to Smart1.0Pro caused by the user are not covered by this
warranty. This includes scratches on the surface. Sundirect is not
responsible for any damages, losses or injuries due to the ingress of
water or moisture, accidental damage, mishandling, external impact,
repairs or adjustment by unauthorized persons."
10
Model
Smart1.0Pro
Frequency
433Mhz
Temperature range
5-40℃
Accuracy
+/-0.5℃
Protection
IP20

Inhalt
1. Allgemeines"
2. Schlüsselfunktionen"
2.1 Offene Fenstertechnologie"
2.2 Adaptive Starttechnologie"
3. Display and Tasten"
4. Montageanleitung"
5. Bedienungsanleitung"
5.1 Paarung mit Empfänger"
5.2 Zeiteinstellungen und Kalibrierung der Temperatur "
5.3 Kurze Einleitung der Bedienungsmodi"
5.4 Manueller Modus"
5.5 Smart Modus"
5.5.1 Wechsel in den Smart Modus"
5.5.2 Programmierung des Smart Modus"
5.6 Urlaubsmodus"
5.6.1 Wechsel in den Urlaubsmodus"
5.6.2 Urlaubsmodus abbrechen"
5.7 Kindersicherung"
6. WLAN und App Bedienung"
6.1 So laden Sie die Sundirect Smart App herunter"
6.2 Verbindung mit dem WLAN"
7. Technische Daten"
8. Garantie und Entsorgung"
11
DE

1. Allgemeines
Smart1.0Pro wurde speziell für die Verwendung zusammen mit den
Infrarotheizungen der Sundirect "Plus" Serie entwickelt. Smart1.0Pro ist
eine Funkthermostat. Der Empfänger, der mit Smart1.0Pro gepaart wird,
ist bereits auf der Rückseite des Panels vormontiert. Ein Smart1.0Pro
kann mit mehr als einem "Plus" Heizgerät gekoppelt werden, d. h.
mehrere Heizgeräte in einem Raum können mit dem Smart1.0Pro
Thermostat gesteuert werden. Smart1.0Pro wird die Infrarotheizungen der
"Plus" -Reihe steuern, indem es sie einschaltet, wenn die
Raumtemperatur niedriger als die gewünschte Raumtemperatur ist, und
sie ausschaltet, wenn die Raumtemperatur erreicht ist."
Bitte lesen Sie diese Anleitung sorgfältig und bewahren Sie sie für
zukünftige Verwendung auf. Bei Nichtbeachtung dieser Anleitung erlischt
Ihre Garantie."
2. Schlüsselfunktionen
2.1 Offene Fenstertechnologie
Wenn die Raumtemperatur über 14°C liegt und unser System in einem kurzen
Zeitraum einen drastischen Temperaturabfall erkennt, erkennt es, dass eine
Tür/ein Fenster geöffnet wurde. Um Energie zu sparen, schaltet sich
Smart1.0Pro für eine Stunde aus und startet die Heizung dann erneut. Wenn
sich Smart1.0Pro ausschaltet, wird auf dem Bildschirm das Signal „off“
angezeigt. Wenn Sie das Fenster/die Tür geschlossen haben oder die Heizung
erneut starten möchten, können Sie das Heizgerät manuell wieder einschalten,
indem Sie die Ein / Aus-Taste drücken."
Sie können diese Funktion aktivieren/deaktivieren indem Sie “SET” und
“+” zusammen 3 Sekunden lang drücken.
2.2 Adaptive Starttechnologie
Mit adaptivem Start lernt die Steuerung, wie lange die Infrarot-heizungen
benötigen, um die programmierte Temperatur zu erreichen, damit sie zum
eingestellten Zeitpunkt erreicht wird. D.h., die Heizung wird früher
angehen, so dass die Temperatur erreicht ist, z.B wenn Sie morgens
aufstehen."
Sie können diese Funktion aktivieren/deaktivieren indem Sie “SET” und
“-” zusammen 3 Sekunden lang drücken.
12

3. Display and Tasten
4. Montageanleitung
Smart1.0Pro ist für die Installation
an einer standardmäßigen
Anschlussdose vorgesehen.
Befolgen Sie die folgende
Zeichnung für die Montagel."
13
1: Wochentag$ "
2: Zeit"
3: Temperatur"
4. Heizung-AN Status"
5: Betriebssmodi"
6: Urlaubstage"
7: PRG-Periode"
8: Ein- / Ausschalter"
9: SET Taste"
10: PRG Taste"
11: - Taste"
12: + Taste"
13: Urlaubs (Holiday)-Taste

5.1 Paarung mit Empfänger
Alle Heizgeräte der "Plus" Serie verfügen über
einen eingebauten Thermostatempfänger auf
der Rückseite. Rechts sehen Sie die
Signalleuchten und Tasten von Receiver01. Im
Folgenden finden Sie eine detaillierte
Beschreibung der Tasten und Signalleuchten:"
1.Paarungs-Signalleuchte (grün)"
2. Heizungs-Statussignalleuchte (rot)"
3. "P" -Taste"
4. AN/AUS-Schalter"
Schritt1: Stecken Sie den Stecker der Heizung in eine Steckdose ein.
Schalten Sie AN/AUS-Taste des Receiver01 an. Drücken Sie die “P” taste
zwei Mal und die Paarungs-Signalleuchte blinkt nun auf. Das Paneel ist
nun bereit für die Paarung. "
Schritt2: Schalten Sie die Fernbedienung Smart1.0Pro aus und drücken
Sie die “SET” Taste lang. Das Signal “PAIR” wird auf dem Bildschirm der
Fernbedienung angezeigt. Warten Sie bis die Paarungs-Signalleuchte
aufhört zu blinken und grün aufleuchtet um die Paarung
abzuschließen.Der Paarungsprozess ist nun beendet und Receiver01
kann nur mit Smart1.0Pro gesteuert werden. "
Bemerkung: Nachdem Receiver01 und Smart1.0Pro gepaart sind,
leuchtet die Paarungs-Signalleuchte permanent auf und Receiver01 kann
nur mit Smart1.0Pro gesteuert werden. Ein Reveiver01 kann nur mit einer
Smart1.0Pro Fernbedienung gepaart werden. Ein Smart1.0Pro kann
jedoch mit mehreren Receiver01 im selben Raum gepaart werden."
5.2 Zeiteinstellung und Kalibrierung der Temperatur
Schalten Sie Smart1.0Pro ein. Drücken Sie die SET-Taste für 5 Sekunden,
um Einstellungen zu ändern. Der Bildschirm des Thermostats wird wie
folgt angezeigt und die Minuten der Zeiteinstellung beginnen zu blinken."
Ändern Sie die Einstellungen mit den Tasten "-" und "+". Fahren Sie mit
"SET" fort, um die Einstellungen zu speichern und von einem Menü zu
einem anderen zu wechseln."
14

Wenn Sie die Einstellungen verlassen möchten, drücken Sie die
"POWER" -Taste."
5.3 Kurze Einleitung der Betriebsmodi
Smart1.0Pro hat 3 verschiedene Betriebsmodi: "
•Manueller Modus (MAN): Einfache manuelle Temperaturregelung."
•Smart-Modus (PRG): Programmierbare Temperaturregelung - 7 Tage pro
Woche * 4 Zeitzonen pro Tag."
•Urlaubsmodus (HOL): Urlaubs-Temperatursteuerung mit einem
Countdown-Timer der Urlaubsmodus-Periode."
5.4 Manueller Modus
Um in den manuellen Modus zu gelangen, schalten Sie das Thermostat
ein und drücken Sie die "PRG" -Taste, bis das "MAN" -Zeichen auf dem
Thermostat erscheint. Jetzt arbeitet das Thermostat im manuellen Modus.
Stellen Sie die gewünschte Temperatur mit den Tasten "-" und "+" ein."
15
Menü
Beschreibung
1
Zeiteinstellung Minuten
2
Zeiteinstellung Stunden
3
Wochentag Einstellung
4
Temperatur-Kalibrierung (Skala: -5℃bis +5℃)

5.5 Smart Modus
5.5.1 Wechsel in den Smart Modus
Um in den Smart-Modus zu gelangen, drücken Sie die "PRG" -Taste bis
das "PRG" -Zeichen auf dem Thermostat erscheint. Jetzt arbeitet das
Thermostat im Smart-Modus. Stellen Sie die gewünschte Temperatur mit
den Tasten "-" und "+" ein, d. h., Sie passen die Temperatureinstellung
der aktuellen Zeitzone für diesen Augenblick an. Wenn Sie die Einstellung
dauerhaft ändern möchten, folgen Sie dem nächsten Abschnitt (5.5.2
Programmierung des Smart-Modus)."
5.5.2 Programmierung des Smart-Modus
a). Drücken Sie lange "PRG", um in die Programmeinstellung zu
gelangen."
b). Drücken Sie die Taste "-" oder "+", um die Zeit der ersten Periode des
Montag-Programms einzustellen."
c.) Drücken Sie erneut die “PRG" Taste, um die Zeiteinstellung zu
bestätigen, und der Bildschirm wechselt auf die Temperatureinstellung
der 1. Periode des Programms."
d). Drücken Sie erneut "PRG", um zur Zeiteinstellung der 2. Periode zu
wechseln. Wiederholen Sie den obigen Vorgang, um die Einstellung der
verbleibenden 3 Perioden des Programms abzuschließen. Wechseln Sie
zum Programm des nächsten Tags bis Sonntag durch Drücken von
"PRG". "
Um die Einstellungen zwischenzeitlich zu verlassen, drücken Sie die
“Power”-Taste."
5.6 Urlaubsmodus
Der Urlaubsmodus des Smart1.0Pro ist eine nützliche Funktion um
gefrorene Wasserrohre bei längerer Abwesenheit zu verhindern. Es hat
eine Countdownanzeige, die die verbleibenden Urlaubs-tage auf dem
Thermostat wiedergibt. Nach der Urlaubsperiode schaltet das Thermostat
automatisch wieder in den Manuellen oder Smart Modus je nach den
vorigen Einstellungen."
16

5.6.1 Wechsel in den Urlaubsmodus
Drücken Sie die “Holiday” Taste auf dem Thermostat lang. Die
Zeiteinstellung der Urlaubsperiode fangen an zu blinken. Sie sehen die
folgende Anzeige auf dem Bildschirm."
a). Passen Sie an wieviele Tage Sie im Urlaub sind, indem Sie “-“ oder “+”
drücken. "
b). Drücken Sie die “Holiday” Taste nochmals um die Temperatur während
Ihrer Abwesenheit einzustellen."
c). Drücken Sie die “Holiday” Taste nochmals um die Einstel-lungen
abzuschließen."
5.6.2 Urlaubsmodus abbrechen
Das Thermostat wird automatisch nach der eingestellten Urlaubsperiode
auf die vorherigen Einstellungen zurück-geschalten. Wenn Sie jedoch vor
Ablauf der eingestellten Urlaubsperiode in Ihren normalen Modus
zurückschalten wollen, drücken Sie die “PRG" Taste, um den
Urlaubsmodus zu beenden."
5.7 Kindersicherung
Drücken Sie gleichzeitig 3 Sekunden lang "SET" und "Urlaubs", um die
Kindersicherung zu aktivieren und das Signal wird auf dem Bildschirm
angezeigt. Bitte drücken Sie erneut 3 Sekunden lang "SET" und
"Urlaubs", um die Kindersicherung zu deaktivieren."
17

6. WLAN und App Bedienung
6.1 So laden Sie die Sundirect Smart App herunter"
Scannen Sie den QR-Code auf der rechten Seite, um den Download der
App zu starten oder laden Sie „Sundirect Smart“ im App Store oder im
Google Planstore runter. Öffnen Sie die App und registrieren Sie sich mit
Ihrer Telefonnummer oder E-Mail."
6.2 Verbindung mit dem WLAN:
Schritt 1: Verbinden Sie Smart1.0Pro mit dem Stromnetz und stellen Sie
sicher, dass das WLAN-Signal auf dem Smart1.0Pro schnell blinkt (wenn
nicht, schalten Sie Smart1.0Pro aus und drücken Sie die PRG-Taste, bis
das WLAN-Signal schnell blinkt). . Öffnen Sie die App auf Ihrem
Smartphone und fügen Sie das Gerät hinzu, indem Sie oben rechts in der
APP auf „+“ drücken."
Schritt 2: Geben Sie das WLAN-Passwort Ihres Heimnetzwerks ein.
Stellen Sie sicher, dass Ihr WLAN funktioniert, und platzieren Sie die
Heizung und das Smartphone/Tablet so nah wie möglich an den WLAN-
Router. Bitte beachten Sie, dass unsere App nur mit einem 2,4-GHz-
Netzwerk funktioniert."
Schritt 3: Warten Sie, bis der Verbindungsstatus 100% anzeigt, um die
Einstellungen zu beenden. Das WLAN-Signal an der Steuerbox hört jetzt
auf zu blinken."
Wenn Sie keine Verbindung herstellen konnten, schalten Sie bitte Smart
1.0 Pro aus. Halten Sie die Taste „PRG“ am Thermostat gedrückt, bis das
WLAN-Signal langsam blinkt, und wiederholen Sie den
Verbindungsvorgang."
18

7. Technische Daten
8. Garantie und Entsorgung
Sundirect gibt 2 Jahre Garantie auf Smart1.0Pro."
Sundirect wird Ihr Smart1.0Pro innerhalb von 2 Jahren nach Kaufdatum
reparieren oder neuwertig ersetzen, sollten Produktions- oder
Materialschäden festgestellt werden. Im Garantiefall kontaktieren Sie bitte
Ihren Sundirect Händler und geben das Steuerungssystem zusammen mit
Ihrer Kaufbe-stätigung zurück. Die Garantieleistung umfasst nur die
Reparatur oder den Ersatz des Gerätes selbst. Bitte beachten Sie, dass
das Entfernen der Seriennummer auf der Rückseite des Gerätes das
Erlöschen Ihrer Garantie zur Folge hat. Bitte entfernen Sie keine Etiketten."
Jegliche Schäden, die durch unsachgemäße Nutzung verursacht wurden,
werden von der Garantie nicht gedeckt. Dies schließt Kratzer an der
Oberfläche ein. Sundirect haftet nicht für Schäden, Verluste oder
Verletzungen, die durch das Eindringen von Wasser oder Feuchtigkeit,
versehentliche Beschädigung, falsche Handhabung, äußere Einwirkung,
Reparaturen oder Einstellungen durch unbefugte Personen verursacht
werden."
19
Modell
Smart1.0Pro
Frequenz
433Mhz
Temperaturskala
5-40℃
Genauigkeit
+/-0.5℃
Schutzklasse
IP20

Tartalomjegyzék
1. Általános bevezető"
2. Főbb jellemzők"
2.1 Nyitott ablak észlelése"
2.2 Adaptív indítási technológia"
3. A kijelzőés a kezelőszervek "
4. Telepítési útmutató "
5. Használati útmutató "
5.1. Párosítás a vevőegységgel(
5.2. Az időzítőbeállítása és a hőmérséklet kalibrálása "
5.3. Bevezetés az üzemmódokhoz(
5.4. Manuális üzemmód(
5.5. Intelligens üzemmód "
5.5.1. Belépés intelligens üzemmódba(
5.5.2. Programok beállítása intelligens üzemmódban "
5.6. Munkaszüneti üzemmód(
5.6.1. Beállítások munkaszüneti üzemmódban "
5.6.2. Kilépés munkaszüneti üzemmódból "
5.7. Gyerekzár"
6. Wi-Fi és APP működése
6.1 Hogyan töltsük le a Sundirect Smart APP alkalmazást
6.2 Csatlakozás a WiFi-hez
7. Műszaki specifikációk(
8. Garancia és a készülék leselejtezése "
20
HU
Other manuals for Smart1.0
1
Table of contents
Languages:
Other Sundirect Thermostat manuals
Popular Thermostat manuals by other brands

SmartWay Solutions
SmartWay Solutions The Talking Thermostat VT1007 user guide

Aube Technologies
Aube Technologies TH135-01 Installation and user guide

Carrier
Carrier Comfort Touch-n-Go owner's manual

Hunter
Hunter 44100B owner's manual

prowarm
prowarm ProTouch IQ V2 user manual

Carrier
Carrier ETN installation instructions

RV Products
RV Products 6536-335 series Installation and operating instructions

Heatmiser
Heatmiser neo Stat WIFI manual

Radiant
Radiant TS8100W-25A instructions

Honeywell
Honeywell MagicStat CT2400 Programming and installation instructions

Siemens
Siemens RDD100.1RF operating instructions

TUTTOKool
TUTTOKool TK-721 installation manual