manuals.online logo
Brands
  1. Home
  2. •
  3. Brands
  4. •
  5. suntouch
  6. •
  7. Thermostat
  8. •
  9. suntouch SunStat 500700-120 Instruction Manual

suntouch SunStat 500700-120 Instruction Manual

The SunStat thermostat
is a simple way to control
an electric floor-warming
system. It is designed for
connection to normal
120-VAC home wiring.
PARTS INCLUDED
•SunStat thermostat
•Floor sensor (15' long wire)
•2screws for mounting in
electrical box
•5wire nuts for wiring connections
If any parts are missing or damaged, contact the store
where you purchased the thermostat. Do not install a
damaged part.
INSTALLATION
It is recommended that a qualified electrician install the
thermostat and follow all local electrical codes.
The thermostat must only be used to control a resistive
floor warming system. This system must not exceed
1800 watts (15 amps) at 120 V.
Locate the thermostat about 4-1/2' to 5' above the floor
on an interior wall away from direct sunlight and other
heat sources. Do not locate the thermostat on a wall
with hot-water or cold-water piping, or ducting in close
proximity. The floor sensor can be extended up to 50'
away from the thermostat with standard two-conductor
18-gauge wire (uncoiled). The floor sensor wire cannot
pass near high-voltage electrical appliances such as
electric water heaters, air conditioners or electric ranges.
Embed the sensor tip in the heated floor area, locating
it halfway between heating elements.
Install a single-gang extra-deep box (not a “gangable”
type) when only one mat will be connected to the thermo-
stat. In new construction, you may install a 4" square
box when more than one mat will be connected to the
thermostat. With a 4" square box, you will need to attach
a mud-ring or other filler plate to properly install the
thermostat.
Pull the round dial off the front. Gently pull the thin face-
plate from the face of the thermostat to reveal the holes
for the mounting screws provided.
SunStat™
(Model 500700-120) WIRING
Turn off the power to this electrical circuit at the breaker
panel. Do not turn it back on until connections are fin-
ished and protected.
Begin making connections on the back of the thermostat
with the wire nuts included using one of the following dia-
grams. Remember to connect the floor sensor wire!
Fig. 1. Connection to a single set of mat leads.
Fig. 2. Connection to more than one set of mat leads.
Note: Do not connect more than 1800 watts (15 amps)
to the thermostat. Refer to your mat specifications for
information.
Note: If the floor sensor is not connected to the thermo-
stat the thermostat will sense the air temperature in
front of it instead, becoming an air thermostat.
© 2004 Watts Radiant, Inc. Installing the SunStat Control LIT#SSTATINST1004 Effective 10/12/2004
Installing the SunStat
™
Control
4500 E. Progress Place
Springfield, MO 65803-8816
Phone: 888-432-8932/417-522-6128
Fax: 417-831-4067
Web: www.suntouch.net
When all wiring connections are complete, carefully
insert the thermostat into your electrical box and secure
it with the screws provided. Re-attach the thin faceplate
and round dial to the front. Now you may turn the circuit
breaker on to power this thermostat.
OPERATION
The SunStat is very simple to operate. Just turn the dial
clockwise to select a temperature that turns on the mat.
The light above the dial should turn on, indicating the
floor is now warming.
Allow enough time for your floor temperatures to stabilize
at the temperature you selected. This may take a half
hour or up to four hours depending on your flooring con-
struction. If the floor is still too cool, turn the dial slightly
clockwise. If the floor is too warm, turn the dial slightly
counterclockwise and again wait for the floor tempera-
tures to stabilize.
Once you have the desired floor temperature, press the
“ON/OFF” button to turn the system on or off.
GFCI
The SunStat has a built-in Ground Fault Circuit Interrupter
(GFCI) to protect you in case of problems. The GFCI
“test” button should be pressed each month to verify
that it is working.
While the heating light is on, press the “test” button.
The heating light will turn off, the light next to “GFI”
will turn on, and a click will be heard indicating the
power is turned off to the floor warming system. Press
the “ON/OFF” button off then back on to return the
thermostat to normal operation.
If the GFCI “test” button does not function properly, turn
off the circuit breaker that feeds this thermostat. Do not
use the system. Contact your electrician for assistance.
TROUBLESHOOTING TIPS
Heating light does not come on, or floor does not warm:
Reset your circuit breaker. Check wiring connections
including the sensor wires. Press the “ON/OFF” button to
the off position and then back on.
Heat will not shut off:
Check the sensor wire connections.
LIMITED WARRANTY
Watts Radiant warrants the SunStat control to be free
from defect in material and workmanship for a period of
one year from the date of the original purchase. Watts
Radiant assumes no responsibility for any damage to the
product or related products as a result of misapplication
or improper installation or misuse of this product. If the
product is proven defective in normal use, Watts Radiant
will replace the product or refund the original cost of the
product. Watts Radiant will not be responsible for costs
of materials, labor, and related costs associated with
proving defect, replacement, or installation.
4500 E. Progress Place
Springfield, MO 65803-8816
Phone: 888-432-8932/417-522-6128
Fax: 417-831-4067
Web: www.suntouch.net
© 2004 Watts Radiant, Inc. Installing the SunStat Control LIT#SSTATINST1004 Effective 10/12/2004
Other suntouch Thermostat manuals

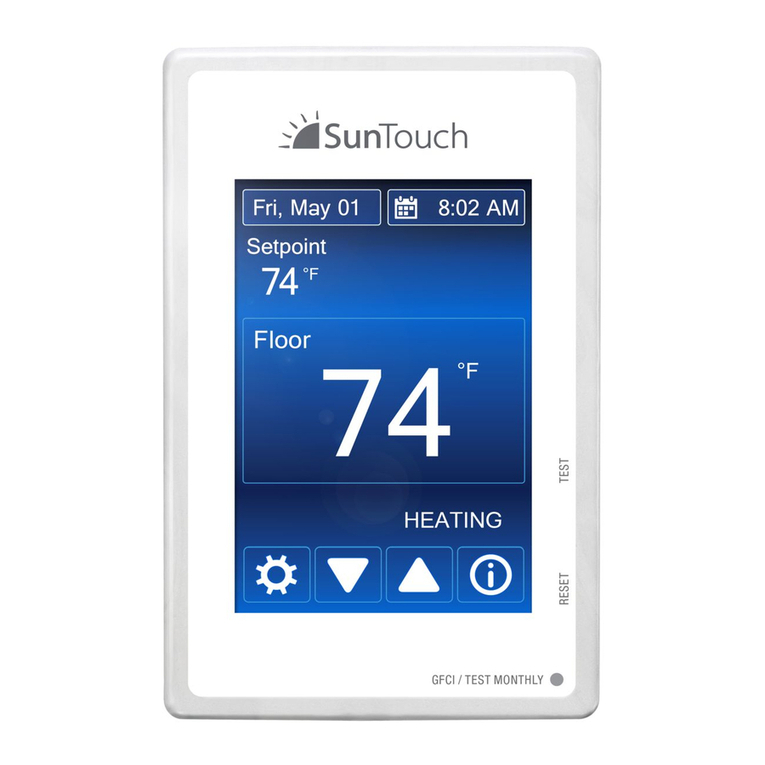
suntouch SunStat Command 108001 User manual

suntouch

suntouch SunStat Command 108001 User manual

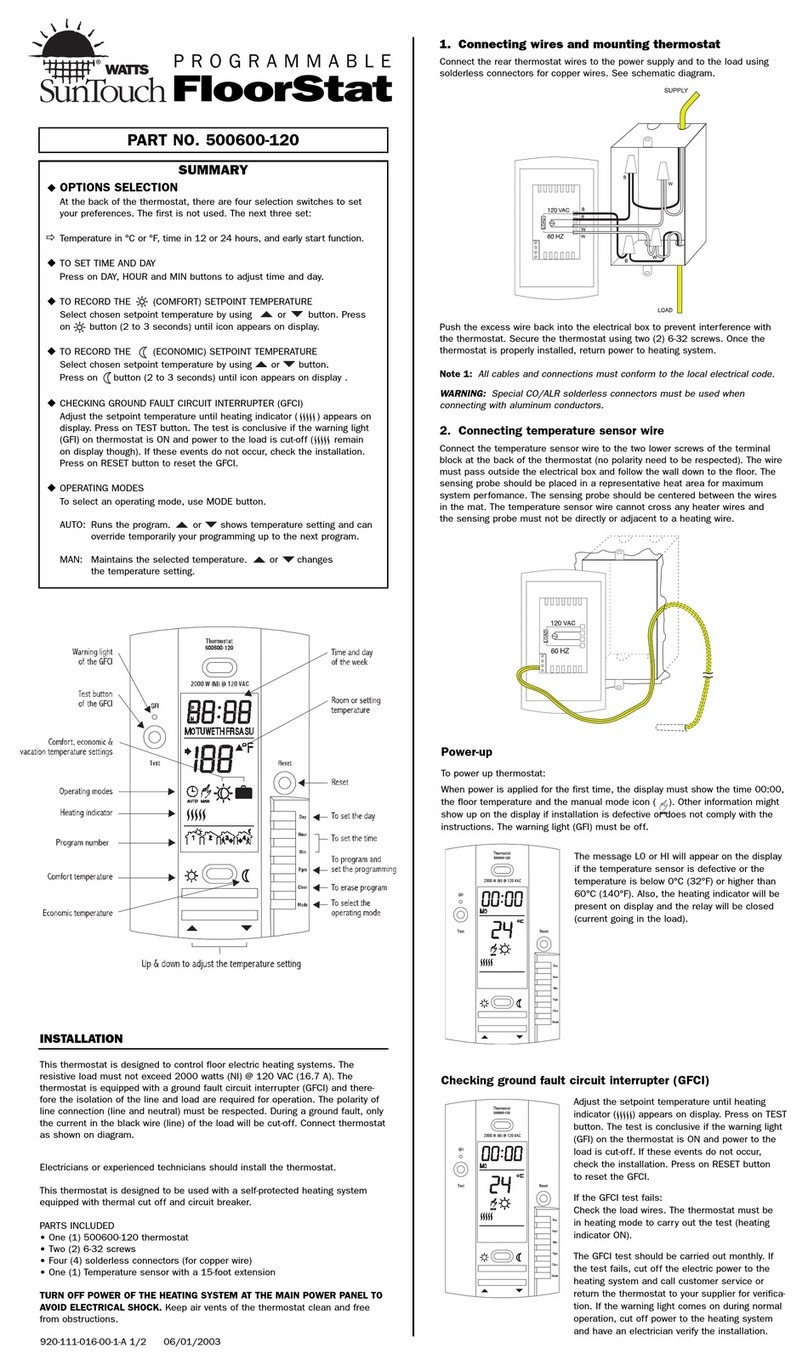
suntouch FloorStat 500600-120 User manual

suntouch

suntouch FloorStat 500600-120 User manual

suntouch SunStat ConnectPlus 500900-SB User manual

suntouch

suntouch SunStat ConnectPlus 500900-SB User manual

suntouch FloorStat 500500-120 User manual

suntouch

suntouch FloorStat 500500-120 User manual

suntouch SunStat Command 108001 User manual

suntouch

suntouch SunStat Command 108001 User manual

suntouch 500750-BB User manual

suntouch

suntouch 500750-BB User manual

suntouch SunStat Core 108201 User manual

suntouch

suntouch SunStat Core 108201 User manual

Popular Thermostat manuals by other brands

Honeywell INNCOM E529 Product guide

Honeywell

Honeywell INNCOM E529 Product guide

ritetemp 8022 install guide

ritetemp

ritetemp 8022 install guide

Johnson Controls T500HCP-1 user manual

Johnson Controls

Johnson Controls T500HCP-1 user manual

Honeywell T7351 installation instructions

Honeywell

Honeywell T7351 installation instructions

Moehlenhoff RDB 742X2-00 manual

Moehlenhoff

Moehlenhoff RDB 742X2-00 manual

Siemens RDD100.1RFS manual

Siemens

Siemens RDD100.1RFS manual

Webee Smart Thermostat Getting started

Webee

Webee Smart Thermostat Getting started

Friedrich RT6 Installation, operation & application guide

Friedrich

Friedrich RT6 Installation, operation & application guide

Milieu Labs Milieu Climate manual

Milieu Labs

Milieu Labs Milieu Climate manual

wattio THERMIC user manual

wattio

wattio THERMIC user manual

HaiLin Controls HL8002-MD Series user manual

HaiLin Controls

HaiLin Controls HL8002-MD Series user manual

AVE CRONOTC1B Instructions for use

AVE

AVE CRONOTC1B Instructions for use

TOTALINE 1 For All owner's manual

TOTALINE

TOTALINE 1 For All owner's manual

TOTALINE Gold P274-1100 owner's manual

TOTALINE

TOTALINE Gold P274-1100 owner's manual

Watts tekmar 560 user manual

Watts

Watts tekmar 560 user manual

Robertshaw RS8210 Operation manual

Robertshaw

Robertshaw RS8210 Operation manual

Honeywell RTH7600 Series quick start guide

Honeywell

Honeywell RTH7600 Series quick start guide

Honeywell T8000C owner's guide

Honeywell

Honeywell T8000C owner's guide

manuals.online logo
manuals.online logoBrands
  • About & Mission
  • Contact us
  • Privacy Policy
  • Terms and Conditions

Copyright 2025 Manuals.Online. All Rights Reserved.