6
1
Specification
Power: 4.5kW
Current: 20A
Time to increase by 25˚C : 25mins
Power: 6.0kW
Current: 27A
Time to increase by 25˚C : 20mins
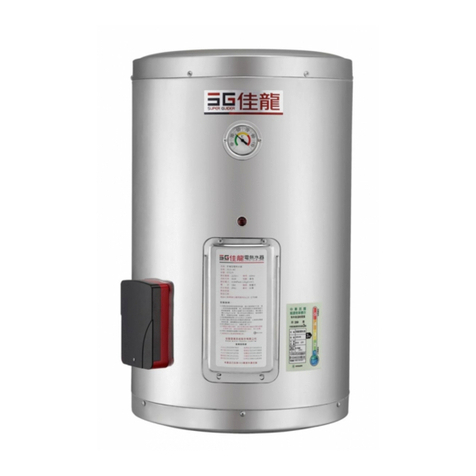
SP35
No. of people available: 2-4
Inle t & o u t let co n n e ction : ½ ” Capacity: 35liters (9.2gallons)
Vo ltag e / F reque n c y : 220V / 6 0 Hz Dimensions: 70x42x39cm
Installation
Note
Problem Solving
* Please contact customer service if the problem remains. Meanwhile,
turn off the power before turning off water supply.
No hot water
+
power
indicator
OFF
No electricity Check power supply
Call customer service
Safety switch tripped
Increase temperature
setting
Call customer service
Wrong temperature
setting
Heating element
breakdown
No water
Water outage Check water
supply system
Water outlet blockage Clean regularly by
professionals
Low water pressure
prevents water from
passing the safety valve
Adjust water supply
system pressure
No hot water
+
power
indicator
ON
Cause
Water Connection
Connect a safety valve to the cold water inlet.
It is recommended to keep the cold water inlet faucet open at all times.
Note: It is normal if the safety valve drips during heating.
Inlet and outlet connection gauge should be the same.
Inlet water pressure should be under 1kgf/cm². Highly recommended
to install a pressure decreasing valve if it exceeds 3kgf/cm².
Connect a pressure release pipe to a pressure releasing hole on the
safety valve to avoid danger caused by pressure-releasing,
Note: Pressure releasing hole should never be blocked.
Power Connection
The power cord is either black or red. Connect green earth cord correctly.
Important Reminder
Install as close to the faucet as possible to prevent heat loss in the pipe.
Ensuring the tripod or wall-mounted hook is tight when installing.
Upon completion of installation, turn on the cold water inlet valve until
water is available via the hot water outlet faucet to ensure the unit is
contained with water, and then turn on the power and press the leakage
circuit breaker to ON. (Required only for the first-time use.)
Installation should be carried out by technical personnel.
Super Guider is not liable for any harm caused by not following the
instructions in this booklet or safety regulations during installation.
Note: The blue dot on the inlet pipe indicates cold water inlet whereas
the red dot indicates hot water outlet. Make sure the installation is correct.
After installation, turn on the cold water valve. When the tank is full of
water, loosen the screw and take off the panel after hot water is out from
the pipe. Turn on the leakage circuit breaker to prevent the heater pipe
from failure.
Warranty are excluding any non - complying with the prescribed safety
requirements and Installation which is not in accordance with the manual
instructions.
Warranty is excluding the poor water quality e.g. ground water. Water
purification beforehand could extend the life span of the water heater.
Installation charge will be borne by the user.


