manuals.online logo
Brands
  1. Home
  2. •
  3. Brands
  4. •
  5. superbrightleds
  6. •
  7. Landscape Lighting
  8. •
  9. superbrightleds PLMB-W2BK User manual

superbrightleds PLMB-W2BK User manual

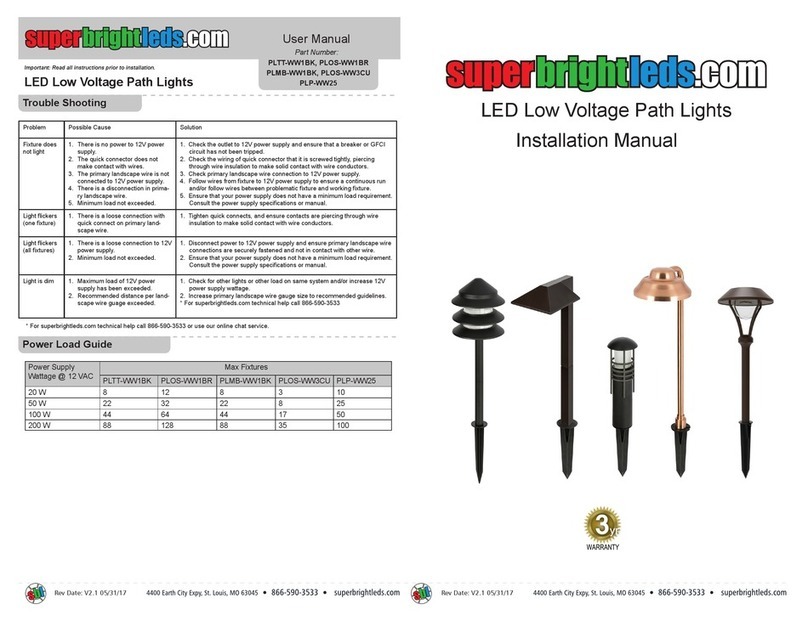
LED Low Voltage Landscape Light
Important: Read all instructions prior to installation. PLMB-W2BK
Parts Included
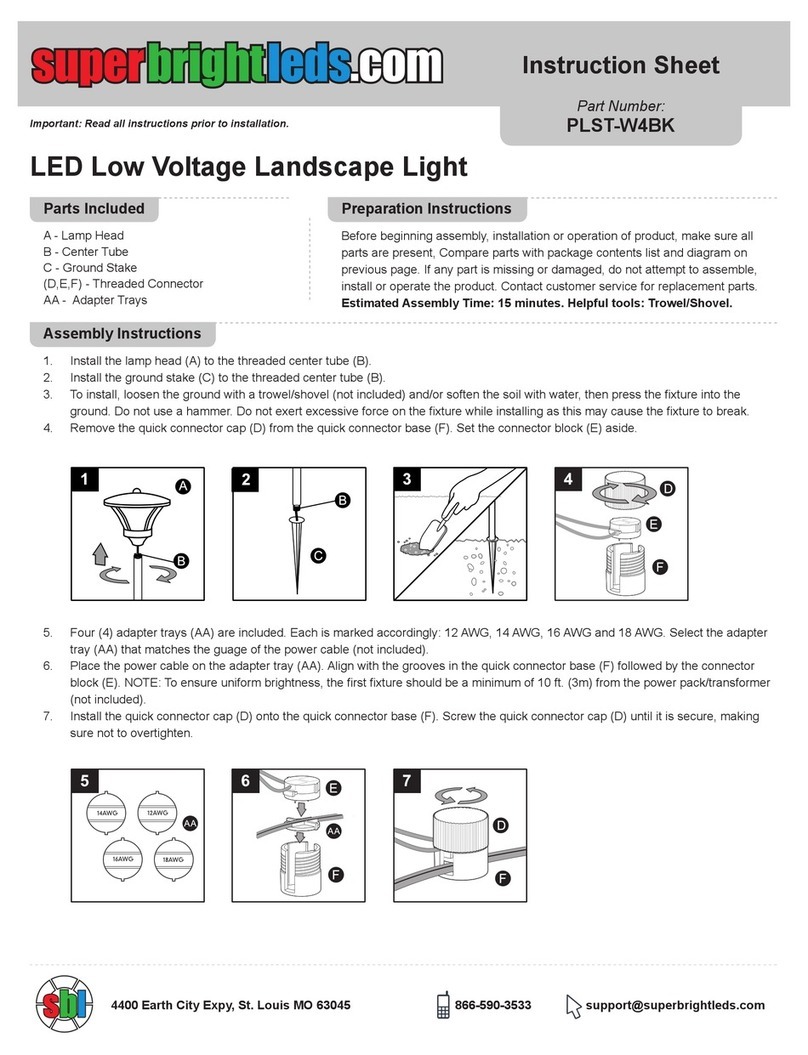
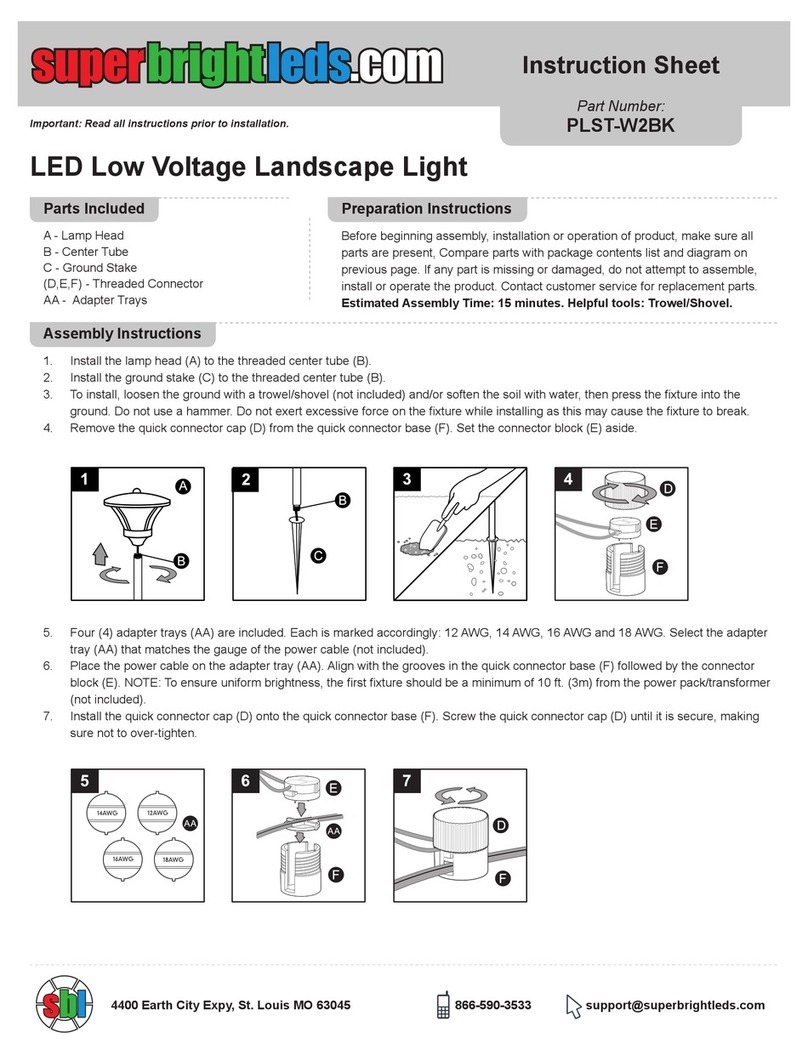
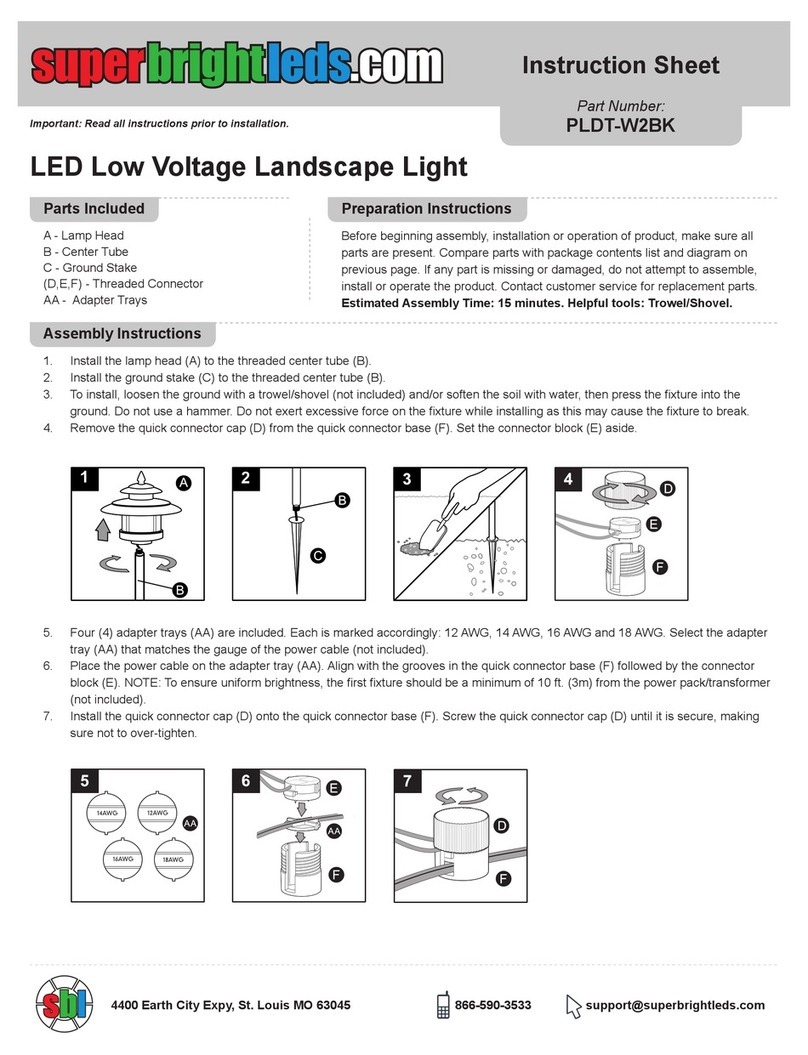
1. Install the lamp head (A) to the threaded center tube (C).
2. Install the bottom ring (D) to the main tube (B) and ground stake (E) to the threaded center tube (C).
3. Toinstall,loosenthegroundwithashovel(notincluded)and/orsoftenthesoilwithwater,thenpressthextureintothe  
 ground.Donotuseahammer.Donotexertexcessiveforceonthexturewhileinstallingasthismaycausethexturetobreak.
4. Remove the quick connector cap (F) from the quick connector base (H). Set the connector block (G) aside.
Beforebeginningassembly,installationoroperationofproduct,makesureall
parts are present. Compare parts with package contents list and diagram on
previouspage.Ifanypartismissingordamaged,donotattempttoassemble,
install or operate the product. Contact customer service for replacement parts.
Estimated Assembly Time: 15 minutes. Helpful tools: Trowel/Shovel.
Preparation Instructions
Assembly Instructions
Instruction Sheet
Part Number:
4400 Earth City Expy, St. Louis MO 63045 866-590-3533 [email protected]
12
A - Lamp Head
B - Main Tube
C - Center Tube
D - Bottom Ring
E - Ground Stake
AA-AdapterTrays
(F,G,H) - Threaded
Connector
5. Four(4)adaptertrays(AA)areincluded.Eachismarkedaccordingly:12AWG,14AWG,16AWGand18AWG.Selecttheadapter
 tray(AA)thatmatchesthegaugeofthepowercable(notincluded).
6. Placethepowercableontheadaptertray(AA).Alignwiththegroovesinthequickconnectorbase(H)followedbytheconnector 
 block(G).NOTE:Toensureuniformbrightness,therstxtureshouldbeaminimumof10ft.(3m)fromthepowerpack/transformer
(not included).
7. Install the quick connector cap (F) onto the quick connector base (H). Screw the quick connector cap (F) until it is secure, making
sure not to over-tighten.
4400 Earth City Expy, St. Louis MO 63045 866-590-3533 [email protected]
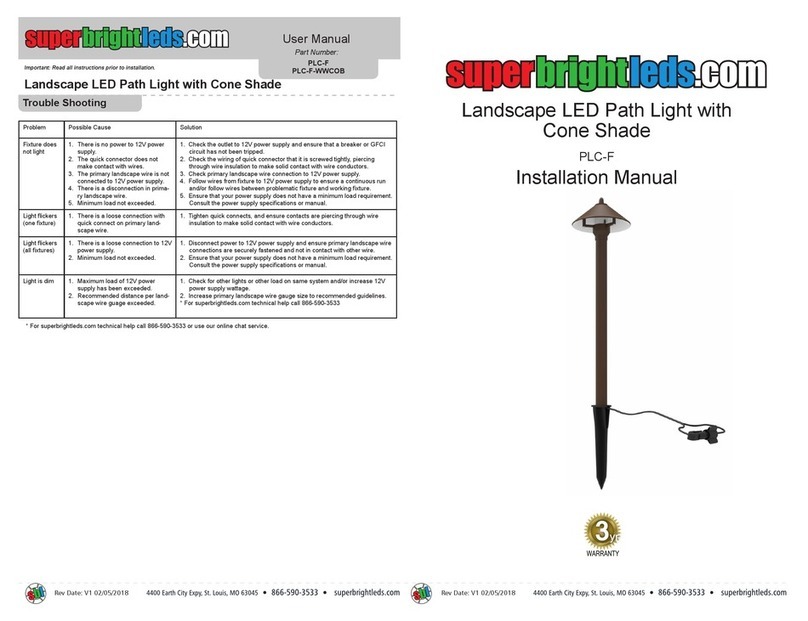
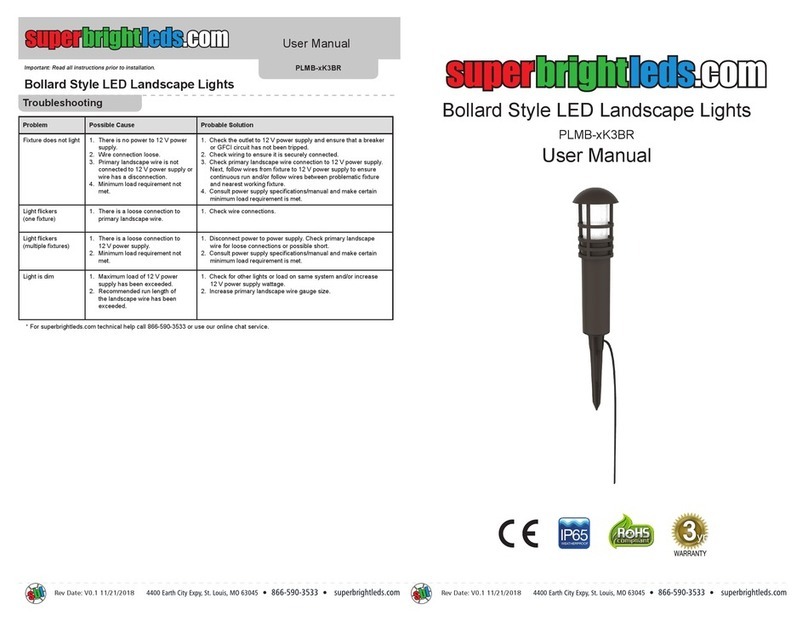
Care and Maintenance: To clean, unplug lamp and wipe with a damp, non-abrasive cloth.
Troubleshooting
Warranty
Warning
PROBLEM
LED light will not turn on
LEDlightickers
POSSIBLECAUSE
1. No power.
2. Loose wire to the connector
3. Connector not making contact with
 primarycable.
4. Powerpack/transformer’sphoto
 cellsensorisexposedtounwanted
light source.
1. Wattageofpowerpack/transformer
 maybeexceeded.
CORRECTION ACTION
1. Wattageofpowerpack/transformermaybe
 exceeded.
2. Make sure brass contact pins pierce the plastic
wire insulation and are touching the copper
wires inside.
3. Make sure cover is tight. If problem persists,
 repeatsteps3to6ontheinstructions.
4. Makesurethatpowerpack/transformer’sphoto
 cellsensorisnotexposedtolights.
1. Checkmanufacturer’sspecicationfor 
 maximumwattage.
Themanufacturerwarrantsallofitsproductsagainstdefectsinmaterialsandworkmanshipforthree(3)yearsfromthedateofpurchase.
Ifwithinthisperiodtheproductisfoundtobedefectiveinmaterialorworkmanship,pleasecontactthemanufacturer,acopyofthe
original sales receipt will be required as proof of purchase. The manufacturer will, at its option, repair or replace the product. This
warrantydoesnotcoverproductsbecomingdefectiveduetomisuse,accidentaldamage,improperhandlingand/orinstallationand
specicallyexcludesliabilityfordirect,incidentalorconsequentialdamages.Assomestatesdonotallowexclusionsorlimitationsonan
impliedwarranty,theaboveexclusionsandlimitationsmaynotapplytoyou.Thiswarrantygivesyouspeciclegalrights,andyoumay
haveotherrightsthatvaryfromstatetostate.
• Riskofreorelectricalshock.Readallofthese
instructionsthoroughlybeforeuse.Keepthisinstruction
manual in a safe place for future reference.
• Do not install or connect wires with wet bands.
• Donotinstallthisproductwithin10ft.fromapool,spa,
fountain,orotherbodyofwater.
• Thexturewireandprimarycablesareintendedfor
shallowburial-maximumdepthmustnotexceed3in.
• Forlow-voltagelandscapelightingsystemsonly.
• Do not step on or drive over the branch cable or power
cable.
Caution
• Thislightingxtureisonlysuitablefora12~15volt
powersupply.
• ThisLEDlampisahighlyefcient,extremelylow
wattage,energy-savingproduct.However,itisnot
recommended to use a power pack/transformer over
100watts.
• Useshieldedcableforoutdooruseinthefollowing
sizes:18G,16G,14G,12G.
• Do not submerge in water.
• Donotrepairormodifythisproduct.

Other superbrightleds Landscape Lighting manuals
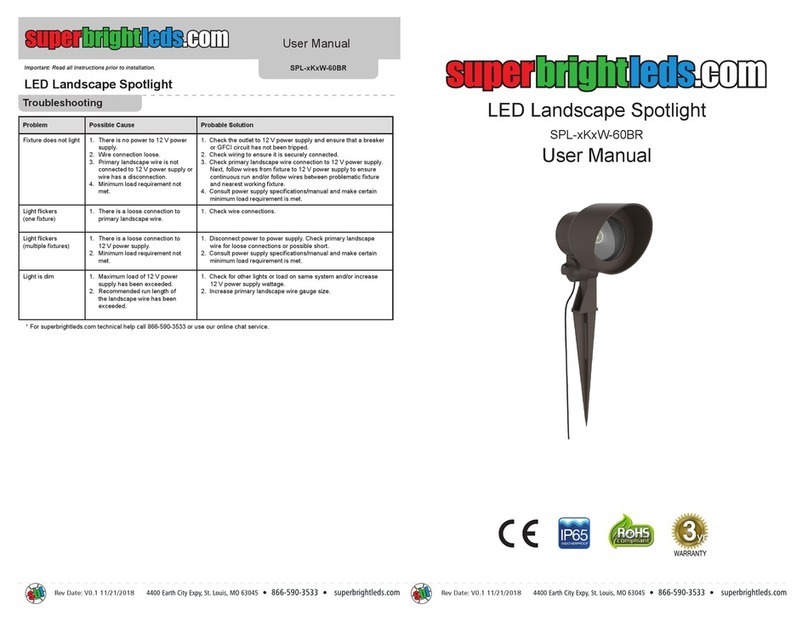
superbrightleds PLC-F User manual

superbrightleds

superbrightleds PLC-F User manual

superbrightleds PLMB-xK3BR User manual

superbrightleds

superbrightleds PLMB-xK3BR User manual

superbrightleds PLMB-W4BK User manual

superbrightleds

superbrightleds PLMB-W4BK User manual

superbrightleds PLDT-W4BK User manual

superbrightleds

superbrightleds PLDT-W4BK User manual

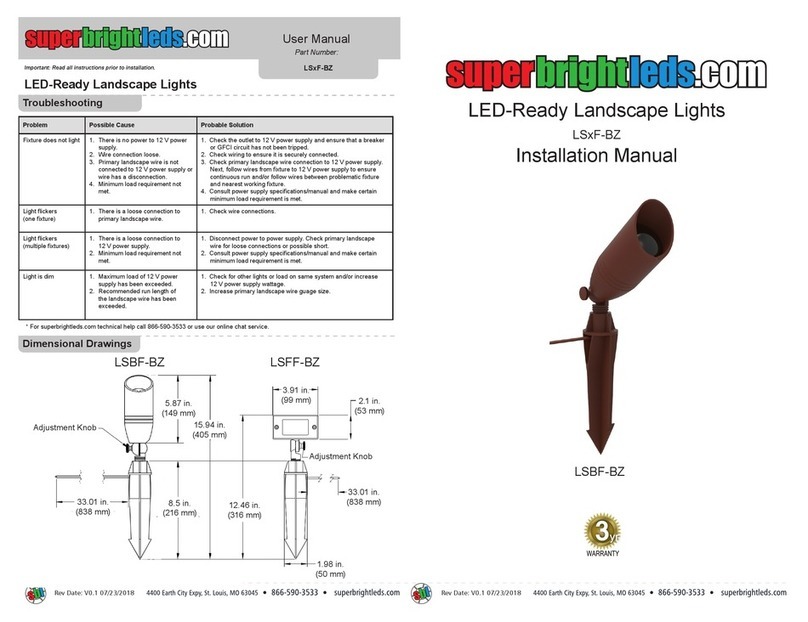
superbrightleds LSBF-BZ User manual

superbrightleds

superbrightleds LSBF-BZ User manual

superbrightleds PLST-W2BK User manual

superbrightleds

superbrightleds PLST-W2BK User manual

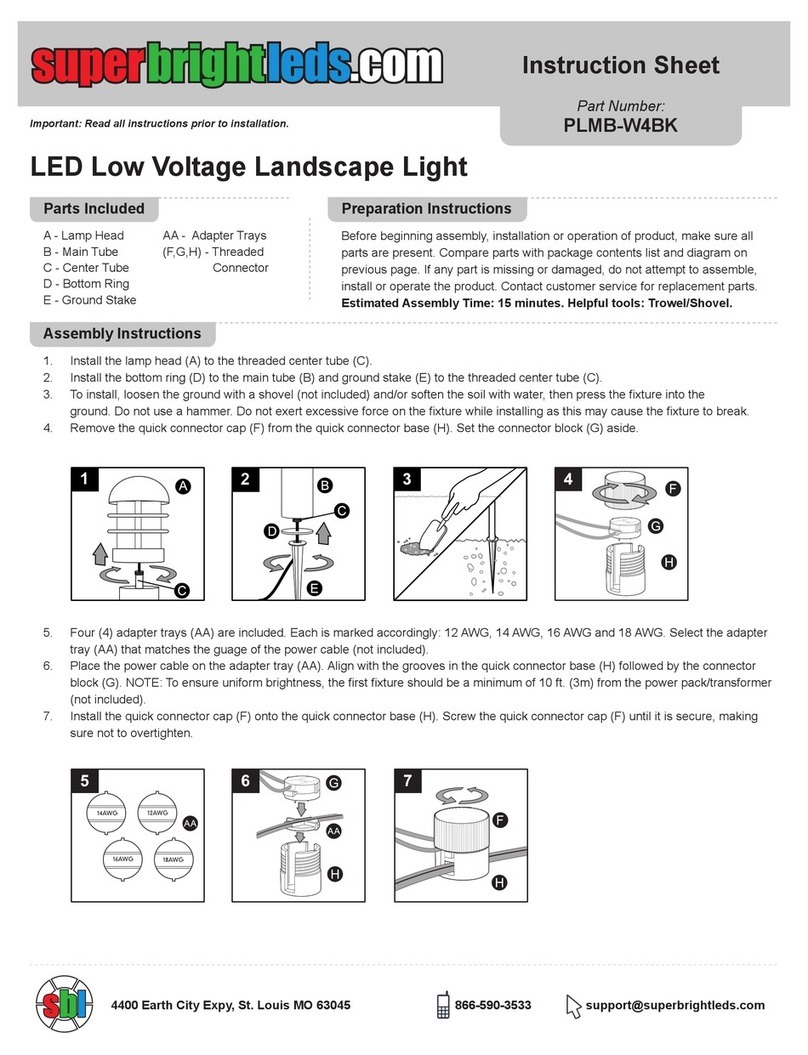
superbrightleds SPL-xKxW-60BR Series User manual
superbrightleds

superbrightleds SPL-xKxW-60BR Series User manual

superbrightleds XS2 Series User manual

superbrightleds

superbrightleds XS2 Series User manual

superbrightleds PLTT-WW1BK User manual

superbrightleds

superbrightleds PLTT-WW1BK User manual

superbrightleds PLST-W4BK User manual

superbrightleds

superbrightleds PLST-W4BK User manual
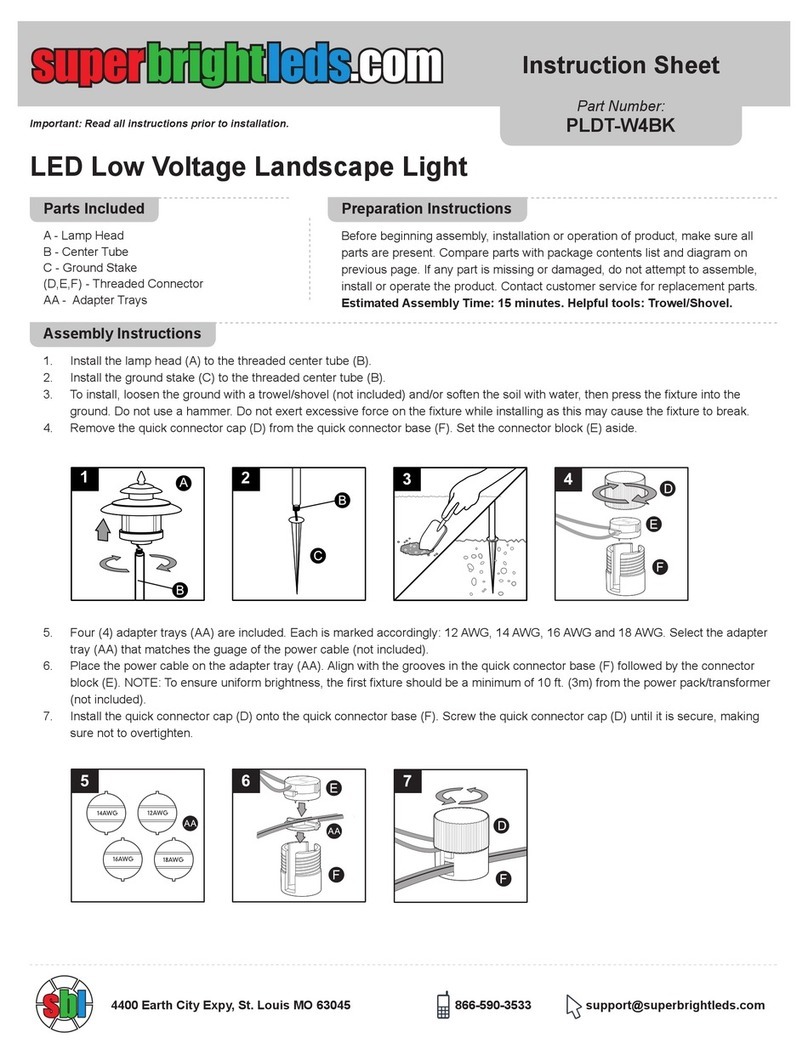
superbrightleds PLDT-W2BK User manual

superbrightleds

superbrightleds PLDT-W2BK User manual
Popular Landscape Lighting manuals by other brands

Catellani & Smith More 0 Assembly instructions

Catellani & Smith

Catellani & Smith More 0 Assembly instructions

Kanlux BERG DL-10 manual

Kanlux

Kanlux BERG DL-10 manual

Cooper Lighting Acorn ANE50SR2554 Specification sheet

Cooper Lighting

Cooper Lighting Acorn ANE50SR2554 Specification sheet

LIGMAN LEGEND 3 installation manual

LIGMAN

LIGMAN LEGEND 3 installation manual

HEPER ZEROX Dyno Installation & maintenance instructions

HEPER

HEPER ZEROX Dyno Installation & maintenance instructions

Nave 52327 Series quick start guide

Nave

Nave 52327 Series quick start guide

LIGMAN NYB-30142 installation manual

LIGMAN

LIGMAN NYB-30142 installation manual

Blagdon 1057004 manual

Blagdon

Blagdon 1057004 manual

Malibu Boats LZ415 instructions

Malibu Boats

Malibu Boats LZ415 instructions

Malibu Boats LT8K instructions

Malibu Boats

Malibu Boats LT8K instructions

Robus RAX4530-25 Installation

Robus

Robus RAX4530-25 Installation

Volt VPL-1011-4-BBZ installation instructions

Volt

Volt VPL-1011-4-BBZ installation instructions

Monzana Dahlia GHPLDS50 manual

Monzana

Monzana Dahlia GHPLDS50 manual

AMP Lighting PillarPro APL-3019-4-B-BZ Installation & maintenance guide

AMP Lighting

AMP Lighting PillarPro APL-3019-4-B-BZ Installation & maintenance guide

Global Light & Power LCC FOTIS SP220550 Installation instruction

Global Light & Power LCC

Global Light & Power LCC FOTIS SP220550 Installation instruction

Volt VAL-1811-40-BBZ installation instructions

Volt

Volt VAL-1811-40-BBZ installation instructions

Volt VAL-1052-BBZ installation instructions

Volt

Volt VAL-1052-BBZ installation instructions

Luminar Outdoor 60755 owner's manual

Luminar Outdoor

Luminar Outdoor 60755 owner's manual

manuals.online logo
manuals.online logoBrands
  • About & Mission
  • Contact us
  • Privacy Policy
  • Terms and Conditions

Copyright 2025 Manuals.Online. All Rights Reserved.