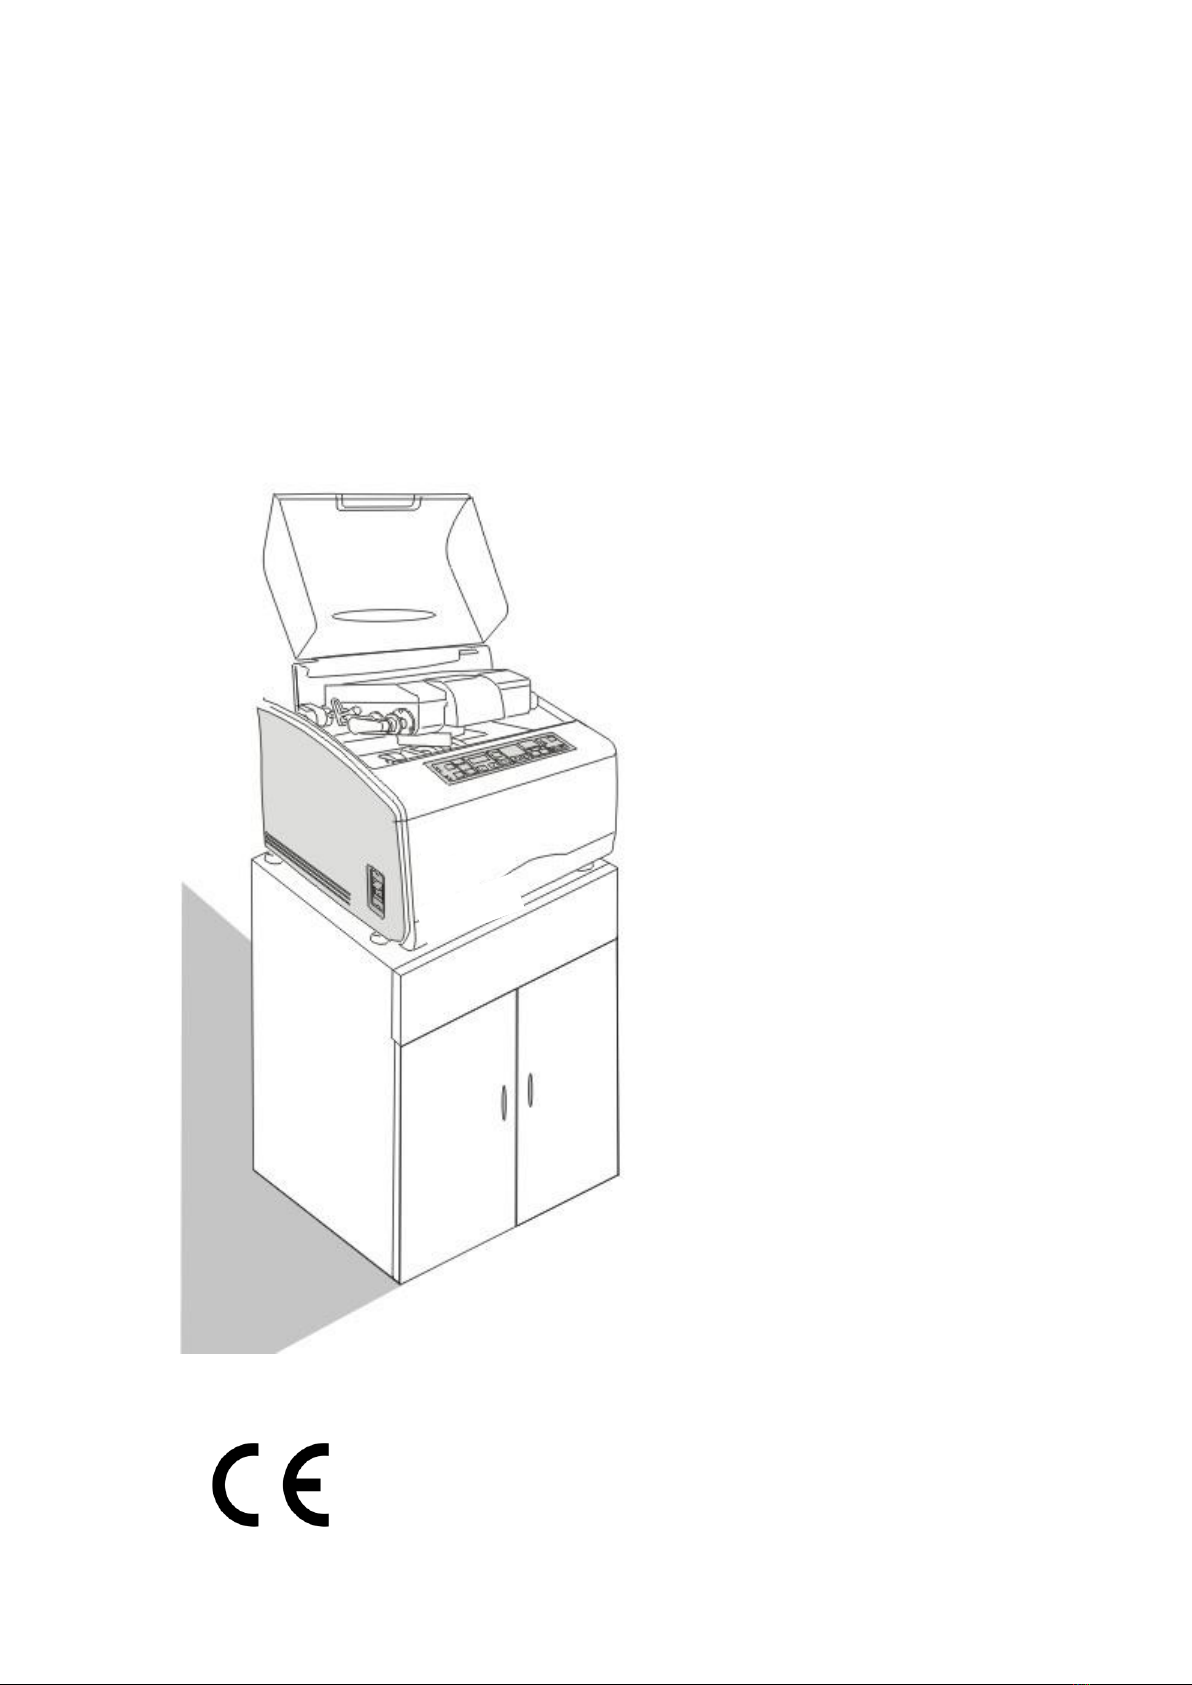
Supore LE-300 User manual

AUTO LENS EDGER
LE-300/LE-310/310P/320/400/420
Operation Manual
REV.20170608

1
PREFACE
INTRODUCTION OF PRODUCTS
According to the material of lens(GL,CR,PC),size of lens,
lens type(square lens samll size,right angle lens etc.),
lens edge(flat,beveling)etc,
Control by the electronic circuit to edging lens same as the mould.
Security information:
1、INTRODUCTION OF SECURITY SYMBOL
This signal means the aim of alert(involving notes),and special
alerts are marked in it.
The signal means forbidden operations(forbidden matters),
and special forbidden content is marked inside or near it.
The signal means operations that must be carried out, and
special explanations are marked in it.
2、ENVIRONMENT OF USE
(Avoid such harmful conditions below:)
A.temperature out of desired scope B.sharing wire board
C.violent shake D.sunlight
E. dust/fog F.moisture

2
3、ATTENTION
A. Don’t be suffered of violent struck
B. Don’t press the button violently.A light pressure is ok.
C. Don’t lean against the machine. The fallen of the machine
may cause injury.
D. Use dry cloth or wrenched wet clothing liquid to clean the
outside cover and keyboard.Cut off the power, and clean the fac of the
machine after daily work.
E.Don’t use any corrosive material or volatility liquid to clean
the machine.

3
LIST
INTRODUCTION OF PRODUCTS .....................................................................................1
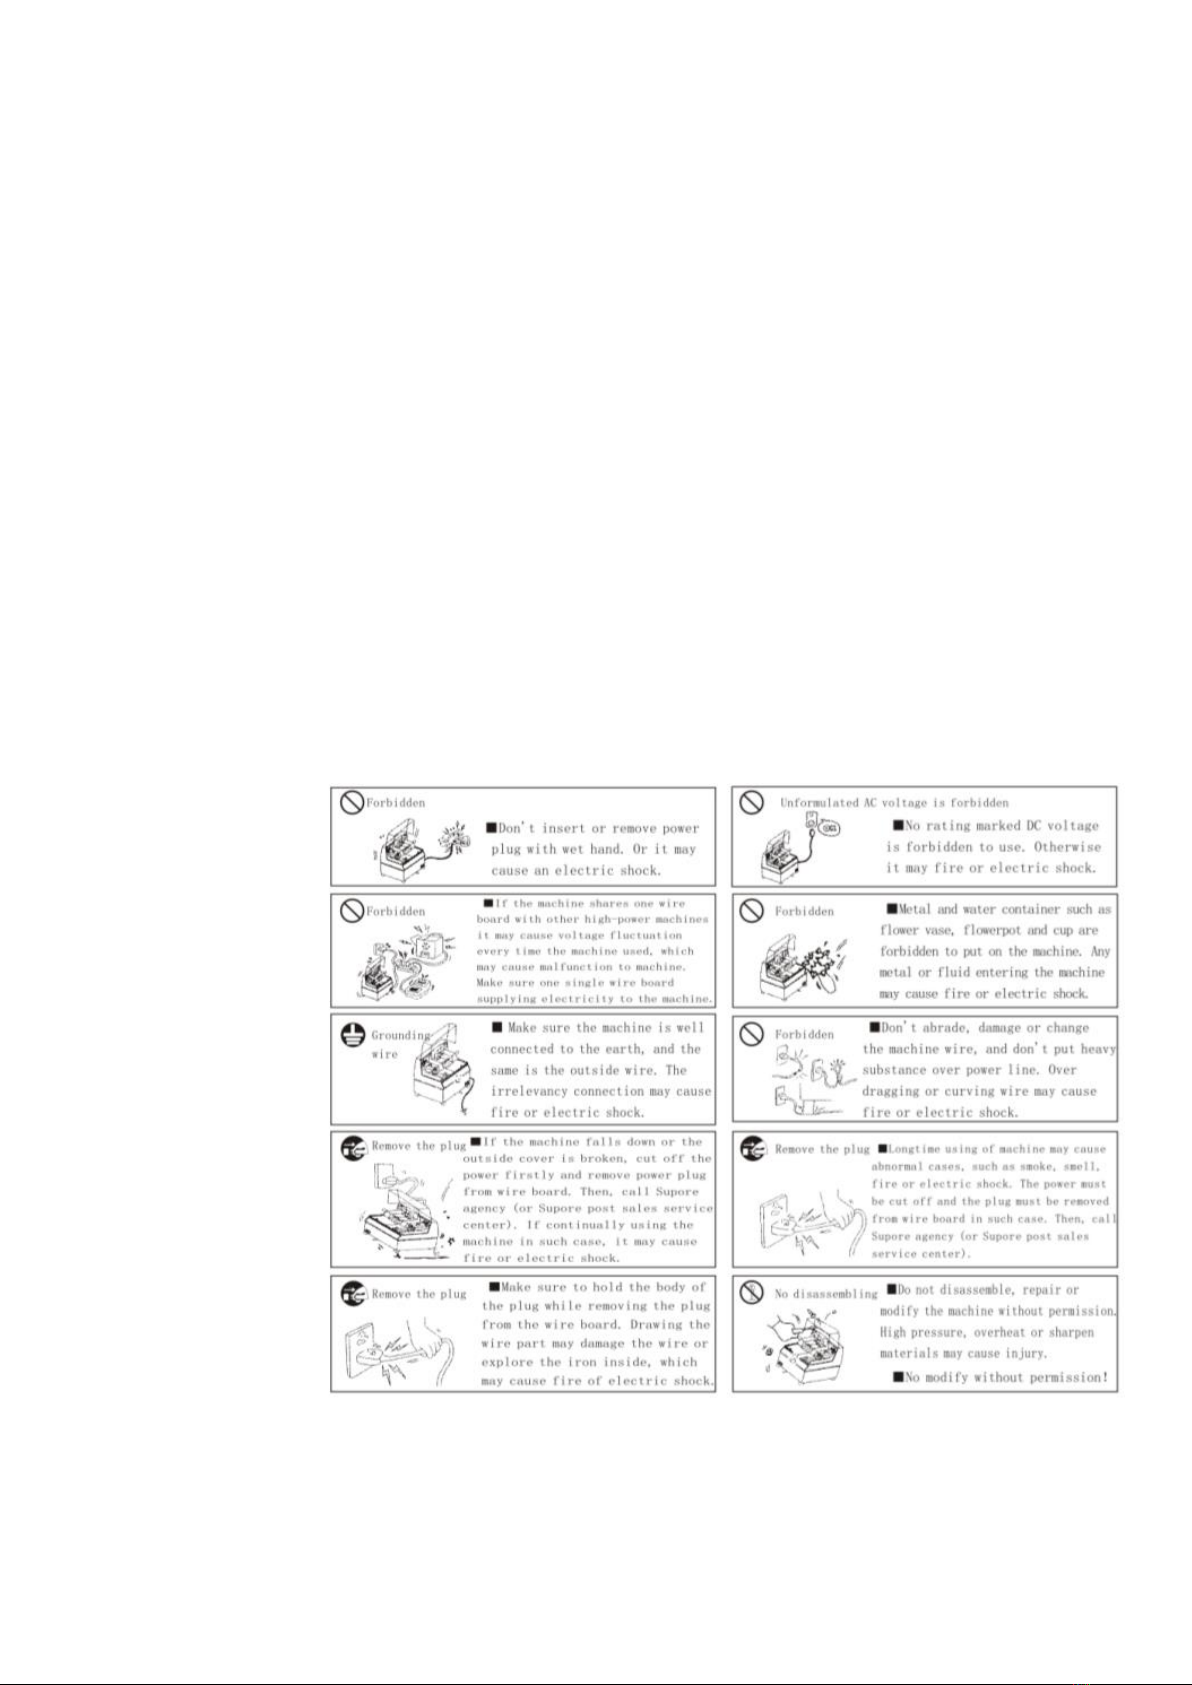
Security information:..............................................................................................................1
1、INTRODUCTION OF SECURITY SYMBOL.......................................................1
2、ENVIRONMENT OF USE.......................................................................................1
3、ATTENTION.............................................................................................................2
Introduction.......................................................................................................................................4
1、LE-300/310/310P nomenclature..........................................................................................4
2、LE-320/400/420 nomenclature .........................................................................................5
3、LE-300/310/310PControl panel.......................................................................................6
4、LE-320/400/420 control panel ....................................................................................7
USE...................................................................................................................................................8
1、INSTALLATION...............................................................................................................8
A.installation of main machine ......................................................................................8
B. INSTALLION OF WATER TANK AND PIPE........................................................8
2、DEBUGGING..................................................................................................................10
3、OPERATION PROCEDURES ......................................................................................11
4.Wheel position emendation..................................................................................................18
Maintenance....................................................................................................................................24
Before requesting service................................................................................................................25
Specifications..................................................................................................................................26
Accessories and Tools.....................................................................................................................26

4
Introduction
1、LE-300/310/310P nomenclature
1
2
3
4
5
6
7
8
9
10
11
12
17
18
16
15
14
13
VENTILATING FAN
Plug for generalmains Fuse:20A

5
(1)soundproof cover 2)carriage weight-changing lever
(3)template retainer level (4)carriage backlashing sensor
(5)power cord (6)adjustable cover
(7)waterproof cover (8)carriage
(9)lens clamp (10)gear wheel
(11)operation panel (12)on/off switch
(13)water supply pipe (14)water supply cock
(15)pump power cord (16)pump
(17)drain pipe (18)tank
2、LE-320/400/420 nomenclature

6
⑴soundproof cover ⑵carriage weight-changing lever
⑶template retainer ⑷carriage backlashing sensor
⑸power cord ⑹adjustable cover
⑺waterproof cover ⑻carriage
⑼lens clamp ⑽gear wheel
⑾operation panel ⑿on/off switch
3、LE-300/310/310P Control panel
FUSE:20A

7
⑴Beveling and flat edge selctor ⑵test button
(3)Clamp pressure selector ⑷GL CR selector
⑸Metal and planel beating selector ⑹Ninus(-) button
⑺Plus (+) button ⑻Re-edging button
⑼Shift (left) button ⑽Shift(right) button
⑾Start button ⑿Stop button
⒀Lens-clamping button ⒁Lens-loosening button
4、LE-320/400/420 control panel
(1) PC、GL、Cr lens selector
(4) Polishing and impolishing selector
(5)Beveling and flat edge selctor
Others function same as LE-300/310/310P

8
USE
1、INSTALLATION
A.installation of main machine
a. Choose a fixed,horizontal and rigidity platform,ensuring its stability
and solidity
b. Put the machine on the platform as mentioned above
c. Open the outer casing and dismantle the screw,save the screw carefully.
d. Plug the power cord and turn on the switch
B. INSTALLION OF WATER TANK AND PIPE

9
a.Assemble the tank as illustrated.(see Fig 1)
b.Connect drain pipe as in Fig2
c.Show as Fig3 after installion.
please pay attention:
a.the filter basket should be cleaned regularly
b.water in tank should be changed frequently

10
c. avoiding the pump outlet blocked by the ddirty water
d.Fix pump power cord outside the tank to avoid it
slipping into the water
e. Fix the pump entirely in the water
Note: if it is a vertical water pump, please use the water tank
specially arranged by our company to put the vertical water
pump on the partition board.
2、DEBUGGING

11
A. Fix a standard template to template A
B. Put the carriage backlashing lever B to the second stage
C. Move manually carriag so that it comes just over the gear
wheel
E. With this,carriage is level if it doesn’t, move either left or
right
F.If carriage moves right,turn the right adjustablefot clockwise,as
Fig1
G. If carriage moves left,turn the left adjustablefot clockwise,as
Fig2
3、OPERATION PROCEDURES
A. Preparations
a. Turn power switch on and open water supply cock.
b. Press (TEST)switch and check that water is supplied
B.Fitting template
Fig1
Fig2

12
C:Fix the lens

13
D. Clamping lens
1. Select lens clamping with PRESS button see Fig.4
E.Selecting lens

14
F. Selecting bevel
a. Press MODE button to alternate modes between bevel and
rimless. If it is a double sharp edge machine, press MODE
(edge) button, sharp edge lights if has been flashing, with
sharp edges on the left side of the grinding wheel, sharp
edge lights if not flashing light, with sharp edges on the
right side of the grinding wheel, grinding wheel position
Fig6
Fig7
Fig8
Fig7A

15
of this back section.
b. When “rimless”or “bevel”of LE-320/400/420 is selected,
you can also select polishing or not polishing functions(Fig
7 and Fig. 8)
When select the “rimless”of LE-300/310, it will process
rimless lens polishing.If you do not want polishing, press
“STOP”after the second edger of lens and then the machine
will come back to the beginning position.(Fig.7A)
NOTE:
1.When LE-320/400/420 is polishing with “rimless”or
“bevel”,you can choose to turn on the light upside of the
button “POLISHING”,the machine will come back to the
beginning position after finishing edging.
2.When the machine is not polishing while “rimless”or
“bevel”,you can chose to turn on the light under the button
“POLISHING”. The machine will come back to the beginning
position after finishing edging.
G. Start

16
Press START to start working, as shown in Figure 9
Note: the grinding machine of the waterproof cover is closed, otherwise it
will be an accident, as shown in Figure 10
When the noise is too large, the soundproof outer cover should be closed,
as shown in Figure 10
Figure 10
H. Shifting lens position
Soundproof cover
Waterproof cover

17
I. Changing lens size

18
J.Re-edging
4.Wheel position emendation
Preparation:

19
(2) Wheels
Wheels of LE-300/310/400 Wheels of LE-320/420
NOTE:
1 is Polishing wheel
In LE-300/310/400 used for polishing resin lenses
In LE-420/320 used for polishing of fiat and beveled style for resin and
PC lenses.
2 is Rough grinding wheel: used for roughly grinding glass lens
3 is Fine grinding wheel: used for beveled style or flat style grinding
V grove is for beveled fine grinding.
The right side of wheel is for rimless fine grinding
4 is CR rough grind wheel: LE-300/310/320 used for roughly grinding
PC lens;LE-400/420 used for roughly grinding PC or resin lens
This manual suits for next models
5
Table of contents
Other Supore Edger manuals