Surebonder Pro2-220HT User manual

Pro2-220HT Industrial Glue Gun
220 Watt Industrial Glue Gun
Operating Instructions
®
FPC Corporation - 355 Hollow Hill Drive - Wauconda, IL 60084
Phone: (847) 487- 4583 Fax: (847) 487-0174
website: www.surebonder.com e-mail: sales@surebonder.com
Read Safety Rules and Instructions Carefully
Save for Future Reference
WARRANTY
If you have any problems with this tool, please call FPC Corporation
toll-free at 1-800-860-3838 before returning it to the place of purchase.
FPC Corporation warrants this glue gun to be free from defects in material and
workmanship, under normal conditions of use and when used in accordance with
FPC operating instructions, for a period of 90 days from the date of purchase by the
user. Within the 90 day warranty FPC at its option shall repair or replace glue gun.
The glue gun must be returned at the distributor/user expense, either within
warranty or out. Repaired or replaced glue guns will receive a 60 day warranty.
USER MUST BE USING SUREBONDER / FPC GLUE STICKS FOR THIS WARRANTY
TO BE VALID. WARRANTY IS VOID IF OTHER TYPES OR BRANDS OF GLUE STICKS
ARE USED.
Visit us at surebonder.com for our full line of products
8-14
IMPORTANT SAFETY WARNINGS:
WHEN USING THIS HOT MELT GLUE GUN, ALWAYS FOLLOW BASIC SAFETY
PRECAUTIONS; THIS WILL REDUCE THE POSSIBILITY OF ACCIDENTAL INJURY DUE
TO BURNS OR ELECTRICAL SHOCK.
Wear long sleeves, long pants, heat-resistant gloves and safety glasses.
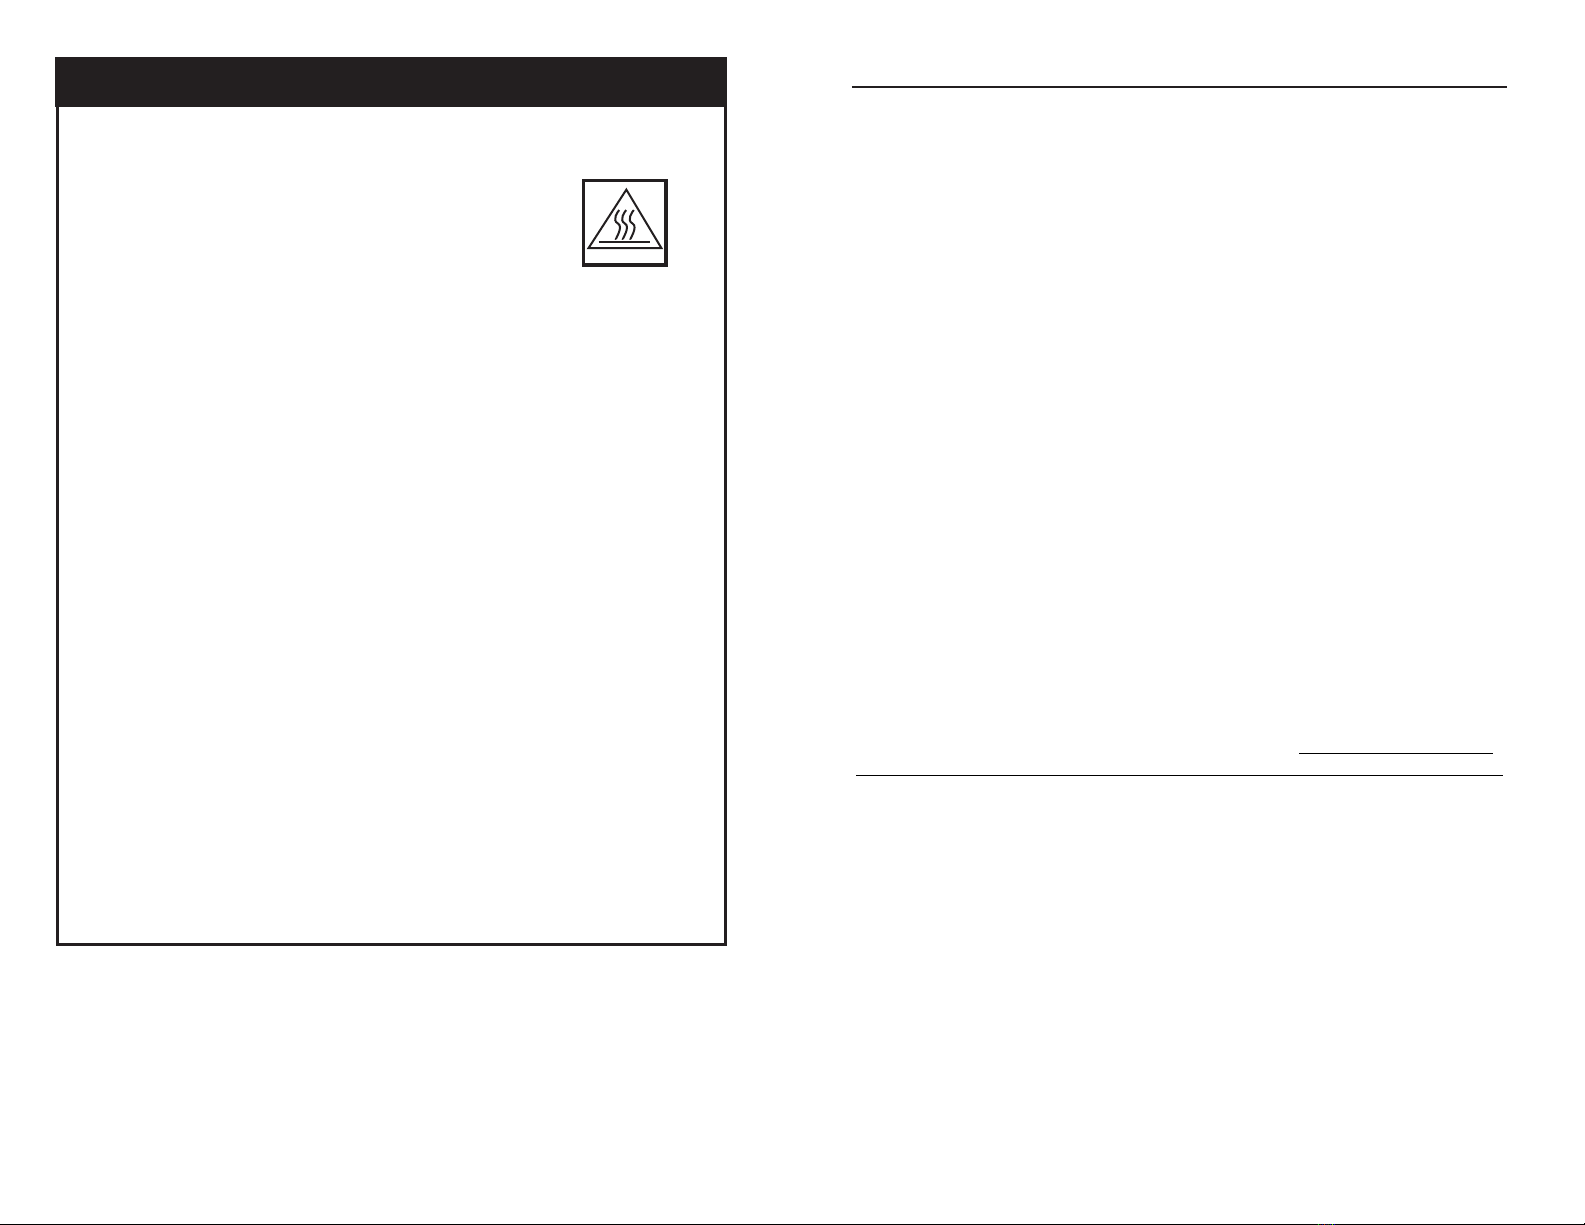
Temperature of glue gun and glue can reach over 400° F and can cause
serious burns.
Keep out of reach of children; do not place glue gun where cord can be
tripped over. Keep away from flammable material. It is normal for this tool to become
quite warm during use. This is normal and does not indicate a problem. Do not leave
glue gun unattended while it is on, or in a hot condition.
Do not immerse glue gun in water.
Do not use in wet or damp locations. For indoor use only.
Do not use near flammable materials, vapors, solvents, etc.
If accidental skin contact with glue gun nozzle or glue occurs, do not attempt to remove
glue from skin - immediately put burned area into cold water. Call physician if necessary.
Glue gun is for Indoor Use only; do not use outdoors or in wet or damp locations. Never
immerse glue gun in water or other liquid. Use on a clean, dry work surface. Excessive
dust and dirt will reduce the lifetime of this tool.
Do not modify the plug in any way. When unplugging from outlet, do not pull out of the
socket by the cord; grasp the plug and pull out of the outlet. Do not carry tool by the
cord. When glue gun is being serviced or when changing accessories, disconnect from
electrical power source.
Use only recommended accessories and adhesives with this glue gun. Using materials
other than those recommended may result in accidental injury, and permanent damage to
the glue gun.
This glue gun should be unplugged after use, or if it will not be used within a 2 hour
period. After use, allow glue gun to cool completely prior to storage. When not in use,
the glue gun should be stored in a dry, secure location out of the reach of children. The
adhesive can be stored indefinitely in the unheated gun, and remelted by heating up the
tool.
Hot Melt Adhesives are not a replacement for structural fasteners. Hot Melt Adhesives
should not be used for projects that will be exposed to extreme heat; glue can soften at
140° F. Do not attempt to remove unused portion of a glue stick from the back of the
tool. Do not expose the glue gun to extreme changes in temperature during or directly
after use - allow gun to air cool only.
(warnings continued on next page)
Troubleshooting
Minor problems may occur while operating your industrial glue gun. Listed below are several
common problems and tips on how they can be resolved.
Nozzle Leaking
Some leakage from the nozzle is normal. This will amount to a few drops (5-10) after the gun is
first plugged in or after a large amount of adhesive is dispensed. Abnormal leaks maybe caused
by using glue sticks not formulated for this glue gun; Surebonder® glue sticks are highly
recommended. Leaks may also be caused by a worn nozzle. Replace periodically for best
results.
Low or No Glue Flow
Check that you are using the proper glue for glue gun. Incorrect glue stick sizes and
formulations may not work properly in this gun. Check function of the gripping mechanism to
the glue gun to insure it is moving the glue stick forward. Make sure that the glue gun nozzle is
not clogged - if glue gun is left on for several hours without being used, a build-up of adhesive
can collect in the orifice of the nozzle. It may restrict flow of glue from the gun, as well as
cause pressure buildup which induces back-melt.
Jammed Glue Sticks
Glue sticks can jam in the applicator. This may occur when very soft or rubbery glue sticks are
used, a high temperature glue stick is used in a low temperature glue gun, or when the glue
gun is used intermittently or has been idle for a long period of time. There may also be an
appearance of jamming if the nozzle is worn or dirty, and glue cannot flow freely through the
nozzle. To resolve, make sure you are using the correct glue stick for your glue gun and your
application. Check nozzle to insure it is free of charred glue, and replace if necessary.
Replacing Nozzle
WEAR HEAT RESISTANT GLOVES, SAFETY GLASSES, LONG SLEEVE
SHIRT AND PANTS WHILE REPLACING NOZZLE. Do not use excessive
force when removing the old nozzle assembly or installing the new one.
Replace nozzle if glue drips excessively. Do not attempt to change nozzle when glue is cold. To
change, the gun must be heated until the glue is softened enough to remove the nozzle (about
1-2 minutes). Use gloves and with a wrench remove old nozzle. Flush glue through the gun, to
clean the melting chamber. Replace with a new nozzle. Tighten until only snug. Do not over
tighten. Nozzle is suggested to be replaced regularly to ensure a good flow of glue.
High Heat
14

IMPORTANT SAFETY INSTRUCTIONS (continued)
Plug the glue gun into any AC outlet with required specifications.
If an extension cord must be used, use a heavy duty extension cord
that complies with all state and local electrical codes.
Keep glue gun cord away from heat, solvents, sharp edges and objects, or anything that might
cause damage.
If cord becomes damaged, a qualified electrical technician should replace it.
Unplug after use. Do not keep glue gun plugged in and unused for more than 2 hours, otherwise
degradation of the adhesive and charring of the nozzle can occur. working on application again.
If gun has not been used for more then 30 minutes or longer, squeeze trigger several
times to expel old glue from gun before working on application again.
Do not remove the glue stick from the back of the tool at any time. This may cause molten
adhesive to flow from the opening of the tool causing burns or permanently damaging glue gun.
Use only glue sticks recommended for your application.
Save this manual and have it available for tool operators reference!
Electrical warning
Hot Melt Glue Sticks - Formula Descriptions
Product Application Open Time Adhesive Color
#601 Low Melt for sealing corrugated cartons 5 seconds Tan
#701 Fast-Setting carton sealing adhesive 1
5 seconds Tan
#702 Very-fast setting carton sealing adhesive 5-10 seconds Tan
#707 High-Performance for difficult to bond 30 seconds Clear
#708 High Strength for carpet backing 40 seconds Tan
#711 Fast-Setting carton and porous adhesive 10 seconds Tan
#725 All-Temp, All-Purpose adhesive 60 seconds Clear
#735 High-strength for wood, plastics, metal 25 seconds Amber
#738 General Purpose for wood, carpet 15 seconds Light Brown
#739 High-strength for wood, auto body 25 seconds Amber
#925 Vinyl, tack strip, and difficult substrates 60 seconds Clear
52
Glue Stick Size = 7/16” Diameter (4",10", 15" lengths)
Specialty Nozzles for PRO2 Series Glue Guns
A) “T” Nozzle #6032
B) Block Ribbon Nozzle #102
C) .053 Flat Extension #103F
D) .125 Round Extension #103R
E) .080 Needle Extension #103N
F) .160” Check Valve #101
G) .125 cap #103CS-125
H) .090 cap #103CS-090
I) .076 cap #103CS-076
Note: all nozzles (except for the (A) “T” nozzle) require the (F) check valve adaptor#101
A
B
C D E F
G H I
When using electric tools, basic safety precautions should always be followed to reduce
the risk of fire, electric shock and personal injury.
! WARNING
WARNING: This product contains chemicals known to the State of California to cause cancer,
birth defects, or other reproductive harm. (This warning is given in compliance with California’s
Proposition 65.)

1. Plug the glue gun into any AC outlet with required specification; Turn glue gun on by switching
the switch to the “on” (-) position.
2. Allow the tool to heat for approximately 2-3 minutes. Insert a 7/16” adhesive stick into
the back of the gun.
3. When the gun is fully heated, squeeze the trigger slowly, until the melted glue begins to flow
from the nozzle. Release the trigger to stop the glue flow.
4. The output volume of the glue can be adjusted by adjusting the stroke adjustor screw.
5. Different nozzle tips are available for different gluing applications and output amount.
Save these safety rules for future use:
1. It is normal for this tool to become quite warm during use. This is normal and does not indicate
a problem.
2. The glue gun should be unplugged after use or if it will not be used within a 2 hour period.
3. If you accidently touch the molten hot glue, immediately immerse the affected area in cold
water and call a doctor. The injured area should be attended by a medical professional.
4. Some materials are heat sensitive and can be damaged by the hot nozzle or even the hot
glue. Whenever possible, test a piece of scrap material or a hidden portion of the object
being repaired.
Shutting down your Industrial Glue Gun
Turn glue gun off by switching the switch to the “off” (0) position.
Unplug the glue gun from the power source.
Wait one minute for the gun to begin cooling, squeeze trigger 3 or 4 times to clear nozzle of
melted glue and advance glue stick into the melting chamber. This will allow a quicker startup the
next time the glue gun is used.
Allow glue gun to cool in its normal vertical position, after 60 minutes it should be cool enough to
put away.
Preventive Maintenance
®
For best results, use only Surebonder 7/16” glue sticks.
DO NOT pull glue stick from the back of the glue gun or tilt glue gun back, this may cause glue to
flow out back of glue gun, causing a condition called “back-melt.” Back-melt can cause skin burns
and/or permanent damage to the glue gun.
Technical Data
Glue Stick Size = 7/16” Diameter (4",10" and 15" glue stick lengths available)
Heating Power = 220 Watts
Operating Temperature = º
380°F (193 C)
Weight = 1.45 lbs.
OPERATION
Stroke Adjustment
Trigger
Ergonomic handle
Extended metal stand
Interchangeable nozzle
Features
• 220 watts
• Lightweight and durable body
• Lighted On/Off power switch
• Unique trigger and handle with ergonomic design
•Stroke adjustment option allows user to preset the amount of glue output
•Extended metal stand for extra stability
34
On/Off switch
Safety Fuse Safety Fuse
Enhanced protection
Other Surebonder Glue Gun manuals


Popular Glue Gun manuals by other brands


Harbor Freight Tools
Harbor Freight Tools Bauer 21505C-B Owner's manual & safety instructions

BlueSpot
BlueSpot 35183 user manual
Arrow
Arrow tr550 manual

Power Adhesives
Power Adhesives B-TEC 308-12 operating instructions

VALERII S & M GROUP
VALERII S & M GROUP PREMIUM 0503GENIN Original instruction manual

Metabo
Metabo KE 3000 Original instructions