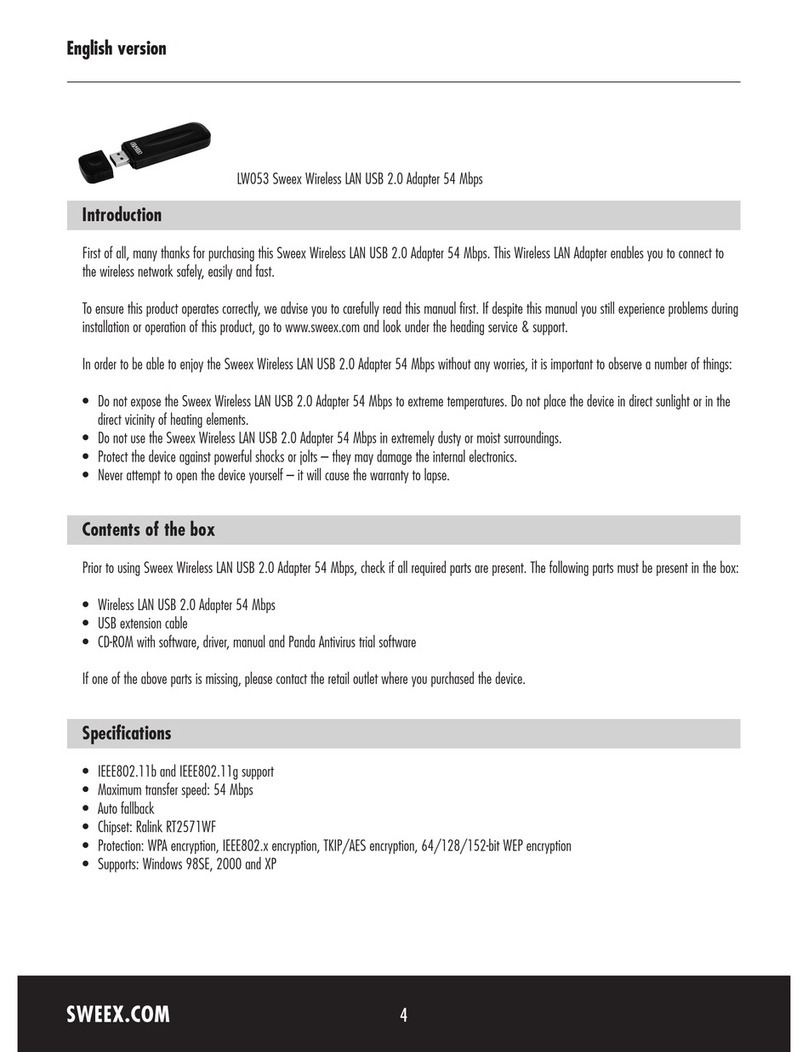
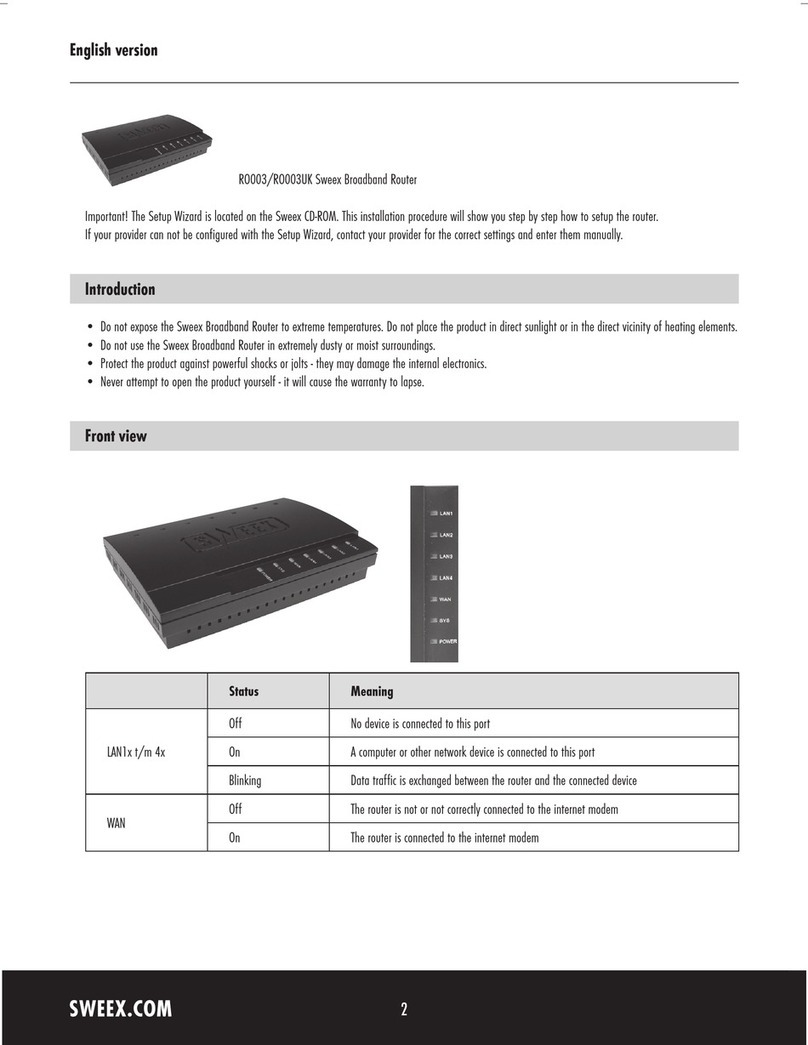
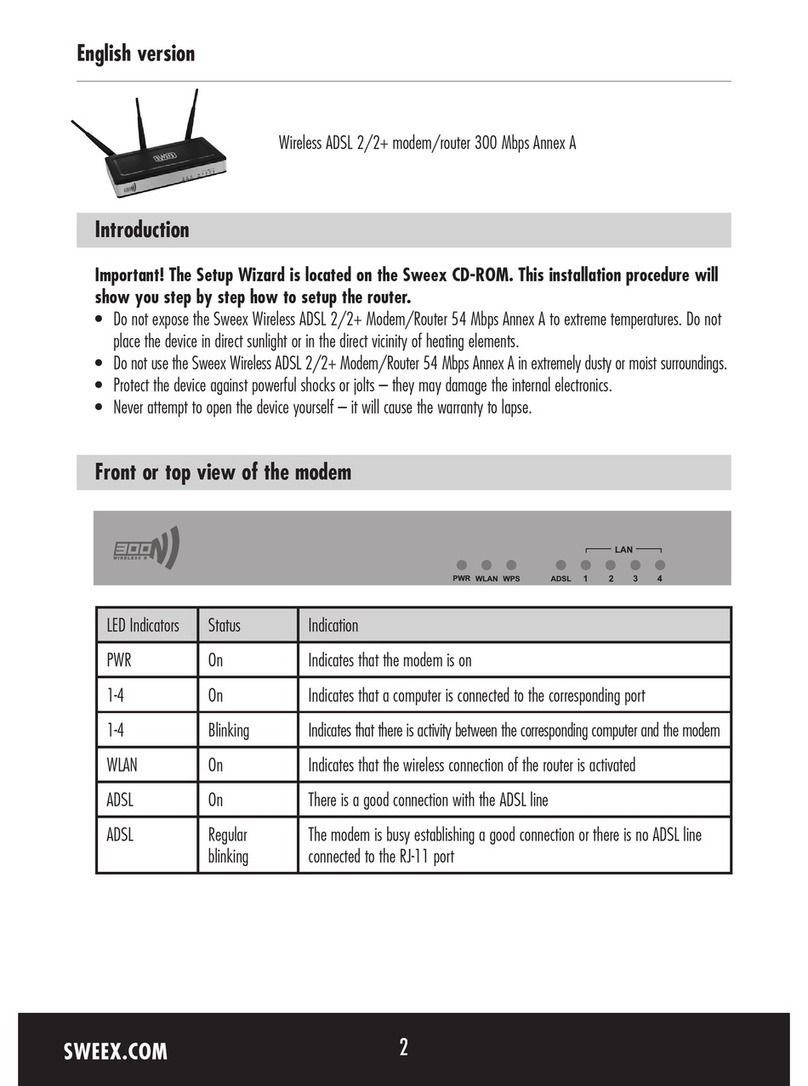
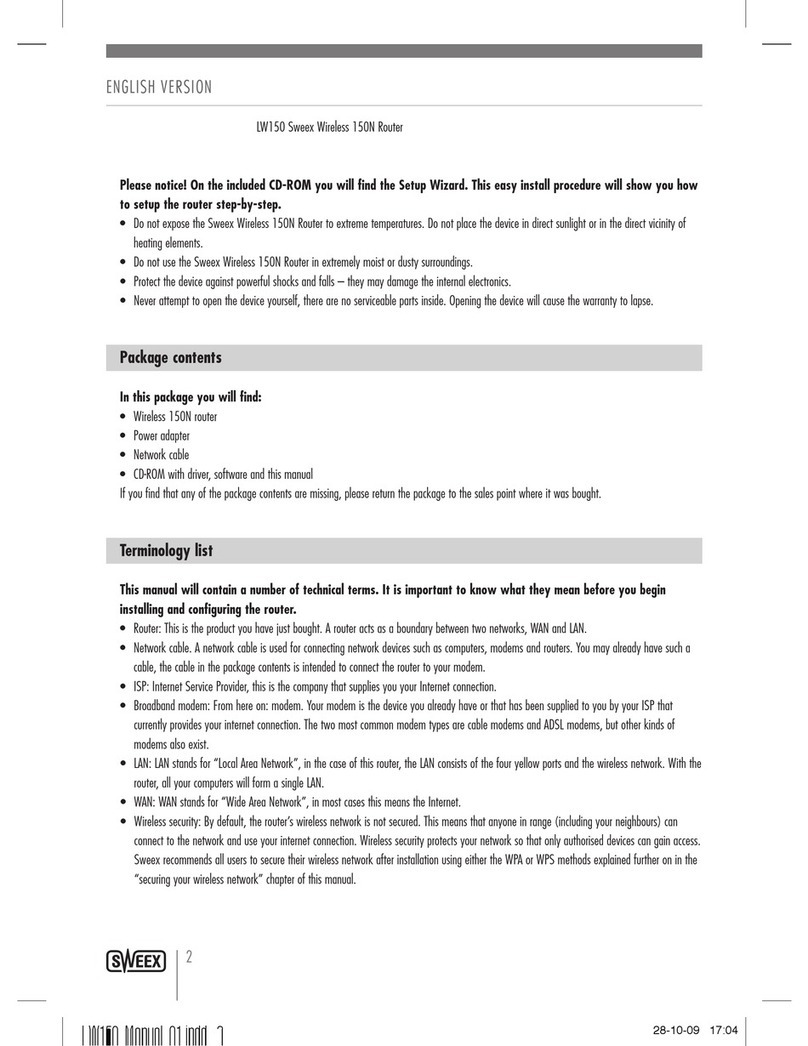
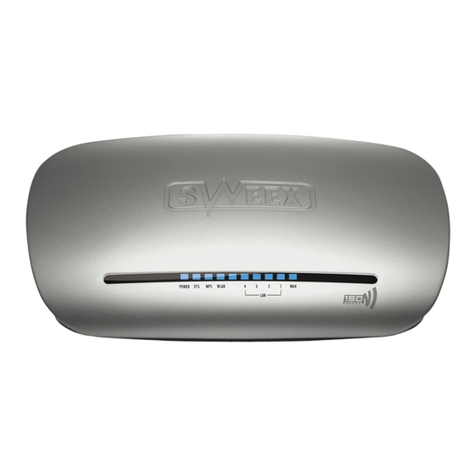
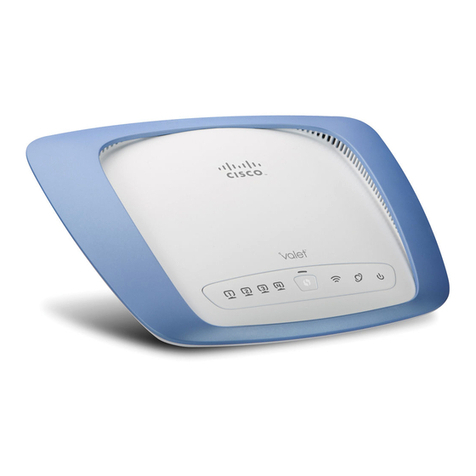
SWEEX LW310 User manual

English version
2
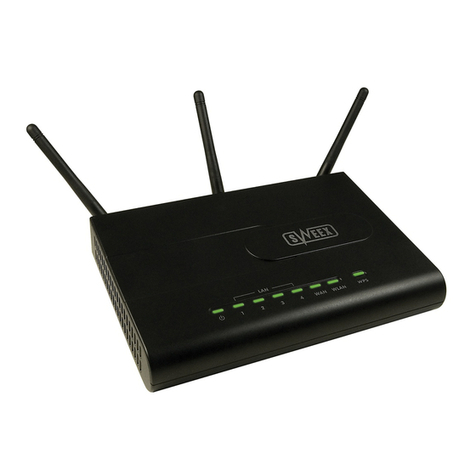
LW310 Sweex Wireless Broadband Router 300 Mbps
Important! The Setup Wizard is located on the Sweex CD-ROM. This installation
procedure will show you step by step how to setup the router.
• Do not expose the Sweex Wireless Broadband Router 300 Mbps to extreme temperatures.
Do not place the device in direct sun light or close to heating elements.
• Do not use the Sweex Wireless Broadband Router 300 Mbps in extremely dusty or moist environments.
• Prevent hard shocks or impacts of the device, as this can cause damage to the internal electronics.
• Never try to open the device yourself, this voids the warranty.
View from above or front of the router
LED Indicators Status Indication
1-4 On Indicates that a computer is connected to the corresponding port
1-4 Blinking Indicates that there is activity between the corresponding computer and the router
WAN On There is a good connection with the internet modem
WAN Blinking Indicates that there is activity between the router and the modem
WLAN On Indicates that the wireless connection of the router is activated
LW310_manual_compleet.indd 2 24-10-2008 16:17:31

English version
3
WLAN Blinking Indicates that there is activity between the designated wireless computer(s) and
the router
SYS Blinking Indicates that the router is working properly. When turning on the router it can
take 15 seconds before the light starts blinking.
Power On Indicates that the modem is on
WPS Blinking A WPS is being made
Rear view of the router
From left to right on the rear side of the router there are the following connections:
• Antenna1
• Power port to connect the power adapter.
• WAN-port to connect a modem with an RJ-45 UTP ethernet networking cable
• UTP Ethernet ports 1, 2, 3 and 4 to connect computers with an ethernet networking cable RJ45.
• Reset / WPS button to restore default settings (press and hold 10 sec) or connection of WPS (press shortly 1x)
• Antenna2
Connecting the Sweex Broadband Router
1. Connect the supplied power adapter to the rear side of the router. Plug the power adapter in a plug socket. The light
next to “Power” has to be lit. When it does not, check the power adapter off the router and check the plug socket.
LW310_manual_compleet.indd 3 24-10-2008 16:17:31

English version
4
2. Turn on the computer and connect a networking cable (RJ-45 UTP) to the computer on the rear side of the router.
Do this in port 1, 2, 3 or 4. The corresponding light on the front side will light up. When it does not, check if the
networking cable is correctly connected to the computer and the router.
3. Turn on the modem*. Pay attention: We do not mean the Sweex router. With a networking cable (RJ-45 UTP),
connect the modem to the rear side of the router. Do this in the WAN-port. The WAN light on the front side of the
router will light up. When it does not, check if the networking cable is correctly connected to the modem and the router.
*To be able to use the Sweex Broadband Router you need a working internet connection, which is made by a modem.
In most cases this modem is provided by the internet provider.
Configuration computer to connect to the router
Windows Vista
At the bottom left of the screen go to “Start”‡. “Control Panel”
Select “View network status and tasks”.
LW310_manual_compleet.indd 4 24-10-2008 16:17:31

English version
5
In the left column select “Manage network connections”.
LW310_manual_compleet.indd 5 24-10-2008 16:17:32

English version
6
Right-click “LAN Connection” or “Wireless Network connection” and choose “Properties”. The following screen appears:
Select “Internet Protocol Version 4 (TCP/IPv4)” and select “Properties”.
Select the option “Obtain an IP address automatically” and “Obtain DNS server address automatically”.
Confirm the settings by clicking “OK”. The network settings for Vista are now configured correctly. Further on in this
manual you will find the correct settings for your internet browser.
LW310_manual_compleet.indd 6 24-10-2008 16:17:32

English version
7
Windows XP
At the bottom left of the screen go to “Start”‡. “Control Panel”
Then go to “Network and Internet Connections”. Open “Network Connections” or when the classic view is being used;
“Start”‡Settings‡“Network Connections”.
Right-click “LAN Connection” or “Wireless Network connection” and choose “Properties”. The following screen appears:
Under the “General” tab select “Internet Protocol (TCP/IP)” and select “Properties”.
Select the option “Obtain an IP address automatically” and “Obtain DNS server address automatically”.
Confirm the settings by clicking “OK”. The network settings for Windows XP are now configured correctly. Further on in
this manual you will find the correct settings for your internet browser.
LW310_manual_compleet.indd 7 24-10-2008 16:17:32

English version
8
Windows 2000
At the bottom left of the screen go to “Start”‡. “Control Panel”
Then go to “Network and Internet Connections”. Open “Network Connections”
or when the classic view is being used;
“Start”‡Settings‡“Network Connections”.
Right-click “LAN Connection” or “Wireless Network connection” and choose “Properties”. The following screen appears:
Select “Internet Protocol (TCP/IP)” and select “Properties”.
Select the option “Obtain an IP address automatically” and “Obtain DNS server address automatically”. Press “OK” twice.
The network settings for Windows 2000 are now configured correctly. Further on in this manual you will find the correct
settings for your internet browser.
LW310_manual_compleet.indd 8 24-10-2008 16:17:32

English version
9
Internet browser settings for Windows 2000, XP and Vista
1. To be able to connect to the router the browser settings have to be setup correctly. This can be checked easily by
selecting “Extra” - “Tools” and then the option “Internet Options…” in Internet Explorer.
2. In this screen go to the tab “Connections” and select “Never dial a connection” or in the white space above remove
all connections.
3. Then click “LAN Settings…” at the bottom, remove all check marks and click “OK”.
4. Restart the browser to activate the new settings.
Setting up the wireless network
How does it work?
To create a wireless network you need a wireless router, wireless modem or access point. The wireless router, modem
or access point distributes the wireless network. The name of this network, also called the SSID, is dependant on your
wireless router, modem or access point and is different per type or brand. You can often change the name, so you can
easily identify your own wireless network.
Security
A wireless network is comparable with radio signals. However, a wireless network at home does not have such a long
range. The range of a home network often has a range of 20 to 30 meters. This means that neighbours and passers-by
can also use your network. This way they can surf on your internet connection and possibly access your shared folders
and files on your network unpunished. That is why it is necessary to secure your wireless network. This security is
configured on the device that transmits the network. In most cases this is the wireless router, modem or access point.
By means of a WEP or WPA security code you can secure the network. This code is also called the network key. Enter
this code on every computer that wants to connect to the secured network. Only with this key you can be part of the
network. If you did not enter the network key yourself in the router or modem, ask the installer, manufacturer, supplier
or provider for this code.
Connecting the computer to the wireless network
At the bottom left of the screen go to “Start”‡. “Control Panel”
Then go to “Network and Internet Connections”. Open “Network Connections”
or when the classic view is being used;
“Start”‡Settings‡“Network Connections”.
Right click “LAN Connection” or “Wireless Network connection” and choose “View Available Wireless Networks”.
LW310_manual_compleet.indd 9 24-10-2008 16:17:32

English version
10
First always click on “Refresh network list” top left to see the most recent list.
Select the name (also called SSID) “Sweex LW310” by clicking on it en then click on “Connect” at the bottom right.
When a successful connection is established with the wireless network a popup will appear with the message
“Connected”. You now have a working wireless network.
When a message appears that the wireless connection can not be configured because an other program is managing it,
turn off this software and start again.
We recommend you secure the wireless part of the router. How to do this is described further on in this manual. The
network will then appear as “Sweex LW310” with underneath it the message “Security-enabled wireless network”.
When connecting to this secured network it will ask for the Network key. When the entered network key is incorrect a
messages will pop up after a few moments telling “Limited or no connection possibilities”. Now you do not have a good
wireless connection. Reconnect to the wireless network and check the network key.
When you change a wireless network setting in the router that makes you loose the wireless connection follow these
steps again.
Connecting to the router (Login)
Open your web browser. We use ‘Internet Explorer’.
The standard IP-address of the router is: 192.168.31.1
An IP-address is a unique number that every network device, so also your computer or router, has to have to be active
within the network. Without an IP-address you can not connect to the network. In the address bar enter the IP-address of
the router. With this you can connect to the router.
LW310_manual_compleet.indd 10 24-10-2008 16:17:32

English version
11
The login screen of the router appears. Enter the required password:
User name: sweex
Password: mysweex
When this login screen does not appear, check the internet browser settings again as is described earlier. Also, check the
IP-address of your computer. From this IP-address only the number after the last dot may be different then the IP-address
of the router (example: 192.168.31.xxx).
Where do you find the IP-address of your computer?
Win2000/WinXP: Click “Start” – “Run” – Type cmd – press Enter – in the black screen type ipconfig – press Enter
and read your IP-address.
Win98/Me: Click "Start” – “Run” – Type winipcfg – press Enter. Select your network adapter in this screen. (Usually
NOT the ppp-adapter) and read your IP-address.
Configuring the Internet Service Provider (ISP)
Before you start configuring your provider, ensure that the internet connecting is active without the Sweex Broadband
Router. If the modem does not have an internet connection without the router, then configuring the router is useless. The
modem makes the internet connection and the Sweex Broadband Router forwards this internet connection to 1 or more
computers in your network.
These setting only have to be configured once in the router. This means that no matter how many computers you
connect to the router, the following settings only have to be done on one computer. That is because the settings are not
stored on the computer but on the router.
LW310_manual_compleet.indd 11 24-10-2008 16:17:32

English version
12
Important! The Setup Wizard is located on the Sweex CD-ROM. This installation
procedure will show you step by step how to setup the router.
If your provider can not be configured with the Setup Wizard, contact your provider for the correct settings and enter
them manually.
Settings 1 DHCP without hostname (Suitable for most providers)
1. Login to the Router (see “Connecting to the Router” above).
2. In the left column click “Internet Configuration”.
3. Select “DHCP Client”. These setting belong to providers that use a DHCP-connection.
4. Click on “Next”. Now click “Apply” to store the settings.
5. To check if the internet connection is established successfully, go to the status screen by clicking on “System Status”
in the left column. Your internet “WAN IP” will appear in the ”Network Status” part. It can take approx. 1 minute
before this IP-address appears. You are now done configuring and can now use internet.
LW310_manual_compleet.indd 12 24-10-2008 16:17:32

English version
13
6. When your “WAN IP” stays 0.0.0.0, click on the “Renew” button.
When your IP-address is still 0.0.0.0 after 1 minute, check the above steps.
Still no internet? Follow these steps:
1. Turn off the router and modem.
2. Disconnect the cable between the router and modem from the "WAN" port.
3. Turn on the router and wait until it is fully started.
4. Turn on the modem and wait until it is fully started and the right lights are lit.
5. Reconnect the network cable between the modem and router by putting it in the "WAN" port of the router. The
“WAN” light has to be lit.
6. Connect to the router via 192.168.31.1 and check your internet connection in the status screen.
Settings 2 DHCP with hostname
Important: When configuring the router, always use the computer that had the internet connection before you connected
the router.
1. Login to the Router (see “Connecting to the Router” above).
2. In the left column click “Internet Configuration”.
3. Select “DHCP Client”. These setting belong to providers that use a DHCP-connection.
LW310_manual_compleet.indd 13 24-10-2008 16:17:32

English version
14
4. At “Hostname” enter the hostname the provider gave you.
5. To place the MAC address of your computer in the router click “Clone MAC Address”.
6. Click on “Next”. Now click “Apply” to store the settings.
7. To check if the internet connection is established successfully go to the status screen by clicking on “System Status”
in the left column Your internet “WAN IP” will appear in the ”Network Status” part. It can take approx. 1 minute
before this IP-address appears. You are now done configuring and can now use internet.
8. When your “WAN IP” stays 0.0.0.0, click on the “Renew” button.
When your IP-address is still 0.0.0.0 after 1 minute, check the above steps.
Still no internet? Follow these steps:
1. Turn off the router and modem.
2. Disconnect the cable between the router and modem from the "WAN" port.
3. Turn on the router and wait until it is fully started.
4. Turn on the modem and wait until it is fully started and the right lights are lit.
5. Reconnect the network cable between the modem and router by putting it in the "WAN" port of the router. The
“WAN” light has to be lit.
6. Connect to the router via 192.168.31.1 and check your internet connection in the status screen.
LW310_manual_compleet.indd 14 24-10-2008 16:17:33

English version
15
Settings 3 PPPoE
1. Login to the Router (see “Connecting to the Router” above).
2. In the left column click “Internet Configuration”.
3. Select the option “PPPoE”. This setting belongs to providers that use a PPPoE connection.
4. At “Account” enter the user name that your provider gave you.
5. At “Password” enter the required password.
6. Click on “Next”. Now click “Apply” to store the settings.
7. To check if the internet connection is established successfully, go to the status screen by clicking on “System Status”
in the left column. Your internet “WAN IP” will appear in the ”Network Status” part. It can take approx. 1 minute
before this IP-address appears. You are now done configuring and can now use internet.
LW310_manual_compleet.indd 15 24-10-2008 16:17:33

English version
16
8. When your “WAN IP” stays 0.0.0.0, click on the “Connect” button.
When your IP-address is still 0.0.0.0 after 1 minute, check the above steps.
Still no internet? Follow these steps:
1. Turn off the router and modem.
2. Disconnect the cable between the router and modem from the "WAN" port.
3. Turn on the router and wait until it is fully started.
4. Turn on the modem and wait until it is fully started and the right lights are lit.
5. Reconnect the network cable between the modem and router by putting it in the "WAN" port of the router. The
“WAN” light has to be lit.
6. Connect to the router via 192.168.31.1 and check your internet connection in the status screen.
Settings 4 PPTP
1. Login to the Router (see “Connecting to the Router” above).
2. In the left column click “Internet Configuration”.
3. Select the option “PPTP”. This setting belongs to providers that use a PPTP connection.
LW310_manual_compleet.indd 16 24-10-2008 16:17:33

English version
17
4. At “Username” enter the user name that your provider gave you.
5. At “Password” enter the required password and click “Next”.
6. Click on “Next”. Now click “Apply” to store the settings.
7. To check if the internet connection is established successfully, go to the status screen by clicking on “System Status”
in the left column. Your internet “WAN IP” will appear in the ”Network Status” part. It can take approx. 1 minute
before this IP-address appears. You are now done configuring and can now use internet.
8. When your “WAN IP” stays 0.0.0.0, click on the “Connect” button.
When your IP-address is still 0.0.0.0 after 1 minute, check the above steps.
Still no internet? Follow these steps:
1. Turn off the router and modem.
2. Disconnect the cable between the router and modem from the "WAN" port.
3. Turn on the router and wait until it is fully started.
4. Turn on the modem and wait until it is fully started and the right lights are lit.
5. Reconnect the network cable between the modem and router by putting it in the "WAN" port of the router. The
“WAN” light has to be lit.
6. Connect to the router via 192.168.31.1 and check your internet connection in the status screen.
LW310_manual_compleet.indd 17 24-10-2008 16:17:33

English version
18
Wireless settings and security
We recommend that you always do these settings with a wired computer that is connected to the Sweex Broadband
Router. When saving these settings you will lose the wireless connection with the Sweex Broadband Router.
In the left column under “Wireless Networks” click on “ Basic Settings”.
The standard SSID is “Sweex LW310”. We recommend you never change this, so you can always recognize the router. Here
you will also find other options, such as “Channel” and “Mode”. We recommend you also leave these settings unchanged.
Securing the wireless network
Securing the wireless network in the Sweex Wireless Broadband Router 300 Mbps can be done in two ways. The trusted
manual way (WEP, WPA and WPA2), where you determine and enter your own network key, or with the WPS (WiFi
Protected Setup) function, where the router and the computer “agree“ on a network key and use it automatically with
one push of a button to secure the network.
LW310_manual_compleet.indd 18 24-10-2008 16:17:33

English version
19
It is not possible to use both ways at the same time. Therefore, if you have computers that do not support WPS we
recommend you use the WPA or WPA2 security.
WPS (WiFi Protected Setup)
Securing a network fast and easy is done with WPS. This function only works with computers that use a wireless card or
USB dongle that supports WPS.
1. The WPS function is activated by pressing the WPS button on the back of the router. The light will start to blink.
2. A wireless computer that supports WPS can now scan for the router and automatically use the automatically
generated network key and the network is secured.
For future computers you want to add to the network, follow the same procedure. You can also read a PIN code from
the router and enter it in the computers the “old” way.
LW310_manual_compleet.indd 19 24-10-2008 16:17:33

English version
20
Select WPS Settings: Enable to activate WPS. Pressing the WPS button on the router will automatically turn on WPS.
• Select “PBC” to let the router generate a network key automatically.
• Select “PIN” to enter an existing WPS PIN-code that is already entered in the computer. Often this can be read in the
WPS configuration software on the computer.
• Click “Save” to save your chosen settings. The router will now send out the WPS signal.
When using the Sweex LW311, LW312 or LW313, click the “WPS Settings” tab and then the “PCB” button to make a
secure connection to the router.
WPA and WPA2 security
In the left column under “Wireless Networks” click on “ Security Settings”.
LW310_manual_compleet.indd 20 24-10-2008 16:17:33

English version
21
To configure the WPA security follow these steps:
1. At “Security Mode:” select the option “Mixed WPA-PSK/WPA2-PSK - Personal”.
2. At “Pass Phrase” enter your network key. You can make this up yourself and are allowed to use 8 to 63 numbers
and letters.
3. Click “Apply” to store the settings.
The router is now secured. Reconnect your wireless computer.
When using the basic Windows Zero Configuration, select the Sweex LW310, click “Connect” and enter the network key.
When using the Sweex LW311, LW312 or LW313, click “Sweex LW310” in the “Site Survey” tab and then click
“connect”. Also, enter the WPA network key.
LW310_manual_compleet.indd 21 24-10-2008 16:17:33
Table of contents
Other SWEEX Wireless Router manuals

SWEEX
SWEEX LW150 User manual

SWEEX
SWEEX MO251V2 - QUICK_START_GUIDE User manual

SWEEX
SWEEX LW053 User manual

SWEEX
SWEEX LC000070 User manual

SWEEX
SWEEX LB200010 User manual

SWEEX
SWEEX IEEE 802.11g User manual

SWEEX
SWEEX MO300 - QUICK_START_GUIDE User manual

SWEEX
SWEEX LW055 User manual

SWEEX
SWEEX LW150 User manual

SWEEX
SWEEX LW161 User manual