Introduction
Thank you very much for purchasing your LED TV. It serves as a normal colour TV
and a PC monitor. To enjoy your set fully from the very beginning, read this manual
carefully and keep it handy for future reference.
INSTALLATION
Locate the receiver in the room where direct light does not strike the screen. Total
darkness or a reflection on the picture screen can cause eyestrain. Soft and indirect
lighting is recommended for comfortable viewing.
Allow enough space between the receiver and the wall to permit ventilation.
Avoid excessively warm locations to prevent possible damage to the cabinet or
premature component failure.
This TV can be connected to AC 100-240V~ 50/60Hz.
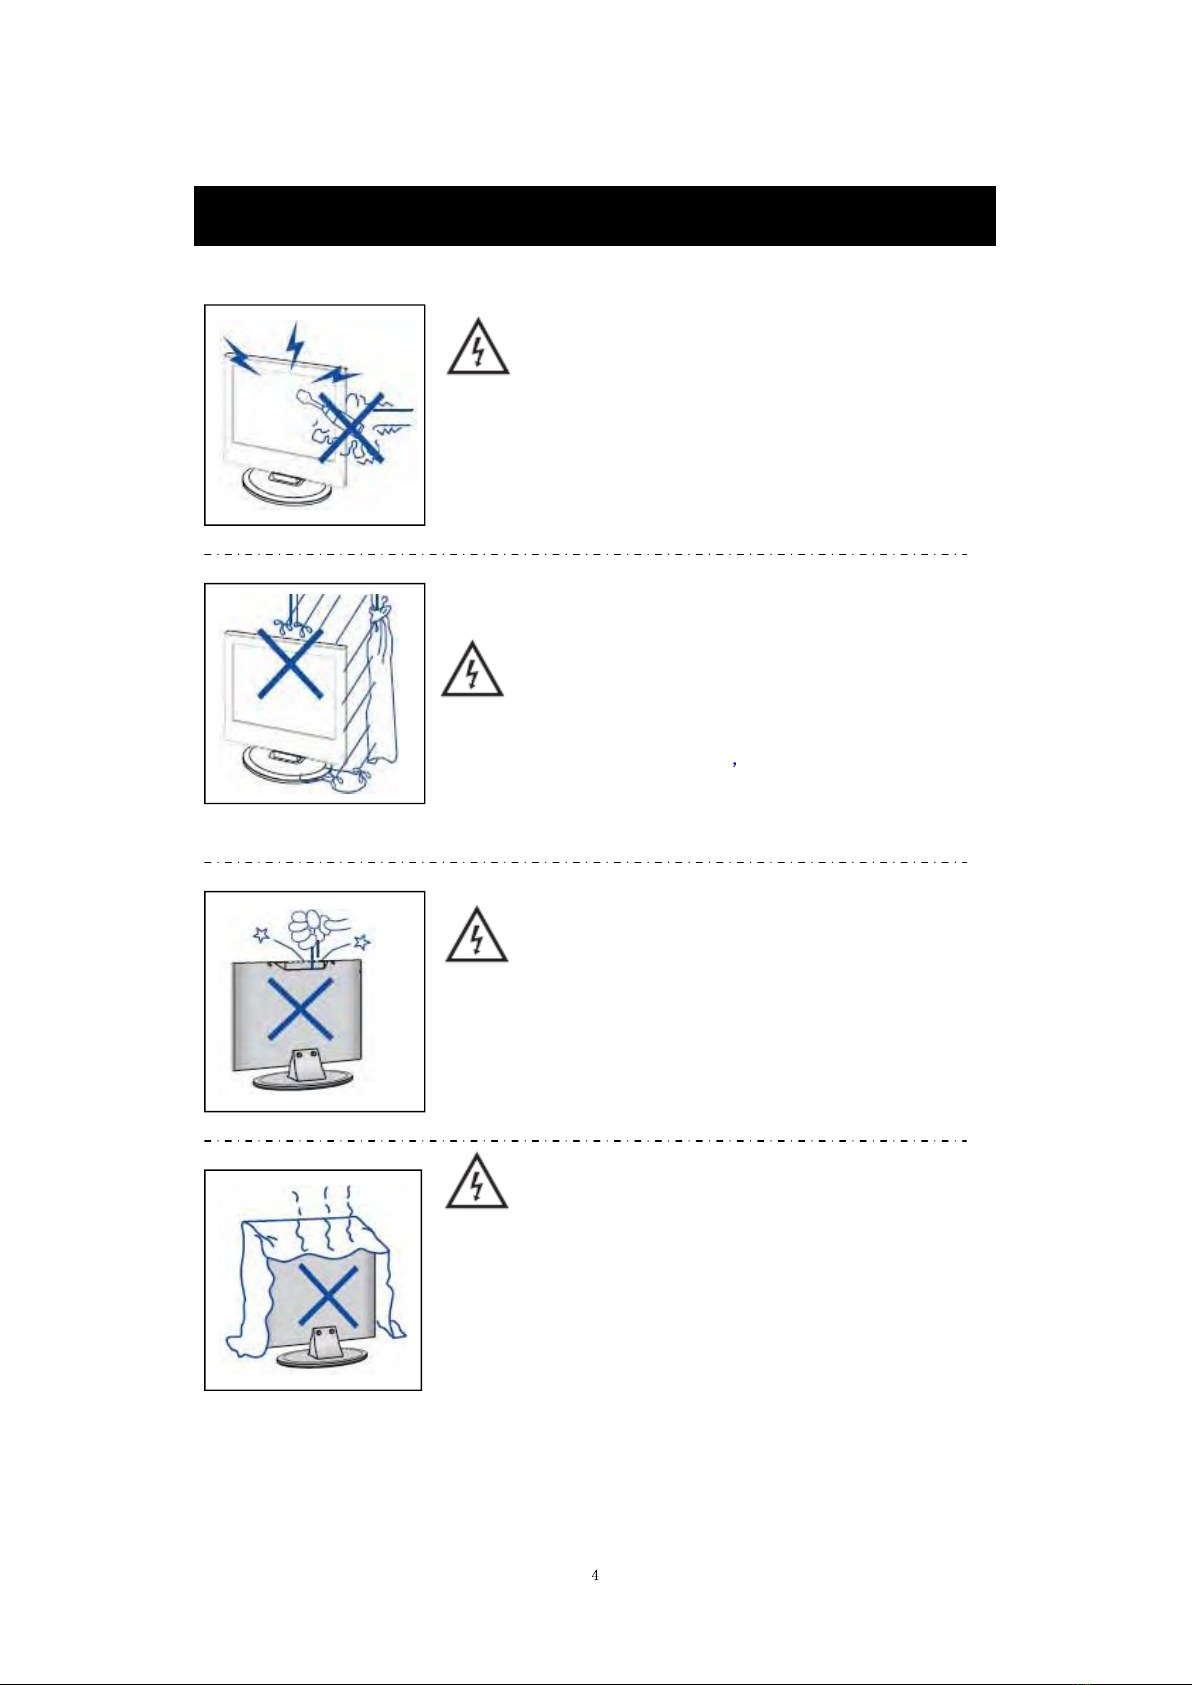
Do not install the TV in a location near heat sources such as radiators, air ducts,
direct sunlight, or in closed compartments and closed areas. Do not cover the
ventilation openings when using the TV.
The indicator light will last for about 30 seconds after the power has been turned
off.
Wait until the indicator light goes out before repowering the TV.
6
User manual x1
Warranty card x1
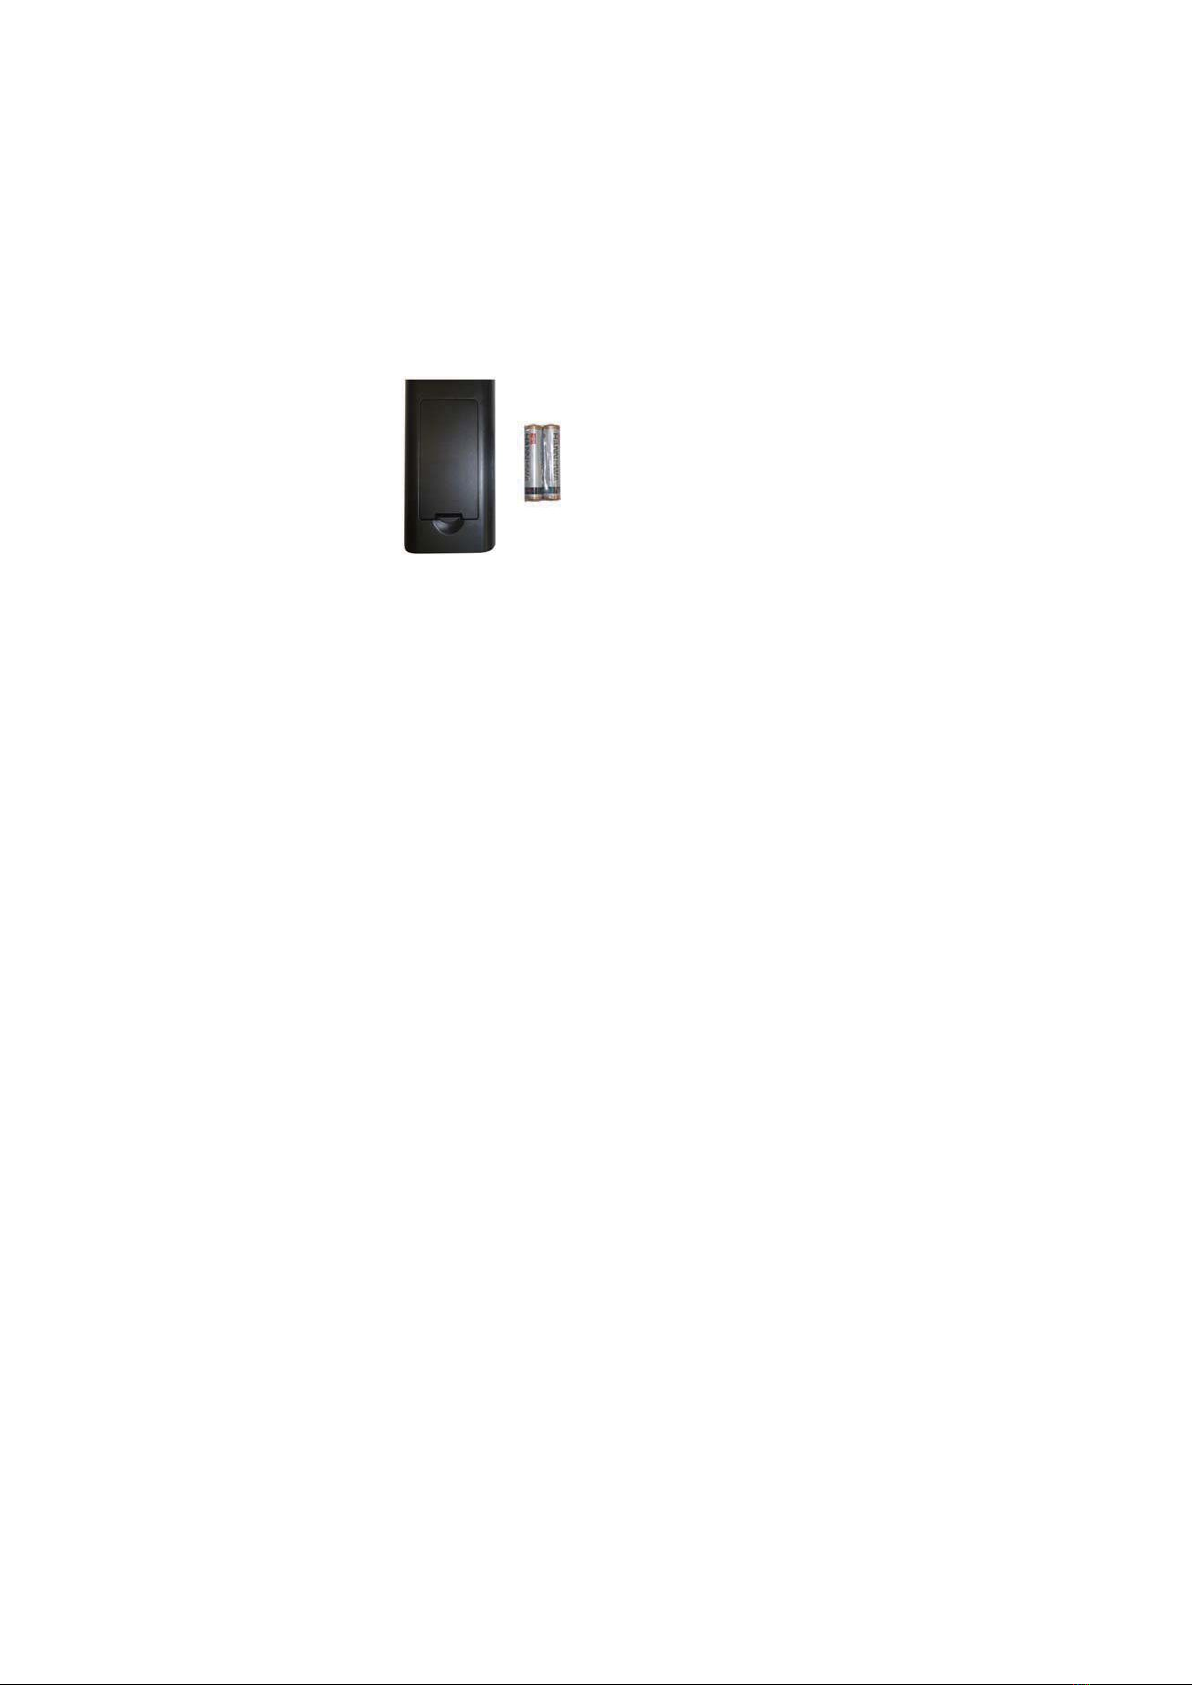
Remote control x1
Battery (pair, AAA) x1
Accessories list for this TV set: