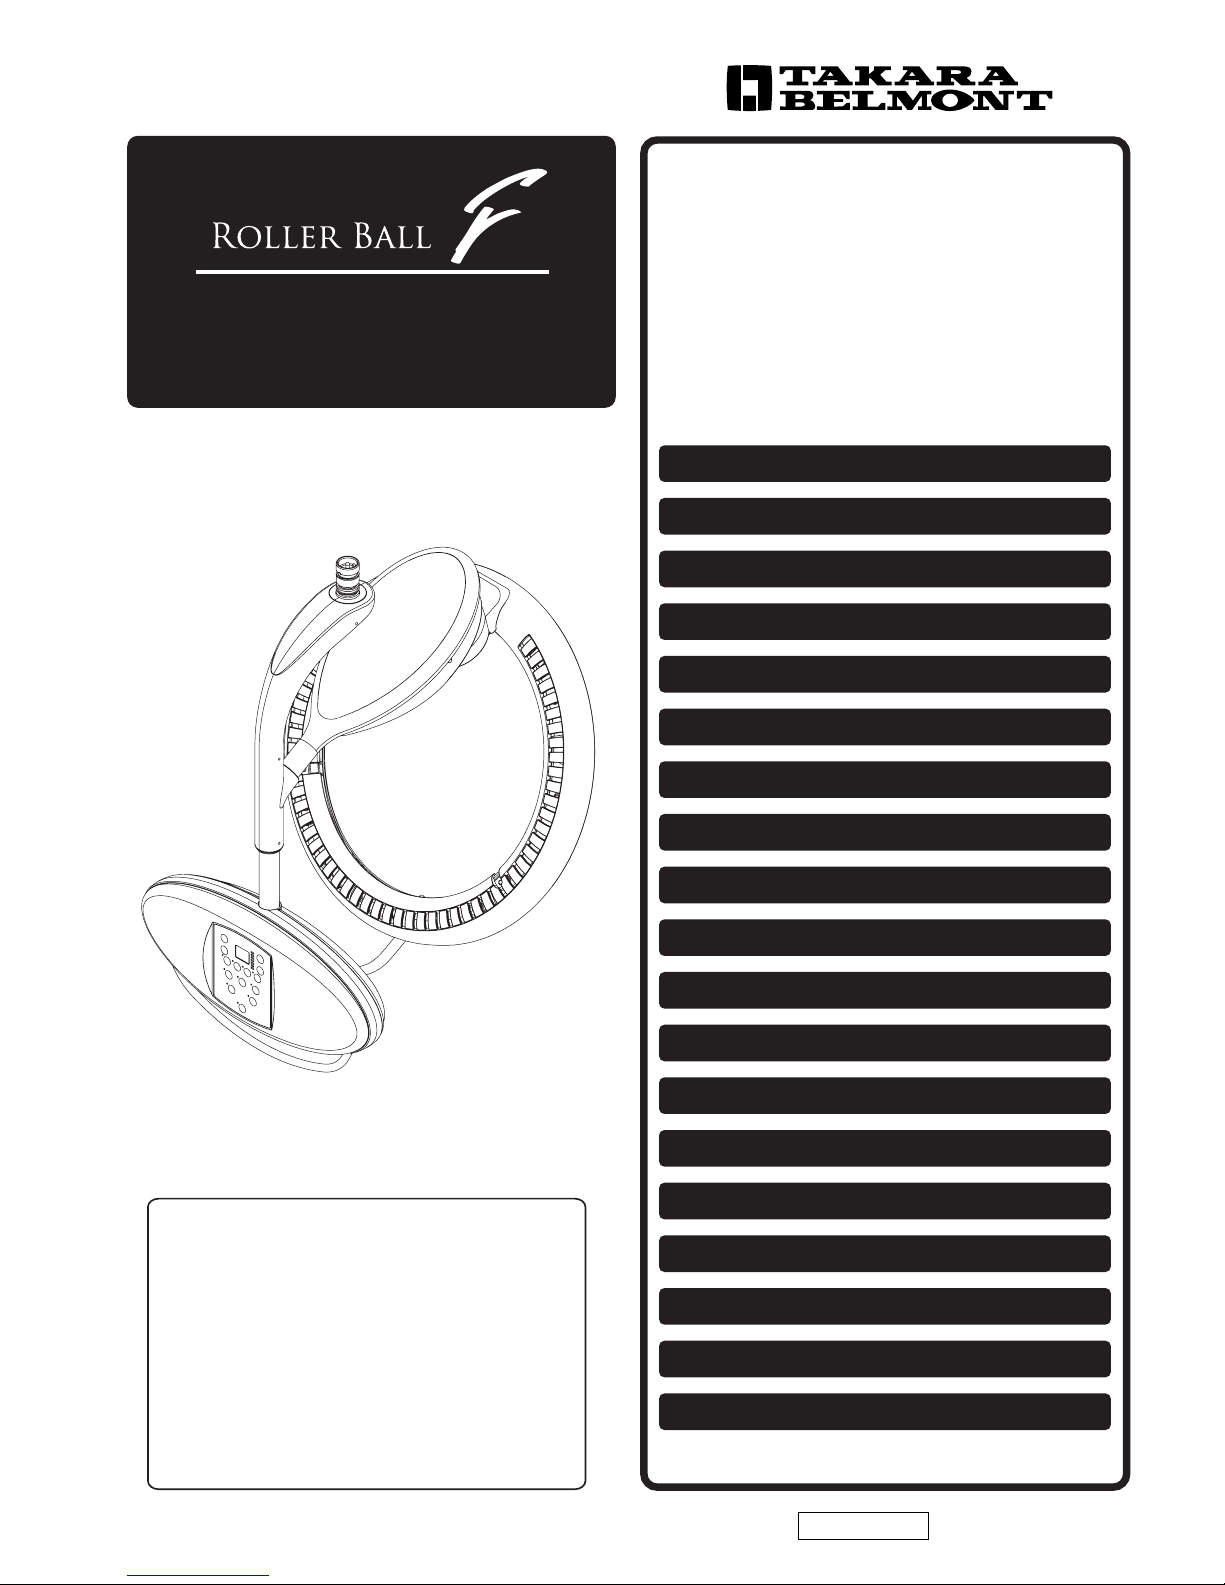
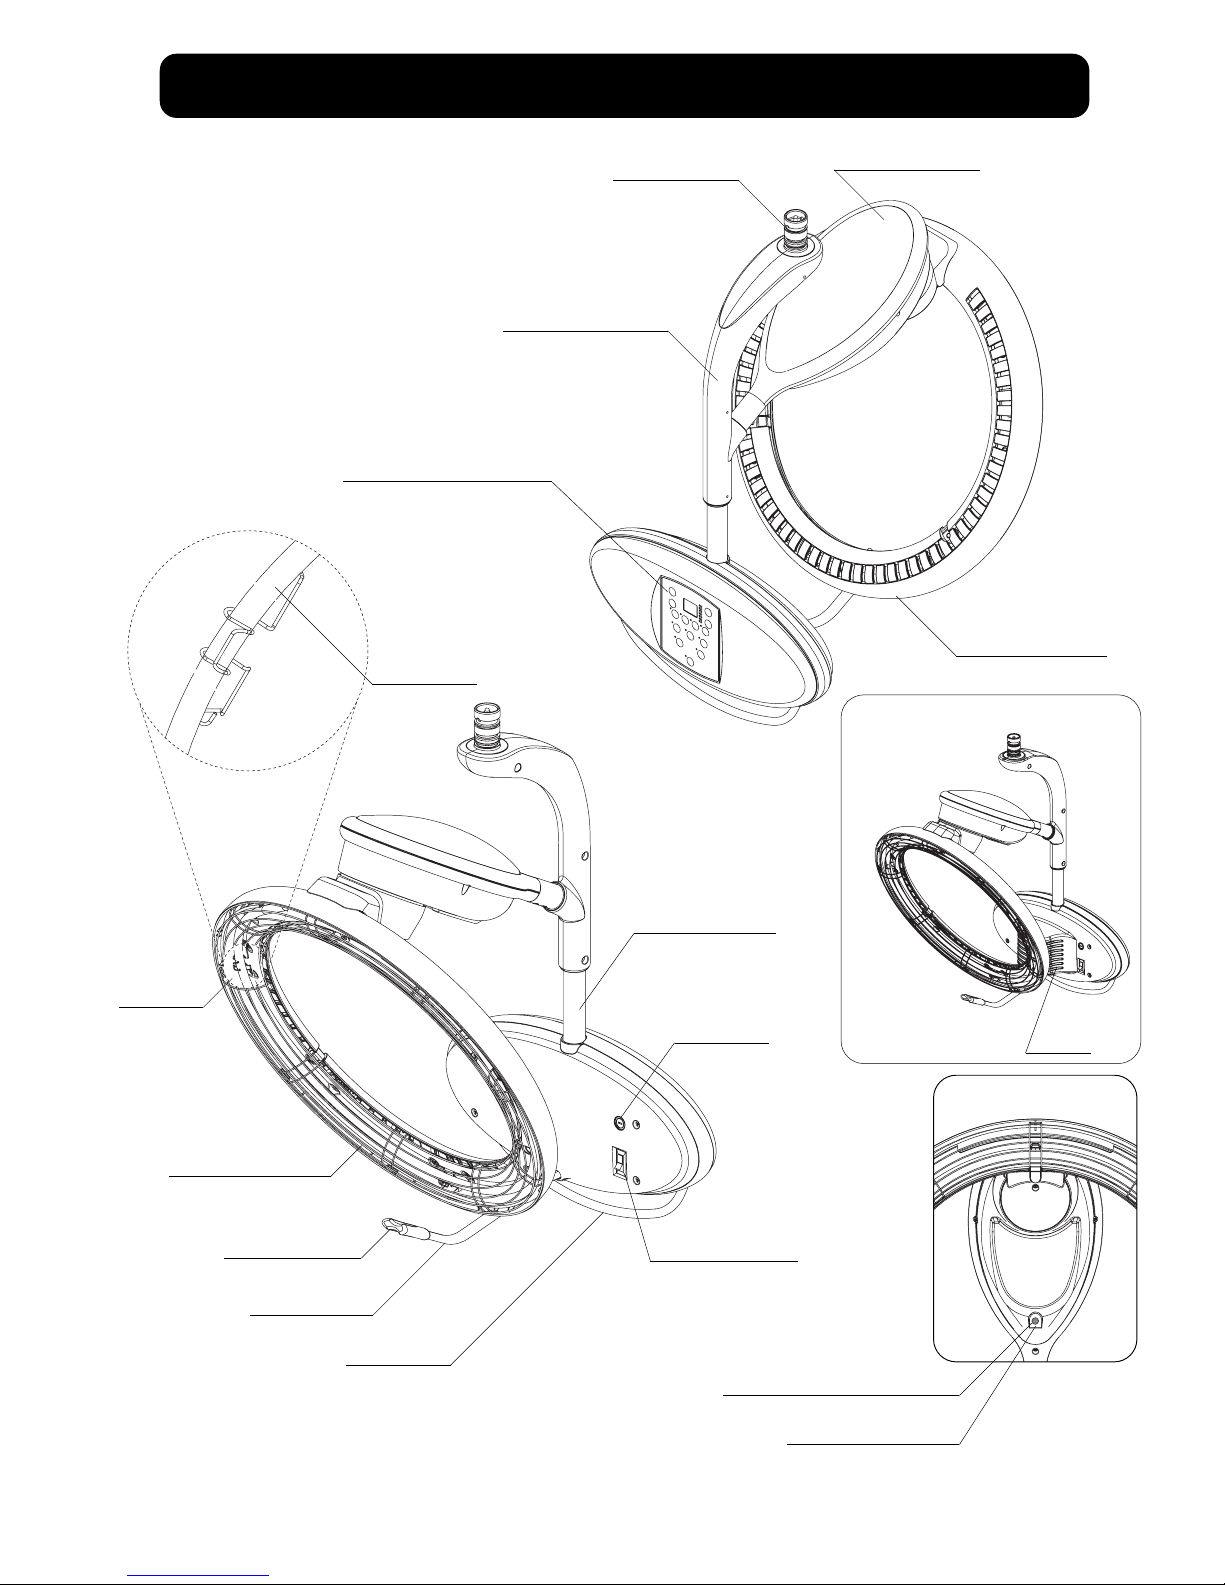
2
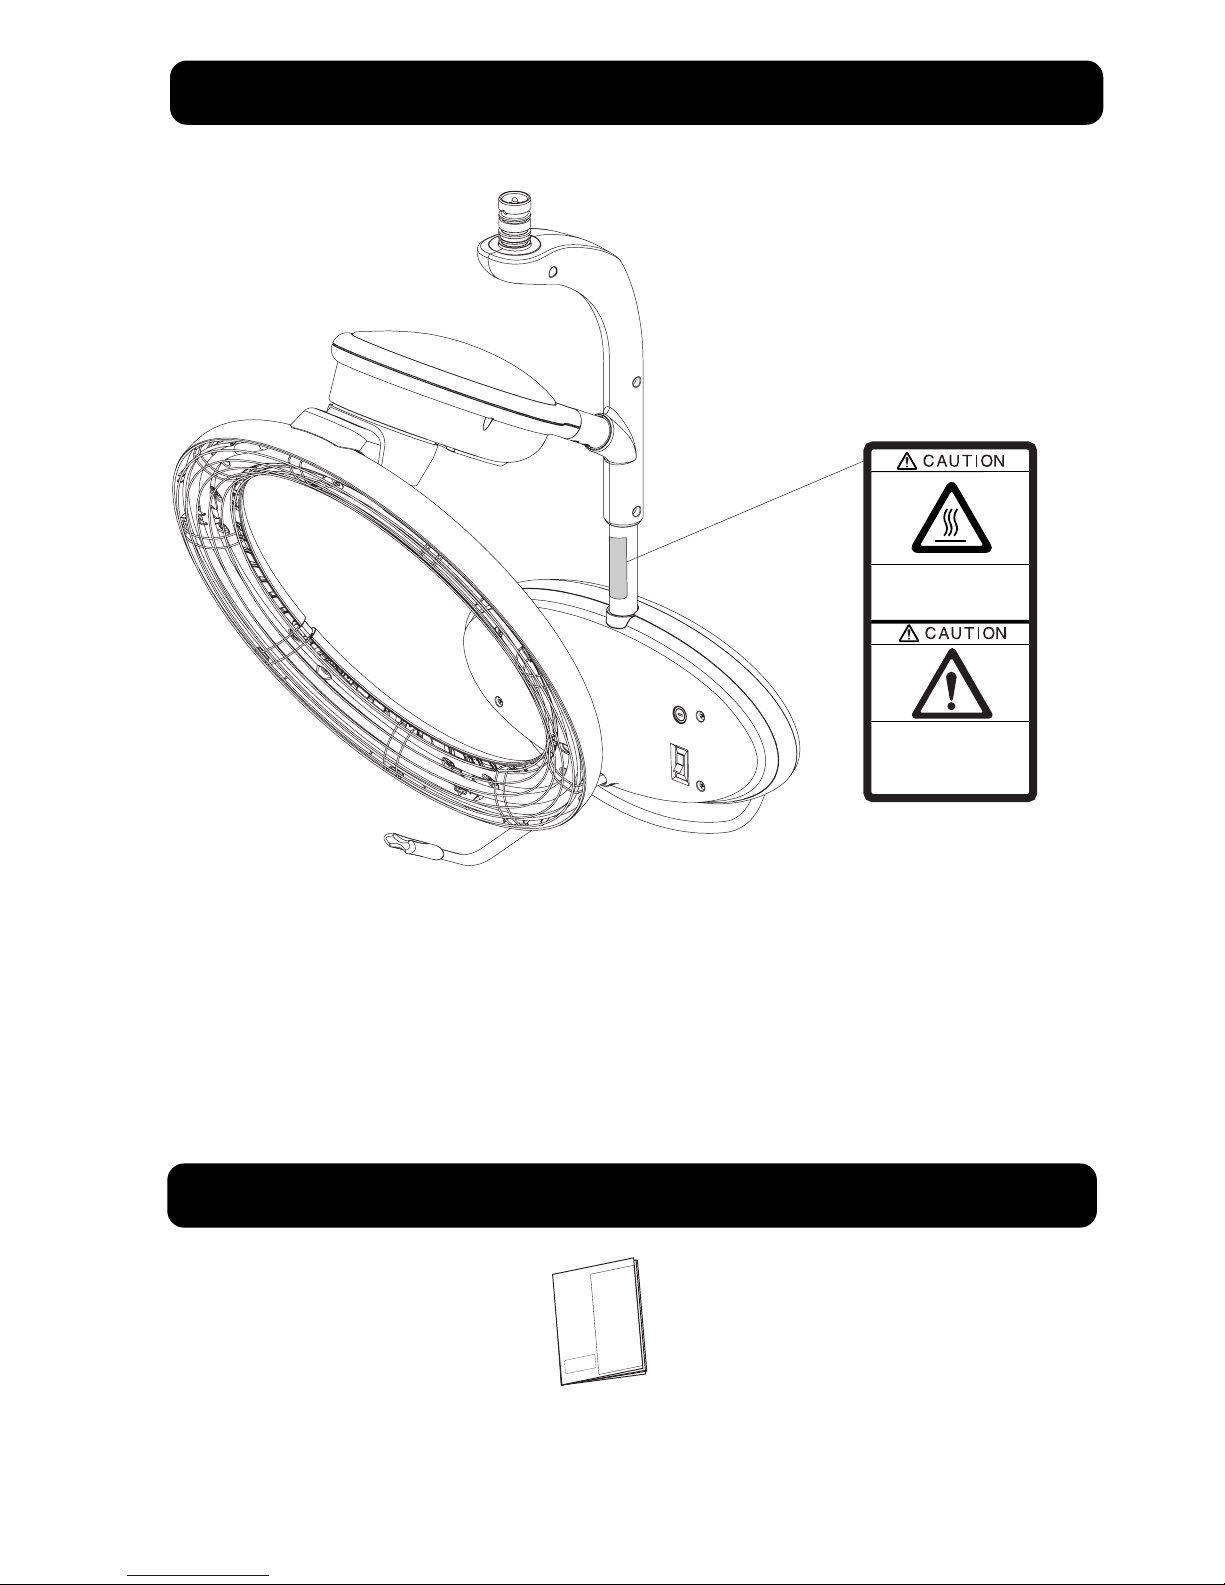
OW!
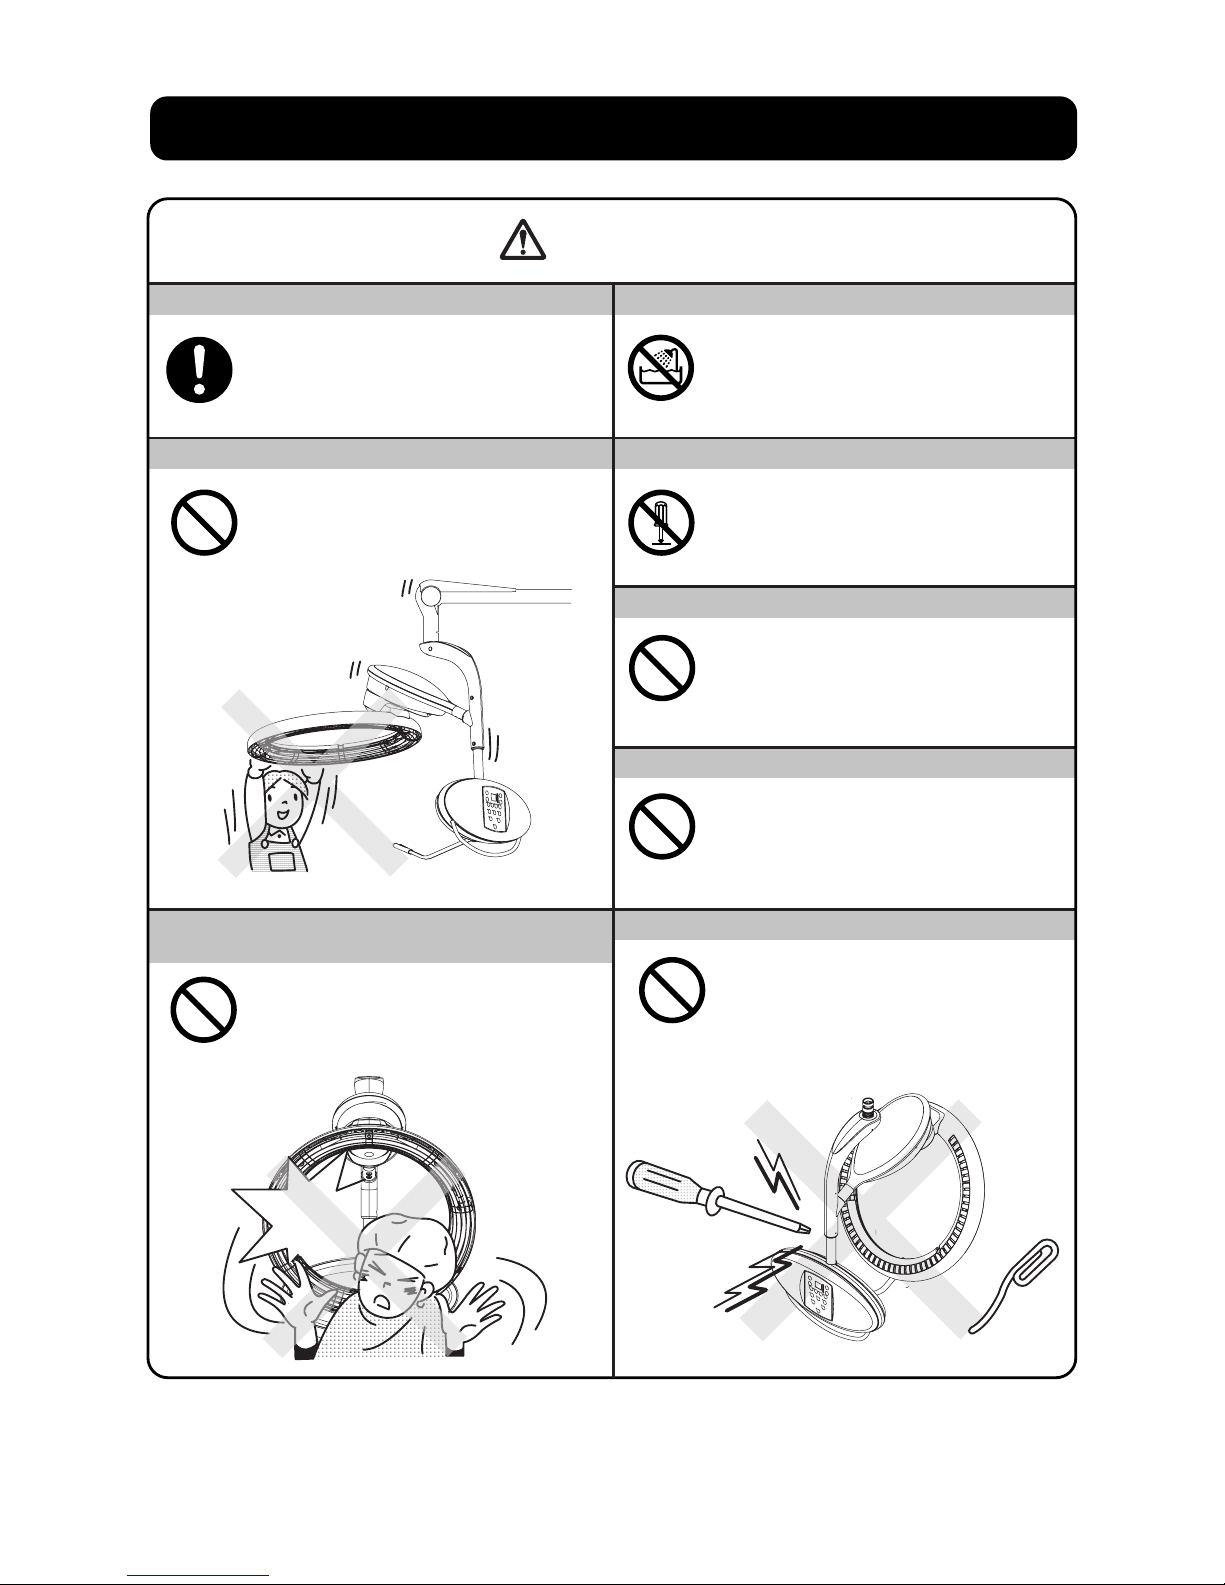
Do not allow the customers hair or skin to contact
the heater guard.
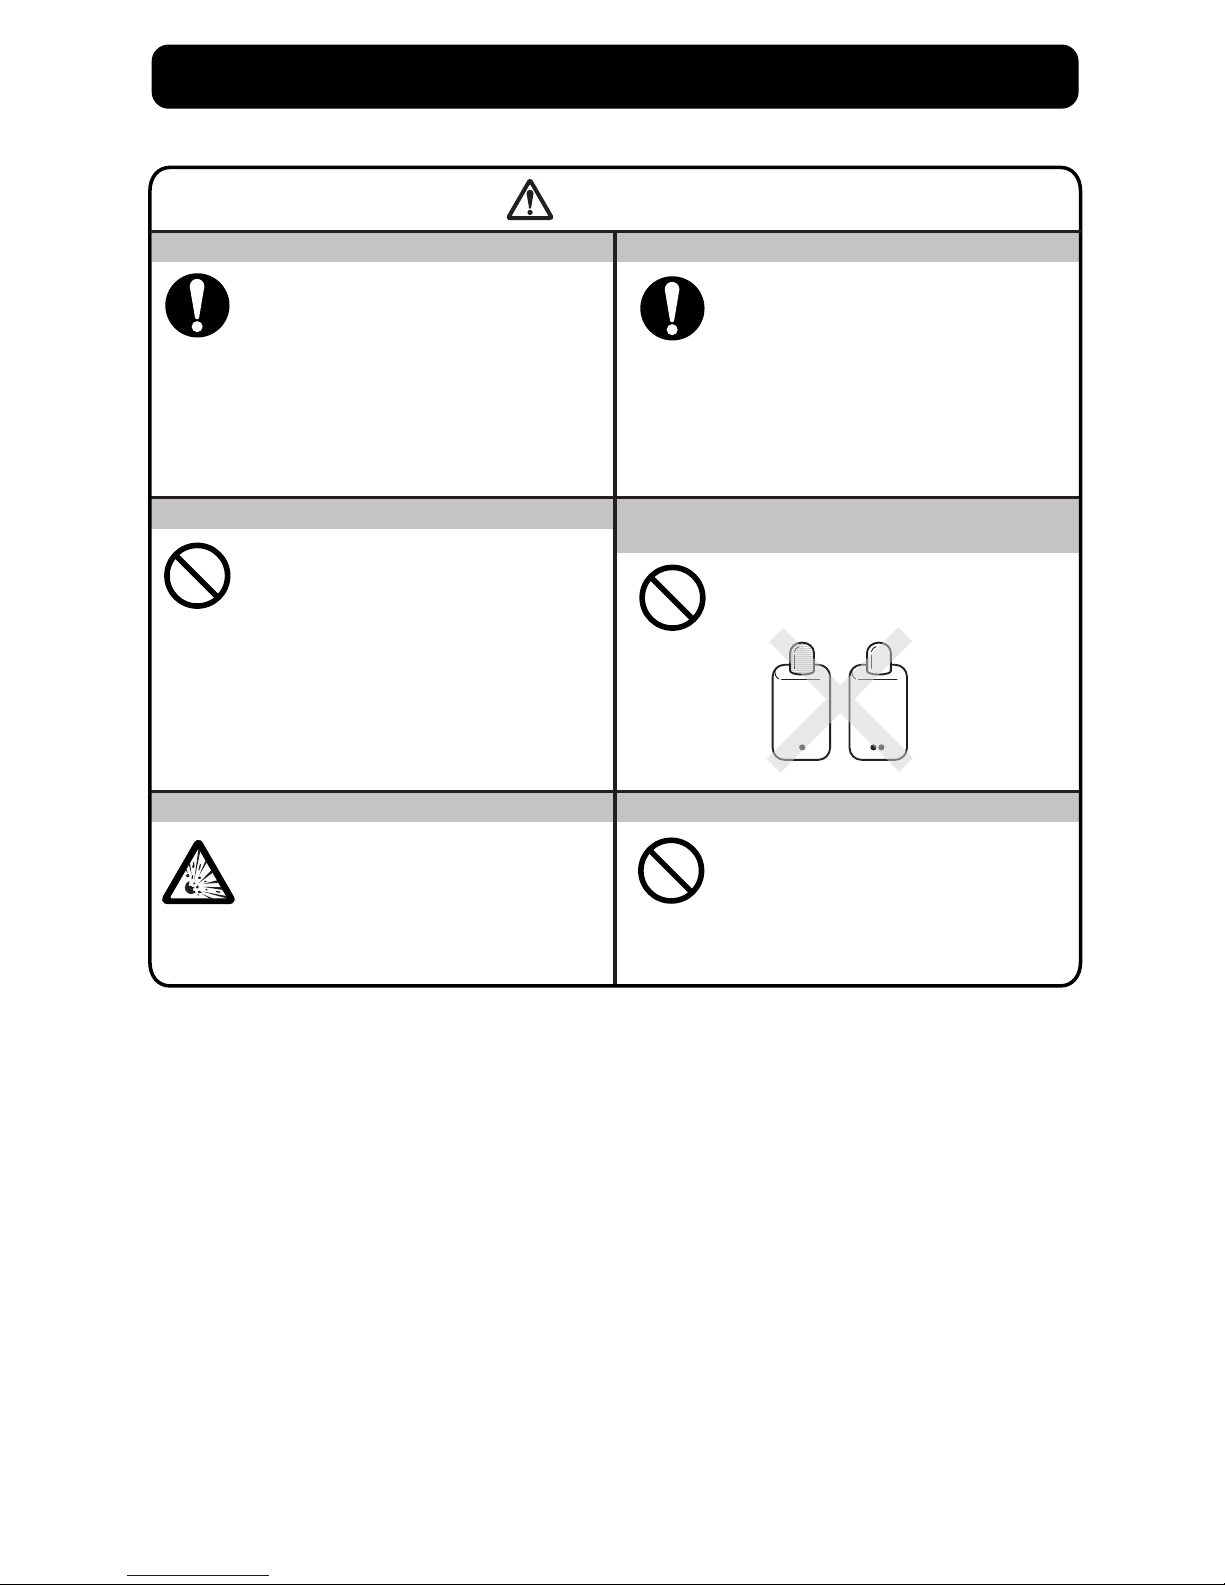
WARNING
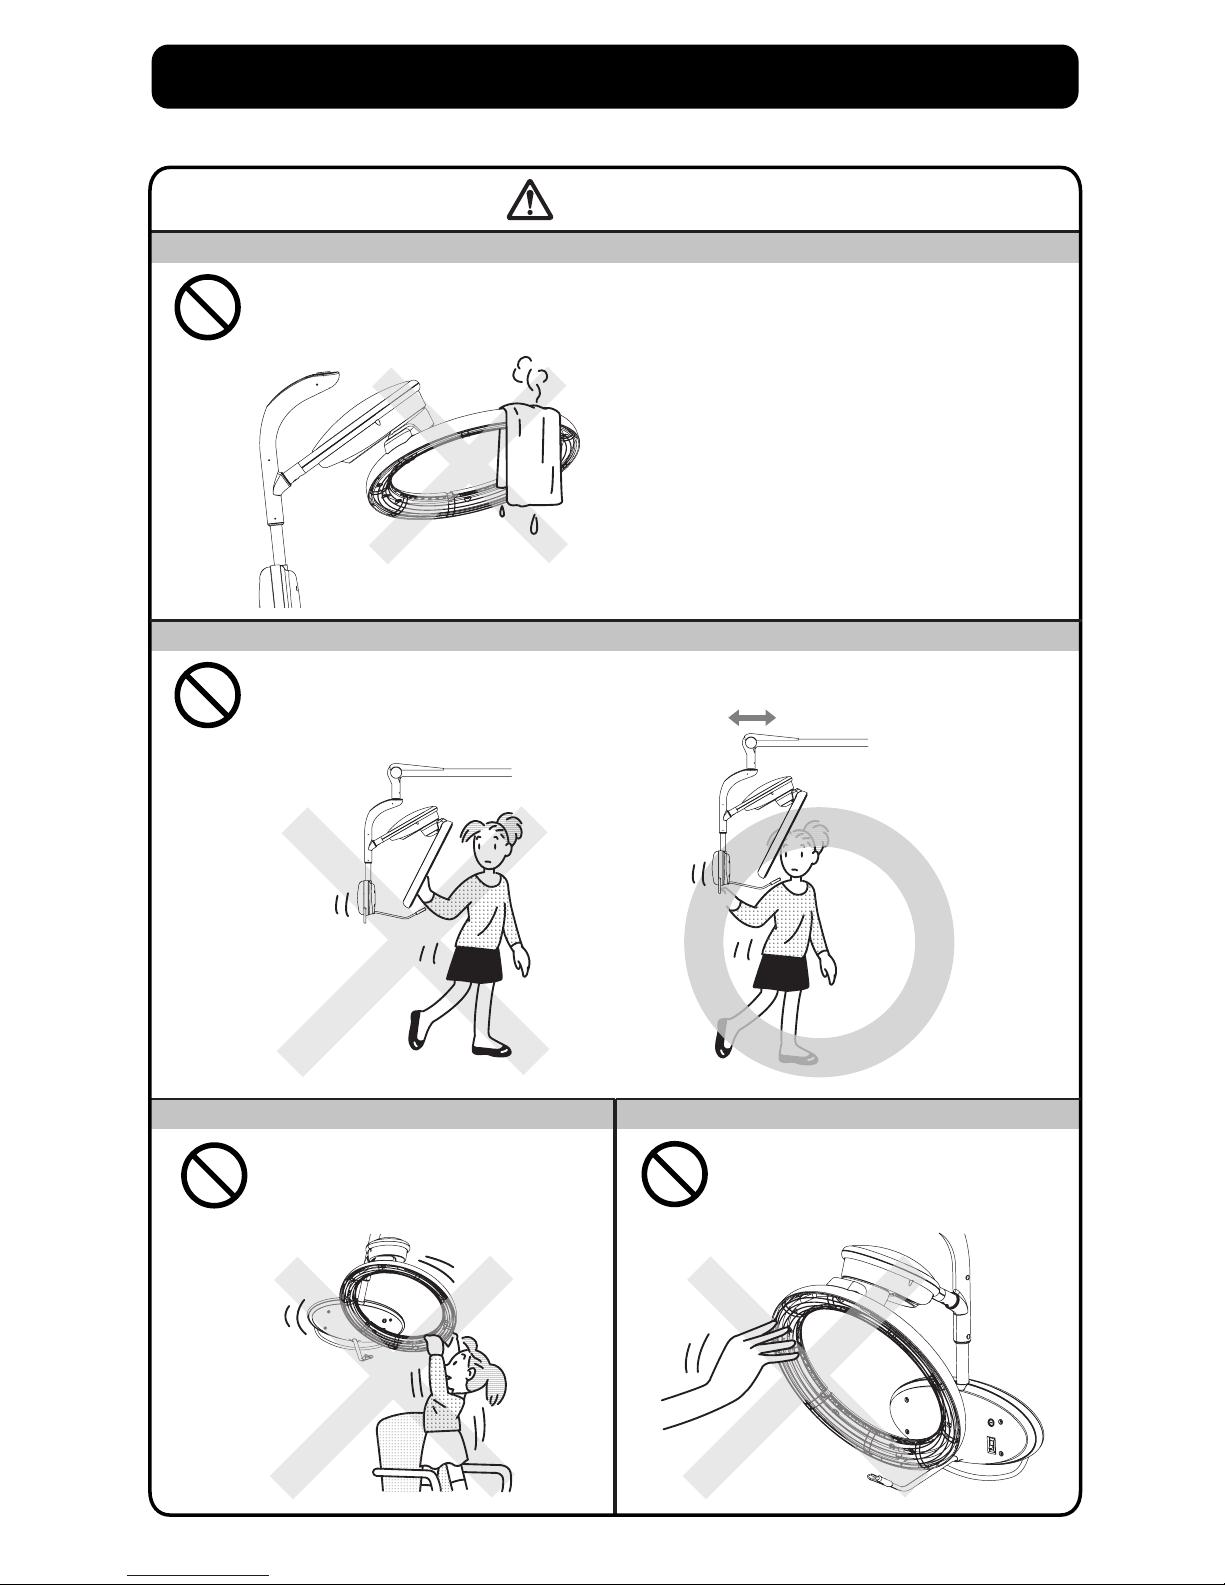
Do not apply water to the product.
Never disassemble or repair the product by yourself.
Do not insert a metal object, such as a pin or
the like, into the ring to remove dust accumulated
in the slit, etc., when fixing the Roller Ball.
Neglecting this warning may result in an electrical
shock or ignition caused by an electrical short
circuit.
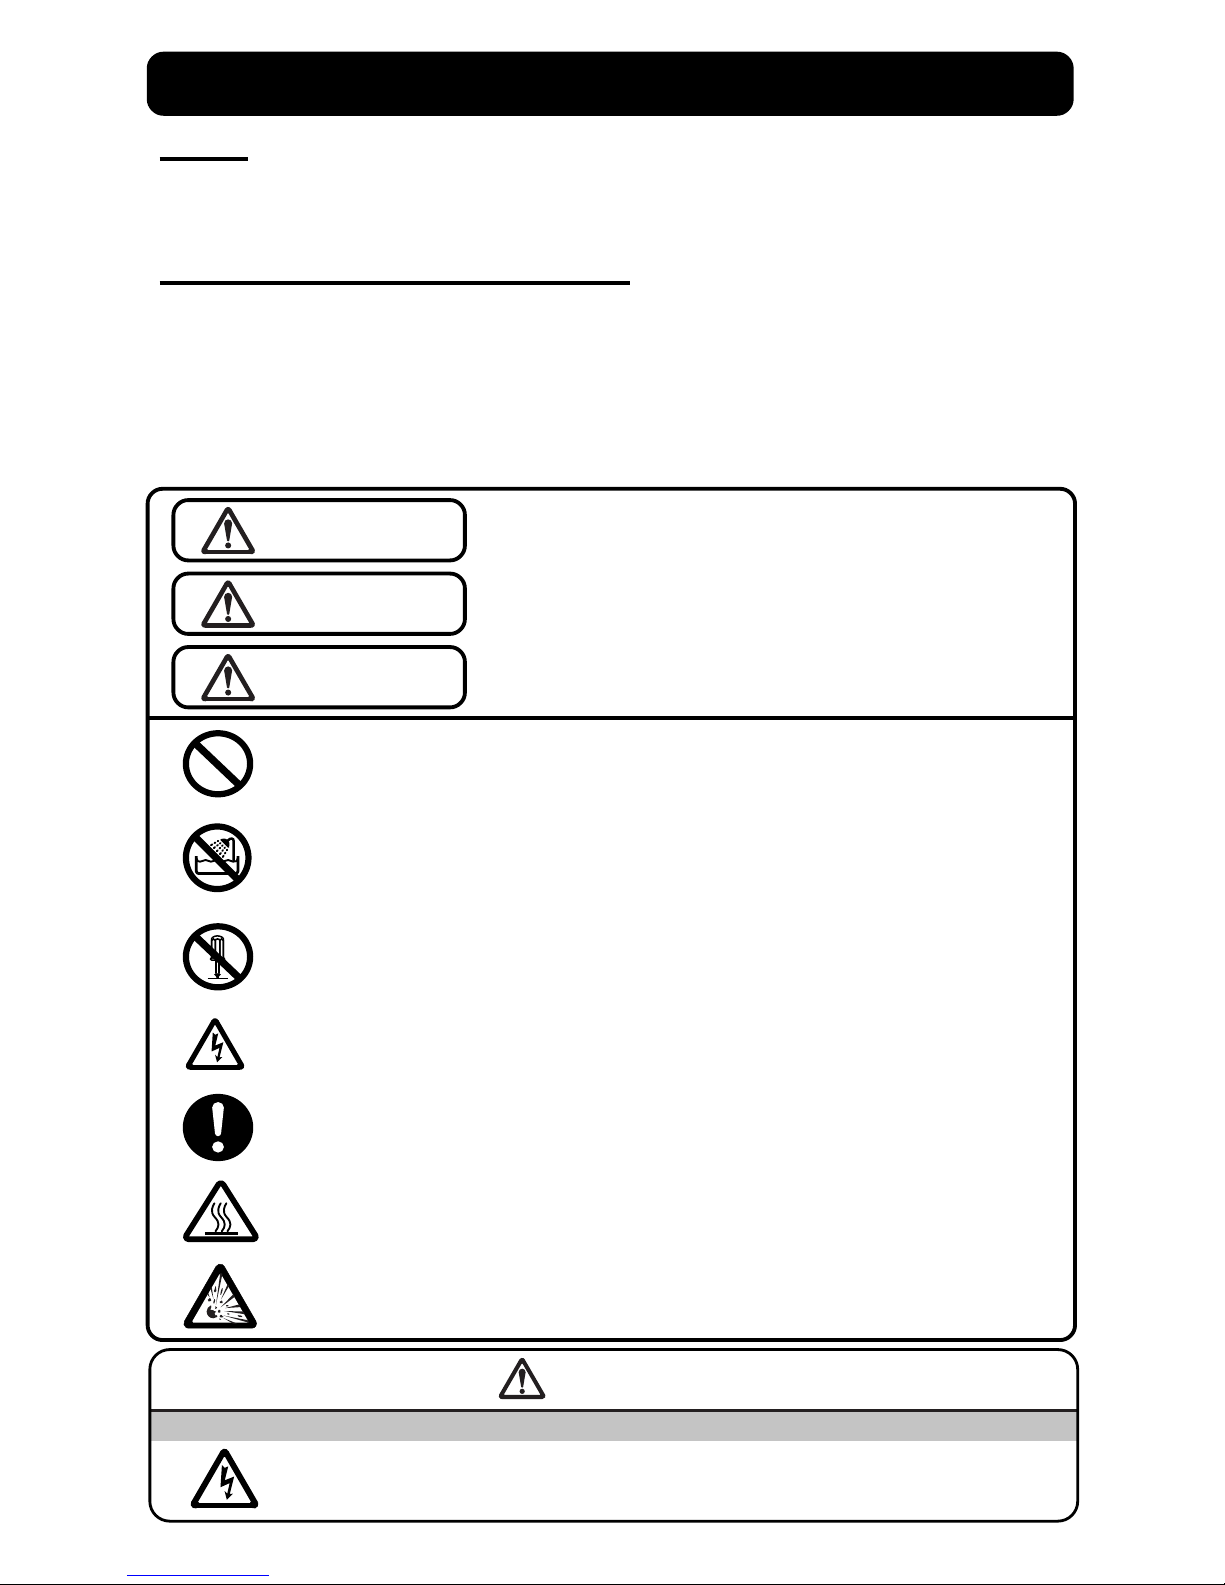
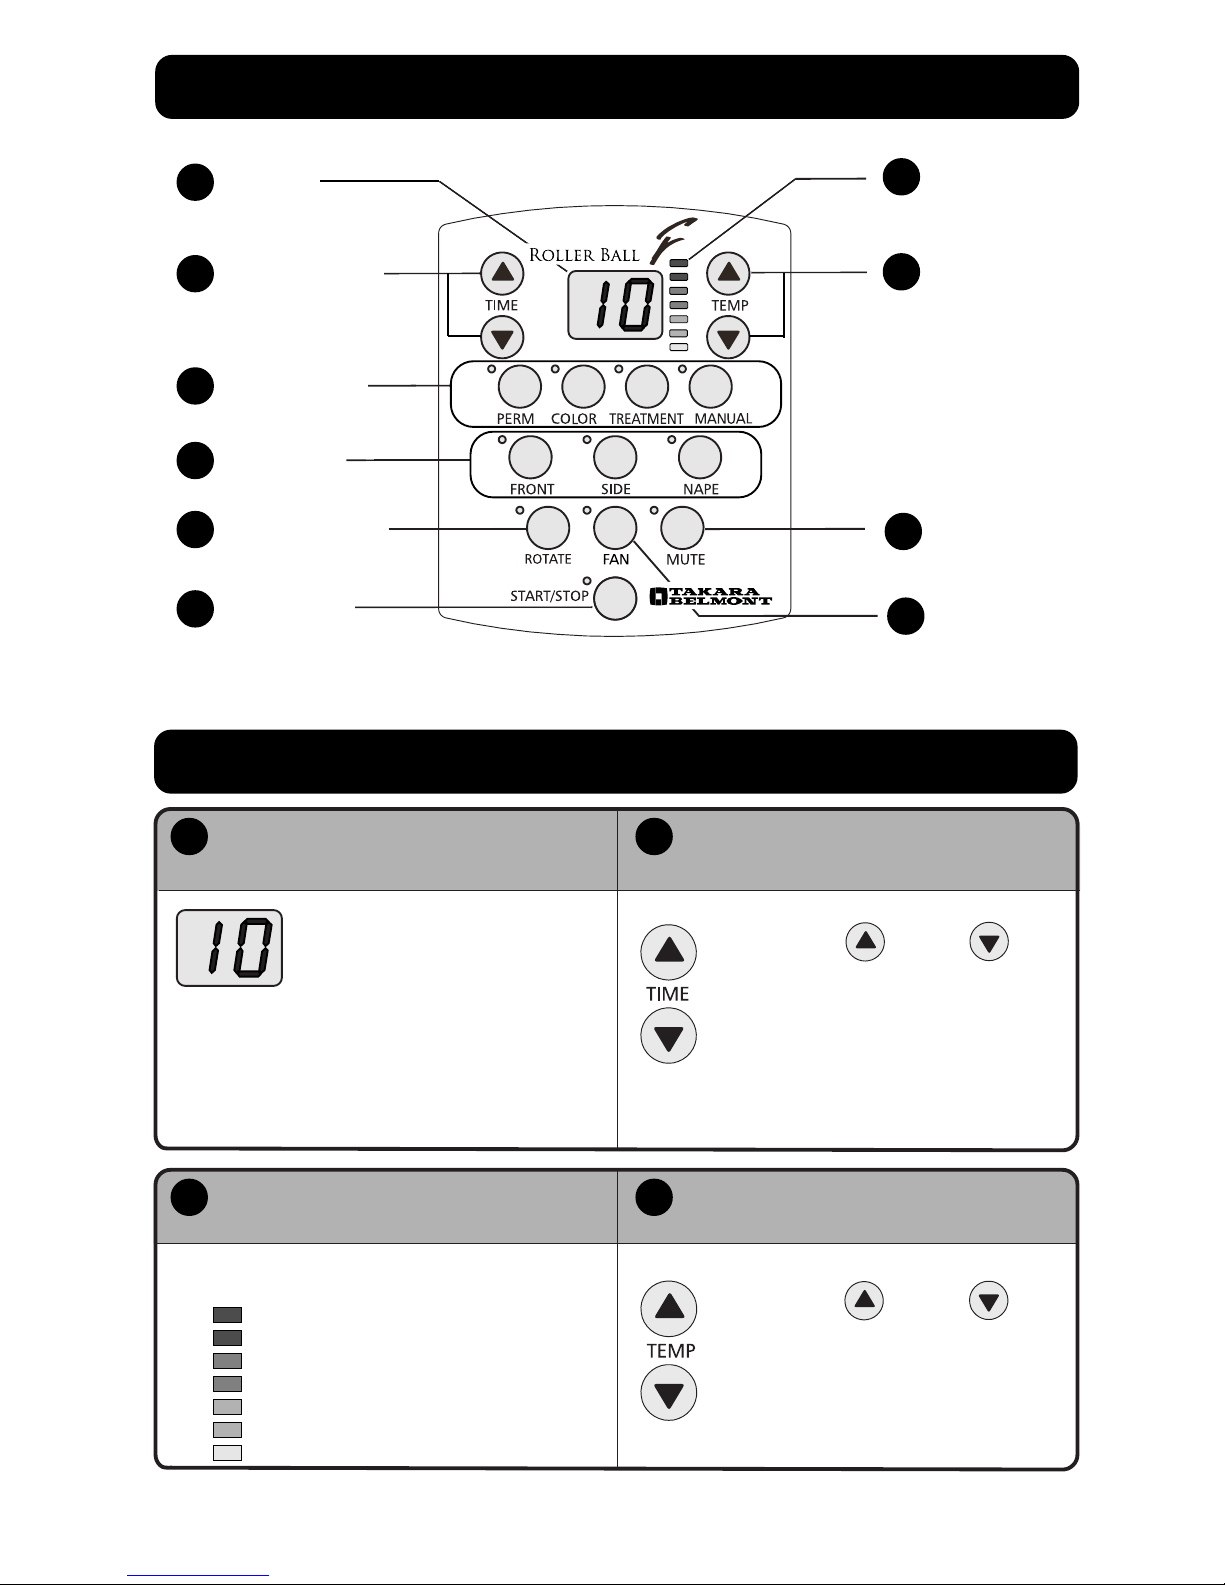
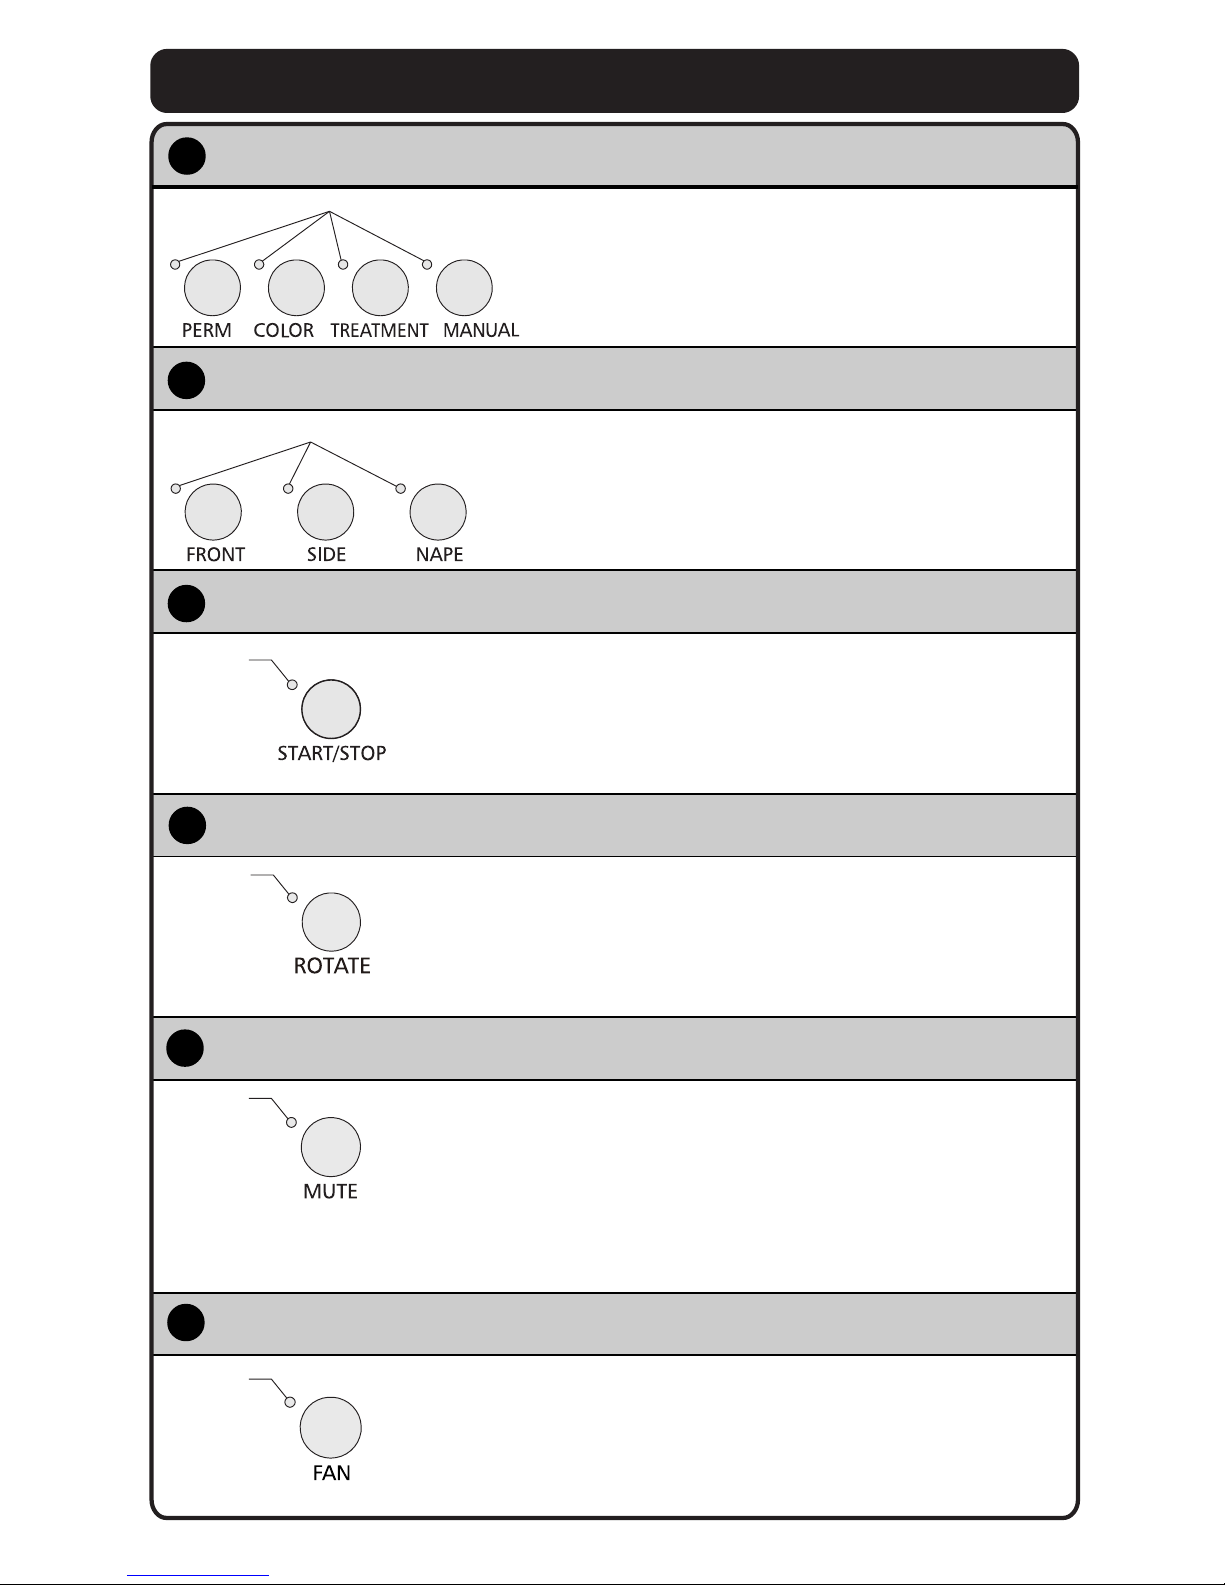
Safety Precautions (To be strictly observed)
Do not apply water to the main unit directly nor
wipe them with a wet cloth. Neglecting this
warning may result in an electrical shock or
ignition.
Persons other than the repair engineer must not
disassemble, repair, or modify the product.
Neglecting this warning may cause ignition or
abnormal operation resulting in physical injuries.
Be careful to avoid allowing the hair or the skin of
the customer to contact the heater guard while the
customer dozes during operation or after using the
Roller Ball. Neglecting this warning may result in a
burn injuries.
Do not suspend anything from the product or the dryer arm.
Be sure to execute the daily check.
Execute the daily check according to the Daily
Inspection Procedure described in this manual
(page 20). Improper use or operation of the
product may result in injuries or accidents
including burns.
Shocks to the product during operation.
Do not expose the product to shocks or impacts
during operation. Neglecting this warning may
result in falling of the product, thus causing
electric shock, fire, breakage, or injuries.
Do not insert a metal object into the ring.
Failure to heed this warning may lead to falling of
the product due to damage resulting in burns or
physical injuries.
Do not suspend from a shaft or a dryer arm.
Do not go up or suspend from the shaft or the
dryer arm of the Roller Ball. Neglecting this
caution may cause falling, tumbling, or breakage
of product resulting in burns or physical injuries.