Tanzer 22 User manual

Tanzer 22 Owner's Guide


TABLE OF CONTENTS
TABLE OF CONTENTS ...................................................................................................... i
LAUNCHING AND RIGGING .........................................................................................1
RUDDER AND TILLER...................................................................................................1
OUTBOARD MOTOR AND BRACKET..........................................................................2
CRANE LAUNCH ........................................................................................................2
TRAILER LAUNCH........................................................................................................3
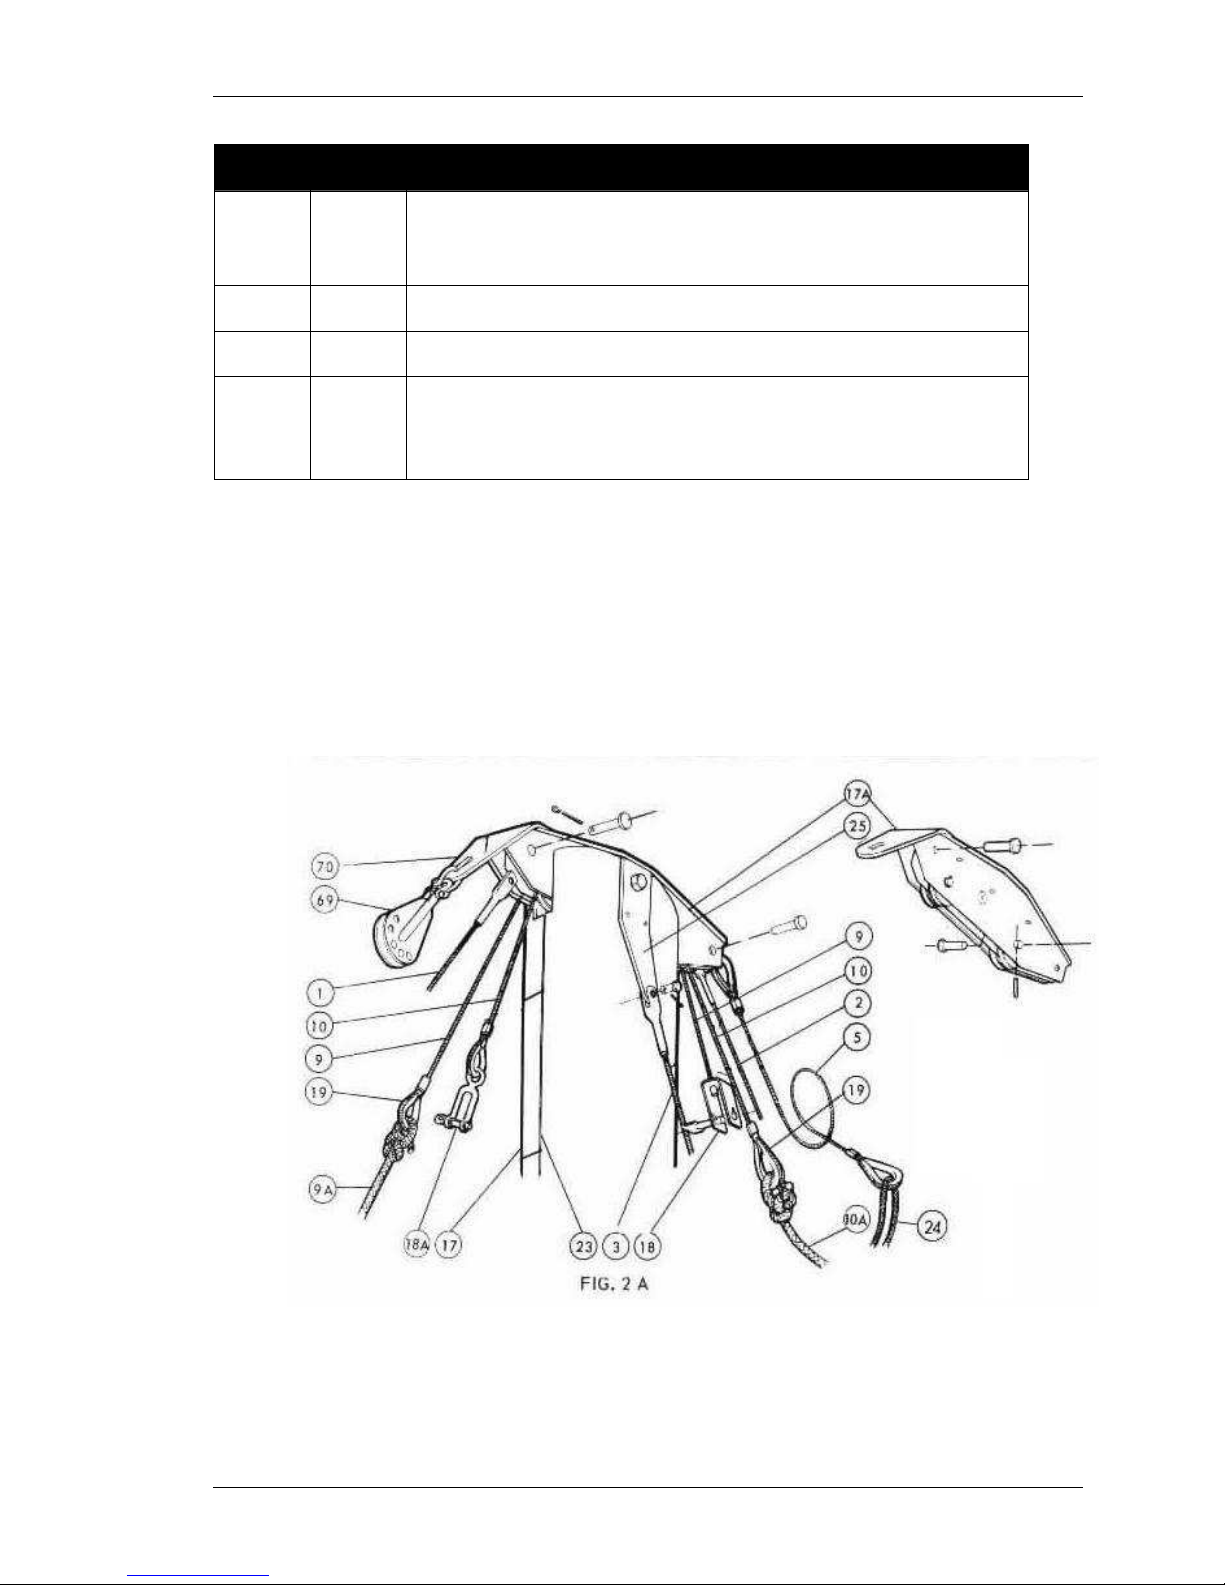
RIGGING KIT...............................................................................................................4
RIGGING AND STEPPING THE MAST..........................................................................5
BOOM VANG...........................................................................................................13
MAINSAIL..................................................................................................................13
OUTHAUL ..................................................................................................................14
CUNNINGHAM.........................................................................................................15
MAINSHEET TRAVELLER ............................................................................................16
MAIN SAIL COVER ...................................................................................................16
SPINNAKER GEAR.....................................................................................................17
BOW PULPIT, LIFELINES & STERN RAIL.......................................................................19
ANCHOR WELL HATCH............................................................................................20
HOISTING SAIL..............................................................................................................21
MAINSAIL..................................................................................................................21
JIB .............................................................................................................................21
GENOA.....................................................................................................................23
SPINNAKER ...............................................................................................................24
REEFING .......................................................................................................................25
ROLLER REEFING ......................................................................................................25
JIFFY REEFING...........................................................................................................25
ACCESSORIES..............................................................................................................26
FOREHATCH VENTILATOR ........................................................................................26
SCREENS...................................................................................................................26
COCKPIT AWNING...................................................................................................27
MARINE TOILET .........................................................................................................27
PORTABLE TOILETS....................................................................................................28
ICE BOX ....................................................................................................................28
ELECTRICAL SYSTEM ....................................................................................................29
MAINTENANCE ............................................................................................................32
ANTI-FOULING..........................................................................................................32
FIBERGLASS SURFACES.............................................................................................32
GELCOAT REPAIRS...................................................................................................33
TEAK..........................................................................................................................34
STANDING AND RUNNING RIGGING......................................................................34
FITTINGS ....................................................................................................................34
THROUGH HULL FITTINGS .........................................................................................34
CARE OF SAILS .........................................................................................................35
CENTERBOARD ASSEMBLY.......................................................................................36
WINCHES ..................................................................................................................36
ADDITIONS ...................................................................................................................38

ADJUSTABLE CLEW OUTHAUL ................................................................................. 38
MAINSHEET TRAVELLER............................................................................................ 38
GENOA GEAR.......................................................................................................... 39
SPINNAKER GEAR .................................................................................................... 40
SNUBBING WINCHES................................................................................................ 41
BOW PULPIT, LIFELINES & STERN RAIL ...................................................................... 41
SCREENS................................................................................................................... 42
SPECIFICATIONS.......................................................................................................... 43

LAUNCHING AND RIGGING
RUDDER AND TILLER
The tiller should be bolted to the rudder with the bolt and lock nut provided as
shown in Figure 1. The lock nut should be tightened so that the friction between
the fibreglass rudder head and the aluminium cheeks of the tiller is sufficient to
retain the tiller at any angle in the vertical plane. To facilitate the insertion of the
rudder pintles in the gudgeons on the transom, the bottom pintle is slightly longer
than the upper. This allows partial insertion of the bottom pintle without precisely
lining up the upper pintle with the upper gudgeon. After installation the rudder
retaining clip (87) (Figure 1) on the transom should be turned so as to prevent
inadvertent removal of the pintles by wave action. The bolt of the retaining clip
should be tightened periodically as necessary.
The rudder retaining clip (87) shown in Figure 1 is not installed on later models.
Instead, the top rudder pintle is drilled to accept a split pin, which is supplied with
the rudder. After the rudder is installed, insert the split pin and open slightly.

OUTBOARD MOTOR AND BRACKET
A 6 H.P. long shaft outboard motor will provide adequate power for most
conditions. A more powerful 7.5 or 9.9 H.P., long shaft motor should only be
considered if the boat is to be manoeuvred under power regularly and often in a
very swift tidal stream or current where the possibility of encountering a strong
headwind at the same time is likely. Although the outboard motor bracket is
engineered to accept motors up to 18 H.P. it is not recommended that a motor
of this capacity be installed.
The outboard motor should be operated and maintained in accordance with
the manufacturer’s instructions.
The outboard bracket is spring loaded to facilitate the lifting and lowering of the
motor. It locks in both the up and down position. To release the lock in either
position a strong downward pressure should be applied simultaneously to the
motor and the lock latch situated on the base of the bracket. When in the up
position, the motor should be tilted forward so that the propeller is clear of the
water for sailing.
The motor should be aligned so that the helm is balanced when under power .
When manoeuvring under power, steer with the tiller and not the motor so as to
avoid the possibility of the propeller blades damaging the rudder. The clearance
between the propeller blades and the rudder is adequate for propellers of up to
8" dia. when the motor is correctly aligned as above. Some European motors,
such as the "Seagull" have larger propellers and will foul the rudder.
Excessive weight forward of the mast will obviously raise the stern and
consequently lift the propeller out of the water. This should be avoided when
under power.
CRANE LAUNCH
To launch your boat using a crane, proceed as follows:
1. Remove all tie down lines.
2. Secure mooring lines to the bow and stern mooring cleats to control the
boat while it is being lifted and when it is in the water.
3. Place fenders on the side of the boat that will be alongside a dock when
afloat.
4. Secure the outboard motor to the motor bracket. Place the gas tank in
either the port cockpit locker, or in the stern locker. Pass the gas line from
inside the boat through the small ventilator in the transom, and
connected to the motor. Gas should be pumped to the motor by
squeezing the rubber bulb in the gas line. The manufacturer’s instructions
pertinent to the motor should be followed.
5. Installed the rudder and tiller.

6. Check that the valves on all through hull fittings are closed; namely, the
sink drain and marine toilet intake and outlet, if one is installed. Check that
all hose clamps are tight.
7. If the boat is being launched by a hoist with slings, it should be positioned
under the hoist. One sling should be placed forward of the keel, and the
other aft. It is good practice to tie the slings together to avoid the-
possibility of these slipping apart. If wire in the slings is likely to damage the
vinyl rub rail or the hull, these areas should be protected with rags or any
suitable materials.
8. Lift the boat well clear of the cradle or trailer. If it appears that the slings
are badly placed so that the boat tilts either fore or aft to any marked
degree, it should be lowered and the slings repositioned.
9. If necessary, apply anti-fouling paint to the areas covered by the cradle
pads. It is not necessary for these small newly painted areas to be dry
before launching.
10. Lower into water, release slings and tie up alongside.
11. Open through hull valves and check for leaks.
12. Proceed with rigging.
TRAILER LAUNCH
The procedure to launch from a trailer is as follows:
1. Ascertain the length of the ramp that you intend to use and the maximum
depth of water at its lowest point. You will require about 3'6" of water to
launch your Tanzer 22 keel/centerboard model; this will vary with the
height of the trailer bed. If it appears that this depth of water will not be
available, or that the wheels of the trailer will run off the end of the ramp
before the boat floats, do not attempt launching.
2. If the ramp appears suitable, remove mast and mast racks.
3. Follow steps 2 through 6 above.
4. Back the loaded trailer into the water as far as is possible without
immersing any part of the towing vehicle.
5. Place chocks under trailer wheels and install dolly wheel. Unhitch trailer
and drive vehicle up ramp a few feet. Secure a strong rope to trailer and
take one or two turns around the trailer ball hitch and the vehicle.
6. Remove chocks and allow trailer to proceed down the ramp by surging
rope around hitch until the boat is afloat. If your trailer is equipped with a
launching tongue extension, this should be used; in which case the trailer
may be backed into the water with the towing vehicle until the boat is
afloat.
7. When afloat, the boat may be controlled either with the lines from the
bow and stern or by the motor. In the latter case a person should be in the
cockpit prior to launching.
8. Open through hull valves and check for leaks.

9. Recover trailer, proceed to dock and rig mast.
RIGGING KIT
To rig your boat you will require the following tools:
o
A pair of Vise-grips
o
An adjustable wrench
o
A pair of long nose pliers
o
A marlin spike or awl
o
A roll of vinyl adhesive tape (white electrical tape available at
Canadian Tire)
o
A screwdriver
The parenthesized numbers (1) in the text correspond with the numbers shown in
the drawings.
The standard rigging kit for a Tanzer 22 consists of the following items:
Ref. Figure Description
-1 2A Forestay (5/32 1 x 19) fitted with a swaged eye at each end.
-2 2A Backstay (5/32 1 x 19) fitted with a swayed eye at each end.
-3 2A Two upper shrouds (5/32 1 x 19) Each shroud is fitted with a
swaged eye at one end and a swayed fork at the other.
-4 2B Two lower shrouds (5/32 1 x 19) Each shroud is fitted with a
swaged eye at one end and a swaged fork at the other.
-5 2A
Topping lift (3/32 1 x 19).This is fitted with a thimble at both ends.
Also includes a short length of dacron line.
(6) & (6A)
3E Six turnbuckles each fitted with a toggle
-7 5 Main sheet: (3/8 dia. braided dacron line).
-8 8 Jib sheet: (3/8 dia. braided dacron line).
(9A) 2C Main halyard rope tail: (5/16" dia. twisted dacron line). The wire
portion of the main halyard (3/32" 7 x 7) should already be on
the mast.
(10A) 2C Jib halyard rope tail: 5/16" dia. twisted dacron line). The wire,
portion of this halyard (1/8" 7 x 19) (%) should already be on the
mast.
(11) &
(12) 5 Main sheet blocks. There are two; one is a fiddle block fitted
with a beaked swivel and a cam action jamb cleat (11) and
the other is a fiddle block (12) with a shackle. If your Tanzer 22 is

Ref. Figure Description
fitted with a traveller, different blocks are supplied, and these
are described in the section dealing with the mainsheet
traveller.
-13 2B Two aluminum spreaders.
-14 7 Jib tack shackle.
Jib Halyard winch handle.
Roller-Reefing handle.
(22A) 2C
Low profile ventilator insert.
RIGGING AND STEPPING THE MAST
1. Support the mast (17) at either end between two blocks or other suitable
supports. There should be two wires already rove through the mast head
fitting; the thinner one is the main halyard (9) and the thicker wire the jib
halyard (10). Both have quick release halyard shackles (18) and (18A) at
one end and a thimble (19) at the other. (see Figure 2a)

2. Select one of the rope tails and secure one end to the thimble (19) at the
end of the main halyard (9) (the thinner wire) with a bowline knot or eye
space. Fasten the quick release shackle (18) to the large horizontal eye
(20) on the foreside of the mast, take up the slack and make up rope tail
on the cleat (21) on the starboard side of the mast (see Figure 2c).
3. The remaining rope tail should be similarly secured to the jib halyard (10)
(the thicker wire). Fasten the quick release shackle (18A) to the horizontal

eye (20) and make up rope tail on the other mast cleat (21) after taking
two or three clockwise turns around the winch (22) mounted above the
cleat. (see Figure 2c)
4. Select forestay (1), backstay (2) and topping lift (5). The swaged eyes on
the ends of the forestay and backstay should be secured to the
masthead fitting as shown in Figure 2a, using the clevis pins and split pins
provided. Make sure that the main and jib wire halyards are not allowed
to run over or above these clevis pins. There are two slots on the forward
underside of the mast head fitting (17A) . The forestay eye (1) should be
placed in the slot directly above the mast centreline groove (23) on the
forward face of the mast, leaving the other slot vacant. The backstay eye
(2) should be placed in the slot directly above the sail luff groove on the
aft side of the most and one of the thimbles of the topping lift (5) should
be placed in the other slot. After inserting the clevis pins and split pins to
secure these eyes, make sure that the ends of the split pins are bent over.
The length of light dacron line (24) should be secured to the thimble (19)
at the other end of the topping lift with a bowline knot (see Figure 2a) and
made up loosely on one of the mast cleats (21).
5. Select the two upper shrouds (3) and attach the swaged fork of each to
the upper shroud tangs (25) on either side of the mast as shown in Figure
2a, using the clevis pins and split pins supplied. Bend over the ends of the
split pins.
6. Select the lower shrouds (4) and attach the swaged fork of each to the
lower shroud tangs (26) as shown in Figure 2b. Bend over the ends of the
split pins.
7. Select the six turnbuckles (6) with toggles (6A) . Loosen the lock nuts and
open the turnbuckles to the fullest extent possible. The turnbuckle, with
toggles on the lower ends, should then be secured to the swaged eyes on
the unsecured ends of the forestay (1), backstay (2), upper shrouds (3)
and lower shrouds (4) using the clevis pins or split rings provided. Bend
over the ends of split pins and re-tighten lock nuts so as to avoid the loss of
any portion of the turnbuckles during the rigging process.
8. Select spreaders (13), and after removing the large split pins, insert the
smaller turned ends into the spreader sockets. Both the spreaders and the
bases are marked P or S and these should be matched. Make sure that
the port spreader is inserted between the wire and rope tail of the jib
halyard (10) in such a way that when the mast is stepped the wire portion
will be forward and the rope tail aft of the spreader (see Figure 2b).
Similarly ensure that the wire portion of the main halyard (the thinner wire)
will be aft of the starboard spreader and the rope tail forward, when the
mast is stepped. Insert split pins from the upper side and bend over ends.
These should then be taped over with strong vinyl adhesive tape. Each
upper shroud (3) should be wired to the outer slotted end (15) of each

spreader as shown in Figure 2b, using the brass wire provided. The outer
ends of the spreaders and the wire should also be covered with adhesive
tape. Remove mast hinge bolt (27) taking care not to lose it or the lock
nut (28) (Figure 2d).
9. Secure the toggle of the turnbuckle (6) on the backstay (2) to the
backstay chainplate (29) in the cockpit coaming at the transom, using
the clevis pin, split pins or split rings provided, (see Figure 3e ). If split pins
are used, the ends should be bent over.

10. The mast is now ready for stepping with the help of another person, place
the heel of the mast on the mast step (16). Fasten the mast hinge (16A) to
the mast step as shown in Figure 2d. Make sure that the self locking nut
(28) is tightened.
11. The mast should then be raised to a vertical position by simultaneously
lifting and walking towards the mast step. Care should be taken that the
mast does not fall sideways. With the mast vertical, one person should
hold it in that position while the other fastens the toggle on the forestay
turnbuckle (6) to the stem head fitting (30) as shown in Figure 3b. Turn the
barrel of the turnbuckle until the forestay is under slight tension. Both lower
shrouds (4) should then be fastened to the inner holes of the shroud
chainplates (31) on each side of the cabin top and the upper shrouds (3)
to the outer holes (see Figure 3c).

The mast is now stepped. The barrels of all turnbuckles should be turned to
tighten the standing rigging appropriately. The lower shrouds should be
taut but not so tight that they twang; nor floppy.
The forestay, backstay and upper shrouds should be somewhat tighter
than the lowers. It should be kept in mind that all standing rigging will
stretch after sailing and will require re-adjustment. If you have a Loos
tension gauge, the rigging should be set to the following tension:
1
Shroud tension should be more less equal between the upper and lower
shrouds, and based on a standard of 10-12% of breaking strength, around
400 pounds, or a scale reading of 41-42 on a Standard Loos Gauge.
Sailing tests may show that this is a little soft, requiring one more turn of the
screw which should bring you up to about 500 lb or 43-44 on the Loos. This
is enough tension for these rigs, and more would not ordinarily be justifed.
Tensioning the uppers significantly greater than the lowers does not make
much sense in these rigs, given that there is no means to prevent the spar
from being forced into an "S" curve. I would not tension the uppers more
that about 10% over the lowers at the most, if I felt that the masthead was
sagging off too much. The mast, by its robustness, will only let you
compensate so much, before it begins to collapse downward. Have a
problem with leaking chainplates? Like 700 lbs of tension on the shrouds?
Hmm.
1
This information was missing from the original copy, so I’ve included an excerpt from
Paul Coppin’s Tuning Guide on the Tanzer 22 Class Association website.

Fore and back stay tension is typically set at 15% of breaking strength of
the wire, or 495 pounds, to start. Sailing tests can result in this increasing,
but in no case should it ever exceed 825 lbs. or 47 on the Loos, and for
most boats a maximum of 600 lbs. (45 Loos) would be reasonable. The
stated load of 900 lbs in one of the T22 tuning guides is way out of line,
and puts undue strain on the rig, excess compression on the mast base
and is guaranteed to put a fore and aft serpentine bend in the spar.
Equally,undue load on the shrouds will result in a transverse serpentine in
the mast which can be clearly seen by sighting up the sail track. By pulling
on each shroud individually while sighting the track, the effect of
tightening that particular shroud can easily be seen. Remember that once
the shrouds are approaching proper tension, when you tighten up on one
shroud, you may have to loosen its opposite by the same amount.
12. After setting up the standing rigging, the two lock nuts of all turnbuckles
should be tightened hard. The ends of all split pins should be bent over
and finally all split rings and/or split pins should be taped.
13. The dacron line on the topping lift (24) should be rove through the hole in
the strap (39) on the after end of the boom as shown in Figure 3a. The
length of the topping lift should be adjusted by means of this line after the
mainsail has been hoisted, so that the sail and not the topping lift support
the boom. When sailing, the topping lift should be slack at all times in
order that the tension of the leech of the mainsail can be controlled with
the main sheet.
14. Select the boom (32) . Remove the split pin and nut (33A) from the
gooseneck fitting (33) and fit to slide (35) on the gooseneck track (34),
making sure that the nut and locking split pin are replaced (see Figure 4).

15. Select the main sheet blocks. The fiddle block (12) should be secured to
the slot in the strop at the after end of the boom using the shackle
provided. The swivel fiddle block (11) with the jamb cleat should be
secured to the shackle in the small black rubber cap (40) on the cockpit
sole, (see Figure 5). All shackles should be tightened with pliers; that on
(11) with a screwdriver. If your boat is fitted with a mainsheet traveller,
refer to the section dealing with this.
16. Select main sheet (7). This should be rove as shown in Figure 5. Tie a figure
of eight knot in the loose end of the main sheet. Take up slack and secure
in swivel jamb cleat.
17. On later models of the Tanzer 22, a small stainless steel eye strop is
installed below each halyard cleat. The ends of the main and jib halyard
rope tails should be inserted in these straps and then knotted with a figure
of eight knot. This permanently secures the halyard rope tails and prevents
them from inadvertently going aloft.

BOOM VANG
A boom vang (82) may be installed on the Tanzer 22 as shown in Figure 9. If you
have a boom vang plate (83), then the double block of the boom vang
assembly is fitted with a small stainless steel key (84) and this should be inserted in
the boom vang plate. The other double block of the boom vang, incorporating
a jamb cleat, should be secured to the lower of the two holes in the aluminum
plate (85) protruding from the sail groove at the base of the most.
MAINSAIL
The bolt rope on the foot of the mainsail should be slid into the sail groove on the
boom. The tack of the sail is then secured to the tack plate (36) with the large
tack pin (37) supplied (see Figure 4). This pin may be opened slightly so as to
ensure that it does not fall out of the tack plate.
The battens supplied (two x 24" and two x 18") should be inserted in the batten
pockets in the mainsail. Do not fail to push the end of each batten well into each
pocket and then downwards so that they are retained by the closed outer end
of each pocket. Care should be taken when folding and/or stowing the mainsail
on the boom to avoid breaking the battens.

OUTHAUL
The outhaul should be secured to the strap (41) on the port side of the boom.
The other end should be passed through the cringle in the clew of the mainsail
(42) and then made up on the cleat (43) (see Figure 6).
An adjustable clew outhaul permits adjustment of the tension in the foot of the
mainsail while sailing. If an adjustable outhaul is fitted to your boat, the clew of
the mainsail should be secured with the small shackle and block as shown in
Figure 17.

CUNNINGHAM
Most Tanzer22 mainsails are fitted with a cringle (86) in the luff a few inches
above the tack . This cringle allows the installation of a mainsail cunningham if
desired as shown in Figure 10. The cunningham tackle (86A), should be secured
to the upper hole in the aluminum plate (85) protruding from the sail groove at
the base of the mast. The bottom hole should be used for a boom vang if
installed.
The luffs of some No. 1 and No. 2 genoas are also fitted with a cringle and line to
permit the fitting of a simple cunningham as shown in Figure 11. A more
sophisticated arrangement involving a purchase tackle and control line to the
cockpit may be installed if preferred .

MAINSHEET TRAVELLER
A full cockpit-width mainsheet traveller may be fitted to the Tanzer 22 as
illustrated in Figure 3a and Figure 16. If the mainsheet traveller is already installed
on your boat, the mainsheet must be rove as shown and not as illustrated earlier
for the standard mainsheet arrangement.
MAIN SAIL COVER
Figure 20 illustrates the way in which the mainsail cover should be laced together
around the mast.
Table of contents