TBS technologies TBS2910 Specification sheet
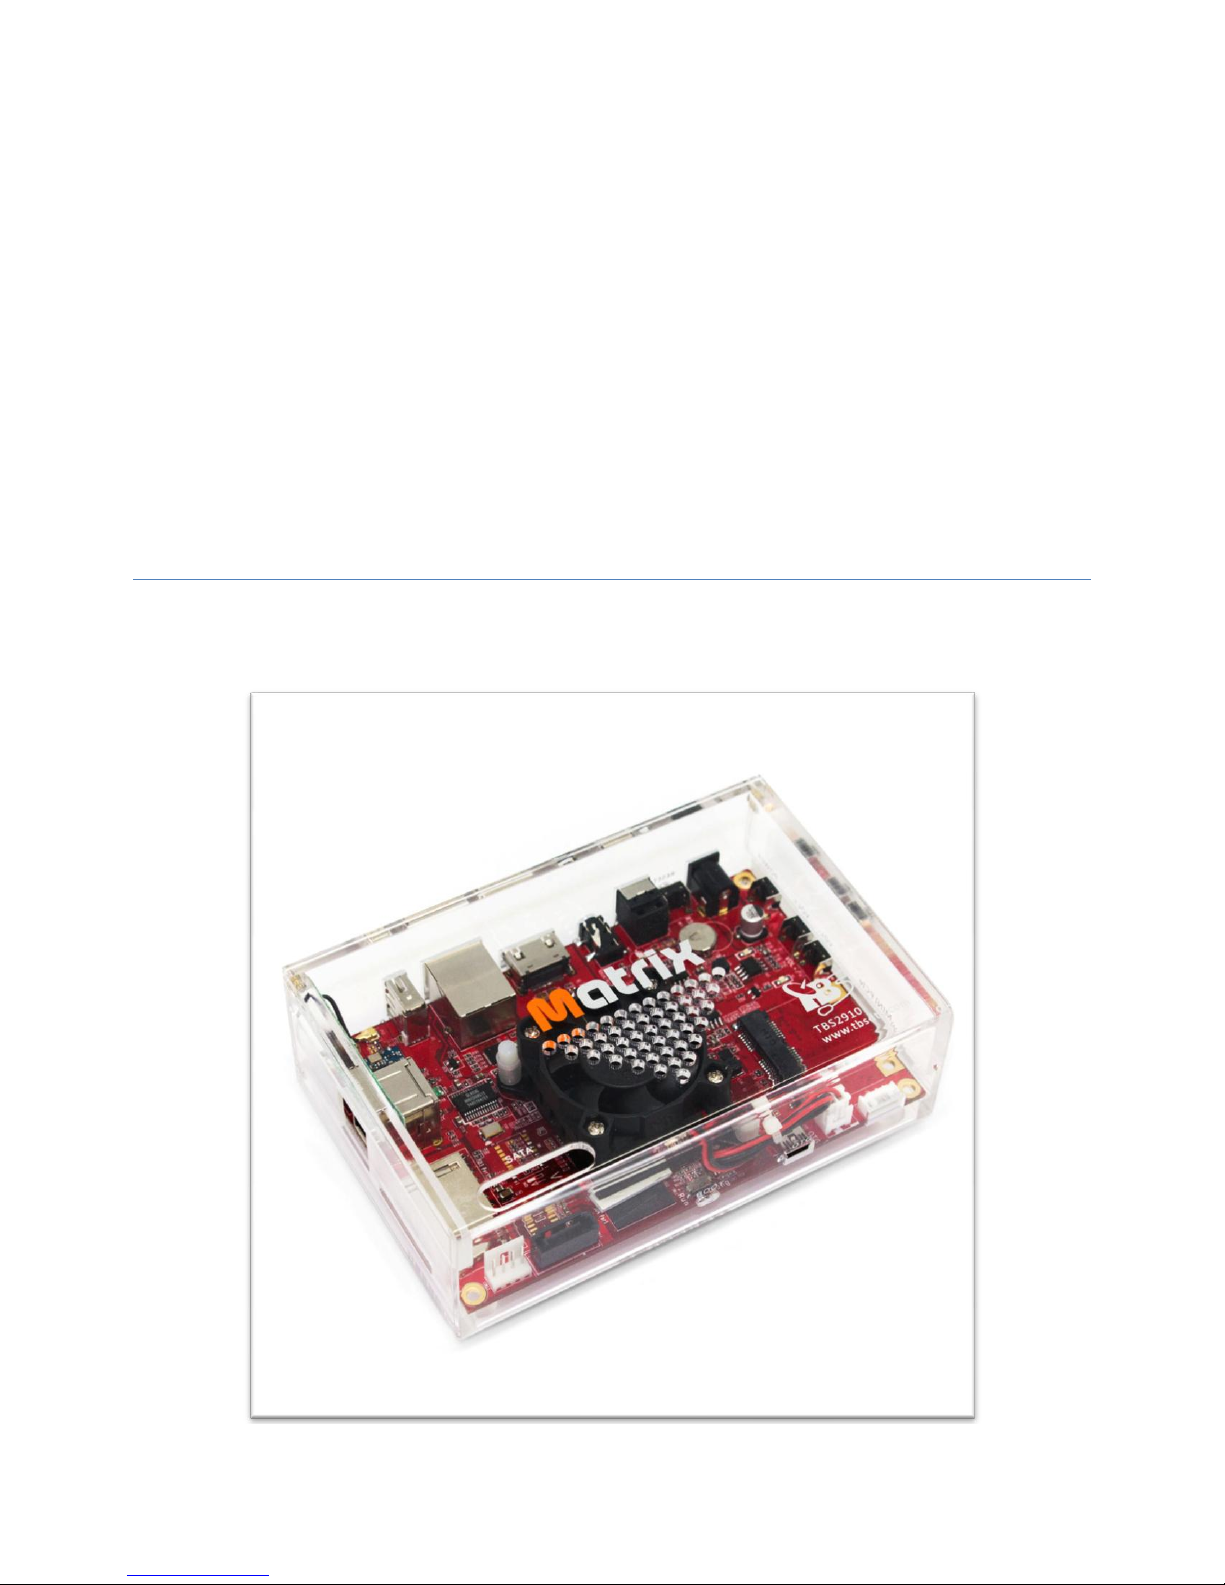
Matrix
Get Started Guide V2.0

---2 / 9--- Matrix –Get Started Guide V2.0
Overview
Matrix is a single board mini computer based on ARM with a wide range of interface, equipped with a
powerful i.MX6 Freescale processor, it can run Android, Linux, Ubuntu and other operating systems, a
switch between different operating systems can be done within just a few minutes! Matrix also has
great support for TBS USB tuners and popular software such as XBMC, VDR, Tvheadend, DVBLast 1and so
on.
Features
TBS Tuner Support
Equipped with the mini PCIe slot and USB ports, Matrix works perfectly with TBS USB tuners.
The supported USB tuners are:
TBS5220, TBS5280, TBS5281, TBS5880, TBS5881, TBS5922, TBS5925, TBS5680, TBS5980, TBS5990, TBS
DVB-C stick
Support for more tuners will be added.
Freescale Quad Core
Based on Freescale i.MX6, Matrix provides a much more powerful ready-to- run platform.
Open Source
It’s 100% open source, Matrix runs Linux, Android, Ubuntu, and any other OS you like.
To switch from one OS to another, you just need to burn the new OS into the eMMC on the Matrix
board, and then reboot it.
XBMC, VDR, Tvheadend Support
Popular software like XBMC, VDR, Tvheadend are ready for Matrix.
1The DVB software are preinstalled in a customized Linux OS called MatrixTV, the OS image can be found in the
download section of www.tbsdtv.com

---3 / 9--- Matrix –Get Started Guide V2.0
Specification
System-on-a-Chip (SoC)
Freescale MCIMX6Q5EYM10AC
CPU
Quad ARM Cortex-A9 at 1.0GHz
GPU
Vivante GC2000, Quad core GPU, Quad IPU
RAM
2GB DDR3
USB 2.0 Ports
3x USB 2.0
Audio & Video
3.5 mm jack
HDMI port
Other Interface
SATA3.0
UART port
I/O port
OTG (mini USB)
mini PCIe
Optical (S/PDIF)
IR receiver
Remote Support
HDMI-CEC
Storage
16GB eMMC
1x SD card slot
1x micro SD/ TF card slot
Network
10/100/1000 wired Ethernet
WIFI IEEE 802.11n/b/g
Power Input
12 V, 2A
Dimension
board:130*83 mm
case: 135*90*45 mm
package: 186*182*80 mm
Package Contents
1x Matrix ARM mini PC
1x power adapter
1x SATA power cable

---4 / 9--- Matrix –Get Started Guide V2.0
Interface Introduction
1. I/O port
2. 2x USB 2.0 ports
3. Micro SD/ TF card slot
4. LAN port
5. HDMI port
6. Audio (3.5mm jack) port
7. LED indicator
8. Optical (S/PDIF) port
9. USB 2.0 port
10. DV 12V (power
connector)
11. Reset button
12. SD card slot
13 & 14. SATA port
15. Main chip
16. BOOT/ UPDATE switcher
17. IR receiver
18. LED indictor
19. OTG/ mini USB port
20. UART port
21. ON/OFF button
22. mini PCIe slot
---5 / 9--- Matrix –Get Started Guide V2.0
Get Started
Matrix is an open source mini PC based on ARM, which can run Android, Linux, Ubuntu and many other
operating systems, by default it has MatrixTV system preinstalled inside, it’s easy to switch to another
system within just a few minutes, by burning a new OS image2into the eMMC on the board. Below you
can find a brief guide for connection, before you get started, make sure the following things are ready:
Matrix
Power adapter (12V. 2A)
HDMI cable
Monitor or digital TV with HDMI input
Network cable
USB devices (keyboard & mouse)
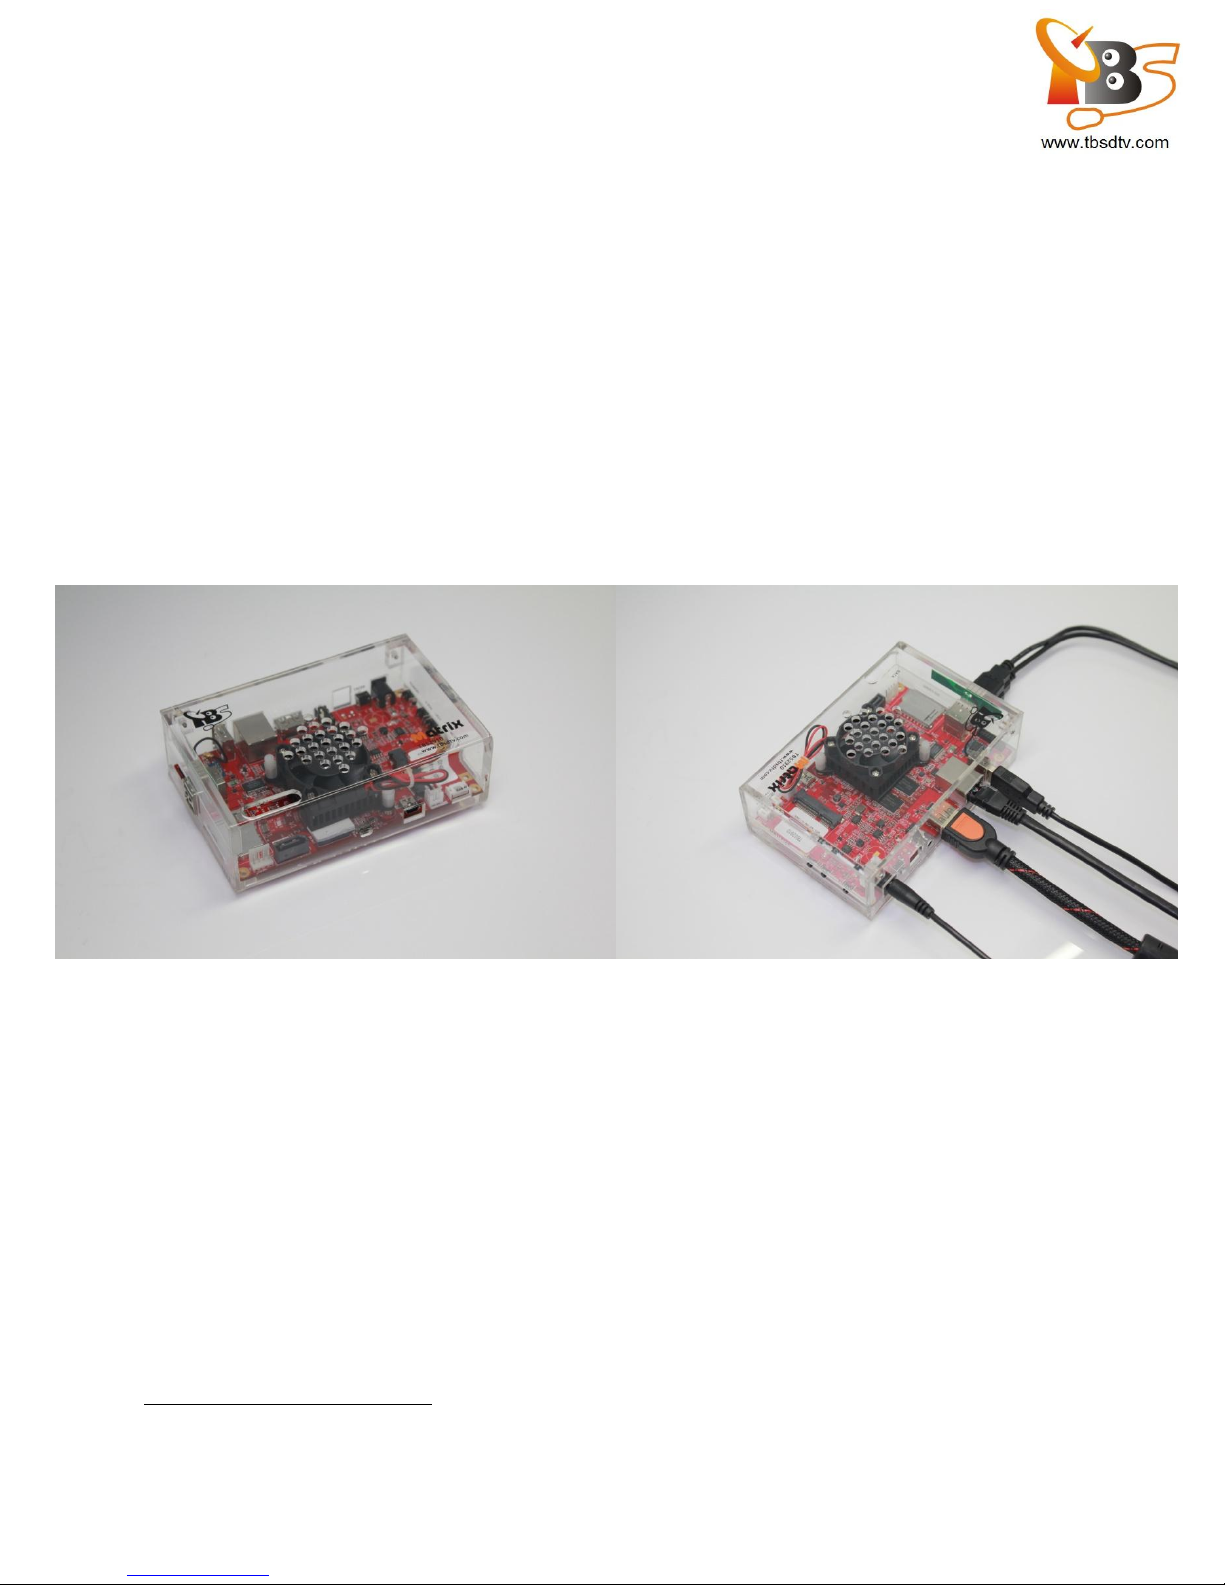
01-Connect the HDMI cable
Plug one end of the HDMI cable to the HDMI port on Matrix, and the other end to your monitor
or digital TV.
2OS images and some software can be found in the download section of www.tbsdtv.com
---6 / 9--- Matrix –Get Started Guide V2.0
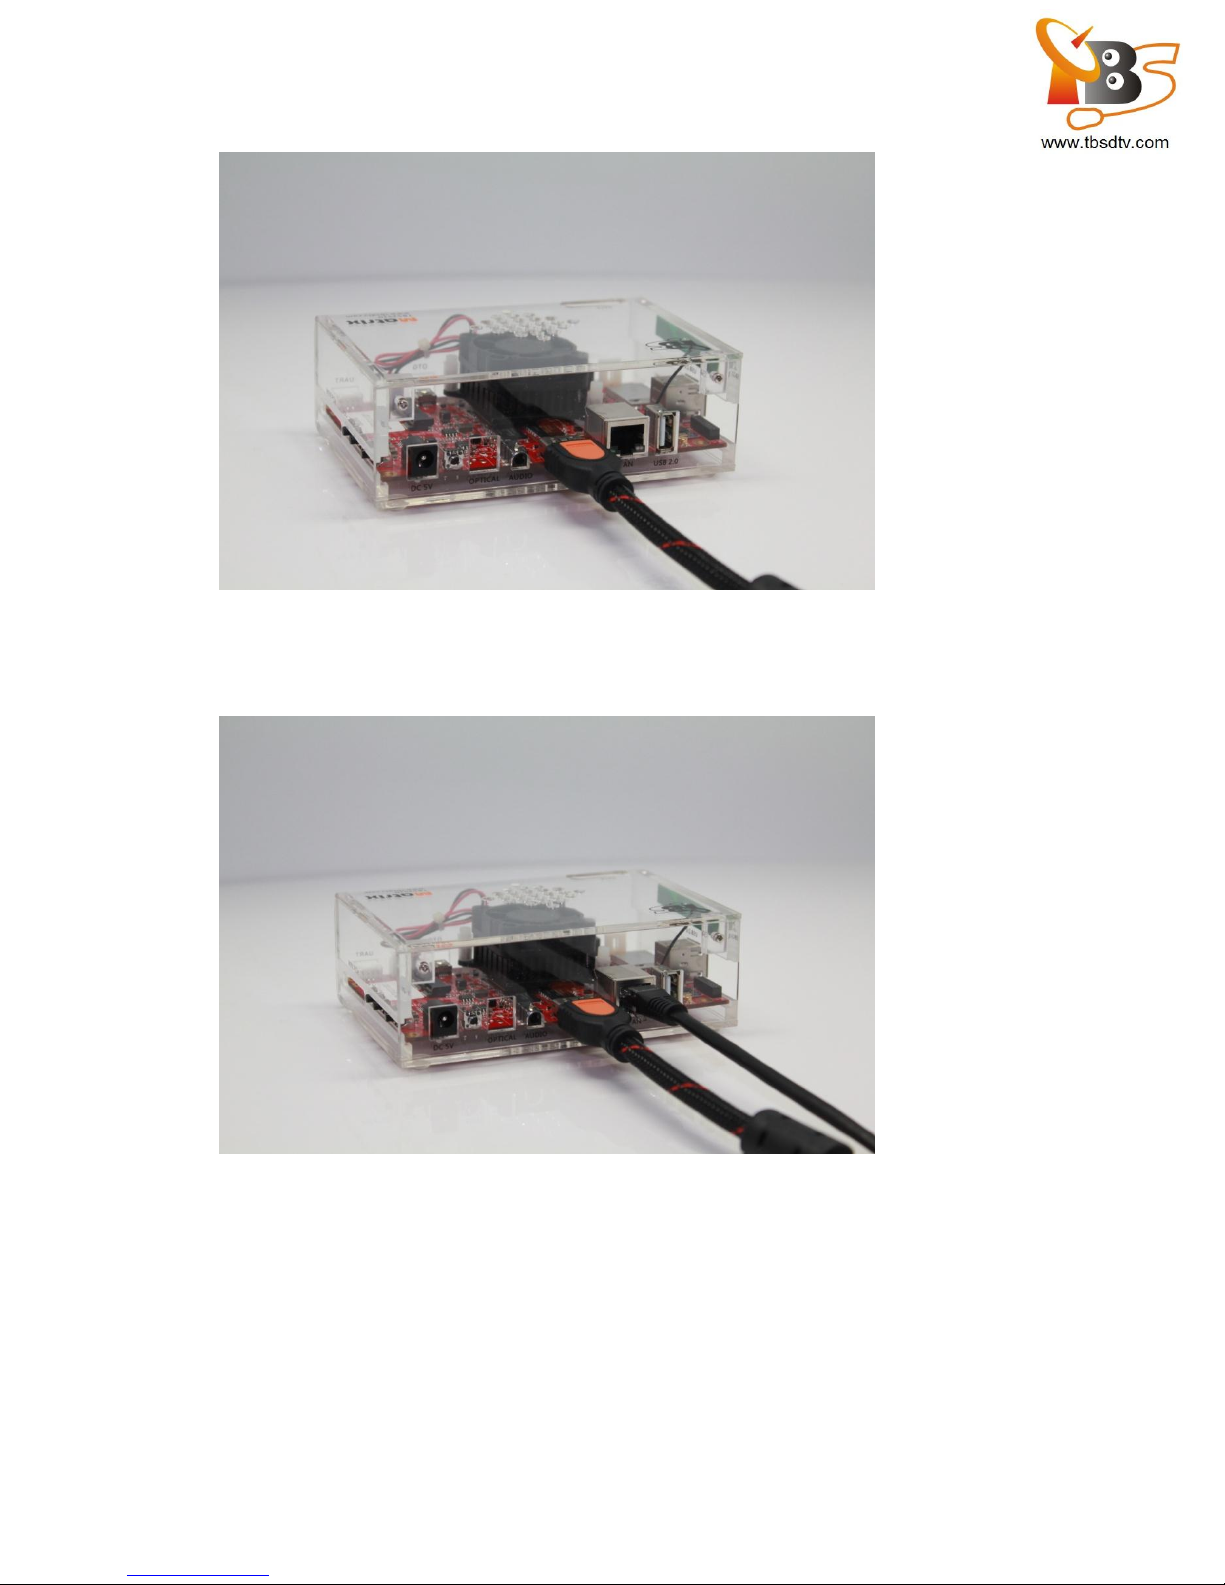
02-Connect the network cable
Connect the network cable to the LAN slot on Matrix.
03-Connect keyboard & mouse
There are 3 USB2.0 ports on Matrix, two of which can be used to connect with a keyboard and a
mouse.
---7 / 9--- Matrix –Get Started Guide V2.0
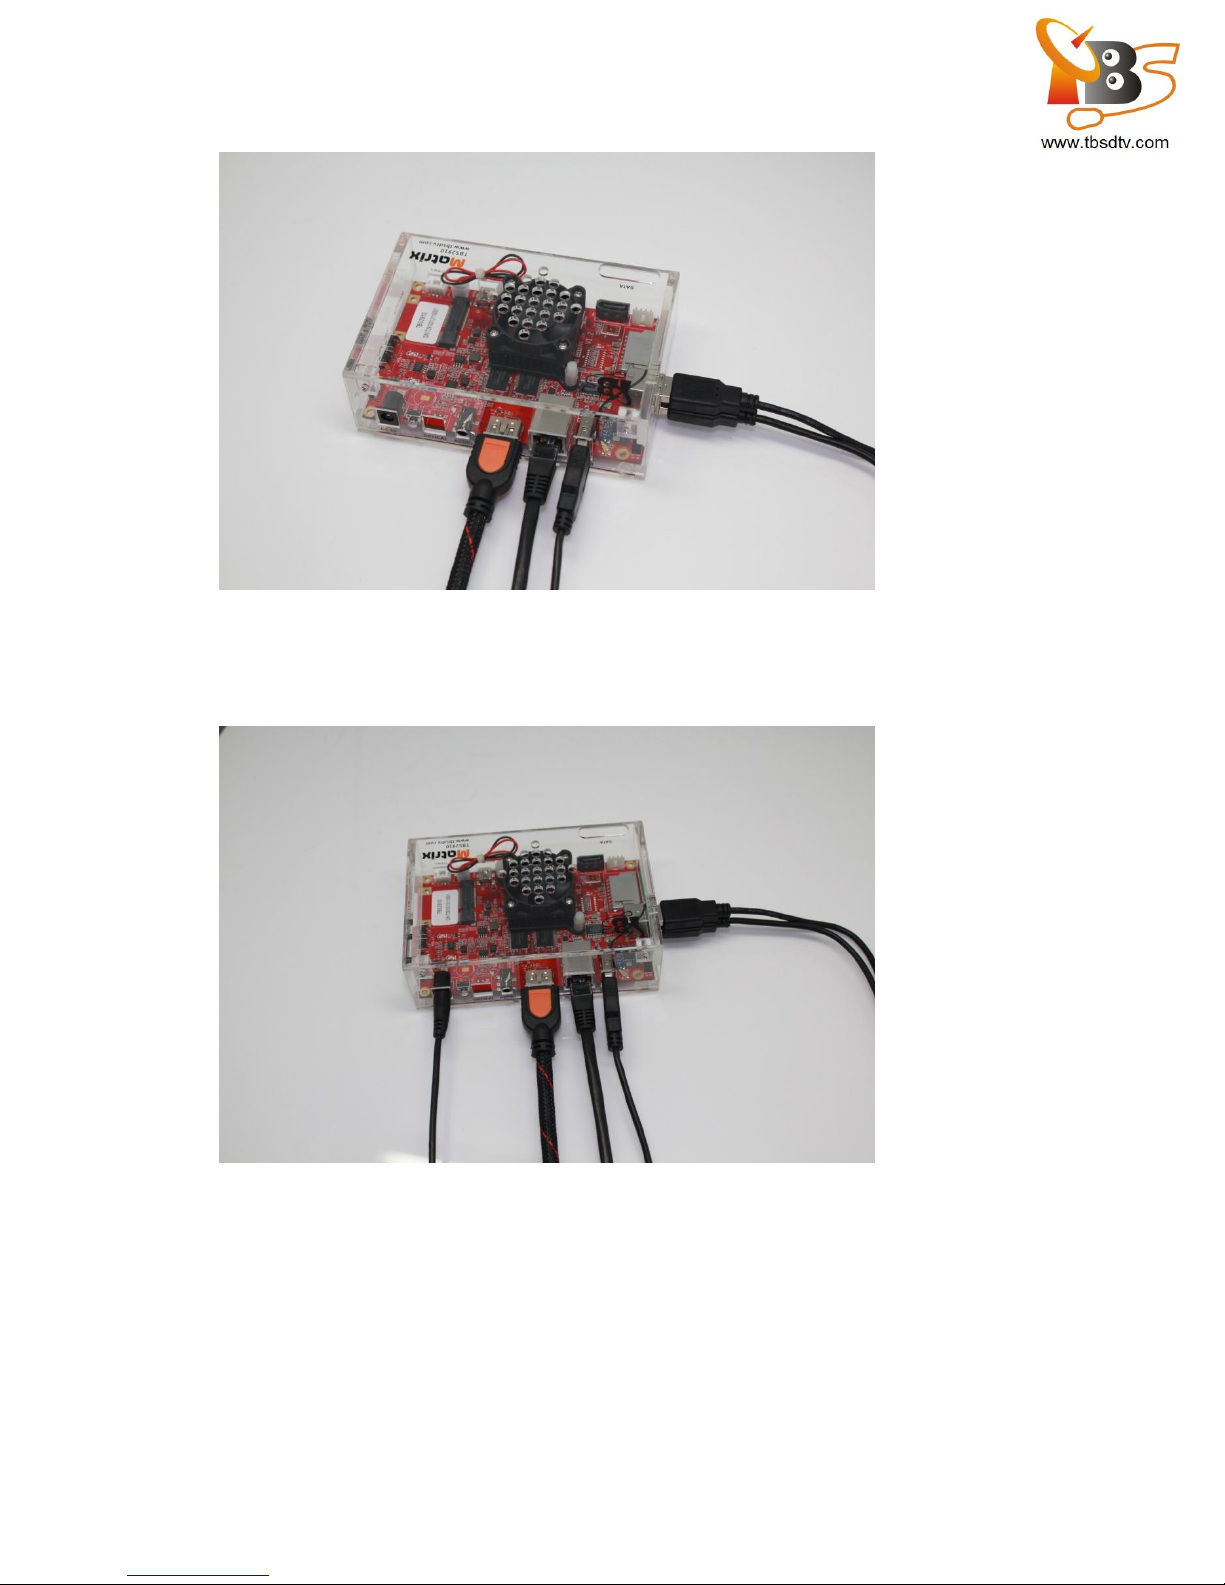
04-Power on Matrix
Matrix starts to boot the moment you plug the power supply to the “DC 12V” slot.
Now Matrix is ready for you to explore more!

---8 / 9--- Matrix –Get Started Guide V2.0
Switch to another operating system
Matrix runs MatrixTV system by default, if you want to switch to another operating system, you need to
burn a new OS 3intos the eMMC on the board. In order to burn the new OS into eMMC, you are going to
need:
1x PC
1x USB mini cable (Type: mini B)
Download the OS image files from the download section of our website to your PC, and then follow a
few steps below:
Move the “Burn/Run“ switcher on the board to the “Burn” side.
1. Connect one end of the USB mini cable to the OTG port on Matrix, the other end to the USB port
of the PC.
2. Open the software “MfgTool2” in the folder, where the OS image files are inside, click “Start”,
and wait a few minutes until it’s completed.
3. Power off Matrix.
4. Move the “Burn/Run“ switcher on the board back to the “Run” side.
5. Power on to let Matrix restart, now it can run the new OS you have just burnt into eMMC.
How to burn a new OS into eMMC on Matrix?
Matrix can run Android, Linux and many other operating systems. In order to burn the new OS into
eMMC, you are going to need:
1x PC
1x mini USB cable (type: mini B)
Download the OS image files from the download section of our website to your PC, and then follow a
few steps below:
6. Move the “BOOT/UPDATE“ switcher on the board to the “UPATE” side.
7. Connect one end of the USB OTG cable to the OTG port on Matrix, the other end to the USB port
of the PC.
8. Open the software “MfgTool2” in the folder, where the OS image files are inside, click “Start”,
and wait a few minutes until it’s completed.
9. Power off Matrix.
10. Move the “BOOT/UPDATE“ switcher on the board back to the “Start” side.
11. Power on to let Matrix restart, now it can run the new OS you have just burnt into eMMC.
3The OS images can be found in the download section of www.tbsdtv.com

---9 / 9--- Matrix –Get Started Guide V2.0
How to update MatrixTV system through SD card
If your Matrix runs MatrixTV V1.0.0.7 or a later version, system update becomes more convenient now,
you no longer have to connect it via mini USB cable to the PC and then flash the new OS to eMMC,
because MatrixTV V1.0.0.7 and the later versions support update through SD card, and there are just a
few easy steps!
1. Prepare a SD card (minimum 2GB).
2. Download the latest MatrixTV OS from our website, copy the OS file to the root directory of the
SD card.
Like this:
3. Insert the SD card to the SD card slot on Matrix, power on Matrix, when it starts to update, the
blue LED light is flashing, wait about 5 minutes until the update completes, the blue LED light is
then off.
4. Power off Matrix, remove the SD card from Matrix.
5. Power on, your Matrix runs now a newer version of MatrixTV.
Note: Only MatrixTV versions 1.0.0.7 or later support this function.
This manual suits for next models
1


