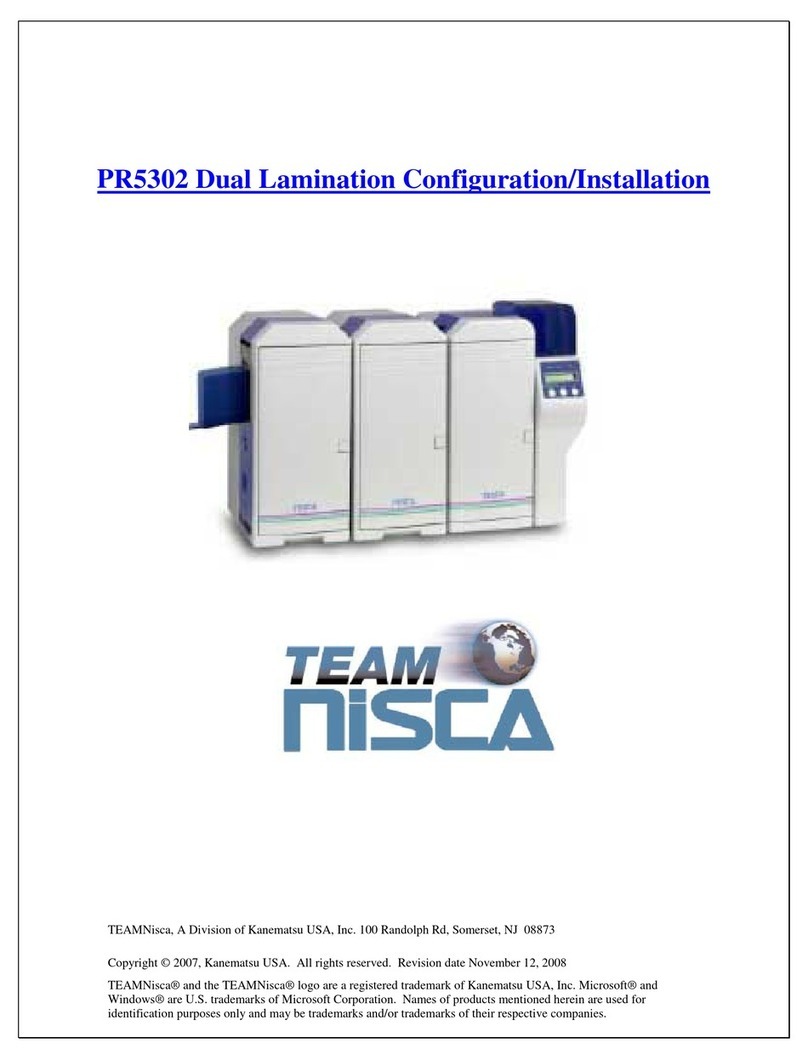
Team Nisca L201-S User manual

All information contained in this documents is subject to change
without prior notification, @2017, Right reserved.
www.teamnisca.com

Contents
Safety Precautions 05
Getting Started 08
Product Overview 08
02 ©2017 All rights reserved
In the Box 09
Names of Parts 10
L201-D (Dual-sided Laminate) 10
12
L201-D (Dual-sided Laminate, Card Input Hopper)
14
16
Open Front Cover 18
Close Front Cover 19
Load Upper Cleaning Roller & Film 20
Load Upper Cleaning Roller 20
Load Films to Upper Cartridge 22
Load Lower Cleaning Roller & Film
Load Cards
24
28
Load Lower Cleaning Roller
Place Cards in the Input hopper
24
28
Load Films to Lower Cartridge
Load Cards after taking out the Card Input Hopper
26
29
Load/Unload Card Stacker to Laminator 32
Load Card Stacker to Laminator 32
Remove Cards after Taking Out Card Stacker 32
Remove Cards without Taking Out Card Stacker 33
L201-S (Upper Single-sided Laminate)
L201-S (Lower Single-sided Laminate)

Buttons 38
03
LAMINATOR L201-S/D User Manual
Button Control & Menu 38
Connect Power & Communication Cables 34
Connect Power Cable 34
Connect Communication Cable 34
Power On
Card Input Hopper Lock
35
36
Front Cover Lock 37
Laminate side setting (Pass Mode) 39
Lamination Temperature (Temper_set) 42
Film Position (Start POS set) 44
Power Saving Mode 46
Path Sensor 48
Serial No. (Product_infor) 51
Factory Reset (Factory init) 53
Maintenance Instructions 63
Supported Cards 63
63
63
63
63
① Size
② Thickness
③ Acceptable Cards
④ Unacceptable Cards
Clean the Exterior 64
Clean the Laminator 64
Clean Roller Using Cleaning Card 64
Laminator Configure Tool 62
Description on Laminator Status on LCD 38
Card Input type setting for Laminator L201-D model
(Card Input Hopper setting)
55
Card issuance and cancel 61

04
Laminator Specifications 71
Features 71
Standard Specifications 71
71
71
71
71
71
72
72
① Laminating Type
② Laminating Function
③ Laminating Speed
④ Laminating Temperature
⑤ Operating Temperature
Optional Specifications 72
Laminator Specifications 72
72
72
72
72
72
72
72
① Product Dimensions (Width X Length X Height) and Weight
1) L201-D (Standard)
2) L200-D (Standard, Card Stacker)
3) L200-D (Standard, Card Input Hopper)
4) L200-D (Standard, Card Input Hopper, Card Stacker)
② Power Supply
③ Interface
⑦ Film Patch Dimensions
⑧ Film Patch Capacity
Warranty Certificate 73
Regulatory 74
Error Messages & Solutions 68
Troubleshooting 68
Remove Jammed Card 69
Film Specifications 70
Patch-Type Film 70
71
⑥ Supported Card Size
Clean the Blue Cleaning Roller 67
©2017 All rights reserved

05
Safety Precautions
Before using or maintaining the product, please read this manual carefully.
Not following the instructions included in this manual may result in a fire and injuries such as
electric shock and burns. To prevent any damage to the product or person, please read and
follow the safety instructions. keep this manual handy for future reference.
We are not responsible for any injuries or damages when the product is not used in
compliance with these precautions.
-Symbols used in this manual
Please follow the safety instructions indicated as Warning, Caution, Important, Note, Prohibition,
Electrical Hazard, Fire Hazard and High Temperature.
Check the following symbols used for easy understanding:
Note
This is a note that provides more details or information that is useful for users.
Important
Use this information to check and inspect for the proper operation of the
product.
Caution
Not following this warning can cause service interruption or product damage.
Warning
These warnings must always be followed; otherwise, this may result in serious
injury or damage.
High Temperature
Indicates a warning about high temperatures.
Fire Hazard
Indicates a potentially hazardous situation which may result in fire.
Electrical Hazard
Indicates a potentially hazardous situation which may result in electric shock.
Prohibition
Indicates a hazardous action which must be avoided at all times.
LAMINATOR L201-S/D User Manual

Do not use a damaged plug or loose outlet.
Power
Do not pull the cable to unplug or touch the plug with wet hands.
Do not bend the cable by force or place any heavy objects on it.
Keep unplugged if not in use for an extended periods of time or in
case of lightening or thunder.
Check whether the power cable is plugged into the outlet
completely.
The product must be used with AC power with rated label.
Please contact us or authorized service representative if you require
any assistance.
If the product is exposed to rain or liquid, please turn off and
unplug the cable, and contact an authorized service representative.
The surface of the product may be very hot right after using it. Please
leave it for at least 15 minutes before making any contact.
Operation/Handling
Keep the power plug clean, away from dust and water.
Cleaning
Unplug when cleaning, and do not spray water or use benzene or
thinner.
Do not use the product if the power cable is damaged as it may
result in electric shock or fire.
06 ©2017 All rights reserved

Do not install the printer in a place where it may be subjected to
moisture, dust, or splashing of water (rain).
Installation/Storage
Keep the printer away from heat sources, as well as lit candles
and cigarettes.
Keep any flammable liquids, gas, and aerosols away from the
printer.
Do not place the product where its vents can be blocked or
interrupted.
Make sure that the product is unplugged when installing it.
(The cable may be damaged and cause fire or electric shock.)
Do not place metal objects, chemicals, or anything with water on it.
Misc.
If you observe smoke, odor, or noise from the Laminator, unplug it
immediately and contact your dealer.
Do not disassemble, repair, or modify the Laminator arbitrarily.
Do not remove any covers or protective device that is attached
with screws.
Do not operate the Laminator while your hand is placed inside.
Clean and maintain the Laminator according to the user instructions.
Do not block the air vents on the product as it can cause
overheating or fire.
Do not install the product as a built-in unit in a place with poor
ventilation.
Make sure that the power cable is properly arranged for your
safety.
Do not place the printer in direct sunlight as it may cause a
malfunction.
Do not place the product on the surface that is not stable
(e.g. bed, sofa).
07
LAMINATOR L201-S/D User Manual

The L201-S/D Laminator is designed to laminate PVC/Composite Cards to meet your
specifications by applying laminate films to both sides of the card using a halogen
heating system. The L201-S/D can create membership cards, employee identifica-
tion cards and access control security cards. The L201-S/D Laminator can laminate
up to 500 cards both single sided or dual sided.
Getting Started
-Product Overview
08
The L201-S/D features a load in laminate cartridges for single and dual sided usage,
the L201-S/D also features locking systems to prevent unauthorized access of the laminator.
L201-S/D also comes with a 4LINE display panel which shows a step by step process of
the lamination so end users have an easy out of box user experience. It also supports
0.76mm(30mil) to 1.0mm(40mil) CR-80 cards and can be connected to TeamNiSCA’s
PRC201 retransfer printer.
©2017 All rights reserved

-In the Box
L201-D
(Dual-sided Laminate)
Please make sure that all the components and accessories are included in the box.
If there are any missing or damaged items, then please contact your dealer for assistance.
Important
L201-S
(Upper Single-sided Laminate)
L201-S
(Lower Single-sided Laminate)
09
L201-D
(Dual-sided Laminate, Card Input Hopper)
AC Power Cable
USB Cable Stacker
Cleaning Roller
Film
Quick Start Guide
Card Input
Hopper Lock
User Manual
Basic accessories
Option
LAMINATOR L201-S/D User Manual

10 ©2017 All rights reserved
Names of Parts
-L201-D (Dual-sided Laminate)
OPTION
Front Cover Button
Opens the Front Cover.
Front Cover
Opens the cover to replace the Film and Cleaning Roller.
Front Cover Lock
The Front Cover can be locked to protect the Film and
other parts inside.
Power Switch
Turns the laminator on/off.
Fan Vent
Circulates air through the vent.
Card Ejector
Releases the laminated cards.
Card Stacker
Stacks the laminated cards. (max. 150 cards)
LCD Display
Displays the system status.
Menu Navigation Buttons
Used to navigate the menu or to cancel the lamination during
the issuance.
OK Button
Used to confirm your choice on the menu or to issue the card.
Menu Button
Used to enter or exit the menu.
(press once: enter, press once on the menu: exit)
Name Description
OPTION

11
LAMINATOR L201-S/D User Manual
USB Port
Used to connect the laminator and other devices using the USB cable.
RS232C Port
Used to connect the laminator and other devices using the RS232C cable.
AC Power Port
Supplies power to the laminator using the AC power cable.
Air Vent
Circulates air to keep the temperature under control.
Knob
Rotate the knob to remove a jammed card.
RFID Antenna Cover
Used to keep the RFID antenna in place.
RFID Antenna
Read the RFID tag on the film.
Upper Film Cartridge
Used to load the films in the upper side. (max. 500 films can be loaded)
Cartridge Load/Eject Button
Used to remove or replace the cartridge.
Lower Film Cartridge
Used to load the films in the lower side. (max. 500 films can be loaded)
Card Slot
Insert the cards to be laminated.
RJ11 Port
Used for connecting to a NUVIA card printer. (communication port)
Name Description

12 ©2017 All rights reserved
-L201-D (Dual-sided Laminate, Card Input Hopper)
OPTION
Front Cover Button
Opens the Front Cover.
Front Cover
Opens the cover to replace the Film and Cleaning Roller.
Front Cover Lock
The Front Cover can be locked to protect the Film and
other parts inside.
Power Switch
Turns the laminator on/off.
Fan Vent
Circulates air through the vent.
Card Ejector
Releases the laminated cards.
Card Stacker
Stacks the laminated cards. (max. 150 cards)
LCD Display
Displays the system status.
Menu Navigation Buttons
Used to navigate the menu or to cancel the lamination during
the issuance.
OK Button
Used to confirm your choice on the menu or to issue the card.
Menu Button
Used to enter or exit the menu.
(press once: enter, press once on the menu: exit)
Name Description

13
LAMINATOR L201-S/D User Manual
RJ11 Port
Used for connecting to a NUVIA card printer. (communication port)
USB Port
Used to connect the laminator and other devices using the USB cable.
RS232C Port
Used to connect the laminator and other devices using the RS232C cable.
AC Power Port
Supplies power to the laminator using the AC power cable.
Air Vent
Circulates air to keep the temperature under control.
Knob
Rotate the knob to remove a jammed card.
RFID Antenna Cover
Used to keep the RFID antenna in place.
RFID Antenna
Read the RFID tag on the film.
Upper Film Cartridge
Used to load the films in the upper side. (max. 500 films can be loaded)
Cartridge Load/Eject Button
Used to remove or replace the cartridge.
Lower Film Cartridge
Used to load the films in the lower side. (max. 500 films can be loaded)
Card input hopper(Standard)
Stores cards to laminate(max. 100 cards)
Card Input hopper Lock Used to lock the card Input hopper for Security
Name Description
OPTION

14 ©2017 All rights reserved
-L201-S (Upper Single-sided Laminate)
OPTION
Front Cover Button
Opens the Front Cover.
Front Cover
Opens the cover to replace the Film and Cleaning Roller.
Front Cover Lock
The Front Cover can be locked to protect the Film and
other parts inside.
Power Switch
Turns the laminator on/off.
Fan Vent
Circulates air through the vent.
Card Ejector
Releases the laminated cards.
Card Stacker
Stacks the laminated cards. (max. 150 cards)
LCD Display
Displays the system status.
Menu Navigation Buttons
Used to navigate the menu or to cancel the lamination during
the issuance.
OK Button
Used to confirm your choice on the menu or to issue the card.
Menu Button
Used to enter or exit the menu.
(press once: enter, press once on the menu: exit)
Name Description
OPTION
<< L201-S>>

15
LAMINATOR L201-S/D User Manual
USB Port
Used to connect the laminator and other devices using the USB cable.
RS232C Port
Used to connect the laminator and other devices using the RS232C cable.
AC Power Port
Supplies power to the laminator using the AC power cable.
Air Vent
Circulates air to keep the temperature under control.
Knob
Rotate the knob to remove a jammed card.
RFID Antenna Cover
Used to keep the RFID antenna in place.
RFID Antenna
Read the RFID tag on the film.
Upper Film Cartridge
Used to load the films in the upper side. (max. 500 films can be loaded)
Cartridge Load/Eject Button
Used to remove or replace the cartridge.
Lower Cartridge Cover
Used to protect the lower cartridge when not in use.
Card Slot
Insert the cards to be laminated.
RJ11 Port
Used for connecting to a NUVIA card printer. (communication port)
Name Description

16 ©2017 All rights reserved
-L201-S (Lower Single-sided Laminate)
OPTION
Front Cover Button
Opens the Front Cover.
Front Cover
Opens the cover to replace the Film and Cleaning Roller.
Front Cover Lock
The Front Cover can be locked to protect the Film and
other parts inside.
Power Switch
Turns the laminator on/off.
Fan Vent
Circulates air through the vent.
Card Ejector
Releases the laminated cards.
Card Stacker
Stacks the laminated cards. (max. 150 cards)
LCD Display
Displays the system status.
Menu Navigation Buttons
Used to navigate the menu or to cancel the lamination during
the issuance.
OK Button
Used to confirm your choice on the menu or to issue the card.
Menu Button
Used to enter or exit the menu.
(press once: enter, press once on the menu: exit)
Name Description
OPTION
<< L201-S>>

17
LAMINATOR L201-S/D User Manual
USB Port
Used to connect the laminator and other devices using the USB cable.
RS232C Port
Used to connect the laminator and other devices using the RS232C cable.
AC Power Port
Supplies power to the laminator using the AC power cable.
Air Vent
Circulates air to keep the temperature under control.
Knob
Rotate the knob to remove a jammed card.
RFID Antenna Cover
Used to keep the RFID antenna in place.
RFID Antenna
Read the RFID tag on the film.
Lower Film Cartridge
Used to load the films in the lower side. (max. 500 films can be loaded)
Cartridge Load/Eject Button
Used to remove or replace the cartridge.
Card Slot
Insert the cards to be laminated.
RJ11 Port
Used for connecting to a NUVIA card printer. (communication port)
Name Description
Upper Cartridge Cover
Used to protect the
upper
cartridge when not in use.

18 ©2017 All rights reserved
Open Front Cover
1. Press the Front Cover Button.
2. Once the cover opens slightly,
pull the cover by the handle to
open it completely.

19
LAMINATOR L201-S/D User Manual
Close Front Cover
- Do not force the Front Cover in when the cartridge is not loaded correctly
as it can damage the product.
- Cards will not be laminated properly if the Front Cover is not fully closed.
(Make sure it is closed.)
- If the Front Cover is not closed completely, the LCD Display Panel indicates
the message: “COVER OPEN”.
Caution
1. Push the Front Cover in until it “clicks”.

20 ©2017 All rights reserved
Load Upper Cleaning Roller & Film
1. Pull the cartridge out while pressing the Cartridge Load/Eject Button to
remove it from the laminator.
-Load Upper Cleaning Roller
2. Align the Cleaning Roller with its hole and push it down until it clicks.
After installation
of cleaning roller
Cleaning roller hole
This manual suits for next models
1
Table of contents
Other Team Nisca Laminator manuals

