TECALEMIT TECGFM Series User manual
Popular Water Filtration System manuals by other brands

Environmental Water Systems
Environmental Water Systems EWS-SPECTRUM-V2 Product and installation manual
Lincoln Electric
Lincoln Electric Statiflex 6000-MS Operator's manual

Eriez
Eriez ROTA-GRATE Installation, operation and maintenance instructions
Atlantic Ultraviolet
Atlantic Ultraviolet Sanitron S50C owner's manual
Hayward
Hayward C100S owner's manual

Mitsubishi
Mitsubishi STERAPORE 5700 Series instruction manual

Kessel
Kessel EasyClean free NS 2 Installation, operation and maintenance
EWS
EWS UF3020 instruction manual
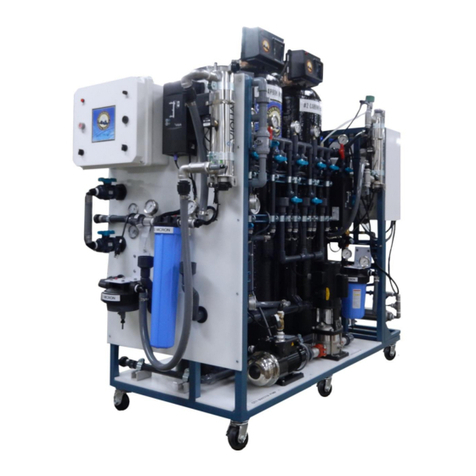
Better Water
Better Water MediPac Operator's manual
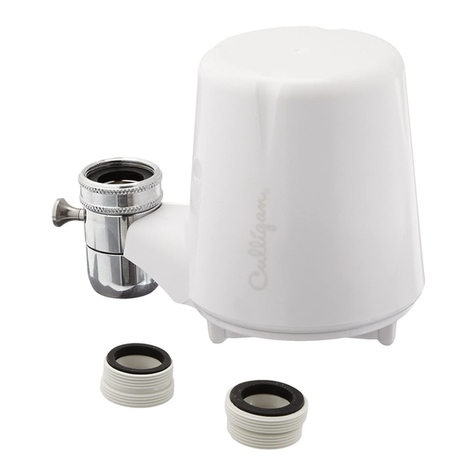
Culligan
Culligan FM-15A Installation and operation instructions
Diamond H2O
Diamond H2O DCF6-100-100 Installation, operation and maintenance manual
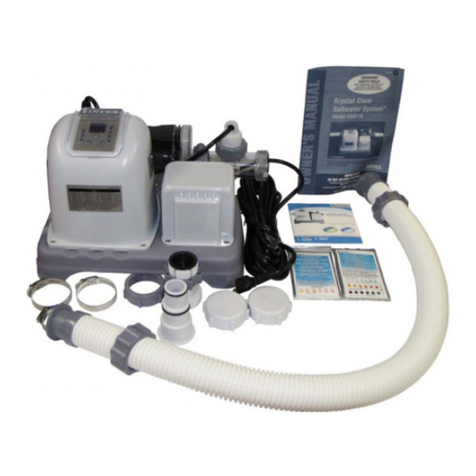
Intex
Intex Krystal Clear CS8220 owner's manual
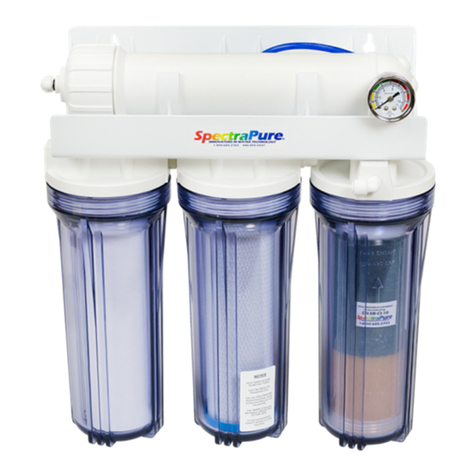
SpectraPure
SpectraPure MaxPure MPDI-90 GPD Installation and operating manual
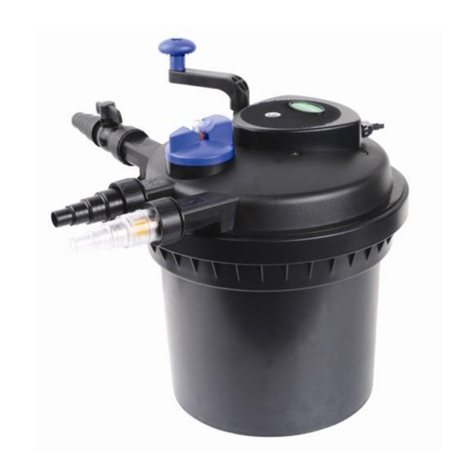
PondXpert
PondXpert SpinClean PXSC04500 quick start guide

Brita
Brita MAXTRA PRO Instructions for use

Royal Doulton
Royal Doulton Elite installation instructions

OWA
OWA Mycare MP50 Installation and operating instructions
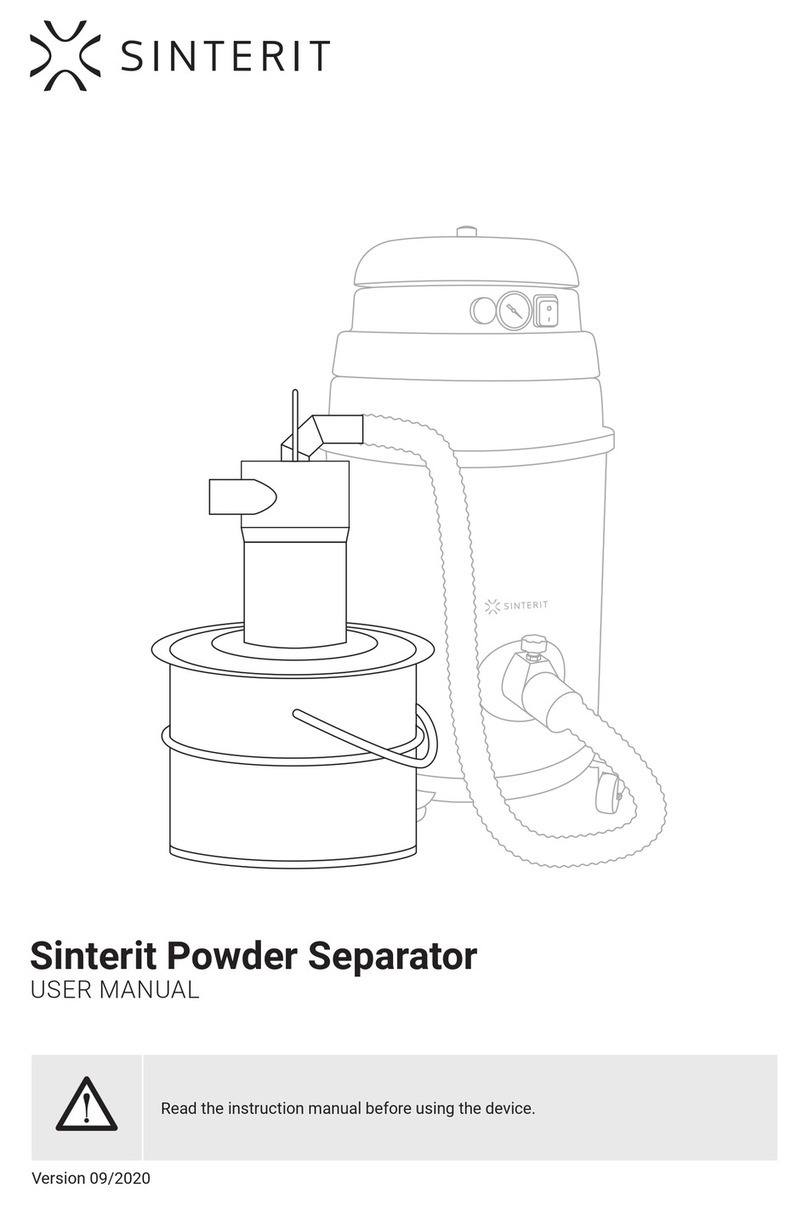
SINTERIT
SINTERIT Powder Separator user manual


