TECH FIVE DXF 01000 User manual


●
●
●
●
●
●
ATTENTION
Éteignez le cadre avant d’insérer une carte mémoire ou une clé USB. Ne pas
le faire pourrait endommager la carte mémoire et le cadre.

─
─
─
─
─
1.
2.
3.

MENU

En mode lecture, appuyez sur MENU pour accéder au menu principal,
choisissez REGLAGES. Appuyez sur OK pour accéder aux paramètres à
régler. Sélectionnez le paramètre à régler avec . Appuyez sur OK pour
valider.
Allez sur le MENU PRINCIPAL. Choisissez
Photo, et appuyez sur OK pour démarrer le
diaporama. Appuyez sur MENU pour
accéder au mode vignettes
Sélectionnez l’image avec , Appuyez sur
OK pour confirmer.

Choisissez Fichiers dans le menu principal et appuyez sur OK.,
:


Cautions
Precautions and maintenance
● For indoor use only.
●To avoid risk of fire or electric shock, do not expose the unit to moisture or
condensation condition.
●To avoid overheating,do not block the ventilation holes on the Digital Photo
Frame.
● Keep the Digital Photo Frame from direct sunlight.
●Do not dismantle the Digital Photo Frame. There is a risk of electric shock
and there are no user-serviceable parts inside. Dismantling the Digital
Photo Frame will void your warranty.
Cleaning the LCD Screen
● Treat the screen carefully. Because the screen of the Digital Photo Frame is
made of glass and it would be easily broken or scratched.
●You can use a soft, non-abrasive cloth such as a camera lens or glass cloth
to clean the LCD screen If fingerprints or dust accumulate on the LCD
screen, It will be better to moisten the cleaning cloth with detergent to wipe
the screen..
Introduction:
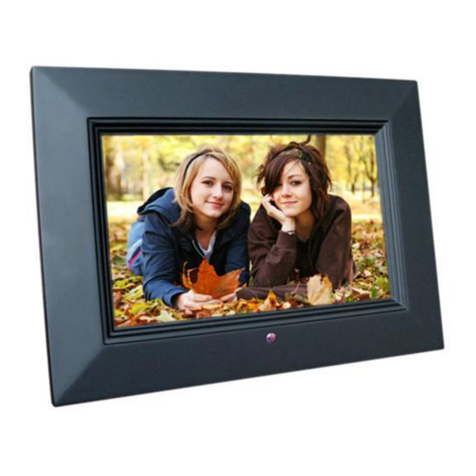
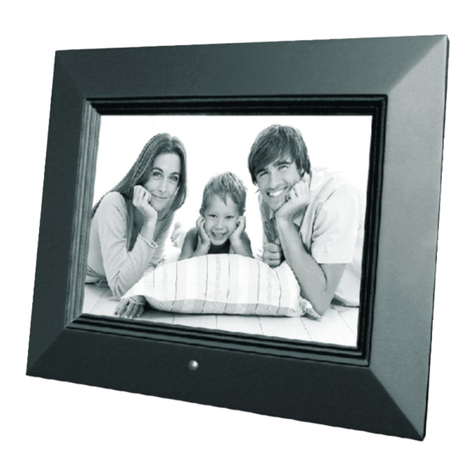
Thank you for your purchase of the Digital Photo Frame. It is designed to allow
quick and easy view of photos taken from your digital camera, mobile phone,
or from a memory storage card. Please read this User Manual carefully to
learn the correct way to use the Digital Photo Frame.
WARNING:
Please power off the unit before inserting or removing a card or USB device.,
Do not put the unit in water or moisture condition to prevent the risk of electric
shock…

Features:
1. Support Photo formats: JPEG&BMP
2. Support Memory card: SD/MMC/SDHC/MS.
3. USB Connection: USB2.0 HOST
4. Built-in Calendar, Clock, Schedule Auto On/Off
5. Adjustable brightness, contrast, saturation
6. Image-display mode: slideshow, preview,
7. Auto Slideshow when insert Memory Card
8. Support viewing pictures in thumbnail mode.
9. Built-in Clock and calendar with slideshow window
10. Image-display mode: slideshow, preview
11. Adjustable slideshow speed and above 10 kinds of transition slideshow
12. OSD Language:English, French, Italian, German, Spanish, Portuguese,
Dutch
Packaging Check List:
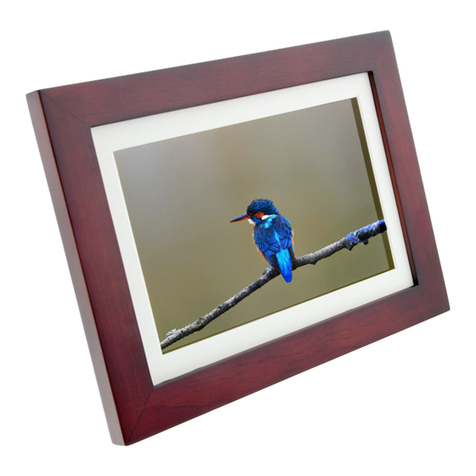
1. 10.1inch digital photo frame 1 piece
2. User manual 1 piece
3. AC/DC adapter 1 piece
4. Bracket 1 piece

1 Product Diagram
1.1 Back side Buttons
1.2Bottom of the frame
2. Getting Started
2.1 Put the digital photo frame with installing bracket on a flat position stability,
then plug one end of the AC adapter into a standard 110-240V AC
electrical outlet and the other end into the DC IN slot on the frame.
Note: The bracket installing and standing method refer to "Stand Instruction".
2.2 Remove the protective film covering on the LCD.
2.3 When insert the plug, press the power button on the Unit to power On/Off.
1.SD /MMC/ SDHC/MS
2.USB
3. DC IN
1. Power
2. Menu
3. OK
4. Right/Down
5. Left/Up
6. Return

3. Operating Instruction
3.1 Card and USB
It supports SD/SDHC//MMC/MS and USB 2.0. After inserting a card or USB
device, then slideshow play automatically. Press MENU to enter into Photo,
Calendar, Files, Setting main menu. Press OK to confirm.
Note: If there are supported picture files in the Card or USB Device, slideshow
will play automatically.
3.2 Picture Mode
After turning on the unit, you will see
the start up logo and then slideshow
play automatically when there are
pictures in the built-in memory.
Enter into the Main Menu. Choosing Photo,
press OK to start slideshow. Press menu
to the thumbnail mode, Press to select
picture, Press OK to confirm.

In picture playing mode, Press MENU to enter into the Main Menu, choose
setting to enter into Photo Setup,You can set different settings. Press OK to
enter into the sub-menu items. Press different items. Press OK to
select different value you desired in one sub-menu.
4. Calendar
If you want to set the date/time, press MENU to enter into the Main Manu,
choose Setting and enter into the Calendar Setup menu, press OK to enter
the sub-menu items. Press set different items. Press OK to select
different value you desired in one sub-menu.
5. Files
Choose Files in the main menu and press OK to Enter, you can browse all files
in your selected storage device. You can press to choose the file then
press OK to confirm.
Select Calendar in the Main Menu,
press OK to enter. It will show calendar
with a slideshow window on the left.
Supported files must be stored in the
selected storage device. Adjust Month
with .

6. Setting
7. Stand Instruction
Insert the bracket into the slot of the digital photo frame and rotate the bracket
clockwise. Please make sure the stand is locked before putting it on the table
steadily .Please refer to the illustration showing below.
8. Technical Specifications
Adapter: Input AC 100-240V 50/60HZ Output DC :5V/1.5A
Picture Format: JPEG&BMP
Memory Cards: SD/SDHC/MMC/MS
USB:USB Host
Screen Parameter:
Screen Size: 10.1 inch TFT
Resolution : 1024*600 Pixels
Contrast:400-500:1
Aspect Ratio:16:9
Brightness: 200-300cd/ m2
Select Setting in the main menu press
OK to enter the Setup interface .Press
OK to highlight the item you desired and
press OK to enter into the sub-menu
items. Press to set different items.
Press OK to select different value you
desired in one sub-menu.
Note: After you set an item and enter into
the next item, the set mode/data will auto
saved.

Response Time: 20ms
Viewing Angle: 60°(left/right/vertical), 40°(horizontal)
Working Temperature: 0℃~40℃, Humidity: 10-85%
9.Troubleshooting Guide
If you are having problems with your player, please consult both this guide and
manual.If you need further assistance, please contact technical support.
No power:
Please check whether the plug is inserted correctly.
Can not read the CARD or USB:
Please confirm whether there is storage in the card or USB device.
Empty devices cannot be read.
Can not play the file:
Please confirm if the file format is compatible with the player.
Display too bright or too dark:
Please adjust the brightness or contrast in the setup menu.
The color is light or no color:
Please adjust the color and contrast setup.

●
●
●
●
●
●
¡ATENCIÓN!
Apague el marco antes de introducir una tarjeta de memoria o una memoria
USB. En caso contrario, podría dañar la tarjeta de memoria y el marco.

1.
─
─
─
─
─


Table of contents


