Techerific RadRecorder User manual
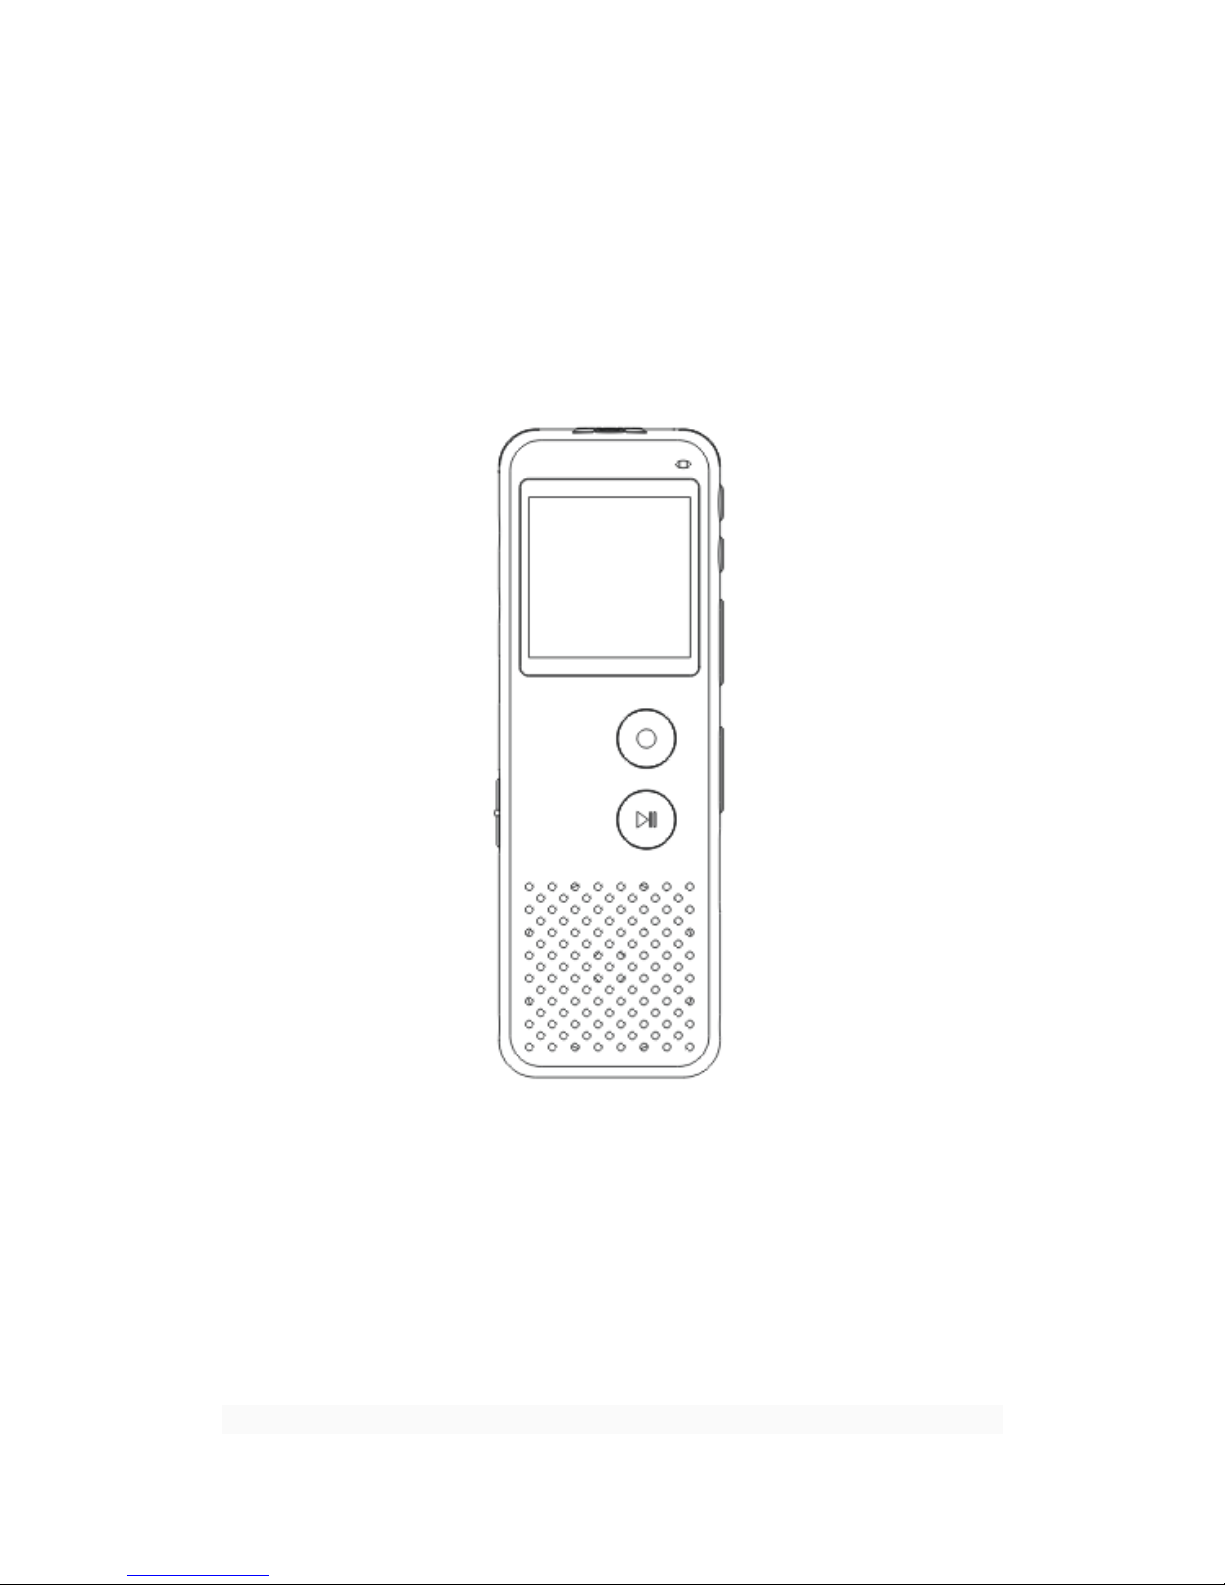
RadRecorder
User Manual

Thank you for purchasing this RadRecorder from Techerific!
Warnings:
Do not place device in a hot, cold, or high humidity
environment. Do not leave in hot places such as your car for
long periods of time. Please also be careful to adjust volume
when using earbuds to prevent hearing impairment.
Power On/Off and Standby Mode:
To power on, slide switch up that is on the left side. f you do not
make a selection within a minute the RadRecorder will go into
Standby to preserve battery life. To wake from Standby Mode
simply hold down the Play/Pause button for a few seconds. Do
not leave on Standby for more than a few hours to preserve the
battery life. To turn off, slide switch back down.
Recording:
After powering up, hit the red Rec/Stop button to begin
recording. A red light will indicate the recording has
commenced. During recording if you press Rec/Stop or
Play/Pause only once it will simply turn on the backlight, so you
will need to press Rec/Stop twice to stop recording, or
Play/Pause button twice to pause it. Avoid placing the recorder
near fans or other background noises that could affect
recording. Do not slide power switch on left down to power off

until after you have completely stopped the recording as this
could cause you to lose the file. You can access the recording
feature immediately no matter what setting or mode you are
currently browsing by pressing the Rec/Stop button once. f you
are in the MP3 area you will need to press it twice.
Recording Settings and Voice Activation:
The RadRecorder has various recording settings. For highest
quality recording at 384kbps select PCM setting. For medium
quality at 192kbps, select Fine REC. For slightly lower quality to
allow for more storage select Long REC.
RadRecorder features noise/voice activation technology. For
highest quality Voice Activation setting select PCM VOR setting.
For medium quality select Fine VOR. For slightly lower quality to
allow for more storage select Long VOR. To access these
recording settings from the boot screen use the FF button to
select “Setting Mode” and press M. Press FF button once and
then press M again to select “Record type”. Press FF button
until desired setting is highlighted and then press M again to
select. Press Rec/Stop if you wish to begin recording. t will stay
in the mode you select even after powering off, for all your
future use.
Playback:
To playback your recordings, from boot screen press M. Use the
FF/REW button to browse between recordings. When you find it,

press Play/Pause. To skip forward or backwards hold down
FF/REW.
During playback press the V+ button on the side to increase the
volume, or the V– button to decrease volume.
To playback from your computer, connect recorder to computer
with USB cable and double-click the file to open it in Windows
Media Player.
Telep one Recording:
Disconnect your phone cable from wall. Plug it into one of the
sockets in the black box. Use our provided phone cable to
connect from wall plugin to remaining socket in black box. Use
the 3.5mm cable to connect from black box to mic hole on the
RadRecorder. After call commences, simply hit Rec/Stop. Press
Rec/Stop after call finishes.
Deleting Files:
From boot menu select “Record Mode”. Press M button to enter
Mode. Use arrows on right side of recorder to select the correct
file for deleting. Push m button, “Delete file” will appear, push m
again, use FF button to change to “Yes” and then hit
Play/Pause.
To delete all files on the recorder, from boot menu select
“Record Mode”. Press M button. Then press m button. Use FF
button to select “Delete All” then press m. Press FF once more,

then hit Play/Pause to delete. Please note, this will permanently
delete ALL your recording files! However, your MP3 files will not
be affected.
You can also delete files by connecting the device to your
computer and selecting the file you wish to delete and hitting
“Delete” key on your keyboard.
Backups:
We highly recommend creating backups every week in case you
lose the recorder or it gets damaged you will not lose all your
files! To do this connect it with USB cable to the computer. To
select files hold down left mouse key and Ctrl. Then Ctrl and C
to copy, and then make a new folder in My Documents and
select Ctrl and V to paste. Please do not disconnect the recorder
until files are finished copying. f desired, you can now go back
and delete the files from the voice recorder by selecting them
again using left mouse key and Ctrl and then hit the Delete key.
We recommend for the files you backup to click them and hit F2
to rename them to keep it better organized for your reference,
such as “April Business Meeting” or “January To-Do list”, etc.
PLEASE NOTE: Techerific will not be held liable for any data
loss. Please backup regularly to avoid any problems!
MP3 Player:
From boot screen, press FF once, and then press M to select
Music mode. Press FF or REW to browse between songs. When

you find song you want to listen to press Play/Pause. Hold down
FF or REW for several seconds to skip forward or backwards in
the song. During playback, press M to adjust Repeat option or
change Equalizer settings, press M again when desired option is
highlighted. To copy songs to the RadRecorder, connect to
computer with USB cable and copy .MP3 or .WMA files to outer
area (not the RECORD folder).
Flas Drive Feature:
To use this to store or backup any type of files, simply use the
USB cable to connect to your computer. Select the correct drive
in My Computer, likely entitled Removable Disk. Simply copy
files to the main area (not the RECORD folder). When you wish
to access the files or copy them back to your computer just
connect the drive again.
Battery and C arging:
The battery included is a Lithium- on rechargeable battery. t is a
good idea to charge the battery regularly, especially when the
battery graph on the screen is showing only one bar. During
recording, when the battery starts to go low, the red light in
upper right corner will remain constant instead of flashing. To
charge, use the USB cable and connect to computer. While
charging, there will be a flashing battery graph on the right side
of the recorder screen, when charging is complete it will stop
flashing. You can also purchase a USB wall charger to be able to

charge it with a power adapter with the USB cable. f using wall
charger, please do not leave it plugged in for longer then 4
hours to avoid possible short circuiting of the battery.
Warranty:
Limited 2 Year Warranty: f the RadRecorder has issues where it
stops working please return to us for a brand new unit. Contact
us at our email address below to request a RMA number for
return. Warranty does not apply if unit has had water damage or
external damage such as from dropping it – warranty only
applies if it has been cared for properly.
Contact Us:
f you would like to provide feedback or have any questions on
how to use the product we would love to hear from you! We
reply to all emails within 24 hours. You can connect with us the
following ways:
Techerific LLC
PO Box 4120 #52466
Portland, OR 97208-4120
Tel: 620-899-7421
www.techerific.com
www.facebook.com/techerific
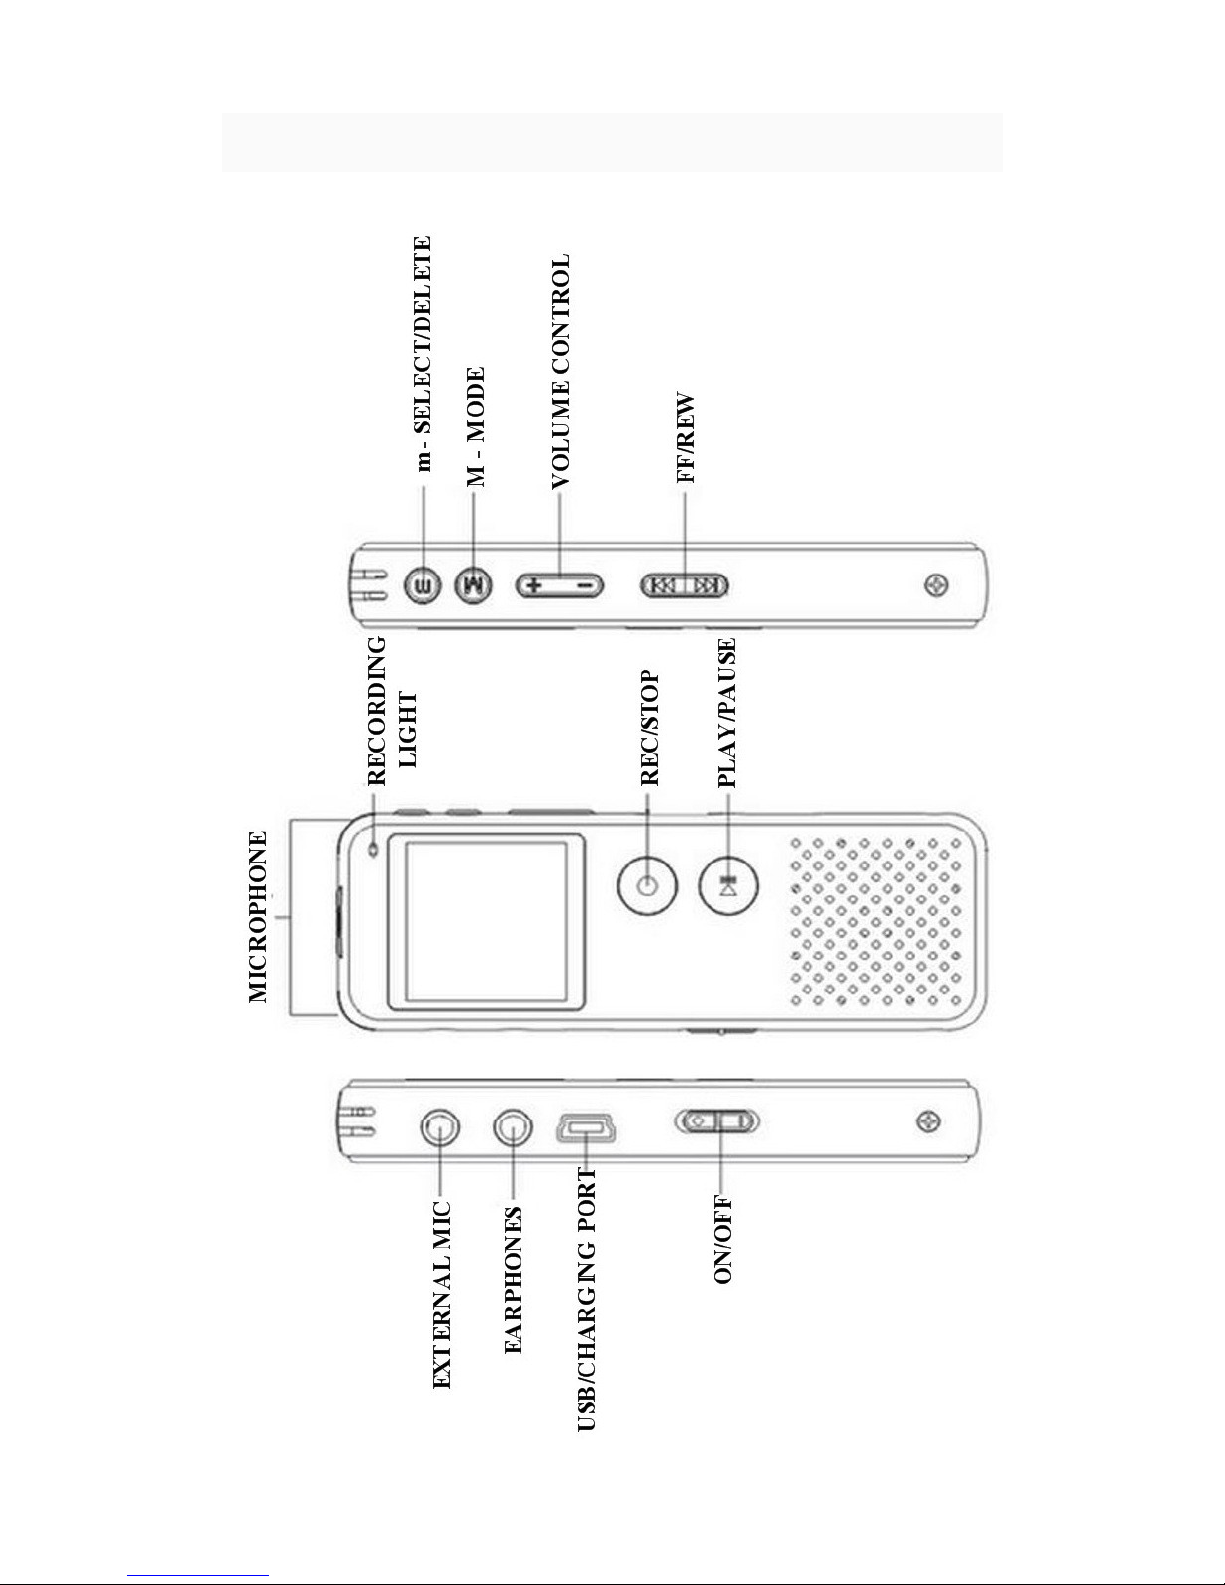
Key Functions:
Table of contents
Other Techerific Voice Recorder manuals


